As the holiday season approaches, many of us eagerly pull out our cherished Christmas decorations, including the beloved artificial tree. However, there’s nothing more disheartening than setting up the tree, only to find that some of the branches no longer stay in place. Whether it’s due to wear and tear or improper storage, hinged Christmas tree branches can be a real headache. But fear not!

In this blog post on how to fix hinged christmas tree branches, we will delve into the world of fixing hinged Christmas tree branches, providing you with simple yet effective techniques to ensure your tree stands tall and proud, bringing back the festive magic to your home.
From finding the right tools to mastering the art of branch repair, we’ve got you covered. So grab a cup of hot cocoa, get ready to unleash your inner handy-person, and let’s restore your hinged Christmas tree branches to their former glory!
Why Do Hinged Branches Become an Issue?
Before we jump into how to fix hinged Christmas tree branches, let’s first understand why they become a problem in the first place. One of the main reasons for this is improper storage. When we pack up our trees after the holiday season, it’s easy to toss them aside without much thought.
However, storing your tree incorrectly can cause the branches to lose their shape, making them prone to bending and snapping. Additionally, if you notice that your tree has been drooping or sagging in certain areas, this could be a sign of wear and tear due to repeated use over the years.
Tools You’ll Need
To effectively fix hinged Christmas tree branches, you’ll need a few essential tools. These include:
- Pliers
- Wire Cutters
- Scissors
- Hot Glue Gun
- Zip Ties or Floral Wire
- Decorations (Optional)
It’s always a good idea to have these tools on hand, just in case you need them for other holiday decorating emergencies.
11 Step-by-step Guidelines on How to Fix Hinged Christmas Tree Branches
Step 1: Remove the Affected Branch From the Tree
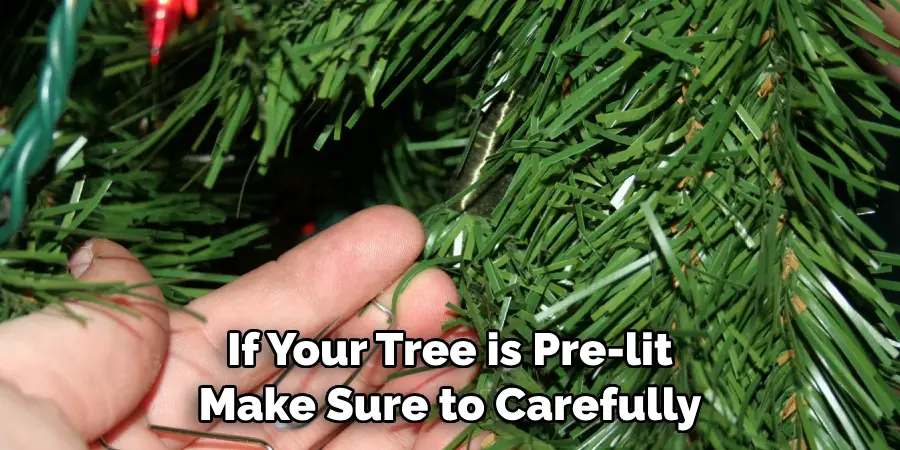
This will allow you to work on it more easily. However, if your tree is pre-lit, make sure to carefully remove the lights before proceeding. It’s also a good idea to take a photo of the branch beforehand, so you know exactly where it goes when reattaching it. You can also use a marker to label the branch for easy identification.

Step 2: Assess the Damage
Take a closer look at the branch and determine if it needs to be fixed or replaced. If there are only minor bends, you may be able to fix them with some simple techniques. However, if the branch is completely broken or damaged beyond repair, it’s best to replace it with a spare branch if you have one.
Step 3: Straighten the Branch
For minor bends, gently straighten the branch using your hands or pliers. If the branch is severely bent, you may need to use hot water or a hairdryer to help it regain its shape. Just be careful not to overheat the plastic as it can melt. But if you’re dealing with a metal branch, you can use a heat gun on low settings.
Step 4: Trim the Broken or Damaged Ends
If your branch has broken or damaged ends, use wire cutters to trim them off. This will help prevent further damage and make it easier to reattach the branch. It’s crucial to wear protective gloves when handling broken branches to avoid any injuries. You can also use a file or sandpaper to smooth out any rough edges. But be careful not to damage the connecting hinges.
Step 5: Reattach the Branch
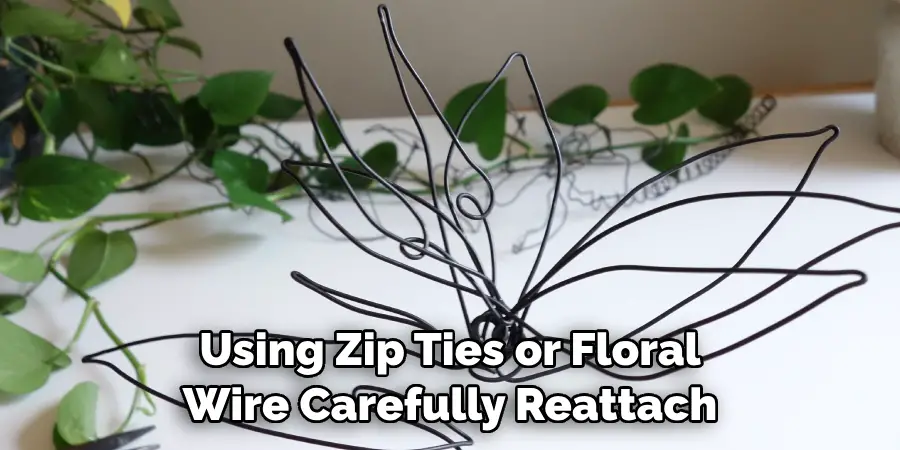
Using zip ties or floral wire, carefully reattach the branch to the tree. Make sure it’s aligned with its original position and securely fastened to the tree. You can also use a hot glue gun for added stability, especially if the branch is loose or wobbly. But be careful not to use too much glue as it can melt the plastic.

Step 6: Reinforce Weak Points
If you notice any weak spots on the branch, reinforce them using zip ties or floral wire. This will help prevent future breakage and keep your tree looking full and lush. It’s also a good idea to reinforce the connecting hinges with hot glue for added stability. This is especially important if you have a pre-lit tree, as the weight of the lights can put strain on the branches. You can also use extra decorations to cover any visible zip ties or wire.
Step 7: Fix Any Gaps
If there are any noticeable gaps between the branches, you can easily fix them by adding some foliage or tinsel. This will help fill out the tree and give it a more natural appearance. You can also use hot glue to attach small pieces of foliage or tinsel to any bare spots. It’s a simple yet effective way to give your tree a fuller and more cohesive look.
Step 8: Replace Missing Branches
If you don’t have any spare branches, you can use a similar-sized branch from a different part of the tree. Just make sure it’s securely attached and blended in with the rest of the branches. You can also use extra decorations to help cover up any visible seams. However, if you have multiple missing branches, it may be best to replace the entire section of the tree for a more seamless look.
Step 9: Test the Branch
Before moving on to another branch, make sure to test the one you just fixed. Gently tug on it to ensure it’s securely in place and can withstand some weight. You can also gently bend and shape the branch to make sure it’s flexible without breaking. It’s better to address any issues now rather than having to go back and fix them later.

Step 10: Repeat for Other Branches
If you have multiple hinged branches that need fixing, repeat the same steps for each one. It may be helpful to work on one section of the tree at a time, so you don’t get overwhelmed. And remember, take breaks when needed and don’t rush the process. But if you find yourself getting frustrated, take a break and come back to it with a fresh perspective.
Step 11: Add the Finishing Touches
Once all the hinged branches are fixed, it’s time for the fun part – decorating! Use this as an opportunity to add some extra decorations or ornaments to your tree. You can also use ribbon or garland to help cover up any remaining imperfections. And don’t forget to step back and admire your beautifully fixed hinged Christmas tree! With these simple steps, you can easily fix any bent or broken branches and keep your tree looking its best for many holiday seasons to come. Happy decorating!
Lastly, on how to fix hinged christmas tree branches, remember to properly store your tree after the holidays to prevent any damage and ensure its longevity. Keep it in a cool, dry place and cover it with a tree storage bag or box to protect it from dust and moisture. Taking proper care of your hinged Christmas tree will not only save you the hassle of fixing branches every year but also keep it looking like new for many more Christmases to come.

Frequently Asked Questions
Q1: Can I Use a Heat Gun to Straighten Plastic Branches?
A1: Yes, but make sure to use it on low settings and be careful not to overheat the plastic as it can melt. It’s best to test a small area first before using it on the entire branch.
Q2: What if I Don’t Have Spare Branches?
A2: You can use a similar-sized branch from another part of the tree or reinforce the broken branch with zip ties or floral wire. You can also cover any visible seams with extra decorations. However, if you have multiple missing branches, it may be best to replace that section of the tree.
Q3: Can I Use Hot Glue to Fix Broken Branches?
A3: Yes, hot glue can be used for added stability when attaching or reinforcing branches. Just be careful not to use too much as it can melt the plastic and make sure to test a small area first before applying it on the entire branch. However, if your tree is under warranty, using hot glue may void the warranty so check with the manufacturer first.
Conclusion
Taking the time to fix hinged Christmas tree branches is key. If a large portion of the branches are loose, it’s far more efficient to re-fluff all of them instead of attempting repairs. Endeavor to repair what you can if you don’t have the option to start over.
Filling any gaps with artificial greenery will now make for an eye-catching holiday display that will serve as your home’s focal point this season. Moreover on how to fix hinged christmas tree branches, be wary of debris around the base of the tree that might leave lasting consequences. Regular vacuuming around it will ensure your tree continues to look its best during its merry turn in the spotlight!
Make sure you purchase a tree stand with quality construction which is secure enough to safely lift your Christmas tree from its box and cradle it for years of holiday decoration. Get creative, have fun, and make container loads of memories while decorating!

