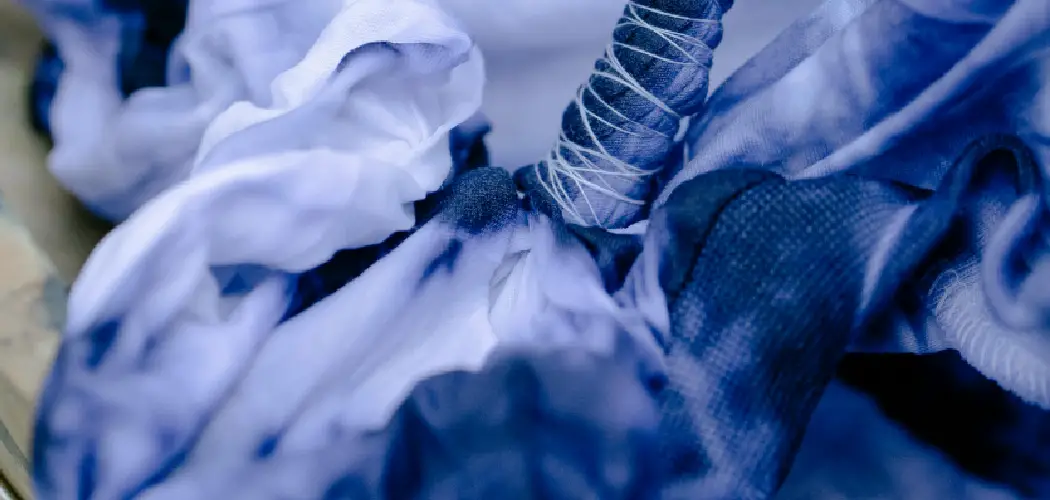
Shibori is a traditional Japanese technique of folding, twisting, and binding fabric to create intricate patterns when dye is applied. This art form allows for a vast array of designs, each as unique as a fingerprint. In this guide on how to do shibori tie dye, we’ll explore the fundamental steps to create your own Shibori tie-dye creations at home.
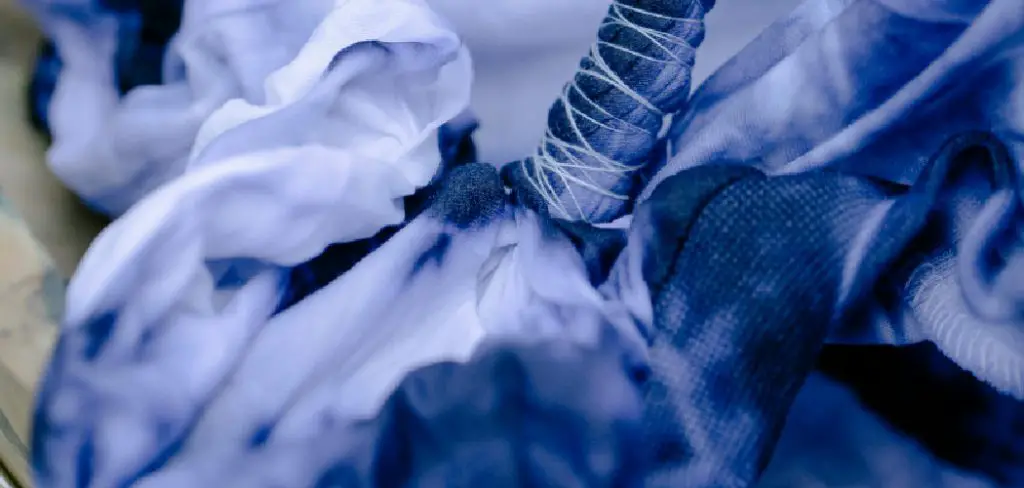
Whether you’re a novice or an experienced crafter, this ancient practice can be both meditative and exhilarating, resulting in beautiful textiles that reflect your personal touch.
What is Shibori Tie Dye?
Shibori is a Japanese word that means ‘to wring, squeeze or press.’ It is a traditional resist-dyeing technique where fabric is folded, twisted, bunched or bound to create beautiful patterns.
In this process, the material resists the dye in areas where it has been manipulated. Different binding techniques are used to achieve unique designs, resulting in one-of-a-kind patterns on fabric.
Advantages and Disadvantages
While Shibori tie-dyeing can be a fun and creative activity, there are some advantages and disadvantages to consider before starting your project.
Advantages:
- No Two Patterns Are Alike. Each Design is Unique and the Result of the Folding, Twisting, and Binding Techniques Used.
- It Can Be Done on a Variety of Fabrics Such as Cotton, Silk, Linen, or Hemp.
- Easy to Learn and Can Be Done with Minimal Supplies.
- No Special Equipment Needed. Just a Dye Kit, Water, and a Bucket or Container Large Enough for the Fabric.
Disadvantages:
- Limited Color Selection. Traditional Shibori is Usually Done with Indigo Dyes, Which Produce Various Shades of Blue.
- Time-Consuming Process as Each Step Requires Drying Time.
- Difficulty in Controlling the Outcome of Patterns.
- It can Be Messy, so it’s Important to Wear Protective Clothing and Work in a Well-Ventilated Area.
What You’ll Need
Before diving into the steps, let’s gather all the materials you’ll need to get started with Shibori tie-dye.
Fabric:
Choose a natural fabric such as cotton, silk, or linen for best results. Synthetic fabrics may not absorb the dye as well.

Dye:
You can use traditional indigo dye or opt for modern, vibrant colors. Look for a dye specifically made for tie-dyeing fabric.
Rubber bands or string:
Used to bind and create patterns on the fabric.
Plastic sheet or tarp:
Place this underneath your work area to protect it from dye stains.
Plastic gloves:
To protect your hands from the dye.
Large bucket or basin:
For preparing and holding the dye bath.
Water:
To dilute the dye and rinse out excess later on.
Salt (optional):
If using indigo dye, this will help with the color absorption process. Follow the instructions on your specific dye package.
Wooden blocks or popsicle sticks (optional):
To create more intricate patterns by using them as a resistance against the dye.
10 Step-by-step Instructions on How to Do Shibori Tie Dye
Step 1: Prepare Your Fabric
Wash and dry your fabric before beginning. This will remove any sizing or impurities that may interfere with the dye’s absorption. Once dry, iron out any wrinkles to ensure an even surface for the dye. The fabric can be any size, but keep in mind that larger pieces will require more dye and a bigger workspace.

It’s best to start with a small piece for your first attempt. You can always move on to larger pieces once you become more experienced. The type of fabric you choose will determine the final outcome of your pattern, so experiment with different fabrics to see what works best for you.
Step 2: Fold and Manipulate the Fabric
Lay your fabric on a flat surface. For basic designs, you can simply fold the fabric in half and then continue folding until you reach the desired size. If you want a more intricate pattern, try accordion-folding or pleating the fabric to achieve different effects.
The way you fold and manipulate the fabric will determine the final pattern, so feel free to experiment. But be sure to remember your technique for future projects. You can also use wooden blocks or popsicle sticks to create resist patterns by placing them between the folds of fabric.
Step 3: Bind the Fabric
Once you’ve reached your desired shape, it’s time to bind the fabric. Use rubber bands or string to secure the folded fabric tightly in place. For larger pieces, you may want to add multiple rubber bands or strings to ensure the fabric stays in place during the dyeing process.
You can also use wooden blocks or other objects to create pressure points on the fabric, resulting in different patterns. Although the binding may seem random, it is a crucial step in controlling the final design. It’s best to bind the fabric as tightly and evenly as possible.
Step 4: Prepare the Dye Bath
Follow the instructions on your specific dye package for preparing the dye bath. This usually involves dissolving the dye powder into water and adding any necessary additives, such as salt. The dye bath should be prepared in a large bucket or basin, and the fabric should have enough room to comfortably move around and absorb the dye.
The dye bath should also be at least two inches deep. You may need to prepare multiple dye baths if you have a larger piece of fabric. You can also choose to use multiple dye colors for a more vibrant design. It’s all up to your personal taste and creativity.
Step 5: Submerge the Fabric
Carefully place the bound fabric into the dye bath, making sure it is fully submerged. Use gloves to protect your hands from staining and gently agitate the fabric to ensure all areas are evenly covered by the dye. The longer you leave the fabric in the dye bath, the darker and more intense the color will be. If using indigo dye, the fabric will appear green at first but will turn blue as it oxidizes.
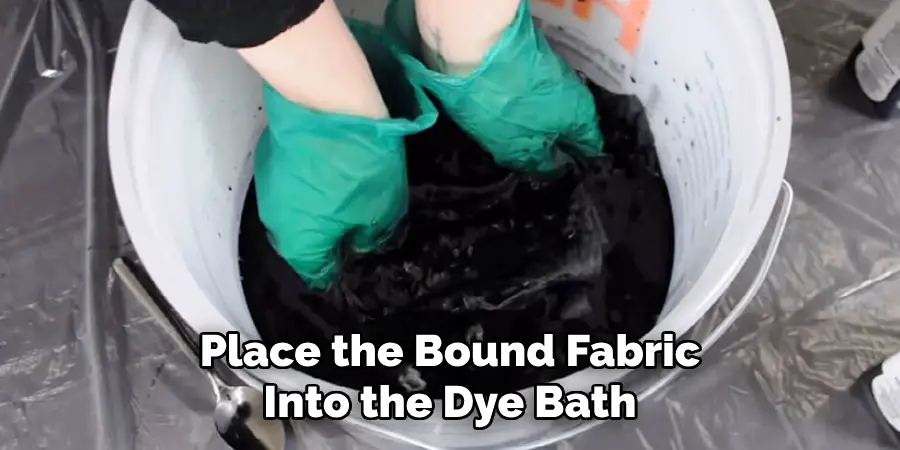
You can test the color by removing a small section of fabric and rinsing it in water. Once you are happy with the color, remove the fabric from the dye bath. The color will appear lighter once the fabric is dry. The bound fabric can also be placed in a plastic bag to preserve moisture and allow the dye to fully penetrate the fabric.
Step 6: Rinse the Fabric
After removing the fabric from the dye bath, rinse it in cold water until the water runs clear. This will remove any excess dye and prevent it from bleeding onto other areas of the fabric. However, be careful not to remove too much dye, or your design may become faded. It’s best to rinse slowly and carefully.
But if your fabric becomes too light, you can always re-dye it. You can also add fabric softener to the rinse water to help soften the fabric and make it less stiff. The fabric will become softer with each wash. It’s important to wear gloves during this step to avoid staining your hands.
Step 7: Unbind the Fabric
Once the fabric is rinsed, remove all bindings carefully. If you used rubber bands, be sure to cut them off instead of pulling them off to avoid distorting the design. Once unbound, you can see the final result of your Shibori tie-dye. If you are not satisfied with the outcome, you can always re-bind and re-dye the fabric.
There are no limits to how many times you can dye the fabric, but each time will produce a slightly different result. You can also try mixing different dye colors to create unique designs. It’s all about experimentation and finding what works best for you.
Step 8: Rinse Again

After unbinding the fabric, rinse it once again in cold water to remove any remaining dye. Continue rinsing until the water runs clear or you are happy with the color intensity. The more you rinse, the lighter the fabric will become. But be careful not to oversaturate the fabric, or it may become faded.
You can also add fabric softener to this rinse water as well. The fabric can also be washed with a mild detergent to remove any residual dye or chemicals. It’s best to air dry the fabric instead of using a dryer, as heat can cause shrinkage and alter the final design.
Step 9: Dry the Fabric
Once you are satisfied with the color, it’s time to dry the fabric. You can either hang it outside or use a dryer. However, if using a dryer, be sure to use a low heat setting to avoid any potential shrinking or color changes. It’s best to air dry the fabric instead, as this method is gentler and more eco-friendly.
Once the fabric is completely dry, it’s ready for use! But be sure to wash it separately from other clothing in case of any remaining dye. The more you wash the fabric, the softer and more comfortable it will become to wear.
Step 10: Experiment and Have Fun!
Now that you have mastered the Shibori tie-dye technique don’t be afraid to experiment with different folding techniques, binding methods, and dye colors. Each time you try something new, you will create a unique and one-of-a-kind piece of clothing or fabric.
You can also use this technique on various types of fabric, such as cotton, silk, or linen. Have fun and let your creativity run wild! The possibilities are endless with Shibori tie-dye. So grab your materials and start creating beautiful and personalized designs today.
Following these steps on how to do shibori tie dye will ensure that you achieve the perfect Shibori tie dye every time. Remember to be patient and have fun with the process. With practice, you can become a Shibori expert and create stunning designs that will wow everyone around you. So gather your friends and family, host a Shibori tie-dye party, and let everyone unleash their inner artist.
Tips and Best Practices for Successful Shibori Tie-Dye
- Use High-quality Fabric That is Pre-washed to Remove Any Sizing or Chemicals.
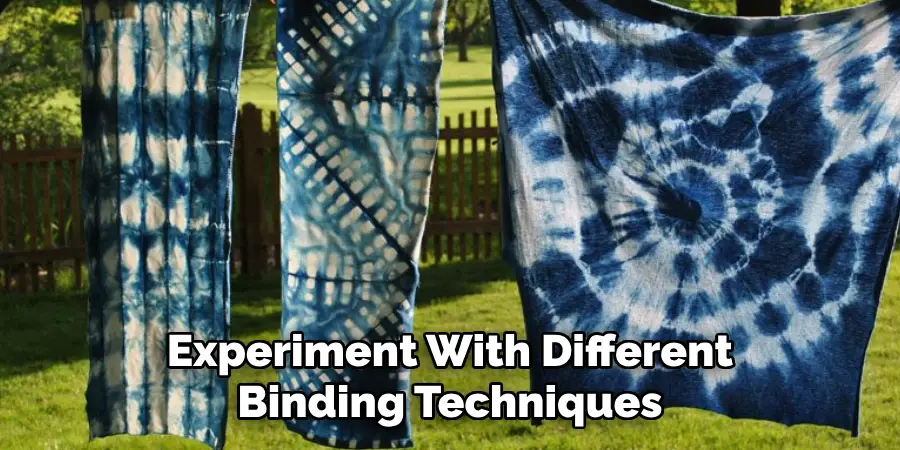
- Experiment With Different Binding Techniques, Such as Using Marbles, Coins, or Rubber Bands in Various Patterns.
- Be Mindful of Color Combinations and How They Will Interact on the Fabric. Mixing Complementary Colors Can Create Stunning Results.
- Don’t Be Afraid to Re-dye or Over-dye the Fabric if You Are Not Satisfied With the Initial Result.
- Use Proper Protective Gear, Such as Gloves and Aprons, to Avoid Staining Your Skin and Clothing.
- Have Fun and Let Your Creativity Flow! The Beauty of Shibori Tie-dye is in Its Unique and Unpredictable Designs. Embrace Imperfections and Enjoy the Process.
- Consider Using Natural Dyes, Such as Indigo, Turmeric, or Beet Juice, for a More Eco-friendly and Sustainable Approach.
- Share Your Creations With Others and Inspire Them to Try Shibori Tie-dye Themselves.
Common Mistakes to Avoid in Shibori Tie-Dye
Not Preparing the Fabric Properly:
Skipping the pre-washing step can result in inconsistent dye absorption and poor color results. Be sure to use high-quality, 100% natural fabric that has been washed and dried before starting the Shibori process.
Using Poor Quality Dyes:
Low-quality dyes can produce dull or faded colors and may even bleed onto other areas of the fabric. Always opt for high-quality, fiber-reactive dyes specifically designed for Shibori tie-dye.
Not Securing Bindings Properly:
Failing to secure bindings tightly can cause the dye to seep underneath and create blurry or smudged designs. Make sure to double-check all bindings before placing the fabric in the dye bath.
Over-saturating or Under-rinsing the Fabric:
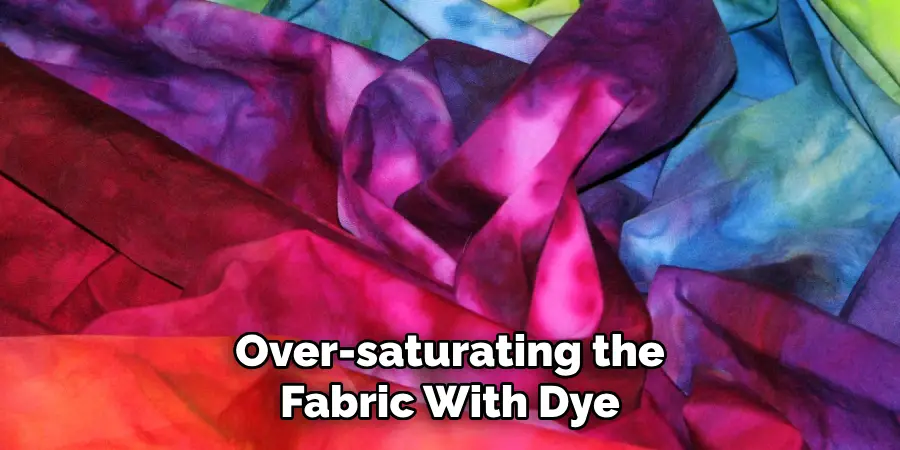
Over-saturating the fabric with dye can result in a darker and less defined design while under-rinsing can cause color bleeding and fading. Be mindful of the amount of dye used and thoroughly rinse until the water runs clear.
Rushing Through the Process:
Shibori tie-dye is a slow and patience-testing process. Rushing through the steps can lead to unsatisfactory results. Take your time, and enjoy the journey of creating something unique and beautiful.
Showcasing Your Shibori Creations
There are so many ways to showcase your Shibori creations and incorporate them into your wardrobe or home decor. Here are a few ideas to get you started:
Clothing and Accessories:
- Tie-dye t-shirts, tank tops, dresses, skirts, scarves, socks, and bandanas.
- Revamp old denim jackets or jeans with Shibori tie-dye patterns.
- Create one-of-a-kind bags or totes using Shibori fabric or tie-dye techniques.
Home Decor:
- Make Shibori throw pillows, blankets, tablecloths, and curtains to add a pop of color and texture to any room.
- Incorporate Shibori fabric into sewing projects, such as pillowcases, napkins, or even upholstering furniture.
- Display Shibori wall hangings or framed fabric pieces as unique and eye-catching art.
The possibilities are endless with Shibori tie-dye, so let your imagination run wild and have fun! Lastly, don’t forget to share your creations with others to inspire them and spread the beauty of Shibori tie-dye. Happy dyeing!
Frequently Asked Questions
Q1: Can I Use Natural Dyes for Shibori Tie-dye?
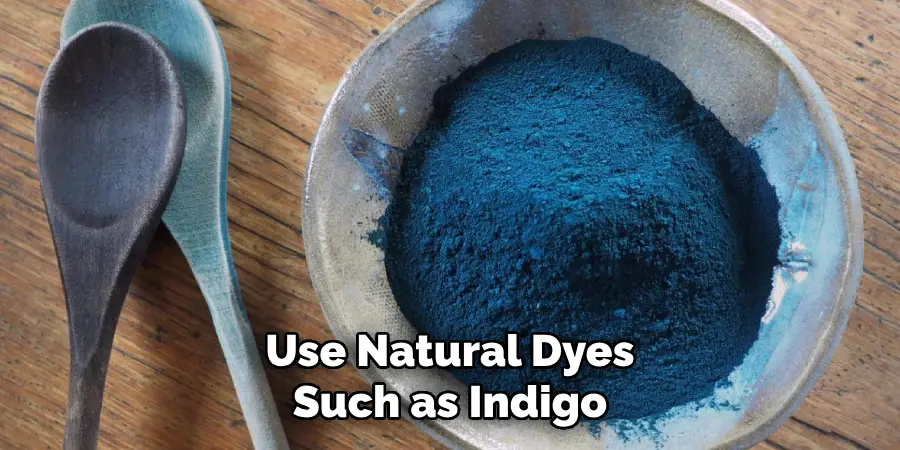
A: Yes, you can use natural dyes such as indigo, turmeric, or beetroot to create unique and eco-friendly Shibori designs. The process is similar to using traditional dyes, but the color may not be as intense. Experiment and see what works best for you.
Q2: How Do I Prevent Colors from Bleeding?
A: Pre-washing the fabric and using a fixative or mordant before dyeing can help prevent colors from bleeding. It’s also essential to rinse the fabric thoroughly after dyeing to remove any excess dye.
Q3: Can I Use Shibori Tie-dye on Dark Fabrics?
A: Yes, but the results may not be as vibrant as on lighter fabrics. You can also use a discharge agent to lighten dark fabrics before dyeing them with Shibori techniques. It’s best to experiment first on a small piece of fabric before attempting the full design.
Q4: How Do I Fix Mistakes?
A: If you make a mistake in your design or are unhappy with the outcome, you can re-bind and re-dye the fabric. Alternatively, you can try using a bleach pen to remove or lighten specific areas of the design.
Conclusion
Shibori tie-dye is more than just a method of coloring fabric; it’s a historical art that carries with it centuries of cultural significance and personal expression. While the process may seem complex at first, with patience and practice, anyone can create stunning and personal works of art.
Remember, the beauty of Shibori lies in the unexpected patterns and the joy of unwrapping your creation to reveal the magic within. Let the traditions of the past inspire your creativity today, and keep experimenting with different techniques to make each piece distinctly your own. Thanks for reading this article on how to do shibori tie dye.

