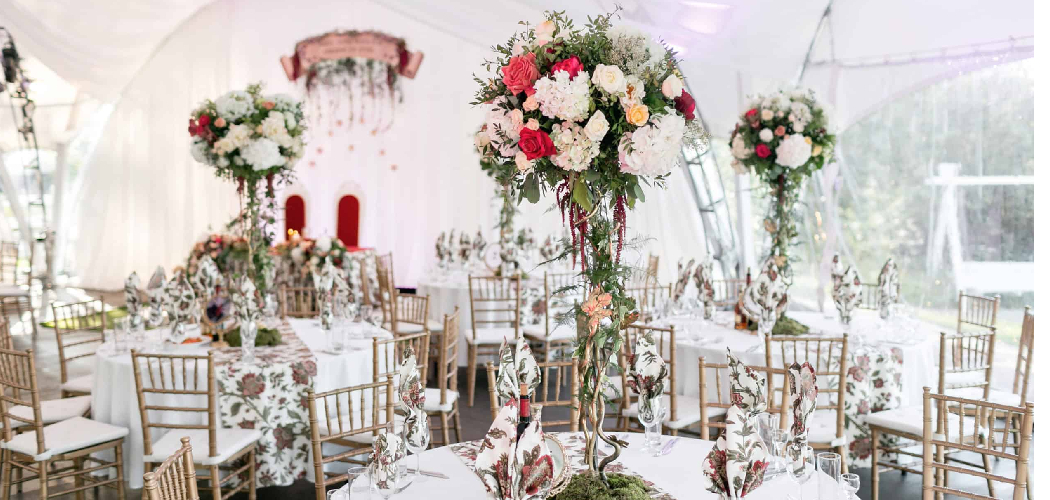
Don’t let the stress of wedding preparations keep you from achieving your dream event; with simple tips and expert advice, you can easily create beautiful floral arrangements for your big day. From selecting the perfect blooms to arranging vibrant bouquets, we’ll show you how to DIY your wedding flowers on a budget without sacrificing style or quality.
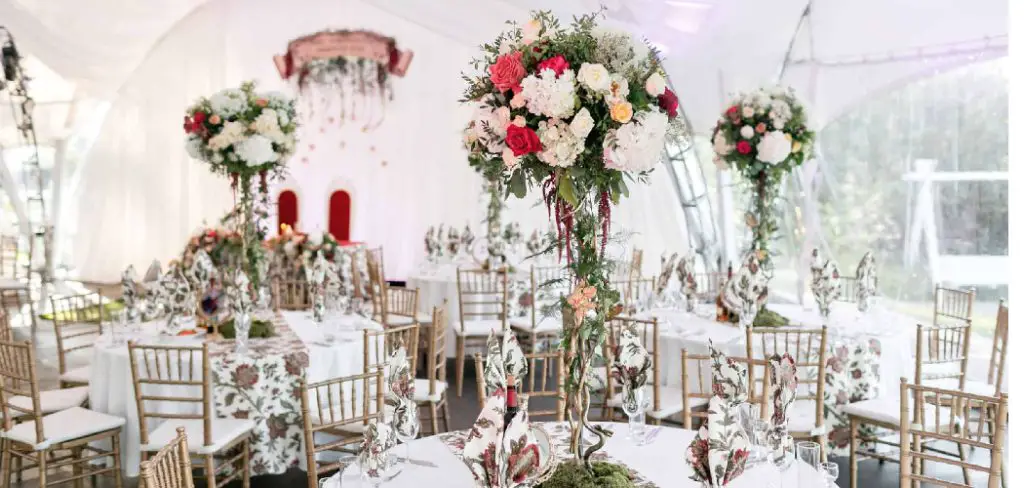
Whether you’re an experienced florist looking for inspiration or a novice who needs guidance, this guide will give you everything you need to know about how to diy wedding flowers.
In this blog post, we will cover everything from the basics of flower selection to advice on arranging and preserving your masterpieces. We’ll also discuss how to plan a budget-friendly floral design, the tools you need for success, and creative ideas for personalizing your arrangements.
What Will You Need?
Before starting your floral creations, ensure you have the right tools and supplies. These are given below:
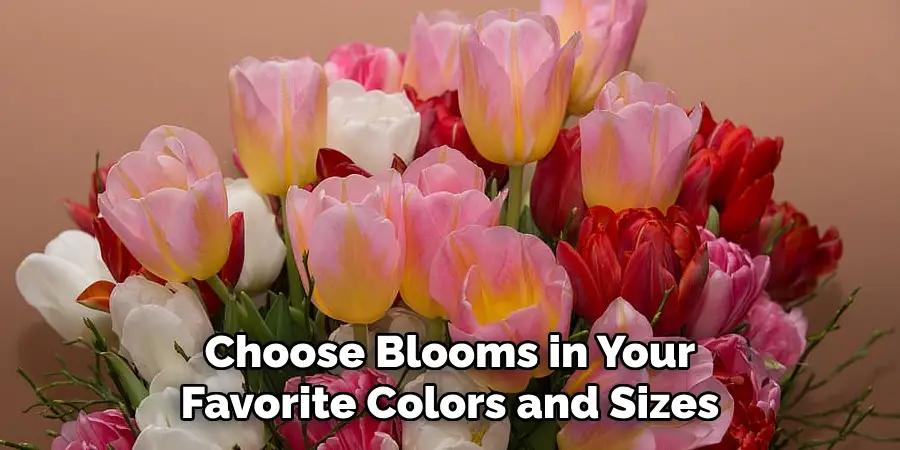
- Fresh Flowers: Choose blooms in your favorite colors and sizes
- Floral Foam: To keep stems in place and preserve arrangements
- Scissors or Shears: For trimming stems and foliage
- Ribbon, Twine, or Burlap: For adding texture to bouquets
- Floral Tape: Helps secure delicate blooms and stems
- Floral Wire: Used to affix blooms and make corsages and boutonnieres
- Vases: An array of vases in varying sizes will allow you to create centerpieces of all shapes and sizes
- Floral Preservative: To keep your creations looking fresh for days
- Containers: such as baskets or boxes: For creating unique centerpieces
- Floral Adhesive: Used to attach blooms and foliage
Once you’ve gathered your supplies, it’s time to create your wedding flower arrangements!
8 Easy Steps on How to Diy Wedding Flowers
Step 1. Choosing the Perfect Bloom
When picking out the perfect flowers for your DIY wedding arrangements, there are several factors to consider. From bloom size and shape to color and cost, you’ll want to find blooms that match your style and fit within your budget. To help you decide, here’s a quick guide to the most popular wedding flower varieties:
- Roses: These romantic blooms come in an array of sizes and colors
- Orchids: Long-lasting and elegant, orchids bring beauty to any arrangement
- Peonies: Plush petals and a sweet scent make peonies one of the most popular wedding flowers
- Tulips: These brightly colored blooms are perfect for adding a touch of spring to any arrangement
- Lilies: Exotic and bold, lilies are an eye-catching addition to any design
Step 2. Arranging Your Flowers
Now that you’ve chosen your wedding flowers, it’s time to assemble them! The key to creating beautiful arrangements is balance. Start by placing the largest blooms (such as roses or peonies) in the center, and then build outward with smaller pieces. Remember to add texture and depth by incorporating greenery into your design.
Step 3. Securing Your Arrangements
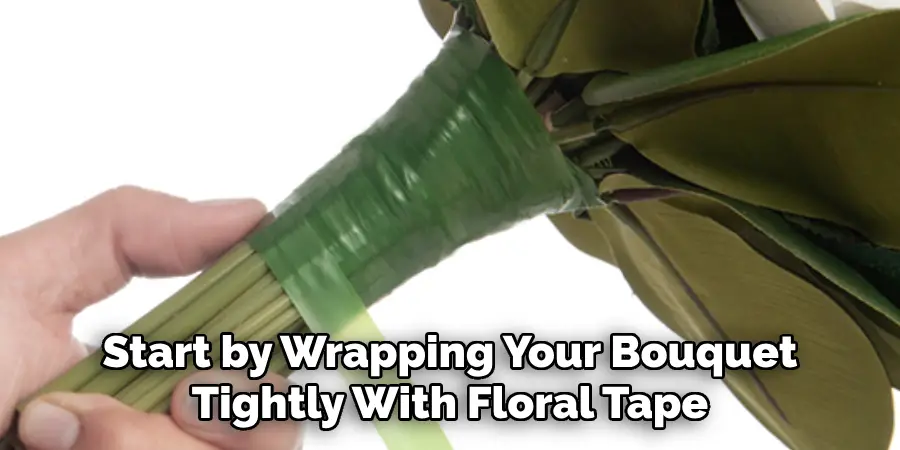
After you’ve arranged your flowers to your liking, it’s time to secure them in place. Start by wrapping your bouquet tightly with floral tape, starting at the top and working your way towards the bottom. Remember, the tape should be tight to ensure stability but not so tight that it damages the stems.
Step 4. Adding the Finishing Touches
With the core of your arrangement secured, you’re now ready to add the finishing touches. This is the time to let your creativity shine. Consider adding ribbon, lace, or twine around the handle of your bouquet or incorporating additional decorative elements that match your wedding theme.
If you’ve chosen to use containers for your arrangements, consider adding decorative stones, moss, or fairy lights to enhance their look. When you’re happy with your creation, give it a final mist with floral preservative to keep it looking fresh and vibrant.
Step 5. Preserving Your Creations
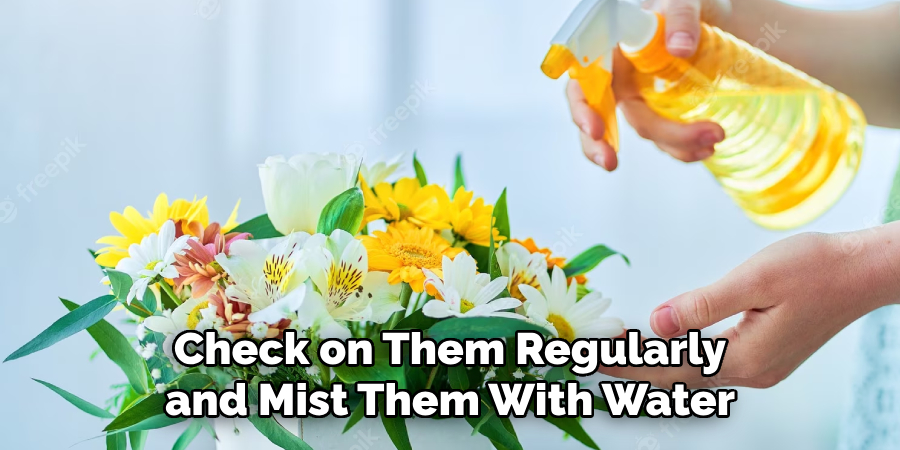
Even if your bouquet or arrangements look perfect, you’ll want to ensure they stay that way until the ceremony. To do this, store your arrangements in a cool, dark place away from direct sunlight and wind. Check on them regularly and mist them with water to keep them hydrated.
If you notice any wilting or browning, remove the affected blooms and replace them with fresh ones. On the wedding day, give your arrangements one last mist with floral preservatives; they’re ready to go! With these tips, you can keep your DIY wedding flowers fresh and beautiful throughout your special day.
Step 6. Transporting Your Arrangements
Transporting your floral creations can be tricky, but with the right precautions, you can ensure they arrive at the wedding venue in perfect condition. Start by placing each arrangement in a sturdy, waterproof container. Next, fill in any gaps with tissue paper or bubble wrap to prevent the flowers from moving around during transit.
If you’re transporting bouquets, consider using a bouquet holder with a built-in water reservoir to keep the stems hydrated. Finally, make sure the containers are secure in your vehicle and won’t tip over during the journey. It’s also a good idea to bring a few extra stems and your floral toolkit, just in case any last-minute repairs are needed.
Step 7. Setting up the Venue
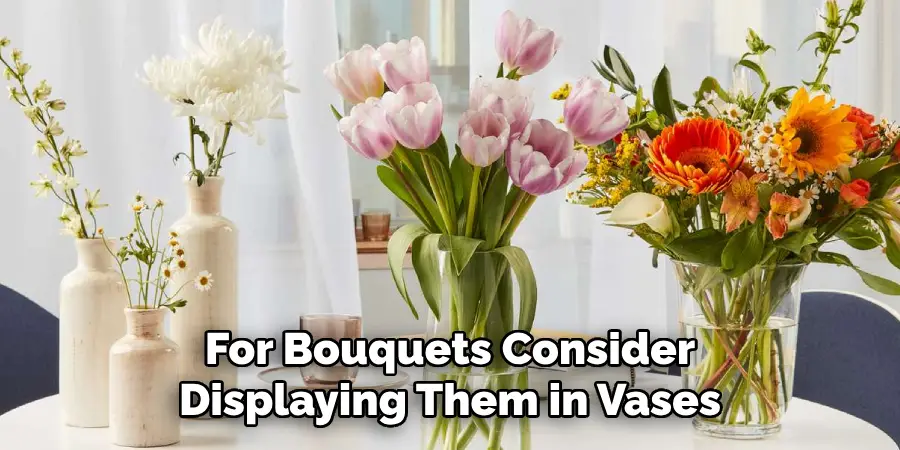
Once you’ve safely transported the arrangements to your wedding venue, it’s time to set them up. If you’re using centerpieces, ensure they’re placed on sturdy surfaces and won’t be knocked over easily. For bouquets, consider displaying them in vases until it’s time for the ceremony.
Boutonnieres and corsages should be kept in a cool place, away from direct sunlight. Lastly, ensure that all the arrangements compliment your venue’s overall décor and theme. Make small adjustments to the placements for the best visual appeal if necessary.
Step 8. Enjoying Your DIY Wedding Flowers
Finally, it’s time to sit back and enjoy your handcrafted floral arrangements! It’s important to remember that the beauty of DIY wedding flowers is in their uniqueness and personal touch.
So, even if they aren’t exactly what you might see in a professional florist’s window, they’re perfect in their special way because they’re a true reflection of you and your love story. Remember to take a moment to appreciate your hard work and creativity on your wedding day. After all, these DIY arrangements add a meaningful, personal touch to your special day.
By following these easy steps, you can create beautiful and affordable floral arrangements for your wedding day. From choosing the perfect blooms to transporting them safely, these tips will help ensure your DIY wedding flowers look stunning and last throughout the ceremony.
5 Additional Tips and Tricks
- Consider using a combination of fresh and faux flowers for your centerpieces to save money. Mixing some silk flowers, greenery, or other decorative items with real blooms can help you stretch your budget further.
- Try to pick up your flowers the day before you need them so you have time to process and arrange them without stressing out on the day of.
- Make sure to give yourself plenty of time to assemble your arrangements – it’s a good idea to start working on them at least two days before the wedding. That way, you’ll have time to adjust or fix anything that needs to be more relaxed without getting too stressed out.
- Remember greenery! Adding fresh greenery to your arrangements can help them look fuller and more cohesive.
- If you’re overwhelmed or need help figuring out where to start, try breaking the project into manageable tasks. Start by researching different flowers and colors that will work for your wedding theme, then move on to gathering supplies like vases and ribbons, and finally, focus on the actual assembly of your creations.
With these tips, you can create stunning floral arrangements that look like a million bucks – without spending nearly that much.
5 Things You Should Avoid
- Don’t choose flowers that you have no experience with. Stick to the blooms and colors you know how to work with best so they’ll look their best on your wedding day.
- Avoid buying flowers too far in advance or too close to your wedding date – this can cause them to wilt or not last as long as you’d like.
- Don’t go overboard with the décor – less is usually more, so try to keep things simple and elegant.
- Try not to be too rigid with your vision – be open to experimenting and making mistakes as you assemble your arrangements.
- Refrain from over-watering the flowers – this can cause them to wilt and die faster.
Following these simple guidelines, you can create beautiful wedding flower arrangements that truly capture the spirit of your special day.
Conclusion
In summary, how to diy wedding flowers can be an enriching experience if you plan carefully and dedicate the necessary time and effort. Investing in high-quality materials will pay off by ensuring that each flower displays its true beauty for your big day.
Start with a few arrangements or bouquets as you become acquainted with the art of wedding flower design and practice making them look perfect. Remember to browse through your local stores and craft shops for unique containers or floral filler that fits your theme. Finally, don’t forget to double check your supplies, diagrams, plan, and time frame before officially taking on this activity!
Give yourself plenty of time to create each flower arrangement for your special day so that they look beautiful and have the mystical effect of calming any pre-wedding jitters you might have. So go armed with this guide and get creative with those wedding blooms!

