Are you an orchid enthusiast wondering how to display these exotic beauties in your outdoor garden? Knowing where and how to place them can be tricky with so many varieties of orchids and lots of variations to consider. The good news is that it’s possible—even accessible with the proper knowledge!

Whether you’re a total beginner or a seasoned green thumb, this blog has something for you. Today, we’ll cover everything from selecting the perfect plants for outdoor growing to soil preparation to finding creative ways to position your flowers outdoors. So keep reading if you want some great advice on how to display orchids outdoors, creating a beautiful landscape with those cherished blooms cascading all around.
Necessary Items
Before we dive into the specifics, let’s make sure you have everything you need to get started. In terms of necessary items, you will need:
- Healthy orchids: This may seem obvious, but it’s crucial to start with healthy plants. Look for solid roots and plump green leaves.
- The right type of potting mix: Orchids are air plants, so they require a special kind of soil that is well-draining yet retains moisture.
- Appropriate containers: Orchids come in all shapes and sizes, so make sure you have enough pots or containers to accommodate them.
- Adequate sunlight: Though most orchids prefer bright, indirect light, it’s essential to research your particular type of orchid and how much sunlight it requires.
- Fertilizer: Regular fertilizing is necessary for healthy growth, but be cautious not to overdo it.
- Stakes or support: Orchids can be top-heavy, so having stakes or supports is necessary to keep them upright.
10 Steps on How to Display Orchids Outdoors
Step 1: Finding the Perfect Spot
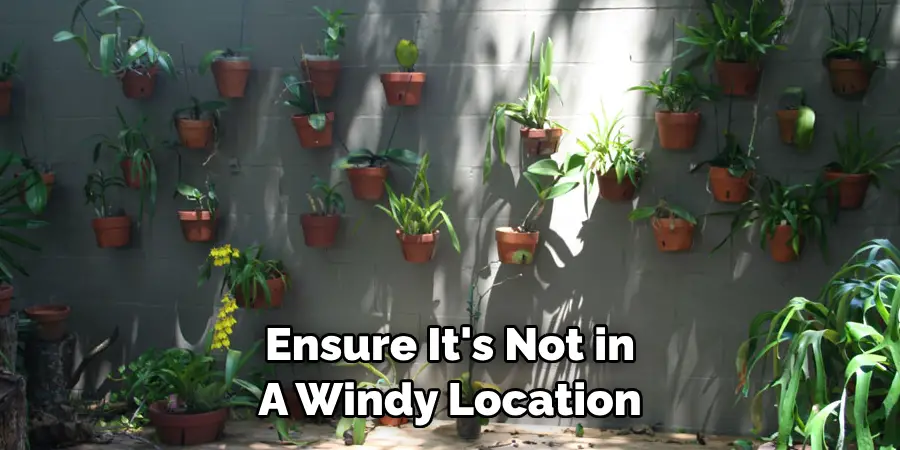
First things first, make sure the spot you choose for your outdoor display meets all the requirements of your plants. Determine how much sunlight and shade the area receives, and ensure it’s not in a windy location. A covered porch or patio is a great option.

Step 2: Preparing the Soil
As mentioned earlier, orchids require a specific type of soil that provides proper drainage and moisture. You can purchase a commercial mix designed for orchids or make your own by mixing bark, sphagnum moss, and other organic materials.
Step 3: Selecting Your Orchids
When it comes to selecting the perfect orchids for your outdoor space, there are a few things to keep in mind. First, choose varieties that thrive in your climate and have similar light requirements. You can also mix different types of orchids for a more diverse display.

Step 4: Potting Your Orchids
Once you have selected your plants, it’s time to pot them. Make sure the pots or containers have proper drainage holes, and fill them with your chosen potting mix. Gently place your orchids in the soil, making sure not to pack them too tightly around the roots.
Step 5: Watering Your Orchids
Watering can be a bit tricky with orchids, as they require consistent moisture but should not be overwatered. The general rule is to water once a week or when the top inch of soil feels dry. Make sure to water the entire potting mix and not just around the plant’s base.
Step 6: Providing Adequate Sunlight
Most orchids prefer bright, indirect light, but it’s essential to research your specific variety. Some may require more or less sunlight, so make sure to place them in an appropriate location. You can also use a sheer curtain or shade cloth to filter the light if needed.
Step 7: Fertilizing Your Orchids
Fertilizer is necessary for healthy growth, but it’s crucial to do just what is necessary. Use a balanced fertilizer at half strength every two weeks during the growing season. Also, make sure to flush out the excess fertilizer every month or so.
Step 8: Staking Your Orchids
As mentioned earlier, orchids can be top-heavy, especially when they have large blooms. To prevent them from toppling over and damaging their delicate stems, use stakes or supports to keep them upright.
Step 9: Getting Creative with Outdoor Display
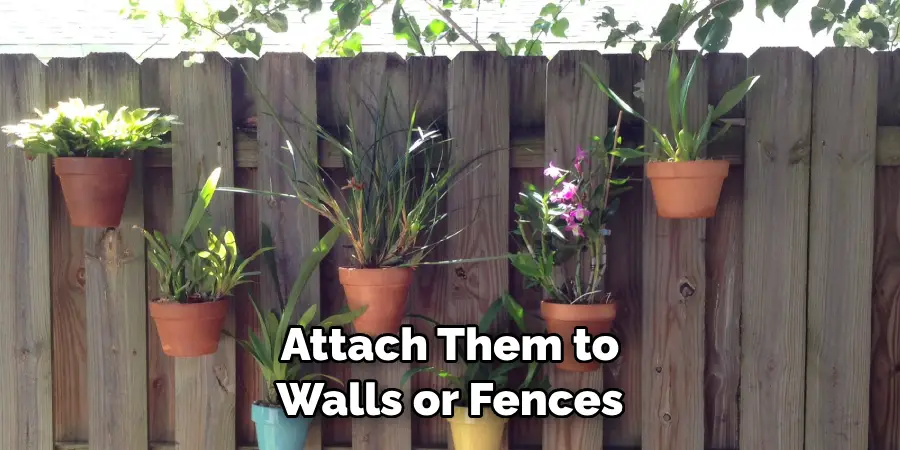
One of the best things about displaying orchids outdoors is getting creative with their placement. You can hang them from trees, attach them to walls or fences, or even use a trellis for climbing varieties. Feel free to experiment and find unique ways to showcase your plants.

Step 10: Maintaining Your Orchids
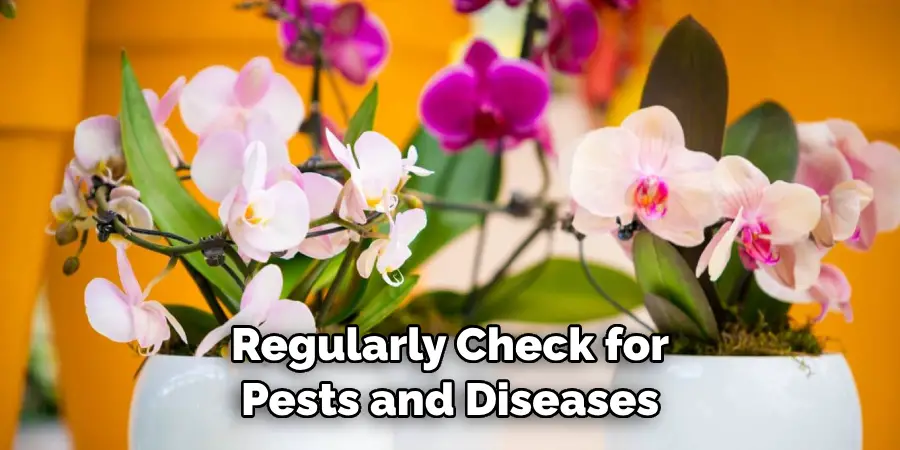
Once your orchids are all set up and looking stunning in your outdoor space, it’s important to maintain them properly. This includes regular watering, fertilizing, and checking for pests or diseases. With proper care, your orchids will thrive and continue to adorn your garden with their exotic beauty.
Displaying orchids outdoors may seem daunting at first, but with these ten simple steps, you can create a vibrant and beautiful display in your garden. Remember to choose healthy plants, provide proper soil and sunlight, and get creative with their placement. With the right care, your orchids will continue to thrive and bring joy for years to come.
8 Things to Avoid When Displaying Orchids Outdoors
While there are many tips and tricks to successfully display orchids outdoors, knowing what not to do is also essential. Here are eight things to avoid when displaying your beloved blooms in your outdoor space:
1. Overwatering
As mentioned earlier, overwatering can be detrimental to the health of your orchids. Make sure to follow a regular watering schedule and only water when the top inch of soil feels dry.
2. Overexposure to Sunlight
While most orchids prefer bright, indirect light, too much sunlight can cause their leaves to burn or their blooms to wilt. Make sure to research your specific variety’s light requirements and provide adequate shade if needed.
3. Using Poor Quality Soil
Orchids require a special type of soil that provides good drainage and retains moisture. Using good-quality soil can result in root rot and other issues. Make sure to use a high-quality potting mix designed for orchids.
4. Neglecting Fertilizing
Fertilizing is essential for the healthy growth of your orchids, so doing so can result in stunted growth or poor blooming. Make sure to use a balanced fertilizer at half strength every two weeks during the growing season.
5. Not Providing Adequate Support
Orchids can be top-heavy, especially when they have large blooms. Neglecting to provide proper support with stakes or supports can result in their delicate stems breaking or the plant toppling over.
6. Using Harsh Chemicals
Avoid using harsh chemicals or pesticides on your orchids, as they can be sensitive to these substances. If pest control is necessary, opt for natural and organic methods instead.
7. Placing Orchids in High-Traffic Areas
Orchids are delicate plants and can be easily damaged if placed in high-traffic areas. Make sure to choose a location for your outdoor display that is not frequently walked through or bumped into.
8. Forgetting About Maintenance
Proper maintenance is crucial for the health and longevity of your orchids. Remember to regularly check for pests, diseases, and signs of overwatering or under-fertilizing. Periodically check your orchids for signs of pests or diseases and address them immediately. Ignoring these issues can cause significant damage to your plants and spread to other nearby plants.

With proper care, your orchids will continue to thrive and bring beauty to your outdoor space. Overall, keep these things in mind when displaying orchids outdoors, and you’ll have a beautiful and healthy display that will impress any garden enthusiast.
Frequently Asked Questions
Can I Display Orchids Outdoors Year-round?
It depends on your climate and the type of orchid you have. Some orchids can tolerate mild winters, while others may need to be brought indoors during colder months. Research your specific variety’s temperature requirements before leaving them outside year-round.
How Often Should I Fertilize My Orchids?
It’s best to fertilize every two weeks at half-strength during the growing season. During the dormant season, you can reduce the frequency of fertilizing or stop altogether.
How Do I Know if My Orchid is Getting Enough Light?
If your orchid’s leaves are dark green and flat, it may be getting too much light. If the leaves are pale or yellow, it may need more light. Adjust the amount of sunlight accordingly based on your specific variety’s needs.
Can I Display Different Types of Orchids Together?
Yes, you can display different types of orchids together as long as they have similar light and moisture requirements. Make sure to research each variety’s needs before grouping them.
Can I Repot My Orchid Before Displaying It Outdoors?
It’s best to repot your orchid in fresh soil a few weeks before displaying it outdoors. This will give the plant time to adjust and reestablish its root system before being exposed to outdoor conditions. Overall, with proper care and attention, displaying orchids outdoors can be a rewarding and enjoyable experience. Remember to do your research, provide the necessary support and maintenance, and get creative with their display. Your beautiful blooms will surely be the envy of any garden!
Conclusion
Now that you know how to display orchids outdoors and what to avoid, it’s time to put these tips into practice. With the proper knowledge and care, your outdoor space will be transformed into a stunning oasis filled with colorful and exotic orchids.
So go ahead and start planning your outdoor orchid display today! Remember to continue learning and researching about orchids, as there is always more to discover and improve upon. With time and experience, you will become an expert in displaying orchids outdoors and have a flourishing and beautiful garden to show.

