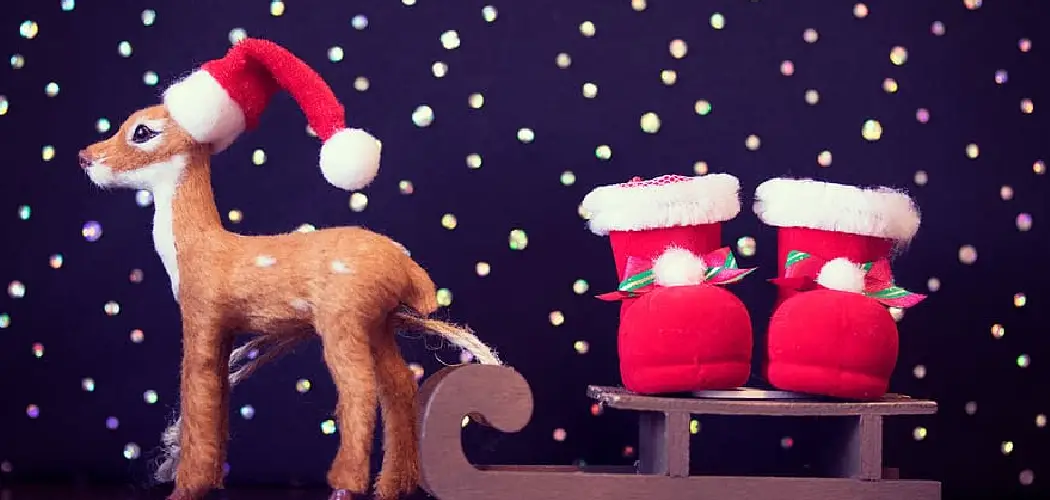
The holiday season is upon us once again. While visions of sugarplums may dance in our heads, visions of Santa boots are also starting to take shape as we prepare for Christmas festivities. Decorating Santa boots is a fun tradition that can really get you and your family into the spirit of the season. Whether you have little elves at home excited for Christmas morning or you simply want to spread more holiday cheer throughout your neighborhood, personalized Santa boots can be a great way to do it.
In this blog post on how to decorate santa boots, we’ll explore various ideas and techniques for decorating Santa boots so you can get creative and add your own special touches to this classic symbol of Christmas. Let’s dive in and get started on some jolly boot decorating!
Why Decorate Santa Boots?
First things first, you may be wondering why we even decorate Santa boots in the first place. Well, traditionally, it is believed that on Christmas Eve, Santa comes down the chimney and leaves presents for all the good boys and girls in stockings hung by the fireplace. The iconic image of Santa’s big red boots peeking out from under the fireplace has become a symbol of Christmas, and decorating these boots has become a way to add even more joy and festivity to the holiday season.
Decorating Santa boots can also be a fun activity for families or friends to do together. It allows you to get creative, bond over shared memories and traditions, and create something special that you can display year after year.
Materials Needed
Before we jump into the decorating ideas, let’s first gather all the necessary materials. You’ll need:
- A Pair of Plain Santa Boots (Can Be Found at Craft Stores Or Online)
- Acrylic Paint or Fabric Paint
- Glitter, Sequins, Beads, and Other Embellishments
- Hot Glue Gun
- Ribbon or Holiday-Fabric
Now that we have all our materials ready, let’s get to decorating!
9 Easy Step-by-step Guidelines on How to Decorate Santa Boots
Step 1: Choose Your Theme
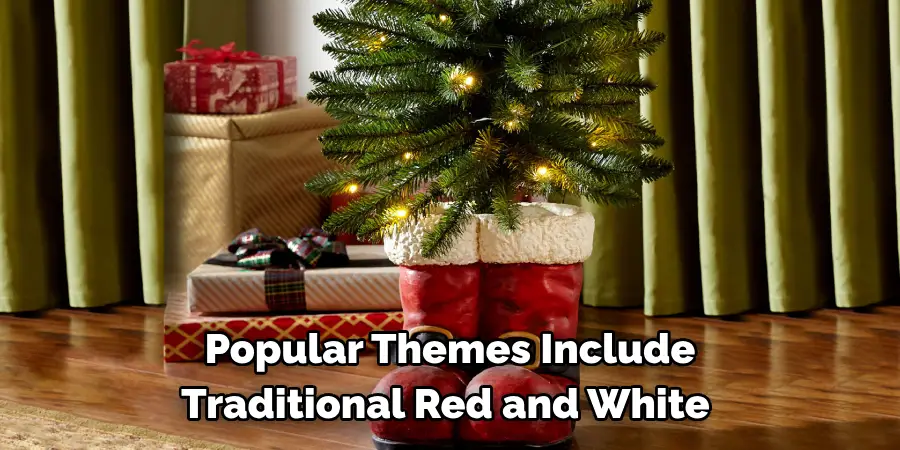
The first step in decorating Santa boots is to choose a theme. This will help guide your creative process and give your boots a cohesive look. Some popular themes include traditional red and white with holly berries, classic plaid patterns, winter wonderland with snowflakes and icicles, or even a whimsical elf-inspired design. Let your imagination run wild and choose a theme that speaks to you.
Step 2: Prepare Your Boots
If you’re using new boots, make sure to clean them before starting. If you’re using old boots, give them a good wipe down and let them dry completely. This will ensure that your paint and decorations stick properly. You can also use a primer to help the paint adhere better. It’s best to work on one boot at a time, so you can easily reference the other boot for symmetry if needed. You can also stuff the boots with paper or fabric to help them keep their shape and make it easier to work on.
Step 3: Paint the Boots
Using acrylic or fabric paint, start painting your chosen design onto the boots. You can use a paintbrush or sponge for larger areas and finer brushes for details. If you’re going for a more rustic look, you can also distress the boots with sandpaper after painting them. However, be sure to let each layer of paint dry completely before adding any additional layers. It’s also a good idea to seal the paint with a clear varnish once you’re satisfied with the design.
Step 4: Add Glitter and Embellishments
Once your base coat of paint is dry, it’s time to add some sparkle! Use hot glue or fabric glue to attach glitter, sequins, beads, or other embellishments to your boots. You can create a border along the top of the boot, add snowflakes or holly berries, or even spell out “Merry Christmas” in sequins. The possibilities are endless! Just be sure not to overdo it and keep in mind the overall design of your boots.
Step 5: Create a Cuff
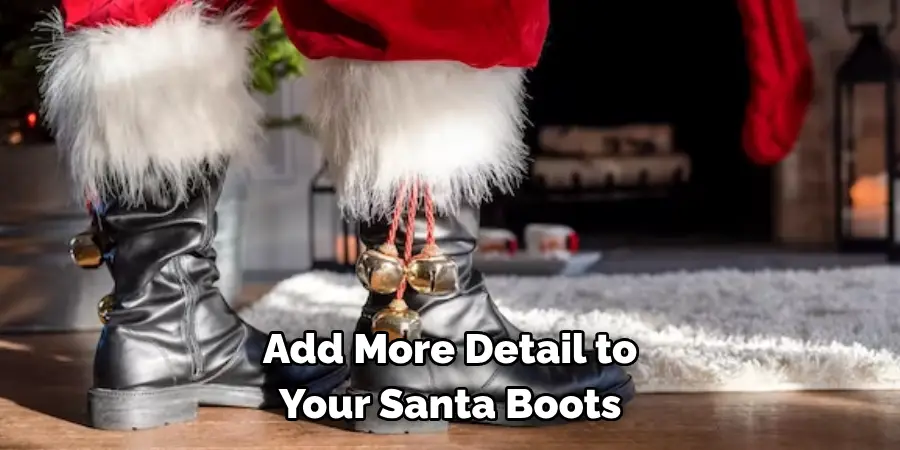
If you want to add more detail to your Santa boots, you can create a cuff using ribbon or holiday-themed fabric. Simply measure and cut a strip of fabric that will fit around the top of your boot. You can glue it to the inside of your boot, or use double-sided tape for a temporary option. This will add a nice finished touch to your boots and tie all the elements together.
Step 6: Add Personalized Details
To make your Santa boots even more special, consider adding personalized details such as monograms, names, or dates. You can use stencils or freehand with a fine-tip brush to add these details. This is a great way to make your boots truly unique and sentimental. It could also make for a special gift for a loved one. You can also add a special message or quote to the bottom of the boots for an extra touch.
Step 7: Let It Dry
After all the decorating, it’s important to let your boots dry completely before displaying them or wearing them. This will ensure that all the paint and decorations are set and won’t smudge or come off easily. If you’re in a hurry, you can use a hairdryer on low heat to speed up the drying process. But, it’s best to let them air dry for at least 24 hours.
Step 8: Display or Wear Your Boots
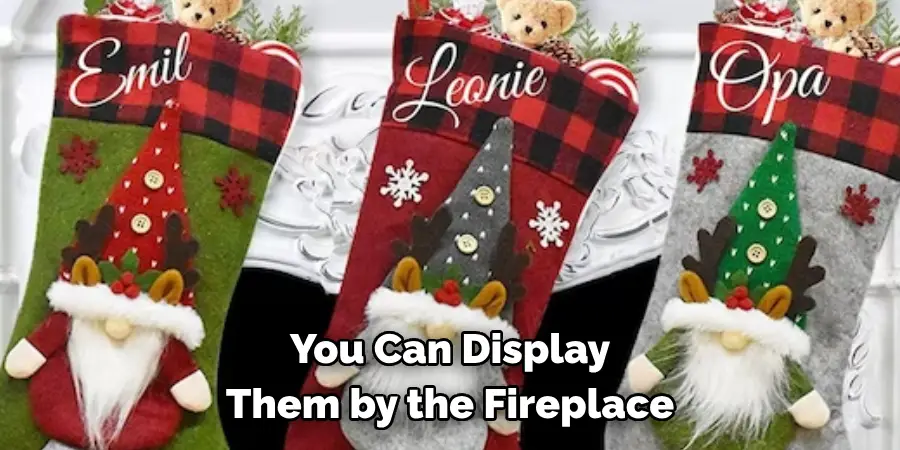
Once your boots are dry, you can display them by the fireplace, hang them on a door or wall, or even use them as a centerpiece on your holiday table. They can also make for a festive addition to any Christmas outfit. If you decide to wear them, we recommend spraying them with a clear varnish or hairspray to help the decorations stay in place.
Step 9: Enjoy!
The final step is to simply sit back and enjoy the fruits of your labor! Your decorated Santa boots will bring a sense of joy and whimsy to your home during the holiday season. They can also be a great conversation starter and a way to share your creative talents with others.
Now that you know how to decorate Santa boots, let your imagination run wild and create something truly magical this Christmas! Happy decorating!
Tips
- Don’t Be Afraid to Experiment With Different Materials and Techniques. You Can Use Glitter Glue, Fabric Markers, or Even Add a Touch of Faux Fur for a More Luxurious Look.
- If You’re Working on a Budget, You Can Also Decorate Old Boots That You Already Own. Give Them New Life by Repurposing Them Into Festive Santa Boots.
- Remember to Have Fun! This Is a Creative and Relaxing Activity, so Don’t Stress Too Much About Making Them Perfect. Embrace Imperfections and Enjoy the Process.
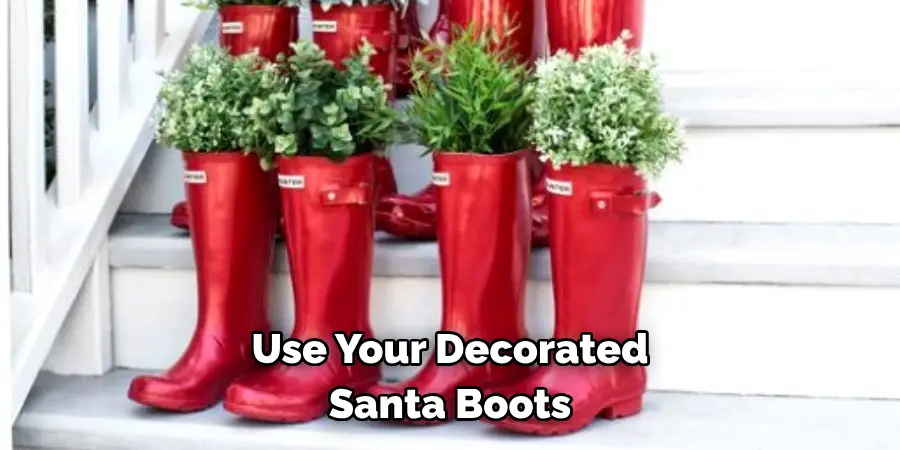
- You Can Also Use Your Decorated Santa Boots to Hold Small Gifts or Candy for a Unique Christmas Present.
With these easy step-by-step guidelines and tips, you’re now ready to decorate your own Santa boots and bring some festive cheer into your home. Get creative and have fun with it, and let your boots be a reflection of your unique style and personality. Happy decorating!
Frequently Asked Questions
Q1. Can I Use Other Types of Boots for This Project?
A: Yes, you can use any type of boot that you want to decorate. However, keep in mind that the material and shape of the boot may affect how well the paint and decorations adhere. it’s best to test a small area first before fully committing to the design.
Q2. Can I Decorate Boots That I Already Own?
A: Absolutely! If you have plain black or brown boots that you want to give a festive makeover, this is the perfect project for it. Just make sure to clean them beforehand and let them dry completely.
Q3. Can I Use Other Types of Paint?
A: While acrylic and fabric paints are the most commonly used for this project, you can also experiment with other types of paint such as spray paint or even chalk paint. Just be sure to test it on a small area first and keep in mind that some paints may not adhere well to certain materials.
Q4. How Long Will It Take to Decorate the Boots?
A: The time it takes to decorate your boots will vary depending on your chosen design and how elaborate you want to make it. However, as a general guideline, plan for at least a couple of hours to complete the project.
Conclusion
Overall on how to decorate santa boots, decorating Santa boots is a wonderful way to show off your creative flair and make something unique for the holiday season. So don’t be afraid to get creative and use different colors, shapes, and textures to bring your vision alive.
And don’t forget to enjoy the process – having some fun with it will make it even more memorable. So be sure to give these ideas a try, you may just find yourself with an amazingly decorated boot that will bring someone joy! And don’t forget to share pictures of your work in the comments below so we can see what you create! Have fun making festive Santa boots!

