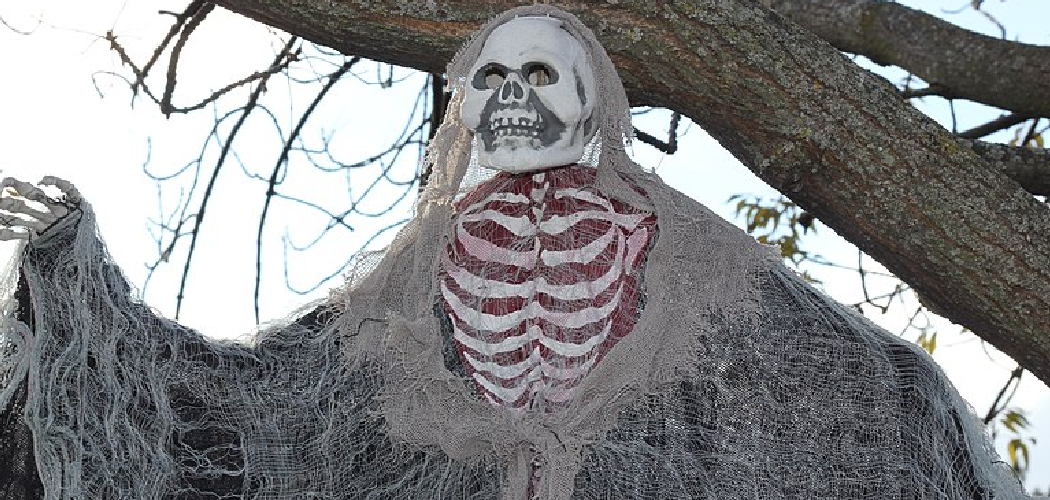
As the calendar draws near to October, the air grows crisp with anticipation for Halloween. Pumpkins begin lining front porches and sinister sounds emanate from horror movies on television. But for many families, Halloween is not complete without donning costumes and bringing some semblance of the macabre into their homes. While live bats swooping about would certainly be attention-grabbing, decorating a friendly plastic skeleton can add seasonal spookiness without the bite.
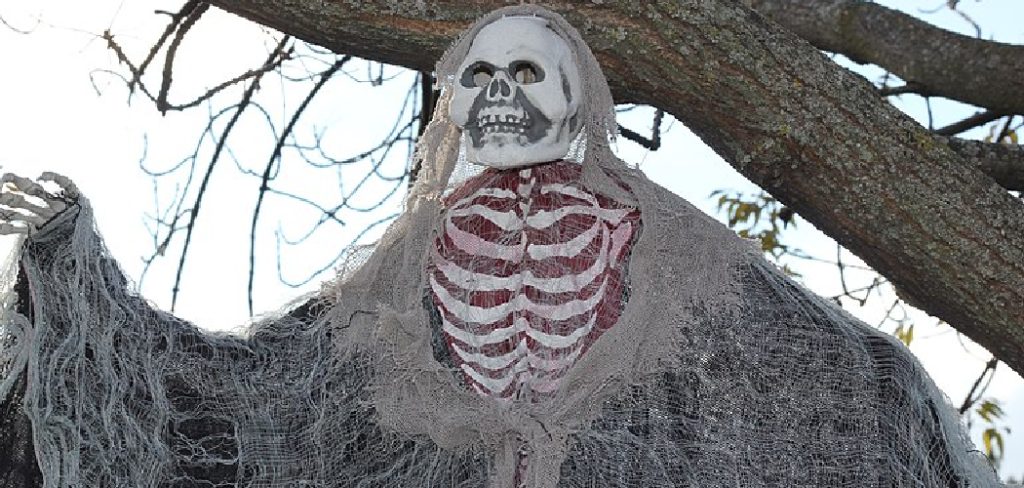
In this post on how to decorate a skeleton for halloween, I’ll share some fun and creative ways to gussy up your bony friend so he gets into the Halloween spirit too! From pirate patches to paper bats stuck in his ribs, your skeleton is sure to lend some humorous haunting to any Halloween home décor. Read on for spooktacular skeleton decorating tips and ideas!
Necessary Tools and Materials
Before diving into the decorating process, it’s important to gather all the necessary tools and materials. Here are some items you may need for decorating your skeleton:
- Plastic or Foam Skeleton
- Paint (Acrylic or Spray Paint)
- Glitter
- Feathers
- Fabric Scraps
- Hot Glue Gun and Glue Sticks
- Scissors
- Ribbons or Strings for Hanging Decorations
Now that you have your materials ready, it’s time to get creative with decorating your skeleton!
10 Simple Step-by-step Guidelines on How to Decorate a Skeleton for Halloween
Step 1: Paint Your Skeleton
The first step is to give your skeleton a new look with some paint. You can use acrylic or spray paint, whichever you prefer. Consider using glow-in-the-dark paint for added spookiness! Use a small brush to carefully paint details like facial features, bones and joints. You can also use a larger brush for broad strokes of color on the body. Let the paint dry completely before moving on to the next step.
Step 2: Add Some Glitter
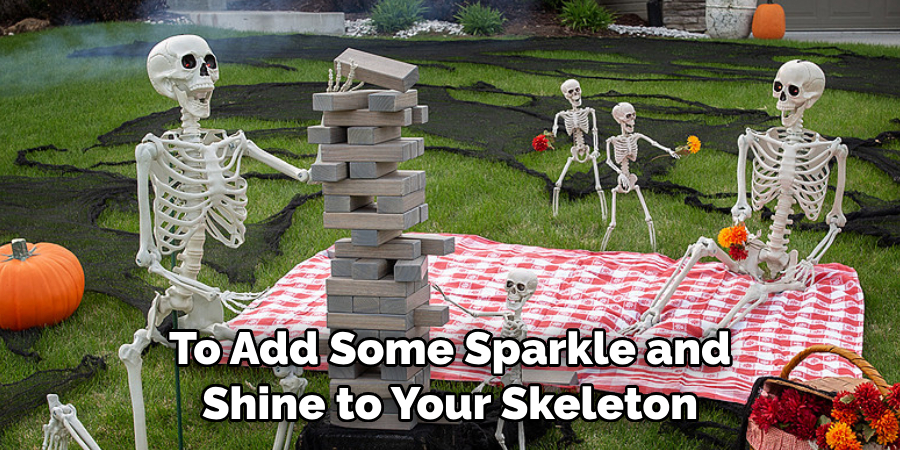
To add some sparkle and shine to your skeleton, sprinkle glitter over wet paint or use glue to attach it in specific areas. You can also create a glitter ombre effect by starting with a heavy layer of glitter at the top and gradually decreasing it as you move down the skeleton’s body. But be warned, glitter can get messy! You may want to cover your work area with newspaper or work outside to contain the glitter.
Step 3: Dress Up Your Skeleton With Fabric
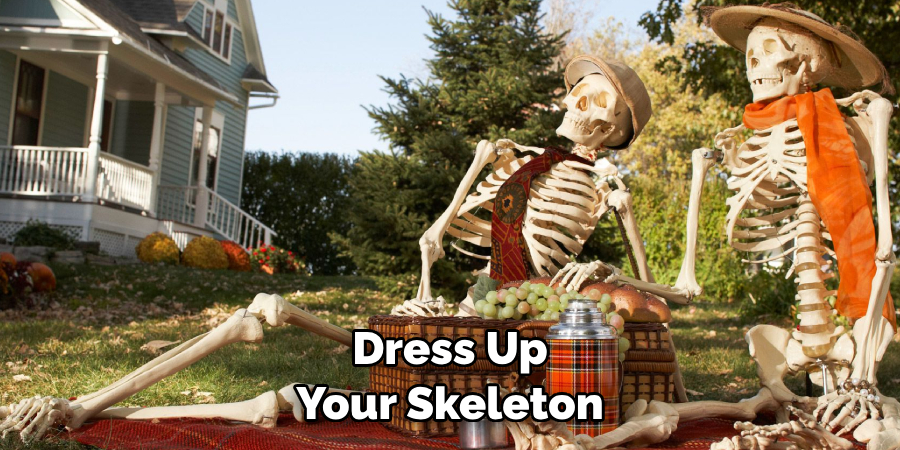
To dress up your skeleton, you can use fabric scraps or old clothes. Cut pieces of fabric in the shape of clothes and glue them onto the skeleton’s body using a hot glue gun. You can also add ribbons as belts, bows or ties to give your skeleton a more stylish look. If you want to go for a more sophisticated look, consider using lace or tulle fabric. Let your creativity run wild and experiment with different fabrics and styles!
Step 4: Add Accessories
No outfit is complete without accessories! You can use feathers to give your skeleton a fun hat, wings or even a boa scarf. You can also add plastic jewelry, like necklaces and bracelets, or create your own using beads and wire. Other ideas include attaching a pirate patch over one eye, creating a mini top hat out of cardstock, or giving your skeleton a bow tie made from ribbon. But don’t feel limited to just these ideas, use whatever accessories you think will add character and charm to your skeleton.
Step 5: Make Paper Bats
To add an extra spooky element to your skeleton, make some paper bats to stick in between the ribs. You can find templates online or freehand them yourself. Cut out the bats and use double-sided tape or glue to attach them to your skeleton. You can also make different sizes and colors for a more dynamic display. This is a simple and inexpensive way to add some Halloween flair to your skeleton.
Step 6: Hang Your Skeleton
If you have a plastic or foam skeleton, you can hang it from the ceiling or on a door frame using ribbons or strings. This adds an unexpected element to your home decor and makes your skeleton a focal point for guests. You can also create a hanging mobile effect by attaching smaller skeletons to the larger one with strings. Get creative and make your skeleton look like it’s floating or dancing in mid-air.
Step 7: Create a Scene
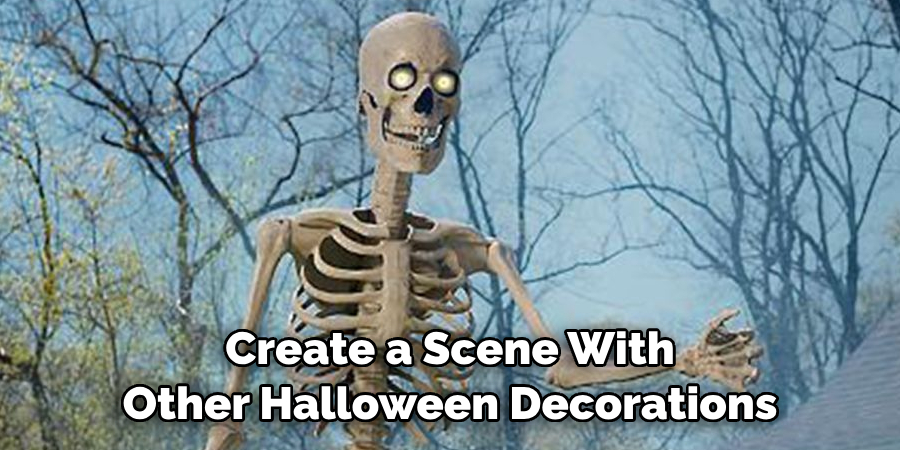
Instead of just placing your skeleton in a corner, create a scene with other Halloween decorations. You can use spider webs, fake spiders, pumpkins, or even a cauldron to create a spooky setting for your skeleton. You can also add lights, like string lights or candles, to set the mood. This will make your skeleton feel more like part of the Halloween festivities and less like a standalone decoration.
Step 8: Personalize Your Skeleton
Personalizing your skeleton is a fun way to make it unique and reflect your personality. You can add a name tag to the skeleton, paint on a fun design or quote, or even give it a theme like a pirate or rockstar. You could also create multiple skeletons and dress them up as your favorite movie characters or as different family members. The possibilities are endless!
Step 9: Set Up Your Skeleton in Different Spots
Don’t limit yourself to just one spot for your skeleton. Move it around your house and try different settings and poses. You can also switch up the decorations around it to keep things fresh and interesting. This will make your skeleton feel more alive (or undead) and add a touch of whimsy to your Halloween decor.
Step 10: Take Photos
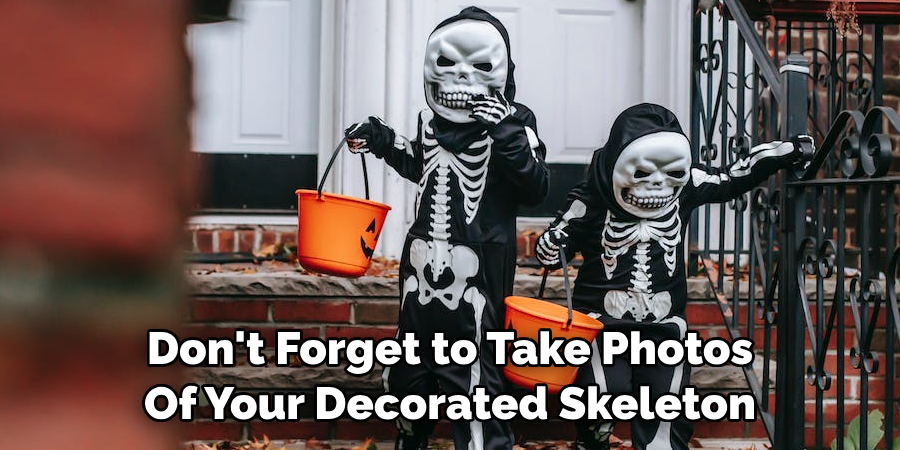
Lastly, don’t forget to take photos of your decorated skeleton! Share them on social media to inspire others and show off your creativity. You can also use the photos as a reference for next year’s decorations or as a fun memory to look back on. Have fun with it and don’t be afraid to get silly with your skeleton!
Following these steps on how to decorate a skeleton for halloween will help you create a truly unique and eye-catching skeleton decoration for Halloween. Remember to have fun with the process and let your imagination run wild. Happy decorating! So don’t wait any longer, get started on your spooky skeleton decor today! And don’t forget to share your creations with us on social media using
Frequently Asked Questions
Q: Can I Use Non-toxic Paint for My Skeleton?
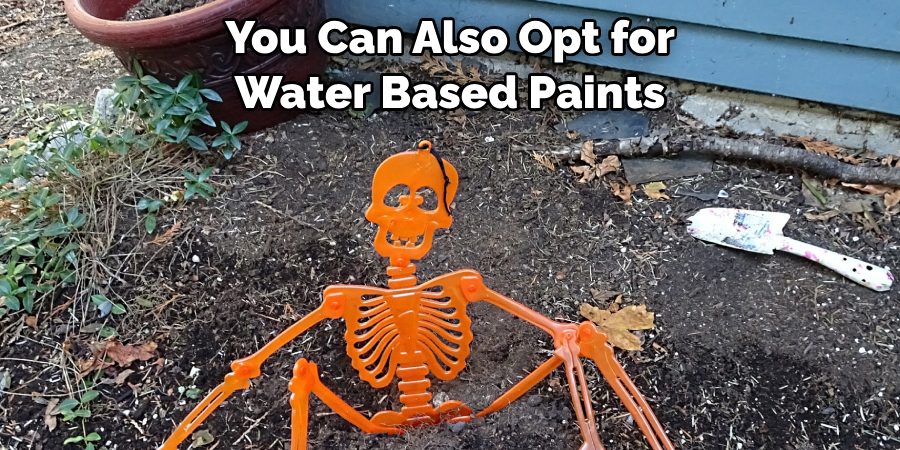
A: Yes, it is recommended to use non-toxic paint especially if you have children or pets in the house. You can also opt for water-based paints which are easier to clean up. It is always better to be safe than sorry.
Q: How Can I Make My Skeleton Glow in the Dark?
A: You can use glow-in-the-dark paint or add a layer of glow-in-the-dark powder on top of your painted skeleton. Alternatively, you can also use blacklight bulbs to make your skeleton glow under UV light. Just make sure to test the lighting beforehand to see the best effect.
Q: How Can I Make My Skeleton Last Longer?
A: If you are using a foam or plastic skeleton, you can spray it with clear varnish to help protect it from wear and tear. You can also store it in a cool and dry place when not in use. For paper skeletons, make sure to keep them away from moisture to avoid any damage. You can also consider using a transparent plastic sheet to cover your decorated skeleton, especially if it will be displayed outside where weather elements could affect it. This will help preserve your creation and ensure it lasts for many Halloweens to come.
Q: Can I Use a Real Skeleton?
A: While some people do use real skeletons for decorations, it is not recommended. Not only is it unethical and disrespectful to the deceased, but there may also be health risks associated with using a real skeleton. It’s best to stick with artificial skeletons that are specifically made for decoration purposes.
Conclusion
With the right materials, a little inspiration, and a bit of creativity, you can transform an ordinary skeleton into something special this Halloween. It doesn’t matter if you choose to go for a classic horror movie villain look or a whimsical uplifting feel, you can make it your own with any props or decorations that inspire you. Listen to that spooky musically themed playlist while you work and have fun with the experience.
Just remember: what makes your decoration truly scary is the reflection of your imagination it represents; embrace the season and let yourself go wild! Give art direction to your inner artist and create something unique. Have a happy Halloween! Thanks for reading this article on how to decorate a skeleton for halloween.

