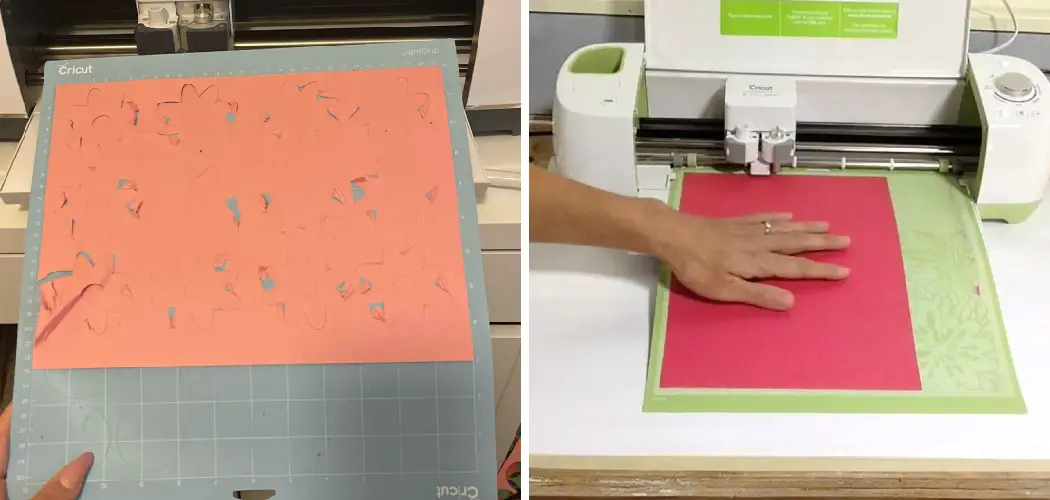
If you want a fun and easy way to cut construction paper, look no further than your Cricut machine! This popular cutting machine can handle a variety of materials, including construction paper. Not only is it an excellent tool for creating crafts with kids, but it also opens up endless possibilities for scrapbooking and cardmaking projects.
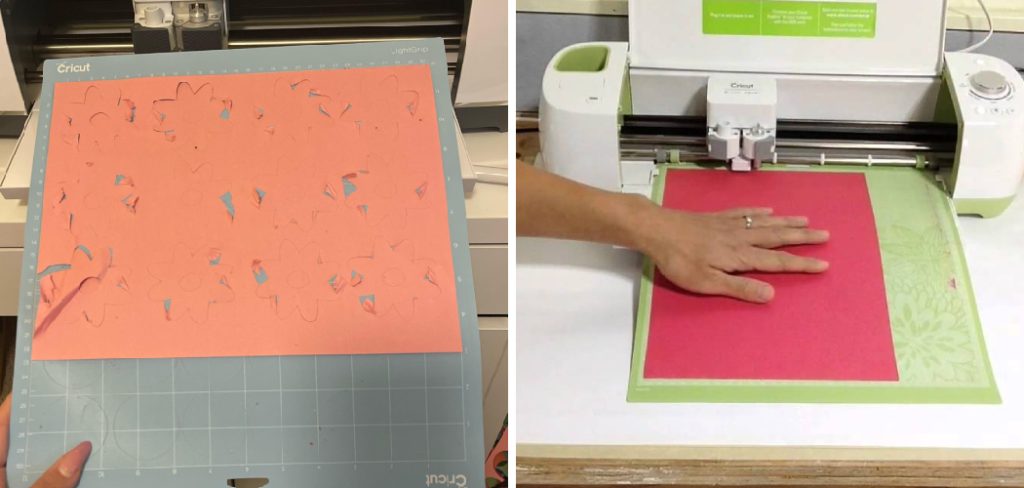
Cutting construction paper on a Cricut machine is a simple and efficient way to create personalized shapes and designs. Whether creating crafts with your kids or working on a DIY project, using the Cricut makes cutting construction paper a breeze. In this guide on how to cut construction paper on cricut, we will cover the steps and tips to make your cutting experience smooth and successful.
Necessary Items
Before we dive into the steps on how to cut construction paper on Cricut, you will need a few items to get started:
- A Cricut Machine: This can be any model of the Cricut series, such as the Cricut Explore Air or Maker.
- Standard Grip Cutting Mat: This is the standard mat that comes with your Cricut machine and is perfect for cutting construction paper.
- Construction Paper: Choose your desired colors to create your project.
- Scissors: You will need scissors to trim the construction paper before placing it on the mat.
8 Things to Know Before You Start
1) Familiarize Yourself With Your Cricut Machine
Before starting any project, it is essential to get to know your machine and its capabilities. Read the user manual and watch tutorials to understand how your Cricut works. This will not only make the cutting process smoother but also ensure the safety of your machine.
2) Choose the Right Construction Paper
Construction paper comes in a variety of colors, thicknesses, and textures. It is essential to choose construction paper that is suitable for your project and compatible with your Cricut machine. Avoid using construction paper that is too thin or flimsy, as it may tear or get stuck in the machine.
3) Use a Sharp Blade
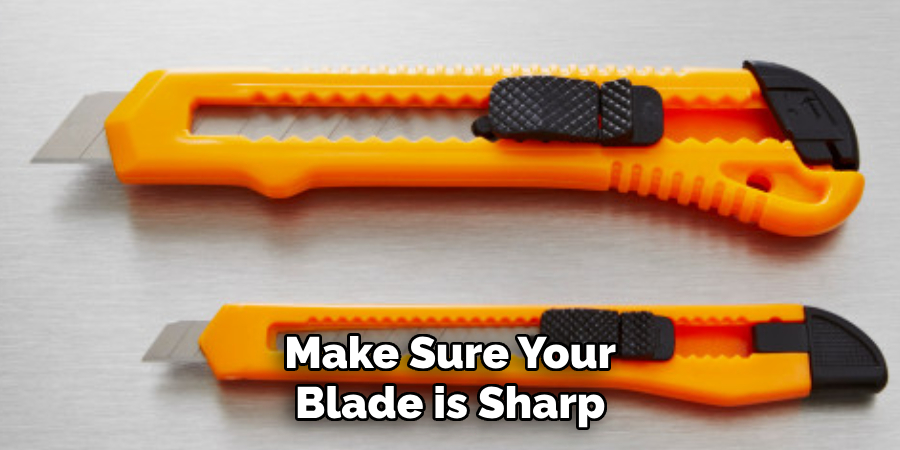
To ensure clean and precise cuts, make sure your blade is sharp. If you notice your blade is dull, replace it before starting your project. A dull blade can result in uneven cuts or damage to your machine.
4) Prepare Your Mat
Before placing the construction paper on the mat, make sure it is clean and free of any debris. If necessary, use a lint roller to remove any dust or particles that may interfere with the cutting process.
5) Trim Your Construction Paper
To ensure proper placement and avoid any interference with other materials on the mat, trim your construction paper to fit within the size of the mat. This will also prevent any overhang, which can cause the paper to tear or get caught in the machine.
6) Use the Right Cutting Settings
To achieve clean and precise cuts, make sure to select the correct cutting settings on your Cricut machine. Select “Construction Paper” from the list of materials and adjust the pressure if necessary. If you are using thicker construction paper, you may need to increase the pressure for a clean cut.
7) Test Cut
Before cutting your entire design, do a test cut on a small piece of construction paper. This will allow you to make adjustments if needed and ensure that the settings are correct before cutting your final project.
8) Be Patient
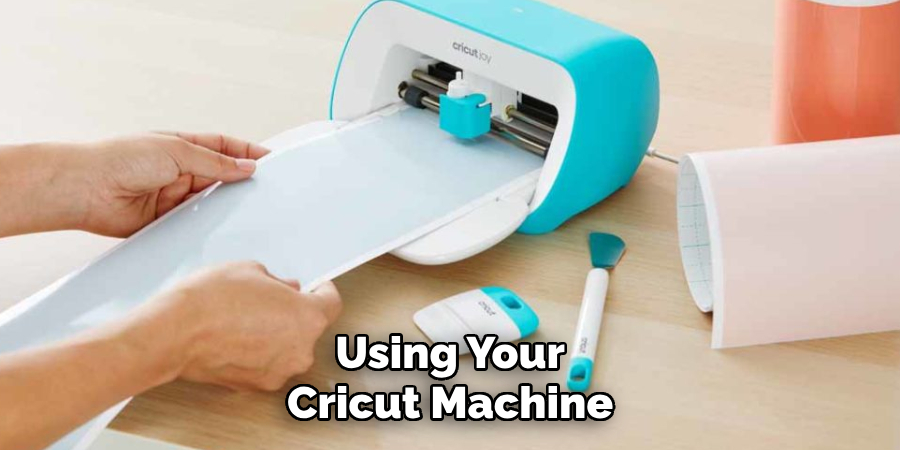
Cutting construction paper on a Cricut machine may take a bit longer than other materials. Be patient and allow the machine to complete its cutting process before removing the construction paper from the mat.
With these tips on how to cut construction paper on cricut in mind, you are now ready to create beautiful crafts using your Cricut machine and construction paper. Experiment with different colors, shapes, and designs to unleash your creativity. With the Cricut, the possibilities are endless!
So whether you are creating projects with your kids or working on a DIY project, enjoy the ease and precision of cutting construction paper on your Cricut machine. Remember to always have fun while creating, and don’t be afraid to try new techniques and designs.
10 Steps on How to Cut Construction Paper on Cricut
To get started cutting construction paper on your Cricut, follow these simple steps:
Step 1: Gather Materials
Before you begin, make sure you have all the necessary materials ready. This includes your Cricut machine, construction paper of various colors, a cutting mat, and any other accessories you may need for your project.
Step 2: Prepare Design
Next, you will need to prepare your design. This can be done using the Cricut Design Space software or by uploading a pre-made design into the software. If you are creating your own design, make sure it fits within the cutting mat size.
Step 3: Adjust Cutting Settings
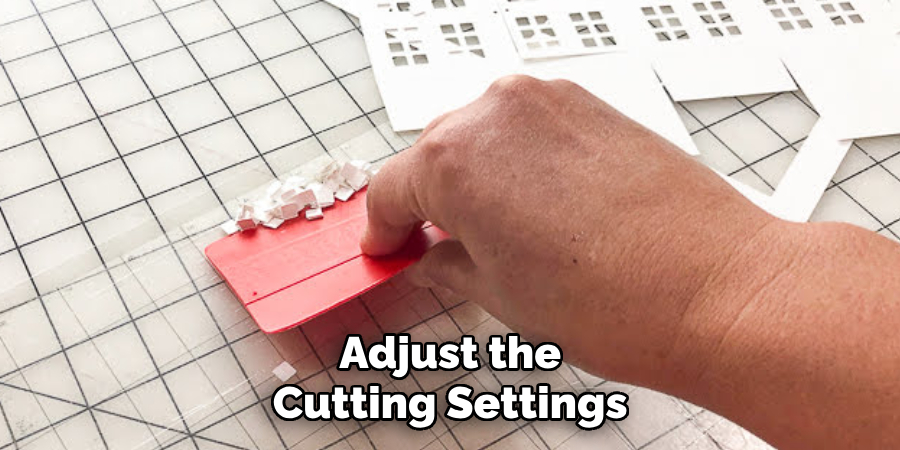
After selecting your design, you will need to adjust the cutting settings based on the type of construction paper you are using. Make any necessary changes to pressure and blade depth for a clean cut.
Step 4: Trim Paper
Before placing the construction paper on the mat, make sure to trim it down to fit within the size of the cutting mat. This will prevent any overhang or interference with other materials. But be sure to leave enough space for the design to fit comfortably.
Step 5: Place Paper on Mat
Once your paper is trimmed, place it on the mat and press down firmly to ensure it stays in place during cutting. Other materials, such as masking tape or painter’s tape, can also be used to secure the paper.
Step 6: Load Mat into the Machine
Carefully load the mat with the construction paper into your Cricut machine. Make sure it is aligned properly before proceeding with cutting. While the machine is cutting, avoid moving or adjusting the mat to prevent any errors.
Step 7: Remove Paper from Mat
Once the machine has finished cutting, carefully remove the construction paper from the mat. Use a spatula tool to gently lift and remove any small pieces that may be stuck on the mat. But be careful not to damage the paper.
Step 8: Repeat for Multiple Colors
If your design includes multiple colors of construction paper, repeat steps 4-7 for each color. Make sure to change cutting settings if needed and align the new piece of paper properly on the mat before cutting.
Step 9: Assemble Design

After all the pieces have been cut, it’s time to assemble your design. Follow the instructions in your project tutorial, or use your own creativity to put all the pieces together. If necessary, use glue or other adhesive to secure the pieces in place.
Step 10: Clean Up
Last but not least, make sure to clean up your work area and properly store your Cricut machine and materials. This will ensure that everything stays in good condition for future projects. Congratulations, you have successfully cut construction paper on your Cricut! Now it’s time to enjoy your beautiful and precise creations. So grab some construction paper, fire up your Cricut machine, and let your creativity run wild!
8 Things to Avoid When Cutting Construction Paper on Cricut
While cutting construction paper on your Cricut machine may seem simple, there are a few things to avoid to ensure a successful and smooth cutting process. Here are eight things you should avoid when working with construction paper on your Cricut:
1) Using Dull Blades
As mentioned earlier, using a dull blade can result in jagged and messy cuts. Make sure to regularly change the blade on your Cricut machine to ensure clean and precise cuts. While it may be tempting to save money by using a dull blade, it will end up costing you more in the long run with ruined projects and wasted materials.
2) Cutting Too Many Layers at Once
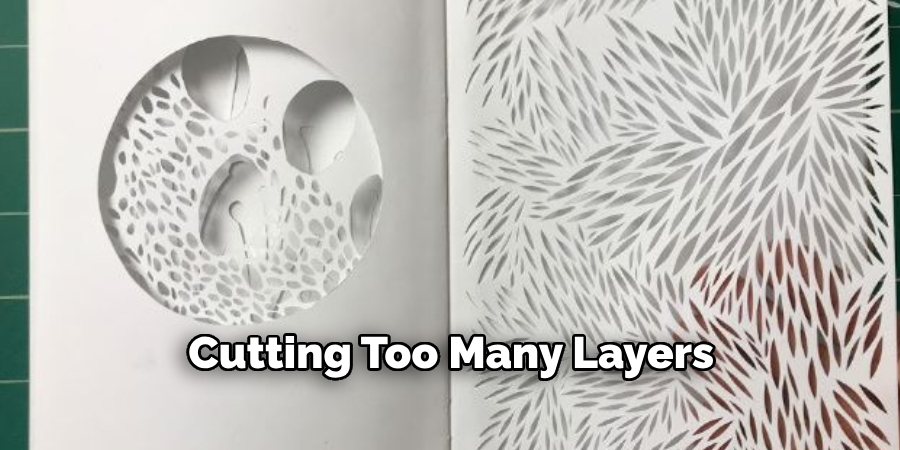
Construction paper is thicker than regular paper, so cutting too many layers at once can put a strain on your Cricut machine and result in poor cuts. It’s best to stick to one or two layers at a time for clean and precise cuts.
3) Not Trimming Paper
Before placing your construction paper on the cutting mat, make sure to trim it down to fit within the size of the mat. This will prevent any overhang or interference with other materials, resulting in a smoother cutting process.
4) Rushing the Cutting Process
Cutting construction paper on a Cricut machine may take longer than other materials. Be patient and allow the machine to complete its cutting process before removing the paper from the mat. Rushing can result in ruined cuts or damage to your project.
5) Using Low Quality Paper
Using low-quality construction paper can result in unsatisfactory results. Invest in good quality paper for better cutting and overall project outcomes. More expensive does not always mean better, so do some research and read reviews before purchasing.
6) Not Securing Paper Properly
To ensure your construction paper stays in place during cutting, make sure to secure it properly on the mat. This can be done with tape or other adhesive, but make sure not to damage the paper when removing it from the mat.
7) Using Incorrect Cutting Settings
Different types of construction paper may require different cutting settings. Make sure to adjust the pressure and blade depth accordingly for clean and precise cuts. Experiment with scraps before cutting your actual project to find the best settings.
8) Forgetting to Clean Up
After completing your project, make sure to properly clean up your work area and store your materials. This will ensure that everything stays in good condition for future projects. Plus, a clutter-free workspace can help boost your creativity and productivity.
So, take the time to clean up and properly store your Cricut machine and materials after each use. With these tips on how to cut construction paper on cricut in mind, you can confidently create beautiful designs using construction paper on your Cricut machine without any hiccups or mistakes.
8 Additional Tips for Cutting Construction Paper on Cricut
While avoiding certain mistakes is important, there are also some tips and tricks that can help you achieve the best results when cutting construction paper on your Cricut machine. Here are eight additional tips to keep in mind:
1) Use a Light Grip Mat
When cutting construction paper, it’s best to use a light grip mat to prevent the paper from tearing or becoming stuck on the mat. These mats have a less sticky surface, which is ideal for thinner materials like construction paper.
2) Use Larger Images and Fonts
To ensure clean and precise cuts when working with construction paper, it’s best to use larger images and fonts in your design. This will prevent any intricate details or small pieces from tearing or getting lost during the cutting process.
3) Use a Brayer
A brayer is a handy tool that can help smooth out any wrinkles or bubbles in your construction paper before placing it on the mat. This will ensure a flat and smooth surface for cutting. Never use a rolling pin, as it can damage the paper.
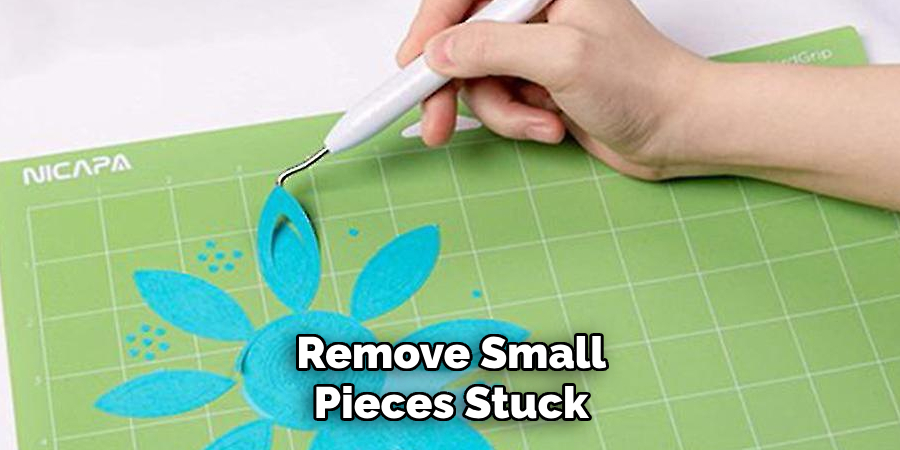
4) Use a Weeding Tool
A weeding tool is another useful tool to have when working with construction paper on your Cricut machine. It can help remove small pieces stuck on the mat or in between intricate designs without damaging the paper.
5) Experiment with Different Blades
While the standard fine-point blade is suitable for cutting construction paper, you can also experiment with other blades, such as the deep-cut blade or bonded fabric blade, for different effects and results.
6) Use a Good Quality Mat
Using a good quality mat is just as important as using good quality paper. Make sure to regularly clean and replace your mats to prevent any paper from tearing or getting stuck on a dirty or worn-out mat.
7) Check the Size of Your Images
Before cutting, make sure to check the size of your images and adjust accordingly. This will ensure that all pieces fit together properly and prevent any issues during assembly. So, double-check your design before hitting the cut button.
8) Practice Makes Perfect
Lastly, don’t be discouraged if you don’t get perfect cuts on your first try. Cutting construction paper on a Cricut machine takes practice and patience. Keep experimenting and trying different techniques to find what works best for you!
With time, you’ll become a pro at cutting construction paper on your Cricut machine. So, keep these tips on how to cut construction paper on cricut in mind, and have fun creating beautiful projects with construction paper on your Cricut!
Frequently Asked Questions
Can I Cut Other Types of Paper on My Cricut Machine?
Yes, you can cut various types of paper, such as cardstock, vellum, and even tissue paper, on your Cricut machine. Just make sure to adjust the settings accordingly for each type of paper.
Can I Use a Cricut Machine to Cut Construction Paper for 3D Projects?
Yes, you can use a Cricut machine to cut construction paper for 3D projects. Just make sure to adjust the settings and experiment with different blade options for the best results.
How Do I Properly Clean My Mats?
To clean your mats, gently wipe them with a damp cloth and let them air dry. Avoid using harsh chemicals or scrubbing as it can damage the surface of the mat. Mats should also be stored flat to maintain their stickiness. So, make sure to clean and store your mats properly for optimal use.
Can I Cut Construction Paper Without a Mat?
Yes, you can cut construction paper without a mat on some Cricut machines, such as the Cricut Joy. However, using a mat is recommended for best results and to prevent any damage to your machine.
Is There an Ideal Size for Cutting Construction Paper on a Cricut Machine?
There is no specific ideal size for cutting construction paper on a Cricut machine, as it depends on your project and personal preference. However, it’s recommended to use larger images and fonts for cleaner cuts. So, experiment with different sizes to find what works best for you!
Can I Use Construction Paper on Both a Cricut Explore and Maker?
Yes, you can use construction paper on both the Cricut Explore and Maker machines. Just make sure to adjust the settings accordingly for each type of paper.
Are There Any Other Tips or Tricks I Should Know When Cutting Construction Paper on a Cricut Machine?
Some additional tips and tricks include using multi-colored construction paper to create layered designs, using Cricut’s Print then Cut feature for more intricate designs, and even mixing different types of paper, such as cardstock and construction paper, for added texture and dimension. So, don’t be afraid to get creative and experiment with different techniques!
Conclusion
Cutting construction paper on a Cricut machine can open up endless possibilities for your crafting projects. By avoiding common mistakes and following these tips on how to cut construction paper on cricut, you can achieve clean and precise cuts every time. So, grab your favorite construction paper and get ready to create beautiful designs with your Cricut machine!
Following some helpful tips, you can successfully cut construction paper on your Cricut machine with ease and precision. Remember to use the appropriate cutting settings, clean up after each use, and try out different techniques for best results. With a little practice and patience, you’ll be creating beautiful designs using construction paper on your Cricut machine in no time! So, gather your materials and let your creativity flow.

