With the fall season approaching, it’s time to add some cozy and warm decor to your home. Nothing says autumn quite like a pumpkin, and what better way to complete your fall decor than by crocheting your own pumpkin leaves? Creating these leaves is easy and will add a cute and customized touch to your home decor. In this step-by-step guide, we walk you through how to crochet pumpkin leaves in a simple and easy-to-follow manner.
Can You Crochet Pumpkin Leaves?
Fall is just around the corner, and with the change in season comes the craving for all things pumpkin. But did you know you can also crochet pumpkin leaves to add to your fall decor? These cute little accessories can be added to your crocheted pumpkins or used as standalone decorations.
Not only are they the perfect finishing touch to any autumnal arrangement, but they’re also an easy and fun project for crocheters of all skill levels. With just a few basic stitches, you’ll have a whole collection of crochet pumpkin leaves in no time. So why not embrace all things pumpkin this fall and try cropping a few leaves?
Why Should You Crochet Pumpkin Leaves?
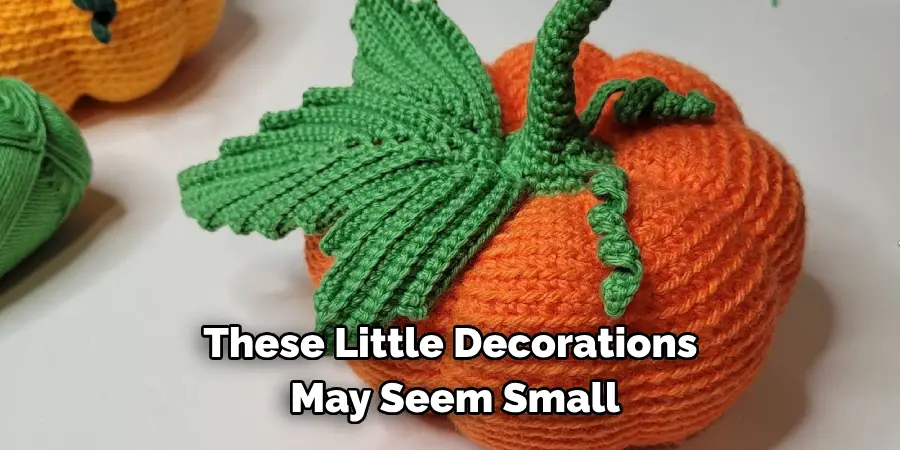
Fall is upon us, and with it comes the wonderful oranges, yellows, and browns that decorate our surroundings. And what better way to embrace the autumnal spirit than by crocheting pumpkin leaves? These little decorations may seem small, but they give any pumpkin-centered display the perfect finishing touch. Celebrate the harvest season with a fun and easy project that brings warmth and charm into your home.
Crocheting pumpkin leaves is a great way to get your creative juices flowing while also celebrating the changing of the seasons. Not only is it a simple and fun project, but it’s also a great opportunity to get into the fall spirit and add a cozy touch to your surroundings.
How to Crochet Pumpkin Leaves: A Step-by-Step Guide
Step 1: Materials
To begin, you’ll need some basic materials. You will need crochet yarn, scissors, a crochet hook, and a darning needle. Choose a yarn that matches the color of the pumpkin you have or the color of your choosing. The hook size will depend on the yarn you decide to use. To make smaller leaves, use a smaller hook, and for larger leaves, use a larger hook.
Step 2: Creating the Base of the Leaf
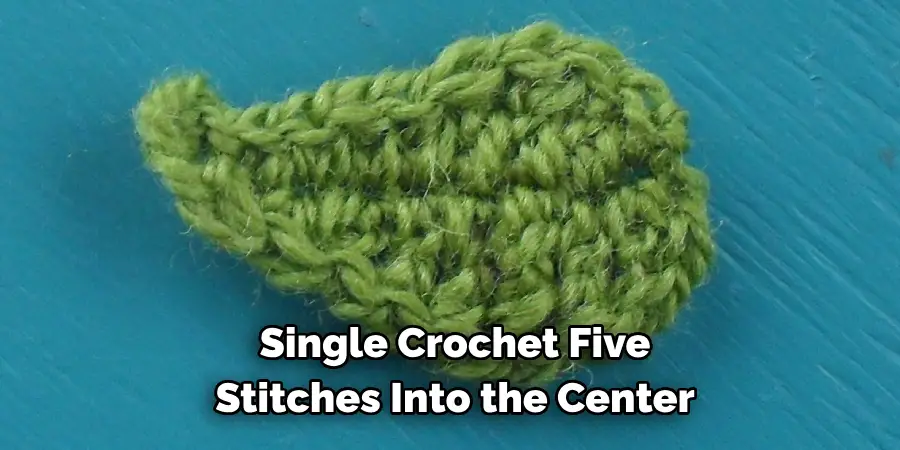
Start by creating the base of the leaf with a chain stitch. Begin with five chains and then slip-stitch the first chain to the last, creating a round. Once you’ve made the base, single-crochet five stitches into the center of the round, this will create your center stitch.
Step 3: Creating the Body of the Leaf
Once you’ve created the center stitch, you want to work on the body of the leaf. To create the body of the leaf, single crochet twice into each stitch around until you reach the end of the round. Slip stitch into the first single crochet and chain two.
Step 4: Creating the Tip of the Leaf
The next step is to create the tip of the leaf. Single crochet once in the first stitch, followed by two single crochets in the next stitch. You will repeat this pattern until you have ten stitches in total. Chain one to secure the row and turn your work.
Step 5: Refining the Design
To refine the design, you want to crochet slip stitches along the top edge of the leaf, making sure to cover each stitch as you go. Once you’ve covered all the stitches, tie a knot and cut the yarn. Thread a darning needle and weave in the loose ends into the back of the leaf. This will give your pumpkin leaf a more defined and finished look.
Step 6: Adding Veins
To add veins to your pumpkin leaf, use brown yarn and create slip stitches along the body of the leaf. You can start at the base of the leaf or at the tip. Secure each stitch by pulling tight before moving on to the next one. Once you’ve completed the veins, weave in the loose ends.
Step 7: Finishing Touches
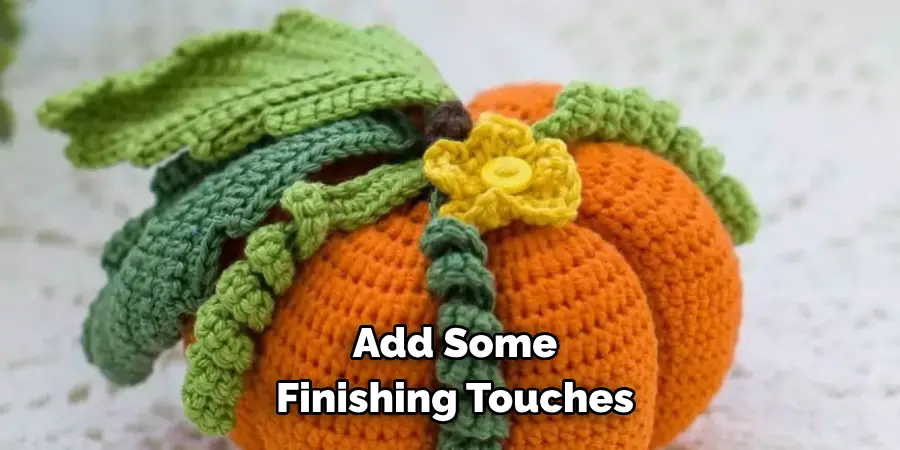
The final step is to add some finishing touches. You can use a stiffening spray or fabric stiffener to shape and harden your leaf. Allow it to dry completely before handling. If desired, add some glitter or decorations to give your pumpkin leaf a festive touch.
Now that you know the steps to crochet a pumpkin leaf, you can use your new skills to create a collection of colorful autumn leaves for decorations or embellishments. Experiment with different colors and sizes to create unique and beautiful leaves.
5 Considerations Things When You Need to Crochet Pumpkin Leaves
1. Select the Right Yarn
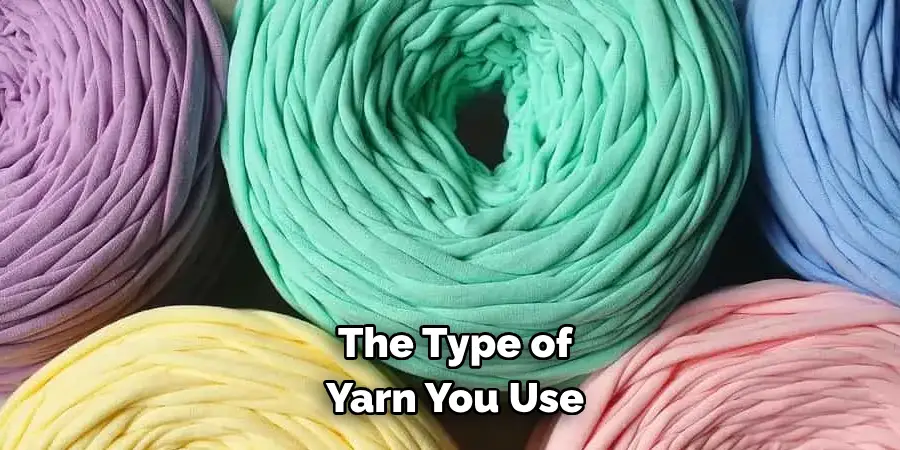
When crocheting pumpkin leaves, it is important to select the right type of yarn. Acrylic and cotton yarns are ideal for this project as they are lightweight and easy to work with. Additionally, these types of yarns are available in various colors, making it easy to find the perfect shade for your project. It is also important to choose a yarn that is soft and won’t irritate your skin while you work.
2. Choose the Proper Hook Size
In addition to selecting the right type of yarn, it is also important to choose the proper hook size for your project. The hook size will determine how big or small your finished pumpkin leaves will be. Use a larger hook; for smaller leaves, use a smaller hook. It is best to start with a medium-sized hook and adjust from there if needed.
3. Decide on the Number of Leaves You Need
Before beginning your project, decide how many pumpkin leaves you need to make for your project. This will help you calculate how much yarn you need and how long it will take you to complete the project. If you are making multiple leaves in different sizes, it may be helpful to draw out a diagram to keep track of each leaf’s size and number before starting.
4. Practice Making Different Shapes
Once you have decided on the number of leaves needed for your project, practice making different shapes with your crochet pattern until you get one that looks like a real pumpkin leaf! There are several different crochet patterns available online that can help guide you through this process step-by-step until you get a shape that looks just like what nature intended!
5. Secure Your Work
Once your pumpkin leaf shape is complete, secure all ends by weaving them into the backside of your work using a tapestry needle or crochet hook. This will ensure that all pieces stay together and won’t come apart when handled or washed in the future!
4 Common Mistakes People Make When Trying to Crochet Pumpkin Leaves
1. Not Using the Right Yarn
One of the most common mistakes people make when trying to crochet pumpkin leaves is not using the right yarn. The type of yarn you use will determine how your leaves look and feel, so choosing a high-quality yarn specifically designed for crochet projects is important. Look for a yarn that is soft and lightweight, as this will help ensure that your leaves are light and airy.
2. Not Choosing the Right Hook Size
Another mistake people make when crocheting pumpkin leaves is not choosing the right hook size. Your hook size will determine how large or small your leaves will be, so it’s important to pick one that is appropriate for your project. If you’re making small leaves, look for a hook size between 3mm and 4mm; if you’re making larger leaves, look for a hook size between 5mm and 6mm.
3. Not Paying Attention to Gauge
Gauge is an important factor in any crochet project, but it’s especially important when crocheting pumpkin leaves because they must be consistent in shape and size. To ensure that all of your leaves are the same size, measure your gauge after each row to make sure it matches what you originally planned on doing. This will help ensure that all of your finished leaves look uniform and professional.
4. Not Blocking Your Leaves
The last mistake people often make when crocheting pumpkin leaves is not blocking them properly before using them in their projects. Blocking helps set the shape of the leaf so that it looks neat and professional once it’s crocheted. To block your crochet pumpkin leaves, lightly spray them with water and then lay them flat on a towel until they are completely dry before using them in your project.
Conclusion
Crocheting pumpkin leaves is a fun way to add a personal touch to your fall decor. With just a few materials and some basic crocheting skills, you can create beautiful and charming leaves to use as a centerpiece or to add accents to your home. Once you’ve mastered crocheting pumpkin leaves, you can experiment with different sizes and colors to create a unique and customized look. Thanks for reading our post about how to crochet pumpkin leaves, and happy crocheting!

