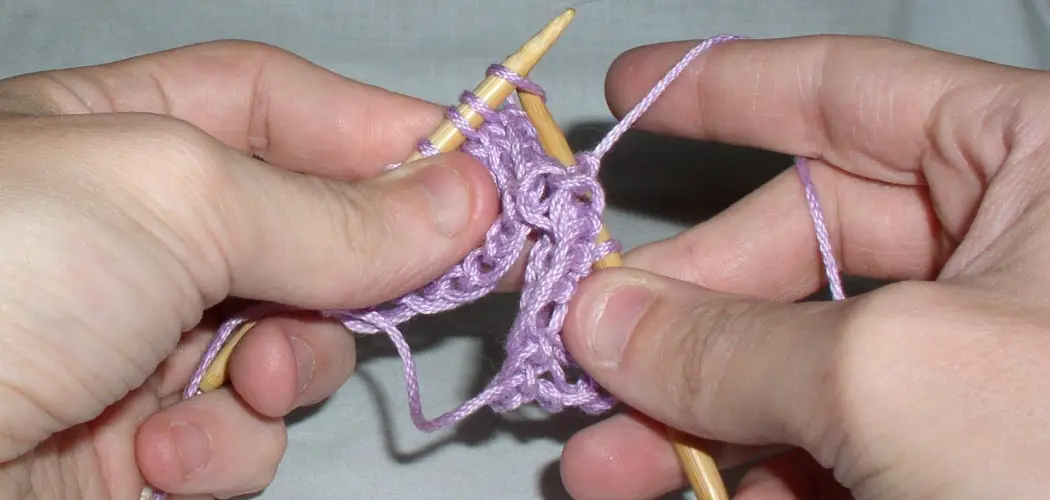
Do you love crocheting and are looking for a fun and easy way to get creative with your projects? The loop stitch is the perfect solution! It adds texture, volume, and dimension to any pattern that calls for it.
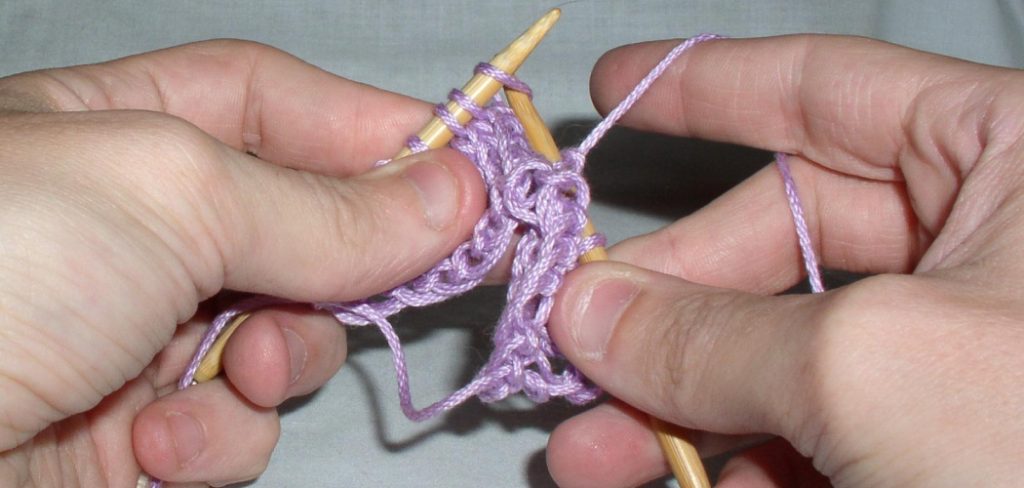
Plus, it’s surprisingly simple once you understand the basics. In this blog post, we’ll break down the steps of how to crochet loop stitch step-by-step so you can easily add unique detail to all your future patterns. So grab your hook and get ready to dive into some delightful loop stitching!
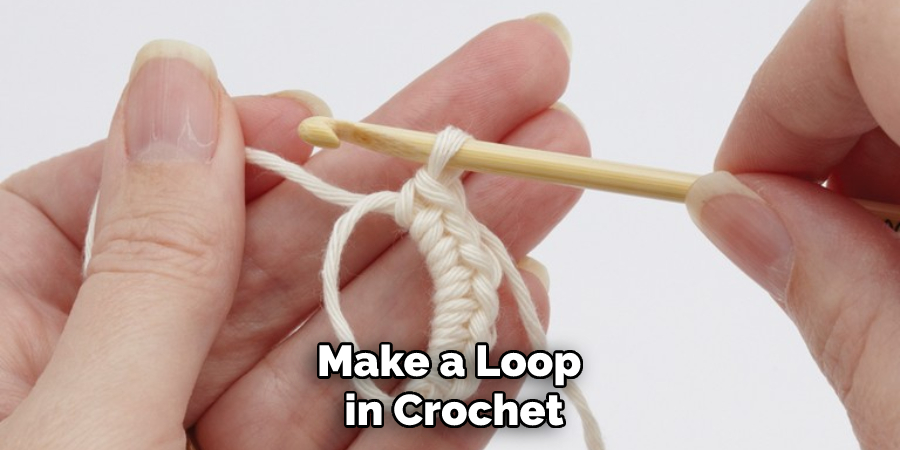
How Do You Make a Loop in Crochet?
Making a loop in crochet is a simple and essential step in many projects. Loops are used to create spaces for buttons, laces, and other elements. Loops can also be the starting point of projects such as granny squares or afghan blocks.
To make a loop, start by making your foundation chain stitch. Make sure you have a sufficient number of chain stitches that the loop will fit over when it is finished. Once your foundation chain stitch is complete, yarn over (YO) and pull through the first chain stitch. You should now have two loops on your hook.
Yarn over once more and pull through both of the loops to create the loop. You can now continue with your project or use the loop for another purpose.
To tighten a loop, gently pull on the tail end of the yarn until it is snug against your work. To make a larger loop, add more chain stitches before creating the loop. For an adjustable loop, leave a long tail when starting and finish by threading the tail through the loops and pulling to adjust as needed.
Knowing how to make a loop in crochet will open up many possibilities for your projects! With practice, you’ll be able to create beautiful projects that show off your skills and creativity. Have fun!
10 Methods How to Crochet Loop Stitch
1. Beginning Loop Stitch:
Start by making a slip knot and placing it on your crochet hook. Then, make a chain of at least five stitches. Insert the hook into the second stitch from the hook, then yarn over and pull through both stitches on the hook to create your first loop stitch. If you need a refresher on how to make a chain stitch, check out our guide.
2. Increasing Loop Stitches:
To increase the number of loops in your pattern, you will need to yarn over multiple times before inserting your hook. For example, if you are aiming for three loops on your stitch, you should yarn over twice before inserting your hook into the designated stitch and pulling through both loops on your hook. Continue this pattern until you have reached your desired number of loops.
Once you have reached the desired number of loops for your pattern, it is time to complete the stitch. To do this, yarn over and pull through all the loops on your hook. You should now have a completed increased loop stitch. Keep repeating this process until you reach the end of your desired pattern.
3. Looping Through Tension Ridges:
When crocheting loop stitches with tension ridges (bumps) along one side of the fabric, try inserting the hook in between the ridges rather than just above them, as usual. This will help keep all loops in neat alignment and provide additional texture to any project that utilizes these stitches!
Although a little more challenging, looping through tension ridges can be mastered with practice. Make sure to keep the same number of loops on each side of the fabric and a consistent tension throughout. Once you get the hang of it, looping through tension ridges can be a great way to add some extra flair to your crochet projects!
4. Creating Patterns with Loop Stitches:
Crocheting loop stitches can be used to create stunning patterns within a project or help add texture and definition to an existing pattern. Consider pairing two colors together for an interesting effect or changing up how many loops you are making per stitch for an even more unique look!
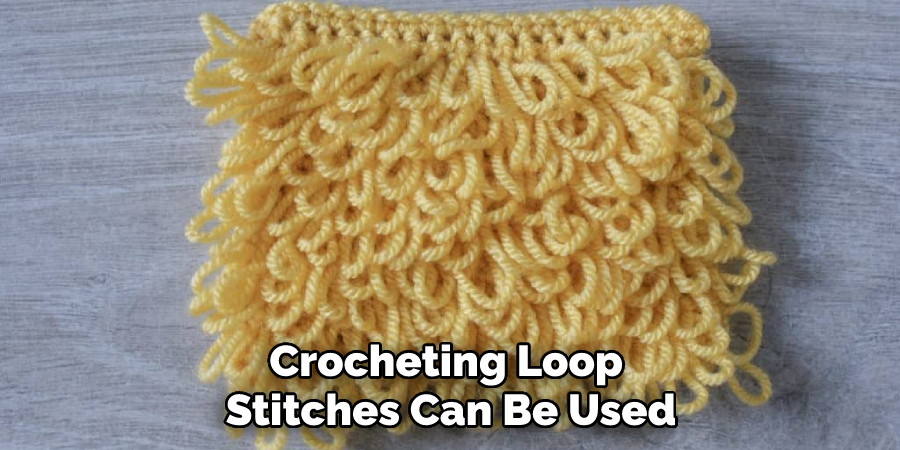
When creating a pattern with loop stitches, it is important to remember that each loop should be the same size. Measure each loop against one another so they are even before continuing with your pattern. This will help keep the stitch consistent and ensure a professional look when your project is complete.
5. Changing Directions With Loop Stitches:
To change directions while working with loop stitches, simply stop after completing one row of looping, then turn around and start again from the opposite direction – this works great for creating designs such as arrows or stripes in a pattern!
While turning, make sure to keep the loops tight so they don’t get twisted and won’t unravel. When you reach the end of one row, you can start a new row in the same direction or switch to going in the opposite direction. The possibilities are endless, and you can get creative with your designs!
6. Working With Multiple Hooks:
If you’re using multiple hooks when crocheting loop stitches (such as when making wide ribbing), try alternating which hand is holding each hook so that both are doing equal work – this will help ensure even tension throughout every step of your project! Additionally, be careful when changing colors and connecting chains – if the tension is too tight, the loops won’t line up correctly.
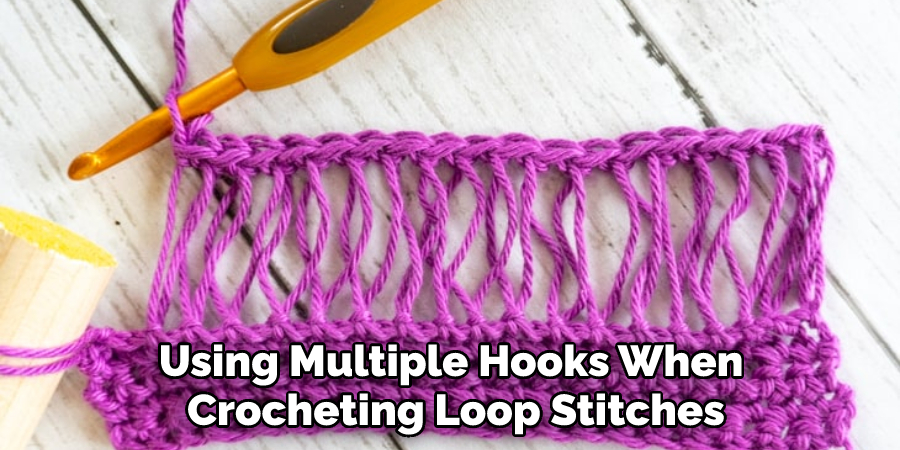
Keep practicing, and with time, you’ll be able to master the art of crocheting loop stitches. While loop stitches may take a bit of extra effort, the results are well worth it! With its unique texture and color diversity, you’ll be sure to create beautiful projects that will last a lifetime. So grab your hooks and get started!
7. Making Open-Ended Loops:
To make open-ended loops in order to join two pieces together (or create decorative edging), begin by inserting the crochet hook into one piece, then yarn over once and pull through both pieces at once –this will create an open-ended loop that can be easily closed off with another crochet stitch later on!
To close the loop, simply finish off with a single crochet stitch. Keep in mind that when making open-ended loops, it’s best to use a slightly tighter tension than normal, as this will ensure that your loops are securely joined.
8. Finishing Off Loops:
When finishing off any project that uses looping techniques, always remember to use a slipstitch or other method of binding off at the end –this will ensure that all loops remain neatly contained within their limits and won’t unravel prematurely! Sometimes you can use a slip stitch to join the two edges together for a finished look.
If that’s not possible, using scissors to carefully snip off the excess yarn. You’ll end up with a neat and tidy loop stitch project that can be used for anything from clothing to soft home accessories. With practice, you’ll get really good at creating perfect loops in no time!
9. Enhancing Openwork Patterns:
When using looping techniques for creating openwork patterns like lace or filet crochet, always be sure to keep close track of how many times each individual loop has been made –this is essential for achieving accurate results every time!
Additionally, try to maintain an even tension throughout the pattern. To help you do this successfully, a crochet hook with an adjustable grip or thumb rest may be helpful. Finally, when looping yarn for openwork patterns, it is important not to pull too tightly on the stitch – leaving a bit of slack helps ensure that the loops remain open and even!
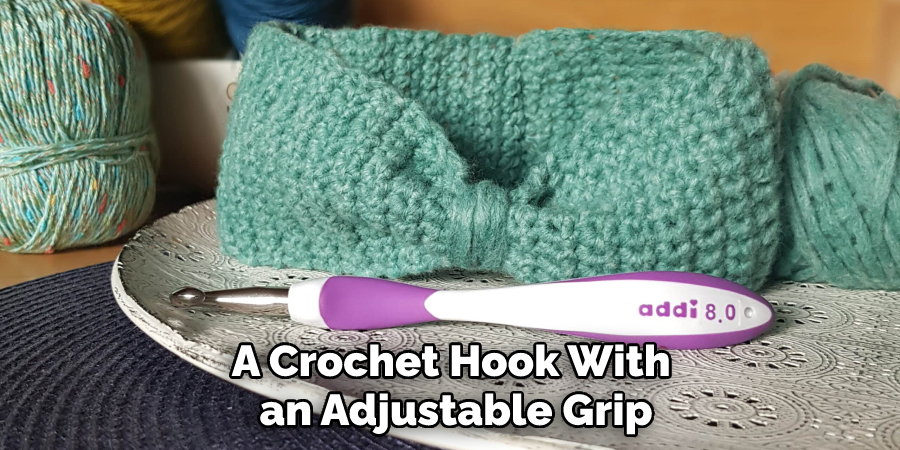
10. Combining Loops With Other Techniques:
Experimentation is key when combining techniques such as crocheting with other methods like knitting or macramé –try adding some variation to traditional patterns by incorporating different types of stitching within them -the possibilities are endless! Try combining loops with shells, slip stitches, half-double crochet, and other techniques to create unique textures and shapes.
With a little bit of practice, you can create beautiful projects that are truly one-of-a-kind. Don’t be afraid to get creative and make something new! Who knows –you may even discover an entirely new way of crocheting!
Things to Consider When Crocheting Loop Stitch
1. Select the Right Yarn for the Job:
When using loop stitches, it is important to choose a yarn that won’t be too heavy or cumbersome so that your loops can stay neat and even. A lightweight yarn, such as cotton or acrylic, is usually the best choice for this stitch.
2. Learn How to Make a Slip Knot:
Making a slip knot is the first step in almost any crochet project, and loop stitch is no exception. Before beginning, take some time to practice this technique to ensure that your loops are even and consistent.
3. Get Familiar with the Basics of Loop Stitch:
Loop stitch can be intimidating at first, but once you understand the basics, it is relatively simple and straightforward. Take some time to become familiar with the single-loop crochet techniques before attempting a more challenging project using the loop stitch.
4. Pay Close Attention to Tension:
As with any crochet project, tension is key when working with loop stitches. Always pay close attention to how tight or lose your loops are, as this will have a direct impact on the finished look of your project.
5. Use Good Lighting and Magnifying Aids:

Crochet projects are incredibly time-consuming, so it’s important to make sure you have the right tools for the job. Good lighting and a magnifying glass can help you see even the tiniest of stitches, allowing for smoother and more even loops.
By taking these simple steps, you can ensure that your final project is beautiful and professional-looking! With just a little practice, you will be able to master the loop stitch in no time. Happy crocheting!
Which Stitch Is a Loop Stitch?
Loop stitch is a type of crochet stitch that creates an all-over pattern resembling small circles, often referred to as “bull’s eyes.” This stitch is great for textured projects such as scarves, shawls, and bags. The loop stitch is a relatively simple crochet technique that can be used to add texture and interest to your finished project.
The loop stitch requires two types of yarn: a main color and an accent color. To begin the stitch, use a chain stitch with the main color yarn. Then, complete a single crochet stitch with the accent color yarn.
You will then loop the accent color yarn around the chain stitch and through the loop formed by your single crochet. Pull tight to create a small loop on top of your chain stitch, then repeat this same process across your project.
Conclusion
The loop stitch is a great way to add texture and interest to your crochet projects. By varying the placement of the loops, you can create all sorts of different looks. Experiment with this stitch on a scrap piece of yarn to get the hang of it before you use it on your final project.
With a little practice, you’ll be able to master the loop stitch in no time! If you have any other questions about crocheting loop stitches, or if you want to learn more about how to crochet loop stitch, be sure to check out our other blog posts. Thanks for reading!

