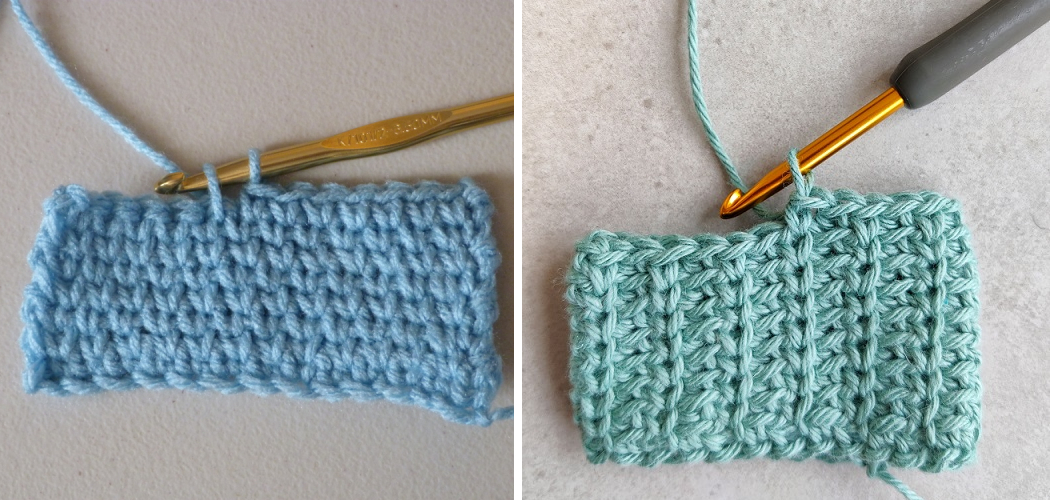
Are you looking for a fun and rewarding hobby? Crocheting can be just the thing to provide both entertainment and purpose. Not only is it an enjoyable pastime, but when your project is complete, you’ll have created something special with your own two hands that can be proudly displayed or given as a gift.
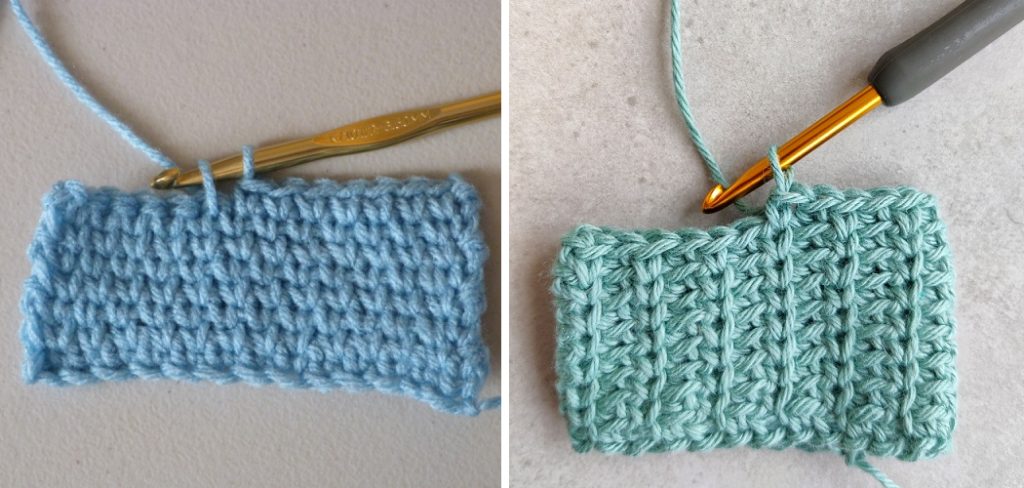
Learning to crochet can seem intimidating at first, but once you get familiar with the basics, like the knit stitch, you’re sure to catch on in no time!
If you’re ready to get started, follow the steps below, and you’ll be crocheting like a pro in no time.
In this blog post about how to crochet knit stitch, we will cover all the fundamentals of crocheting so that even beginners can start creating beautiful works of art.
What Will You Need?
Before you can get started in the world of crocheting, you will need to gather all of the necessary materials. These are given below:
- Crochet hook
- Yarn
- Scissors
- Tape measure
- Tapestry needle
- Stitch markers (optional)
- Graph paper (optional)
You are ready to get started as soon as you have all of your supplies!
8 Easy Steps on How to Crochet Knit Stitch
Step 1: Create a Slip Knot
The first step to start your crochet journey is creating a slip knot. Start by taking the end of your yarn and making a loop, ensuring your short piece, the tail, is on top of the long yarn. Next, fold your loop onto the long yarn piece to make a pretzel shape.
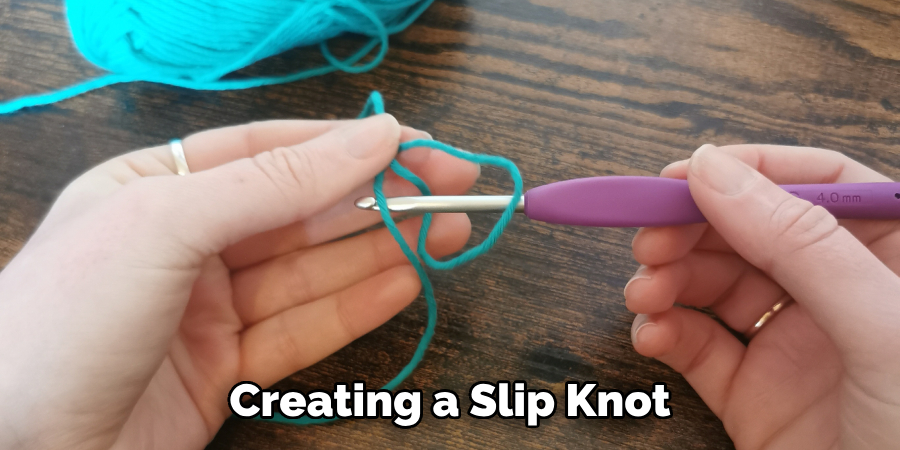
Now, insert your crochet hook into the loop and grab the long piece of yarn under the loop with your hook. Pull this piece of yarn through the loop. Hold on to the tail and slide the knot to tighten it on your hook. You have now created your slip knot! This is the starting point for most crochet projects, including the knit stitch.
Step 2: Make a Chain
After creating your slip knot, the next step is to make a chain. To do this, grab the yarn with your hook and pull it through the slip knot, creating a new loop. This is known as a crochet chain.
Continue this process until you have a chain of the desired length. Remember, the length of your chain will determine the width of your crochet piece. Once you have made a chain, you are ready to begin your first row of crochet knit stitches.
Step 3: Start the Knit Stitch
With your chain ready, you’re now set to begin the knit stitch. Insert your crochet hook into the second chain from your hook, ensuring that you’re working under both chain stitch loops.
Yarn over your hook (this means to wrap the yarn over your hook) and pull it through the chain stitch. You now have two loops on your hook. Yarn over your hook once more and pull it through both loops on your hook. Congratulations, you’ve just completed your first crochet knit stitch!
Step 4: Continue the Row
Now that you’ve mastered the knit stitch, you just need to continue the process for the rest of the row. Repeat Step 3 for each chain stitch in your row. Remember to insert your hook into the chain, yarn over, and pull through, then yarn over again and pull through both loops on your hook.
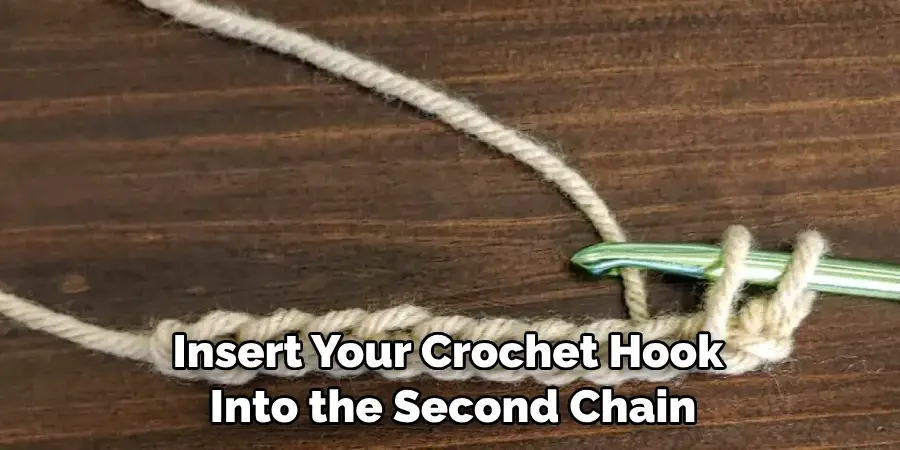
Keep your tension consistent as you work to ensure your stitches are even. Once you’ve finished your first row of knit stitches, it’s time to start the next row.
Step 5: Start the Next Row
To start the next row, you first need to turn in your work. This simply means to flip what you’ve done, so you’re now working from right to left. Before you begin stitching, however, you need to create what’s known as a “turning chain.” This is one chain stitch that adjusts the height of your work so the sides will be even.
To make a turning chain, yarn over and pull through the loop on your hook. This counts as your first stitch of the new row. Now, insert your hook into the second stitch from your hook (the last stitch you made in the previous row) and repeat the process from Step 3. Continue doing this until you reach the end of the row.
Step 6: Repeat Rows
Now that you’ve got the basics of crocheting, all that’s left to do is keep repeating your rows until you reach the desired length. Remember that this will take some practice and patience–crocheting is something you can only pick up after a while!
But with each stitch, you’ll find yourself becoming more confident, and your skills will become more natural. Don’t be discouraged if you make mistakes, everyone does at first. Just take your time, work slowly, and remember to have fun!
Step 7: Finishing Up
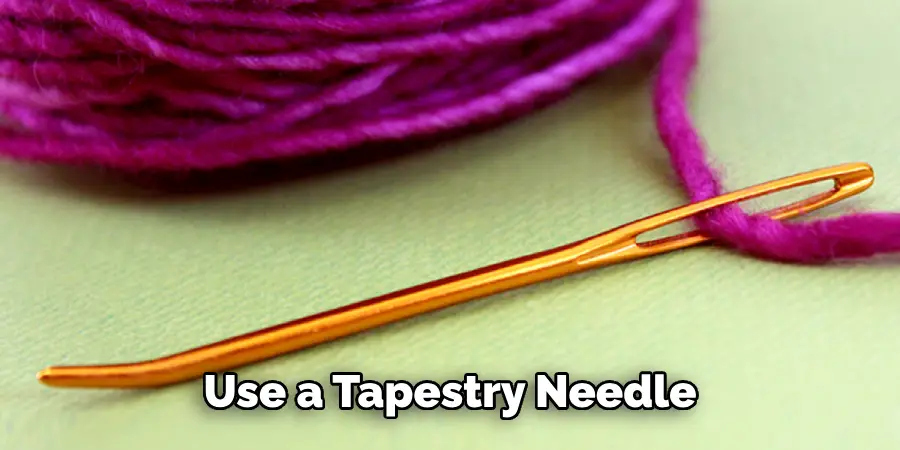
Once you’ve reached the desired length of your project, you are ready to finish up. Cut the yarn, leaving an extra 6 inches (15 cm). Use a tapestry needle to thread the end through all of your loops, then pull it tight. Secure the knot and trim any excess yarn. Now, you’re ready to show off your new crochet project!
Step 8: Finishing Touches
If desired, you can add some finishing touches to your project. This includes weaving in any loose ends or blocking your work. Weaving in the ends simply involves taking a tapestry needle and threading it into the back of your stitches, ensuring they stay secure.
Blocking is another great way to finish off projects. This involves wetting the project and using blocking mats or pins to shape it into its desired look. This is especially useful for sweaters, scarves, and shawls that need to lie flat.
You’ve just learned crochet knit stitch by following these eight easy steps! This is the perfect beginner’s stitch and can be used for any project. This simple yet versatile skill creates blankets, garments, hats, and more. Be sure to practice often to get comfortable with the technique to create beautiful works of art that will last a lifetime.
5 Additional Tips and Tricks
- When crocheting a knit stitch, it’s easy to lose count. To help keep track of your progress, use a stitch marker or paper clip to mark each row.
- Select the right hook for your project. A larger crochet hook will create a more open-knit stitch, while a smaller one will make the stitches tighter and more compact.
- Try using a double crochet knit stitch to create a more textured look. This will give the piece more dimension and texture without adding multiple rows of knitting.
- Try using an invisible knot for a neat finish when binding off your project. Simply pull the last loop through the first loop and then slip it over with your hook to secure it.
- If you’re using a pattern, read through the instructions and note any stitch abbreviations or symbols you may see. This will help make sure that your project looks exactly like the picture!
With these tips and tricks, you can quickly crochet the perfect knit stitch! So grab your yarn and hook, and get creative with crocheting!
5 Things You Should Avoid
- Avoid pulling the stitches too tightly, as this can cause tension and make it difficult to crochet.
- Use a hook that’s manageable for your project, as this can result in an uneven stitch pattern.
- Trying to learn complex stitch patterns without prior knowledge of basic crochet stitches can be challenging and time-consuming, so make sure you practice the basics first.
- Remember to secure your stitches at the end of each row. Otherwise, they may come undone and ruin the whole project!
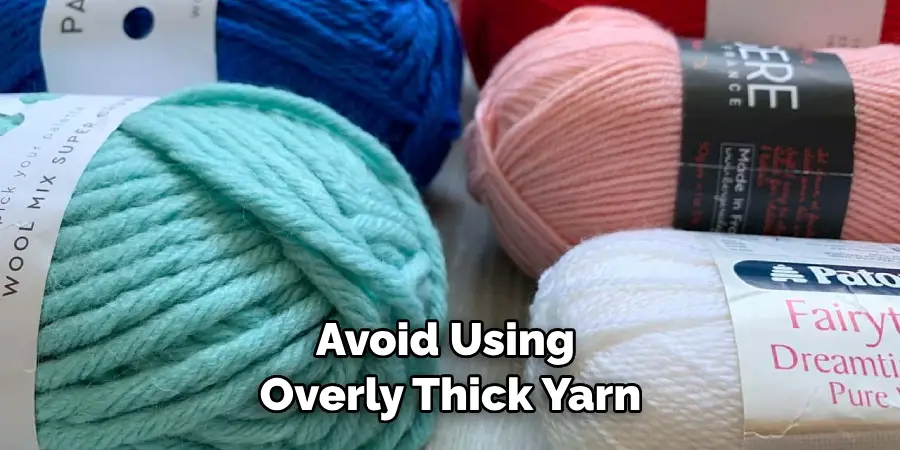
- Avoid using overly thick yarn, as this can make it difficult to see and work with the individual stitches.
By following these tips and tricks, you’ll be able to crochet like an expert in no time! So get ready to create something beautiful with a crochet knit stitch.
What’s the Strongest Crochet Stitch?
The strongest crochet stitch is the half double crochet stitch. This type of stitch creates a tighter and more durable fabric than other stitches like single or double crochet.
The half double crochet stitch also uses fewer yarn wraps than other stitches, making it ideal for projects that require precise work with strong fabric. For extra strength, try using a heavier yarn to make your crocheted fabric even more durable.
Going beyond the half double crochet, you can also try a variety of other crochet stitches like the slip stitch, treble crochet, or Tunisian simple stitch for added strength and texture. Experimenting with different types of stitches is a great way to get creative and find the perfect stitch for your project!
So now that you know crochet knit stitch and which stitch is the strongest, it’s time to get creative! Be bold and experiment with different stitches and colors of yarn once you create a project that you’re proud of.
Conclusion
How to crochet knit stitch can initially seem intimidating, but the ability to make beautiful garments and other items is within reach. This tutorial has been a great guide to help you begin learning the basics of the technique, from reading crochet patterns to achieving a successful finished product.
Taking the time to master the techniques outlined here will open up an entirely new world of crafting possibilities, allowing you to create everything from sweaters and bags to scarves and blankets.
So why not grab your idle needles and yarn and give it a go? We’re confident that with patience and practice, you’ll be hooked on crocheting before you know it!

