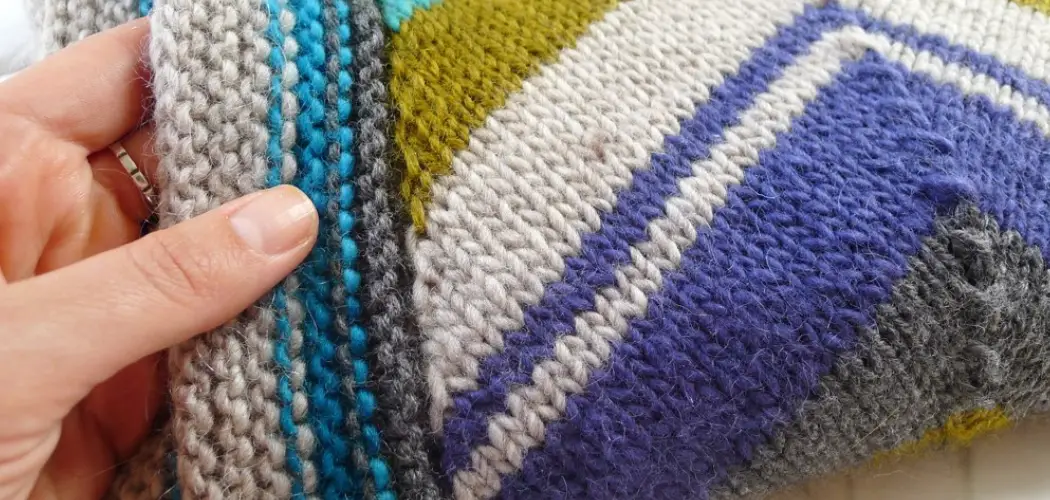
Crocheting is a beloved craft for many, offering a creative outlet and producing beautiful and functional items. One of the most popular projects among crocheters is creating blankets, and one particular design that has gained widespread popularity is the chevron blanket. The distinct V-shaped pattern adds a modern touch to any room, making it a sought-after item for home decor or as an impressive handmade gift.
In this blog post, we will guide you through step-by-step instructions on how to crochet chevron blanket. No matter your skill level or experience with crocheting, this guide will help you create a stunning chevron blanket that you can be proud of. So grab your hooks and yarns because it’s time to get crafting!
Necessary Items
Before we start, let’s review the items you will need to complete this project. These are the basic supplies, but feel free to add any additional materials you prefer.
- Yarn: Choose yarn in the colors and weight you choose for your chevron blanket. For beginners, using medium-weight thread (known as worsted weight or “4” on the label) is recommended.
- Crochet Hook: Choose a hook corresponding to the yarn weight you selected. Use a size H (5mm) to I (5.5mm) crochet hook for medium-weight yarn.
- Scissors: You will need scissors for cutting your yarn at various points throughout the project.
- Yarn Needle: A yarn needle is necessary for weaving in the ends of your yarn and sewing any pieces together.
- Stitch Markers (optional): Using stitch markers to keep track of your stitches and pattern repeats can be helpful.
Now that you have all the necessary materials, let’s dive into the instructions for creating your chevron blanket.
10 Steps on How to Crochet Chevron Blanket
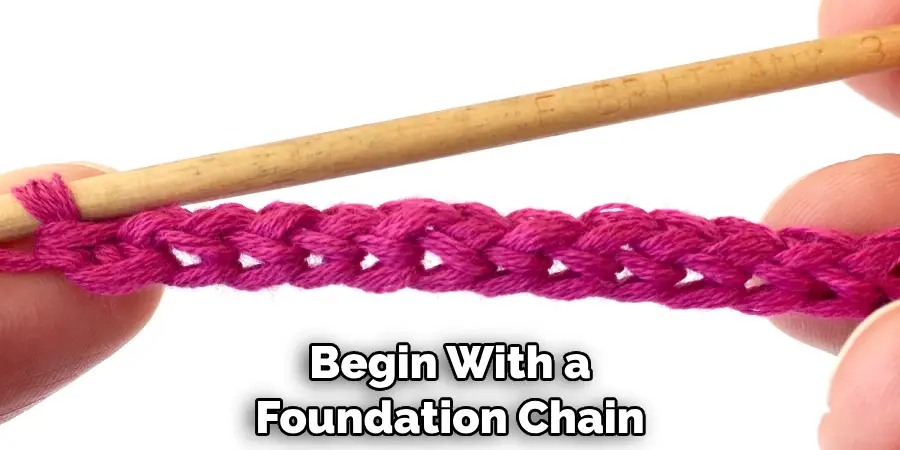
Step 1: Begin with a Chain
To start your chevron blanket, you will begin with a foundation chain. The length of your chain will determine the width of your blanket. Remember that the finished size of your blanket will be slightly smaller than the length of your initial chain due to the crochet stitches.
Step 2: Foundation Row
After creating your starting chain, work a single crochet into the second chain from your hook—single crochet into each stitch across until you reach the end of the row.
Step 3: Increase Stitch
You must increase stitches at specific points in each row to create the distinctive chevron pattern. This is done by working two single crochets into one stitch. Work two single crochets into the last stitch of your foundation row in this step. This will increase the number of stitches in your row by one.
Step 4: Half-Double Crochet Stitches
In this step, begin a half-double crochet by yarning over, then inserting your hook into the next stitch. Yarn over again and pull through all three loops on your hook. Repeat this process across the row, increasing one stitch at each end.
Step 5: Double Crochet Stitches
Next, work double crochet stitches across the row. Remember to increase one stitch at each end by working two double crochets into the last stitch of each row.
Step 6: Repeat Pattern
Repeat steps 4 and 5 until your chevron pattern is the desired length. Remember that each row will be slightly longer than the previous one due to increasing stitches.
Step 7: Decrease Stitches
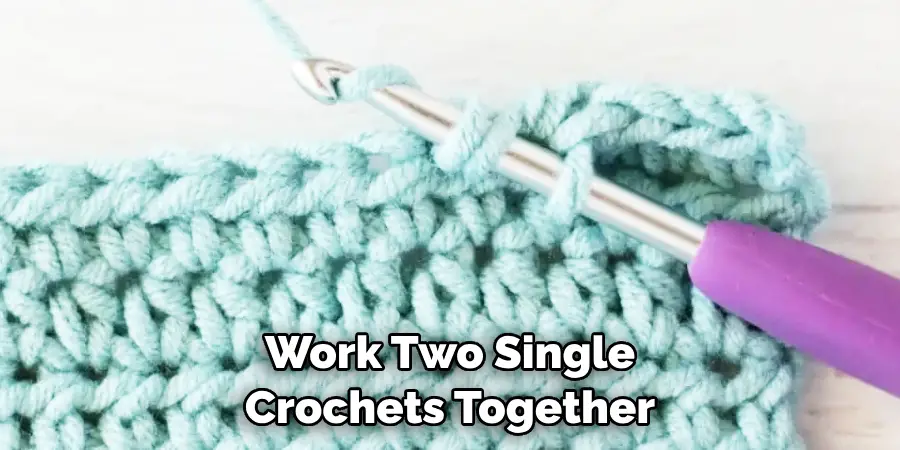
To complete your chevron blanket, you will now need to decrease stitches. This will create the downward slope of the chevron pattern. Work two single crochets together at each end of the row to do this. This will decrease the number of stitches by one.
Step 8: Half-Double Crochet Decrease
Next, decrease your half-double stitches by working two half-double crochets together at each end of the row.
Step 9: Double Crochet Decrease
Decrease your double crochet stitches by working two double crochets together at each end of the row.
Step 10: Finishing Touches
Weave in all loose ends using a yarn needle to finish your chevron blanket. You can also add any desired borders or embellishments to personalize your blanket.
You have now completed your very own chevron blanket! Whether you are a beginner or an experienced crocheter, this project is sure to impress. The versatility of the chevron pattern makes it a perfect addition to any home and can be customized with different colors and yarn weights.
9 Things to Avoid When Crocheting Chevron Blanket
1) Skipping Increases or Decreases
To ensure your chevron pattern comes out correctly, following the instructions and not skipping any increases or decreases is crucial. This will result in an uneven or distorted way.
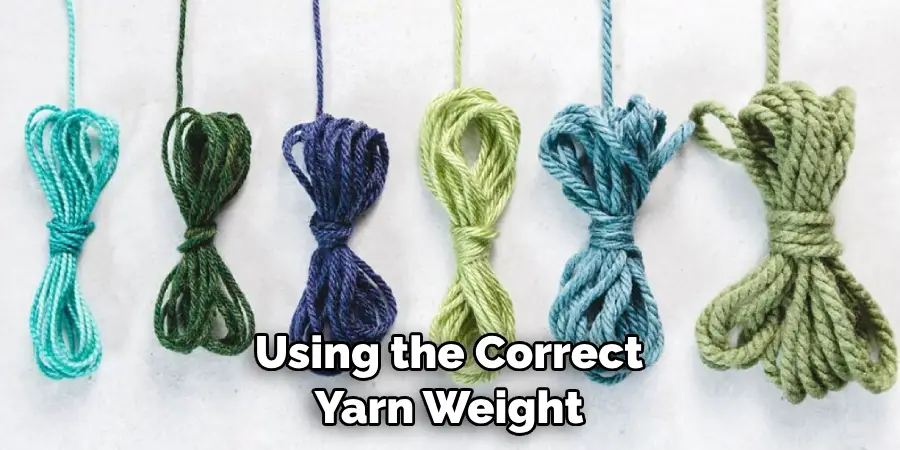
2) Using the Wrong Yarn Weight
As mentioned earlier, using the correct yarn weight is essential for this project. Using a thicker or thinner yarn than recommended will alter the size and look of your chevron blanket.
3) Not Counting Your Stitches
It is easy to lose track of your stitches while working on a large project like a blanket. Count your stitches regularly, especially at the end of each row, to ensure you are on track.
4) Rushing Through Rows
Take your time while crocheting, especially when working on the increases and decreases. Rushing through rows can result in mistakes that take time to fix later on.
5) Not Checking Gauge
Before starting your chevron blanket, creating a small sample swatch using the yarn and hook size you have chosen is helpful. This will help you determine if your gauge is correct and make any necessary adjustments.
6) Crocheting Too Tightly
Tension is crucial in crocheting, and it is essential to maintain an even pressure throughout your project. Crocheting too tightly can result in a stiff or warped blanket.
7) Using the Wrong Hook Size
Using the wrong size hook can also affect the size and tension of your stitches. Make sure to use the recommended hook size for your chosen yarn.
8) Not Blocking Your Finished Blanket
Blocking is a technique used to reshape and smooth out crocheted pieces. While it is unnecessary, blocking can enhance the look of your chevron blanket and make it appear more polished.
9) Not Enjoying the Process
Lastly, remember to enjoy the process of crocheting your chevron blanket. This project should be fun and relaxing, so don’t stress too much about perfecting it. Every handmade piece is unique and beautiful in its way.
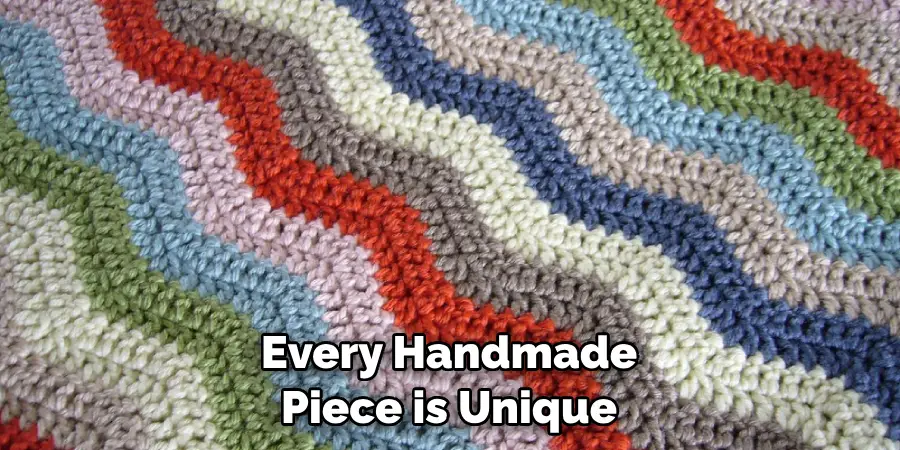
In addition to these tips on how to crochet chevron blanket, you can explore many other techniques and variations when crocheting a chevron blanket. Don’t be afraid to get creative and make it your own! Happy crocheting! So, pick up your crochet hook and create your unique chevron blanket today. Remember to have fun and enjoy the process; it is just as important as the finished product.
8 Additional Tips for Crocheting Chevron Blanket
1) Experiment with Different Color Combinations
The chevron pattern lends itself well to using multiple colors, making it the perfect project to experiment with different color combinations. You can use a few complementary colors or make a rainbow-inspired blanket.
2) Try Using Variegated Yarn
Variegated yarn is an excellent choice for a chevron blanket as it creates a beautiful effect without switching colors. This can save time and create a unique look.
3) Don’t Be Afraid to Adjust the Pattern
While following a pattern is helpful, adjust it to suit your preferences. For example, you can make your chevron thicker or thinner by adding or subtracting rows.
4) Add a Border
A simple border can give your chevron blanket a finished look. You can use a single crochet or shell stitch to create a border around the edges of your blanket.
5) Use Different Yarn Textures
Adding different yarn textures, such as fuzzy or chunky yarn, can add dimension and interest to your chevron blanket. Just make sure to use the same weight yarn throughout the project.
6) Create Matching Accessories
Once you’ve completed your chevron blanket, you can use leftover yarn to create matching accessories such as pillows, scarves, or even a smaller throw blanket.
7) Personalize with Appliqués or Embroidery
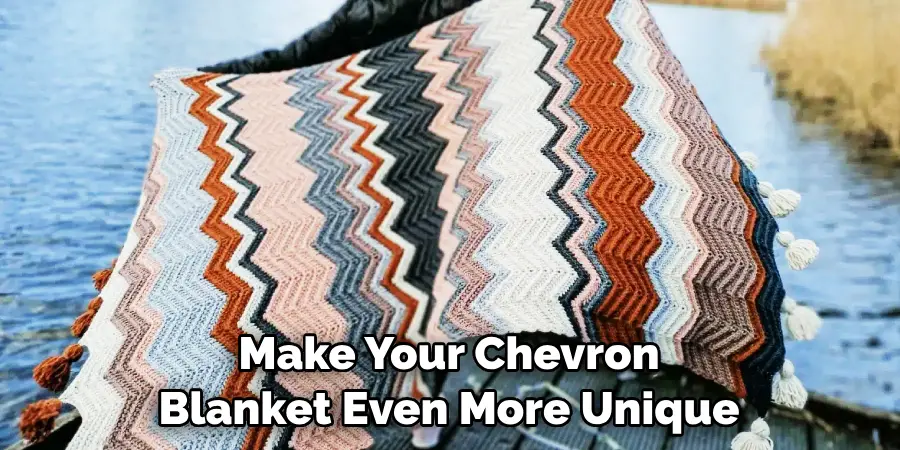
To make your chevron blanket even more unique, consider adding appliqués or embroidery. You can add flowers, animals, initials, or any design you desire.
8) Make it a Group Project
Crocheting can be a social activity, so consider making your chevron blanket as a group project with friends or family. Everyone can choose their colors, work on their section, and then join them together. This can make for a memorable and fun experience. So get creative with your Chevron blanket, as there are endless possibilities for customization and personalization.
Creating a chevron blanket is not only a fun and relaxing activity but also results in a beautiful and practical piece that can be treasured for years to come. So grab your supplies and start crocheting your very own chevron blanket today! Remember to share your finished project with others and inspire them to try their hand at this classic crochet pattern.
Frequently Asked Questions
How Long Does It Take to Crochet a Chevron Blanket?
The time it takes to crochet a chevron blanket depends on your project’s size and crocheting speed. It can take anywhere from a few days to several weeks.
Do I Have to Use a Specific Yarn Weight for a Chevron Blanket?
While you can use any yarn weight for your chevron blanket, the recommended yarn weight will ensure that your project turns out as intended. Using a different weight may alter the size and look of your blanket.
Can I Make a Chevron Blanket in Different Sizes?
Yes, you can adjust the size of your chevron blanket by adding or subtracting rows. Remember that this may also affect the amount of yarn needed for the project.
So, make a smaller throw blanket or an enormous bedspread according to your preferences and needs. Remember these tips and tricks, and you will be on your way to crocheting a stunning chevron blanket in no time. So, grab your supplies and create your own cozy and stylish chevron blanket today. Remember to have fun, and don’t be afraid to try new techniques or variations.
How Do I Wash and Care for my Chevron Blanket?
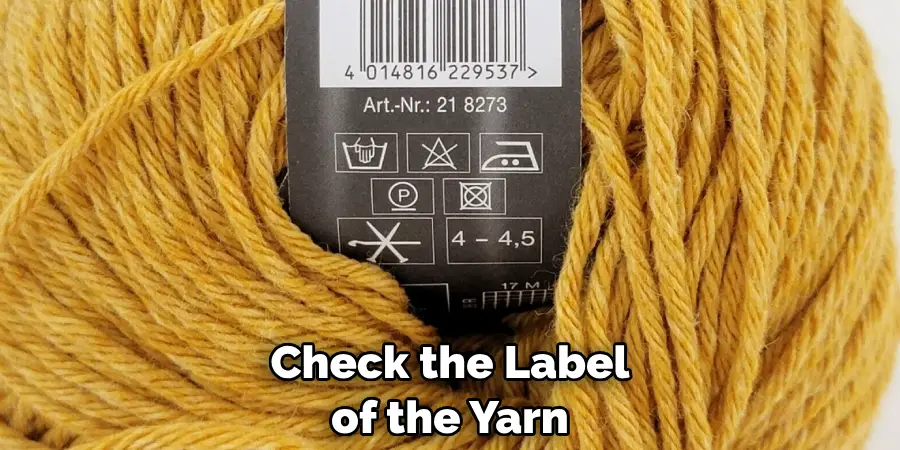
Be sure to check the label of the yarn you are using, as it may have specific care instructions. Hand washing your chevron blanket and laying it flat to dry is recommended to maintain its shape and texture. So, handle your blanket with care; it will last for years!
Can I Use a Different Stitch for My Chevron Blanket?
While the classic chevron pattern is created using double crochet stitches, you can experiment with different stitches such as single crochet, half double crochet, or even a combination of stitches.
This can create a unique and textured look for your blanket. So, explore different stitch combinations and see what works best for your project. With these tips and techniques, you are now equipped to create your very own beautiful chevron blanket.
Conclusion
Crocheting a chevron blanket is a fun and rewarding project, allowing you to customize and create something unique. By following these tips on how to crochet chevron blanket, experimenting with different techniques, and adding your personal touch, you can create a stunning chevron blanket that will be cherished for years to come.
This blog post has given you all the necessary information and inspiration to create your crochet chevron blanket. From mastering the basic stitches to experimenting with different color combinations, crocheting a chevron blanket is a fun and rewarding experience for crafters of all levels.
It is a great way to relax and unleash your creativity and makes for a beautiful and practical piece of home decor. Through this process, you have learned a new skill and developed patience, precision, and attention to detail. As you snuggle under your finished blanket, remember your journey to create it and be proud of yourself for achieving something truly unique and handmade.
And if this was your first time crocheting or trying out the chevron pattern, keep exploring and challenging yourself to try new techniques and practices in your future projects. With each stitch, you are creating something unique that reflects your personal touch and style.

