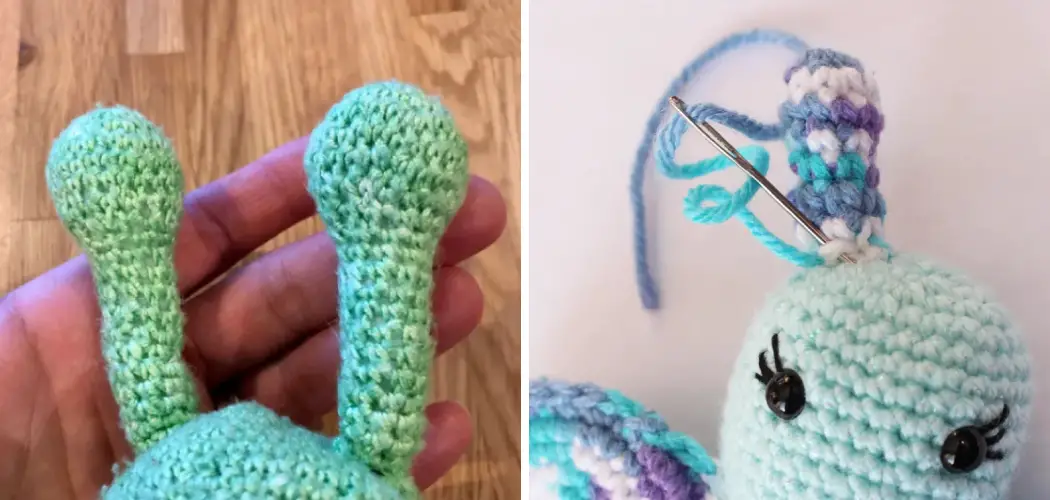
Welcome, crochet enthusiasts! Are you ready to elevate your crafting game? Crocheting has been around for centuries and continues to be a popular pastime. From scarves to blankets, endless projects can be created with just a hook and some yarn.
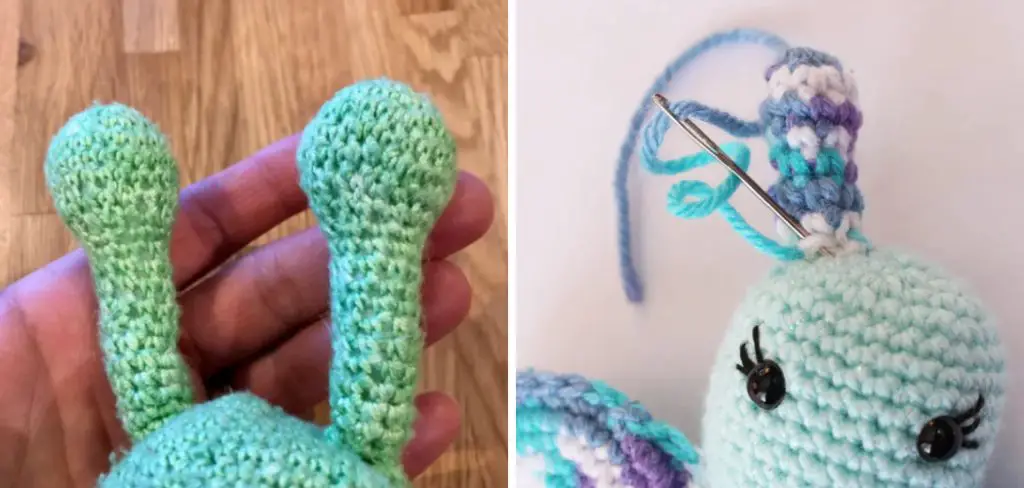
However, have you ever thought about crocheting something unconventional? Something unique that will make heads turn and spark conversations? Well, get ready because today we are exploring the world of crocheted antennas! Yes, you read that right – antennas!
In this blog post, we will dive into the step-by-step process of how to crochet antennas. The end result is not only visually stunning but also functional, as it can be used as an accessory or even as part of a costume for a themed event.
So grab your hooks, and let’s get started on this creative journey together.
What are the Benefits of Crocheting Antennas?
Before we jump into the process, let’s first discuss the benefits of crocheting antennas. The most obvious benefit is that it allows you to create something unique and eye-catching. In a world where everything is mass-produced, handmade accessories add a special touch to any outfit or event.
Additionally, crocheted antennas can also be a great conversation starter. People will be curious and intrigued by your antennas, which can lead to exciting discussions about crocheting and DIY projects.
Crocheting antennas also allow you to practice new stitches and techniques. It’s a fun way to challenge yourself and improve your crocheting skills.
What Will You Need?
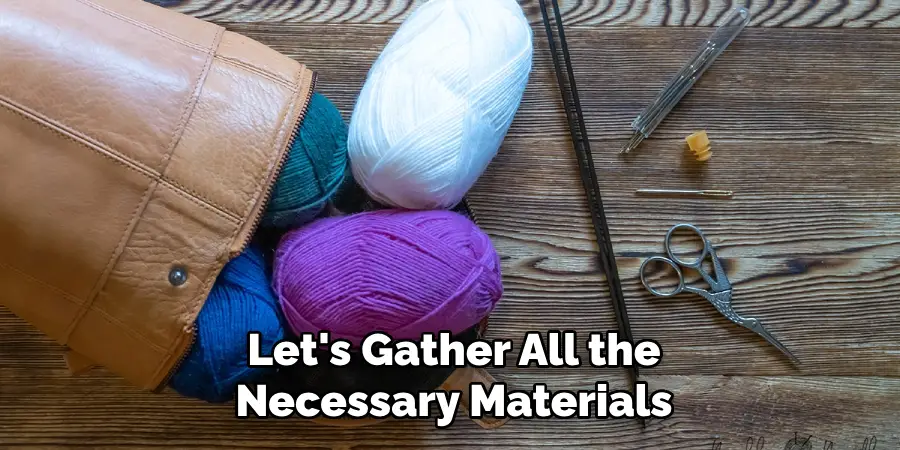
First things first, let’s gather all the necessary materials before we begin crocheting. For this project, you will need:
- Crochet hook (size depends on your preference and yarn weight)
- Yarn (preferably in a bright color that will stand out)
- Scissors
- Tapestry needle
That’s it! Simple. Now, let’s move on to the actual crocheting process.
10 Easy Steps on How to Crochet Antennas
Step 1: Creating the Base
Start by creating a slipknot. Insert your crochet hook into the slipknot loop, ensuring it’s snug but not too tight. Next, create a foundation chain. This will serve as the base of your antenna. The chain length will determine the length of your antenna, so adjust accordingly.
To create a foundation chain, yarn over your hook and draw it through the slipknot loop. Keep repeating this process until you’ve reached your desired length. Once complete, you’ve successfully created the base for your antenna. In the next step, we’ll add height and dimension to this base.
Step 2: Adding Height to the Antenna
The next step to crochet antennas involves adding height to the base you’ve just created. To do this, we will use the double crochet stitch. Here’s how to do it: first, yarn over your hook, insert it into the second chain from your hook, yarn over again, and pull through. You should now have three loops on your hook. Yarn over again and pull through the first two loops on your hook.
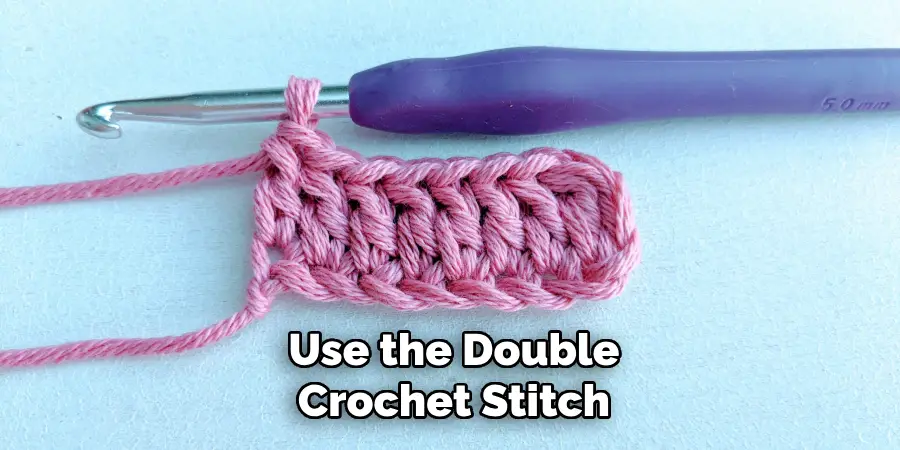
Again, yarn over and pull through the remaining two loops on the hook. Repeat this process along the entire length of the chain. This completes the first row of your antenna. Depending on your desired thickness, add more rows using the same process. Each row will add to the height and thickness of your antenna.
Step 3: Shaping the Antenna
Now that you’ve built up some height, we will start shaping the antenna. We’ll do this by decreasing stitches in each subsequent row. To decrease stitches in a row, skip the next row’s first stitch and double crochet into the following stitch. Continue to double-crochet to the end of the row.
Repeat this process for each new row until you have just one stitch. This technique gives the antenna a tapered look, mimicking the shape of a real antenna. Remember, it’s all about creativity and personal style, so feel free to make any alterations to suit your vision better.
Step 4: Finishing the Antenna
Once you’ve achieved your desired shape, it’s time to finish off your crochet antenna. To do this, cut the yarn, leaving a tail long enough to weave in later (around 6 inches should suffice). Yarn over and pull through the loop on your hook completely. This will create a knot that secures your work. Now, using a tapestry needle, weave at the end of your yarn into the stitches of your antenna, working in one direction and then back in the opposite direction to ensure it’s secure.
Step 5: Creating the Second Antenna
The final step involves creating the second antenna. The process is exactly the same as the first. Start by making a new slipknot and creating a foundation chain. Remember to keep the chain the same length as the first antenna to ensure symmetry.
Follow through with the double crochet stitches, decreasing stitches for each subsequent row to add dimension and shape. Finally, when your second antenna reaches the desired shape and size, cut the yarn, secure the last stitch, and weave in your ends. Voila! You have successfully crocheted a pair of antennas!
Step 6: Attaching the Antennas
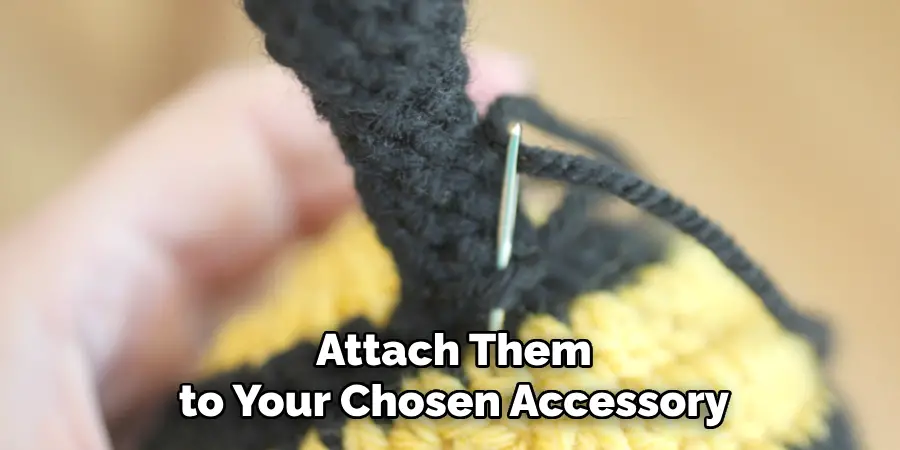
Now that we have crocheted the antennas, the final step is to attach them to your chosen accessory or costume. You might use different methods depending on what you’re attaching them to. If you’re attaching them to a hat or headband, you could sew them on using a needle and thread. Or if you’re attaching them to a costume, you might use safety pins for easy removal.
Be sure to position them correctly before attaching them, ensuring they are symmetrical and standing upright. Once attached, you’re all set! Your unique, handmade crocheted antennas are ready to make a statement. Get ready for the compliments and curious questions to roll in at your next themed party or event.
Step 7: Caring for Your Crocheted Antennas
After all your hard work and creativity put into crocheting antennas, it’s essential to know how to care for them to ensure their longevity properly. As these are delicate handmade items, it’s best to wash them gently by hand in cold water with a mild soap. Avoid wringing or twisting them, as this could distort their shape. Instead, gently press out excess water between towels.
To dry, lay them flat on a towel, carefully reshaping if needed. Store your crocheted antennas in a cool, dry place when not in use. With a bit of care, your crocheted antennas will continue attracting attention and conversations for many upcoming events.
Step 8: Repeating the Process
As you become more comfortable with crochet antennas, you may want to experiment with different colors, yarn types, or sizes. You can create more significant, more whimsical antennas for costumes or smaller, more subtle ones for everyday wear.
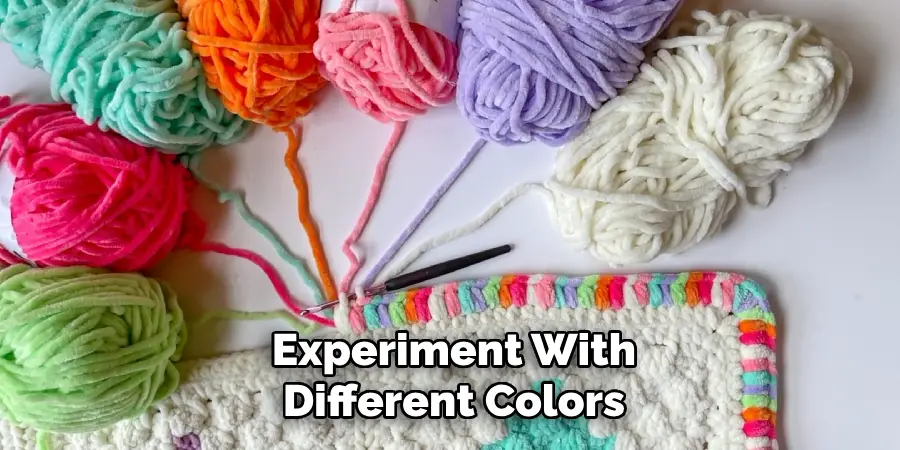
The beauty of crocheting is that you are only limited by your creativity. The process remains the same, no matter the variation – simply adjust the length of your foundation chain and the number of rows to achieve your desired size.
Step 9: Sharing Your Creations
Once you’ve mastered the art of crocheting antennas and experimented with different styles and sizes, it’s time to share your creations with the world. You could gift them to friends and family, use them as unique decorative items in your home, or even sell them at local craft fairs or online stores. Sharing your work not only brings joy to others but also helps to foster a sense of community among fellow crafters.
Remember to take pictures of your finished antennas; this serves as a record of your work and provides a platform to showcase your creativity. Remember, every antenna you crochet is a testament to your skill and creativity, and every shared piece inspires someone else to start their crochet journey.
Step 10: Reflecting on Your Progress
Taking a moment to reflect on your progress and your creations is an invaluable part of the crafting journey. Look at your finished antennas and take pride in the workmanship, creativity, and effort you’ve put into each stitch. Each antenna is not just a fun accessory or decoration but also a tangible example of your growing skills and creativity in crocheting.
As you continue to develop your crocheting abilities, remember that each piece is an opportunity to learn, improve, and express your unique style.
By following these steps, you can confidently crochet your antennas and add a touch of handmade charm to any outfit or costume.
5 Additional Tips and Tricks
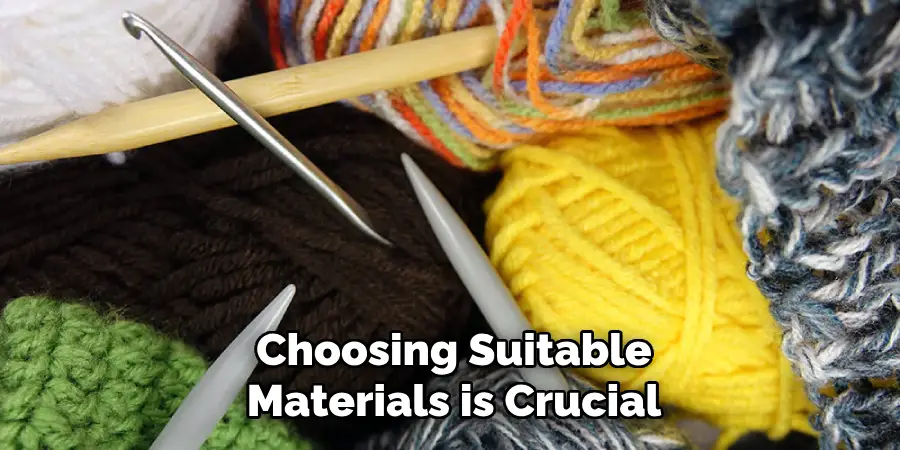
- Select the Right Yarn: Choosing suitable materials is crucial in creating beautifully crocheted antennas. Opt for sturdy and durable yarns that hold shape well.
- Use A Suitable Hook Size: Your hook size can significantly influence the final outcome. A smaller hook can help create tighter stitches, giving your antennae a more structured appearance.
- Keep Tension Consistent: Maintaining uniform tension is critical in achieving a well-crafted crochet antenna. Inconsistent pressure can lead to uneven stitches and a less polished finish.
- Practice the Magic Ring Technique: This essential technique can help you start your antenna in a neatly rounded way, giving it a more symmetrical appearance.
- Stuff Your Antennae: If you want your antennae to hold up straight, consider stuffing them with a bit of polyfill. This can make your crocheted antennas stand out.
With these additional tips and tricks, you can take your crochet antenna game to the next level. Remember to be patient and practice regularly to perfect your technique.
5 Things You Should Avoid
- Avoid Rushing: Crocheting requires patience. Refusing the process may lead to mistakes and imperfections in your antennas.
- Don’t Use Slippery Yarn: While it might be tempting to use shiny, slippery yarns for their aesthetic appeal, they can be challenging to work with and may not hold the shape of the antennas well.
- Avoid Inconsistent Stitch Sizes: Maintain consistency in your stitches. Inconsistent stitch size can distort the shape of your antennas, leading to an unsatisfactory result.
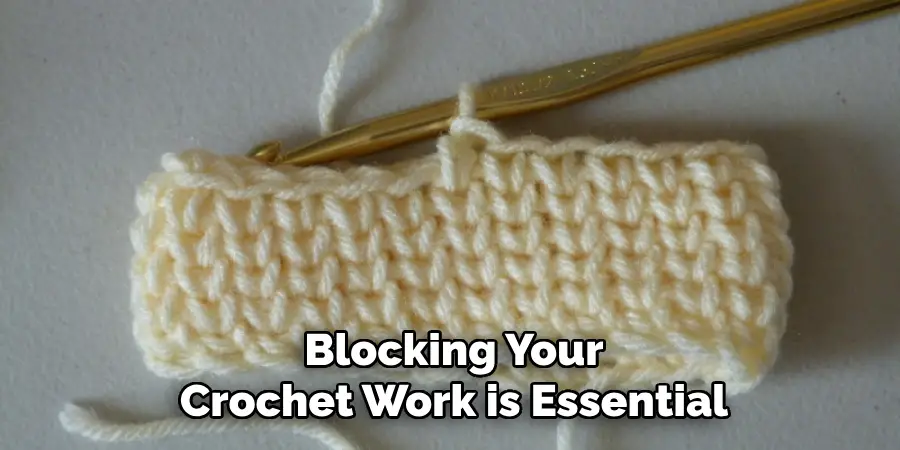
- Don’t Neglect Blocking: Blocking your crochet work is essential, especially for pieces that require a specific shape, like antennas. Don’t skip this step, as it helps to set the stitches in place, enhancing the overall appearance of your project.
- Avoid Overstuffing: While stuffing your antennas can help them stand straight, overdoing them can cause them to become overly rigid or distorted. Use enough stuffing to give them the desired stiffness without compromising their form.
By avoiding these common pitfalls, you can ensure that your crocheted antennas are of the highest quality and look their best.
5 Different Design Ideas
- Flower Antennae: Add crocheted flowers to your antennas for a whimsical and fun look.
- Caterpillar Antennae: Using different colored yarns, crochet multiple short segments to create the illusion of a caterpillar on your head.
- Pom-Pom Antennae: Crochet a large, plush pom-pom and attach it to the top of your antennae for a playful touch.
- Animal Antennae: Add small crocheted ears or other animal features to your antennas for a cute and creative design.
- Festival Antennae: Incorporate glitter yarn or other festive materials into your crochet work for antennas, perfect for a music festival or other special event.
The possibilities are endless when it comes to designing and creating crocheted antennas. Let your imagination run wild and experiment with different styles and elements.
Conclusion
In conclusion, how to crochet antennas may seem daunting at first, but with the proper techniques and practice, anyone can create their own beautiful and unique antennas. Whether you’re using them for cosplay or just as a fun accessory, crocheting these antennas is enjoyable and allows for personal customization.
So grab your yarn and hook, and let your creativity flow as you create your antennas. Feel free to try new stitch patterns or experiment with different yarn colors. And remember, don’t get discouraged if it doesn’t turn out perfectly the first time – practice makes perfect! As you continue your crochet journey, you may discover new techniques and tips to enhance your antenna-making skills significantly.
So why wait? Start crocheting those antennas today and show your unique creations to the world! Happy hooking!
Expertise:
Crafting expert with a focus on innovative techniques and diverse materials.
Specialization:
- Textile arts (weaving, embroidery, and fabric dyeing)
- Woodworking and furniture design
- Mixed media and upcycling projects
Recognition:
- Featured in local art exhibits showcasing innovative craft projects
- Collaborated with community organizations to promote crafting workshops
- Received accolades for contributions to sustainable crafting initiatives
Mission:
- To inspire and empower crafters of all levels to discover their creative potential
- Encourages experimentation and self-expression through hands-on projects

