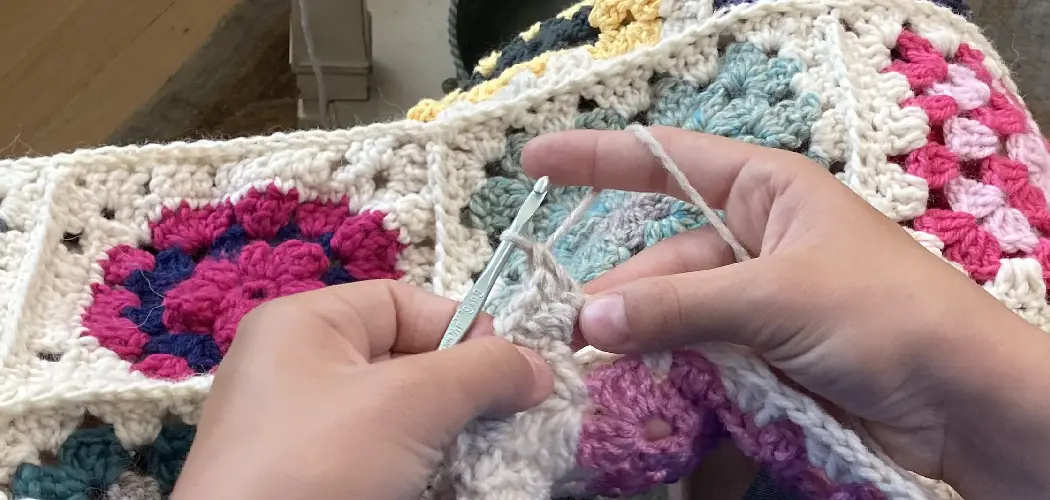
Unlocking the captivating realm of visual storytelling in crochet, the art of crocheting an image transforms yarn into a canvas, allowing crafters to recreate intricate designs and capture detailed scenes with the hook and thread. Whether you aspire to crochet portraits, landscapes, or intricate patterns, the process of translating images into crochet work introduces a new dimension to this timeless craft. In this guide, we embark on how to crochet an image, unraveling the steps and techniques involved in crocheting an image.
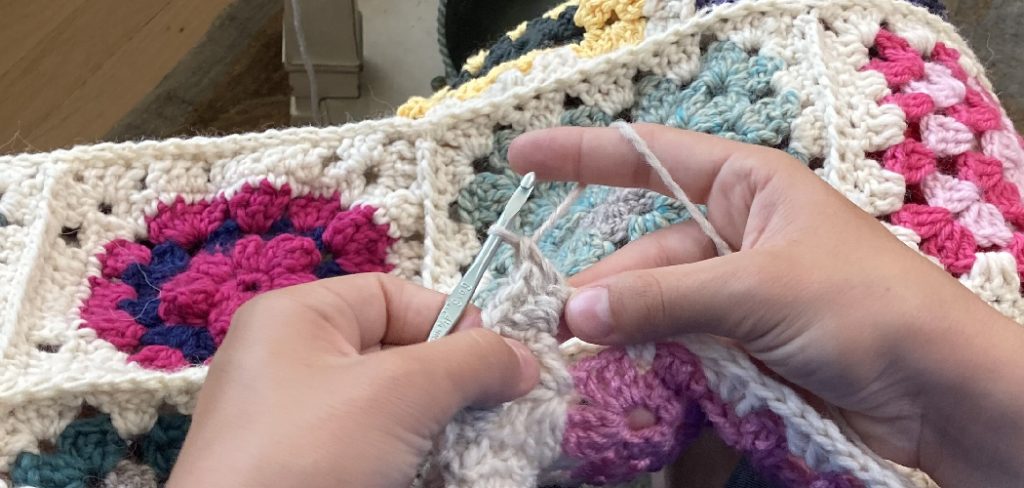
From selecting the right yarn colors to mastering graphghan patterns and pixel crochet, this exploration delves into the nuances of turning a photograph or design into a textured masterpiece. Whether you’re a crochet enthusiast seeking a challenge or an artist expressing yourself through fiber, join us as we navigate the fascinating intersection of art and craft, discovering the intricate steps behind bringing images to life with the rhythmic dance of crochet stitches.
Selection of Yarn Colors
The first step in learning how to crochet an image is to select the yarn colors that you will be using for your project. This may seem like a simple task, but it can actually have a big impact on the final result.
When choosing yarn colors, there are a few things to consider. First and foremost, think about what type of image you want to crochet. Is it a realistic portrait, a cartoon character, or an abstract design? Each of these types may require different color choices.
Next, take into account the type of yarn you will be using. Different fibers and textures can affect how colors appear when crocheted together. For example, acrylic yarns tend to have more vibrant colors while wool yarns may give a softer look.
You may also want to consider the size of your project. If you are crocheting a small image, it may be best to stick with just a few colors to keep the design from becoming too busy. However, for larger projects, you may have more freedom to use a wider range of colors.
It can also be helpful to create a color palette before starting your project. This can be done by collecting swatches of yarn in different colors and arranging them together to see how they look. You can also use color charts or online tools to help you plan out your color scheme.
Remember, there are no set rules when it comes to selecting yarn colors for crocheting an image. Don’t be afraid to experiment and play around with different combinations to find what works best for your project. And if you’re still unsure, don’t hesitate to ask for advice from other crocheters or refer to crochet patterns for inspiration.
10 Methods How to Crochet an Image
1. Choose the Right Yarn and Hook Size
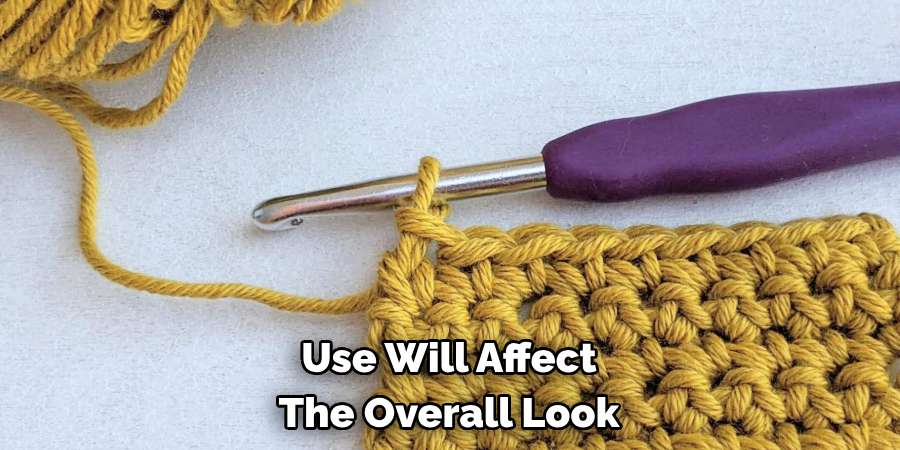
The first step in crocheting an image is to choose the appropriate yarn and hook size. The type of yarn you use will affect the overall look and feel of your project, so make sure to select a yarn that is suitable for the image you want to create. Additionally, the size of your hook will determine the size of your stitches, so be sure to choose a hook that matches your desired gauge.
2. Gather All Necessary Materials
Before starting your crochet project, it’s important to gather all the necessary materials. This includes yarn, hooks, scissors, stitch markers, and any other tools or accessories you may need for your specific pattern. Having everything organized and within reach will make the crocheting process much smoother.
3. Create a Pattern or Use a Pre-Made One
Next, you’ll need a pattern for your image. You can either create your own using graph paper or find a pre-made pattern online. A graph paper allows you to plan out each stitch and color beforehand, while pre-made patterns often include written instructions and color charts.
4. Begin with a Foundation Chain
Once you have your pattern ready, it’s time to start crocheting! Begin by creating a foundation chain using your chosen yarn and hook size. The length of this chain will depend on the width of your image. If you are unsure, you can measure the width of your image and add a few extra chains to be safe.
5. Follow the Pattern Carefully
As you begin working on your image, be sure to follow the pattern carefully. Pay attention to any special stitches or color changes indicated in the instructions. It can also be helpful to use stitch markers to keep track of where you are in the pattern. Although it might be tempting to try variations or make changes, following the pattern as written will ensure that your image turns out correctly.
6. Use Different Crochet Techniques
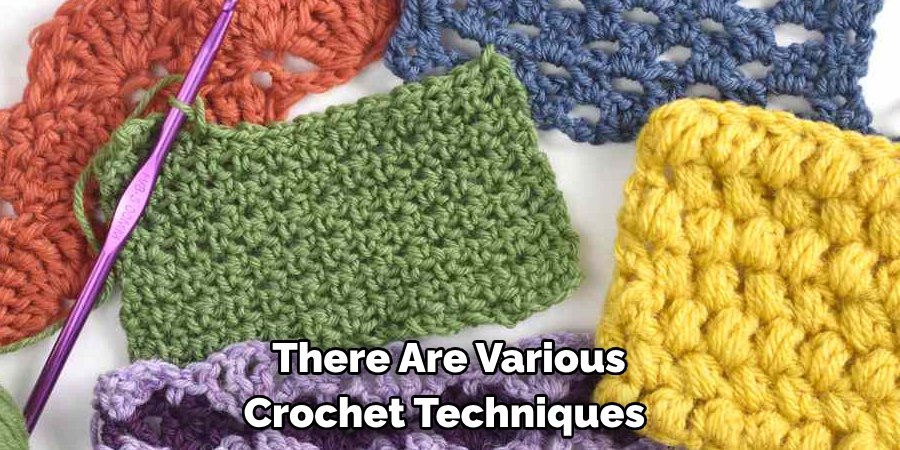
There are various crochet techniques that can help bring an image to life. For example, changing colors with each row can create a pixelated effect while using different types of stitches can add texture and dimension. Though it may seem daunting at first, experimenting with different techniques is an essential part of crochet that allows for creative expression.
7. Weave in Ends as You Go
To avoid a tangled mess at the end, it’s best to weave in your yarn ends as you go. This means hiding any loose ends of yarn behind your stitches so they are not visible in the finished image. To weave in ends, use a smaller crochet hook to pull the end of your yarn through several stitches on the back of your work. Then trim off any excess yarn close to the stitches.
8. Block your Project
Blocking is an important step in crocheting an image. It involves wetting and shaping your project to ensure that it lays flat and all stitches are uniform. This will give your image a more polished and professional look.
9. Add Finishing Touches
Once your project is blocked and dry, you can add any finishing touches such as embroidery or embellishments to enhance the details of your image. This step is completely optional and depends on the complexity of your design. If you’re creating a simple image, you may not need any additional touches. However, if you’re making a more intricate piece, adding details with embroidery or embellishments can really make it stand out.
10. Display or Use Your Crocheted Image
Finally, display or use your crocheted image! You can frame it, sew it onto a garment, or even turn it into a pillow cover. The possibilities are endless!
Choosing the Right Image for Crocheting
One of the most exciting things about crocheting is being able to create beautiful and unique pieces using just a hook and some yarn. And with the rise of social media, crocheters are now taking it to the next level by crocheting images into their work.
Crocheting an image can seem like a daunting task, but with a little bit of knowledge and some practice, anyone can do it. The first step is to choose the right image for your project.
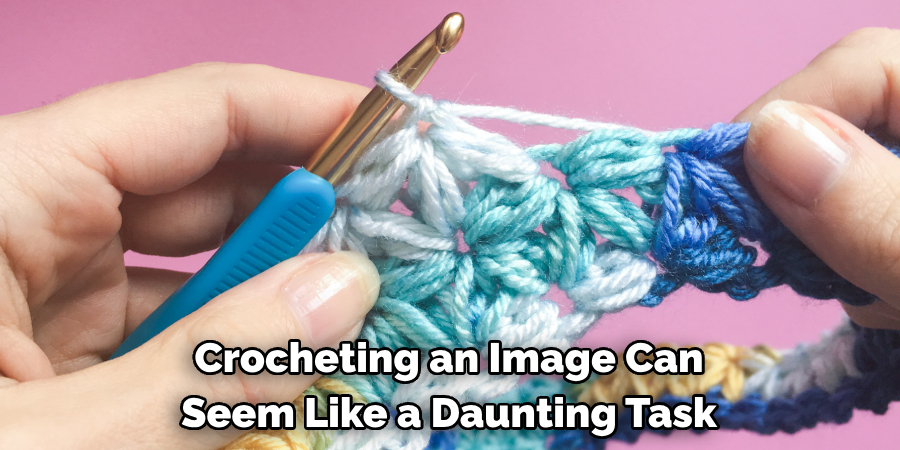
When selecting an image, there are a few things to keep in mind. First, consider the level of detail in the image. The more intricate the design, the more challenging it will be to crochet. It’s essential to start with simpler images if you’re new to crocheting images.
Next, consider the size of your project. Crocheting an image will require a lot of time and patience, so it’s important to choose an image that you’re willing to spend hours working on. If you’re new to crocheting images, it may be best to start with a smaller project before moving on to larger ones.
Adjusting Image Size for the Intended Project
One of the key elements in creating crocheted images is adjusting the size of your image to fit the intended project. This can be done by altering the number of stitches and rows used, as well as choosing a different hook size.
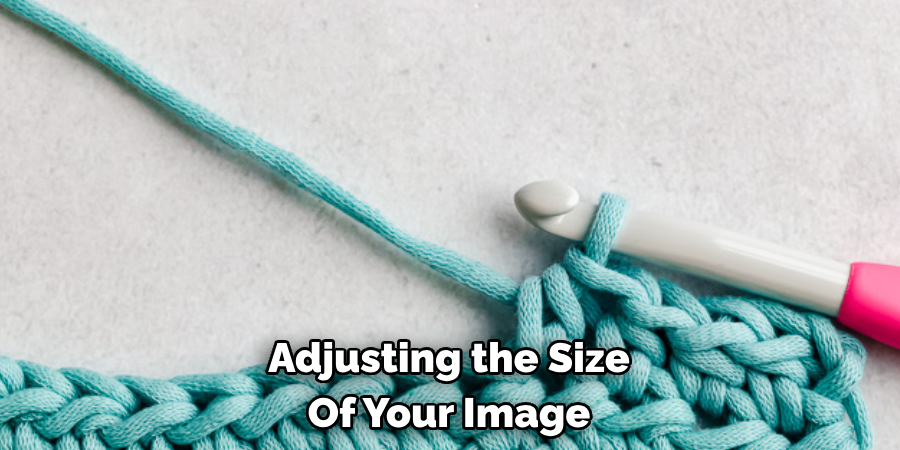
To begin, it’s important to determine the final size you want your crocheted image to be. This will help guide your adjustments as you progress. For example, if you want a larger image to be used as a wall hanging, you may need to use more stitches and rows compared to a smaller image that will be used as a patch on a hat.
You can also adjust the size of your image by changing the type of yarn used. Thicker yarns will result in larger stitches and ultimately a larger image, while thinner yarns will result in smaller stitches and a smaller image. Keep in mind that changing the yarn type will also affect the overall texture and appearance of your crocheted image.
Conclusion
In conclusion, learning how to crochet an image can be a rewarding and fulfilling experience. From choosing the perfect pattern to mastering the various stitches, crocheting an image requires patience, practice, and creativity. But as you saw from the step-by-step guide above, it is not as difficult as it may seem at first. With determination and the right techniques, you can create stunning crocheted images that will impress everyone around you.
So why not try your hand at this unique and versatile craft? Take a moment to gather your supplies and follow these instructions to surprise yourself with your own crochet creations. And don’t forget to share your images with us and inspire others to pick up a hook and yarn.
Expertise:
Crafting expert with a focus on innovative techniques and diverse materials.
Specialization:
- Textile arts (weaving, embroidery, and fabric dyeing)
- Woodworking and furniture design
- Mixed media and upcycling projects
Recognition:
- Featured in local art exhibits showcasing innovative craft projects
- Collaborated with community organizations to promote crafting workshops
- Received accolades for contributions to sustainable crafting initiatives
Mission:
- To inspire and empower crafters of all levels to discover their creative potential
- Encourages experimentation and self-expression through hands-on projects

