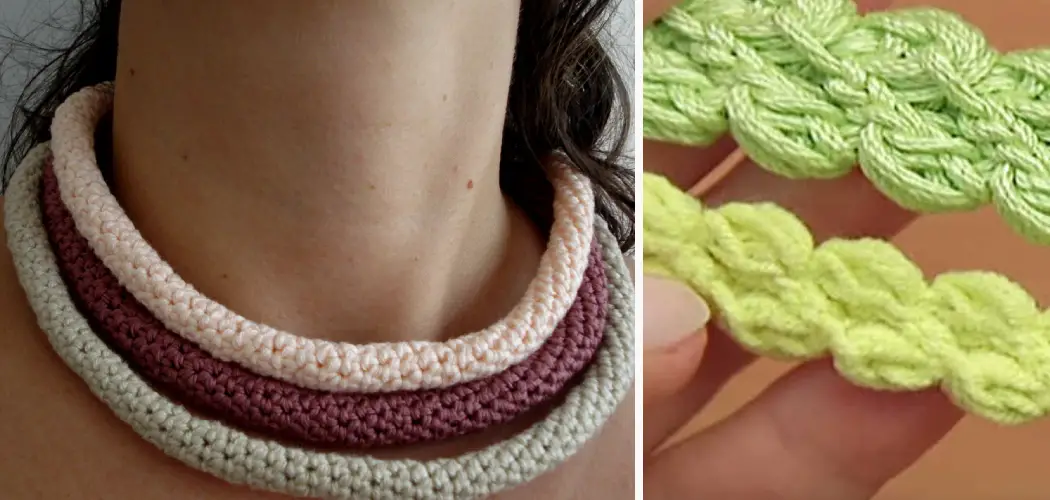
A tube can be one of the most versatile and straightforward crochet stitches to learn. Whether you need a long line for storage, a decorative wrap, or a colorful accessory, knowing how to crochet a tube opens up many creative possibilities. When I first started learning crochet, the tube stitch was one I began with because it allowed me to focus on learning the basic movements without the added complexity of shape or color changes.
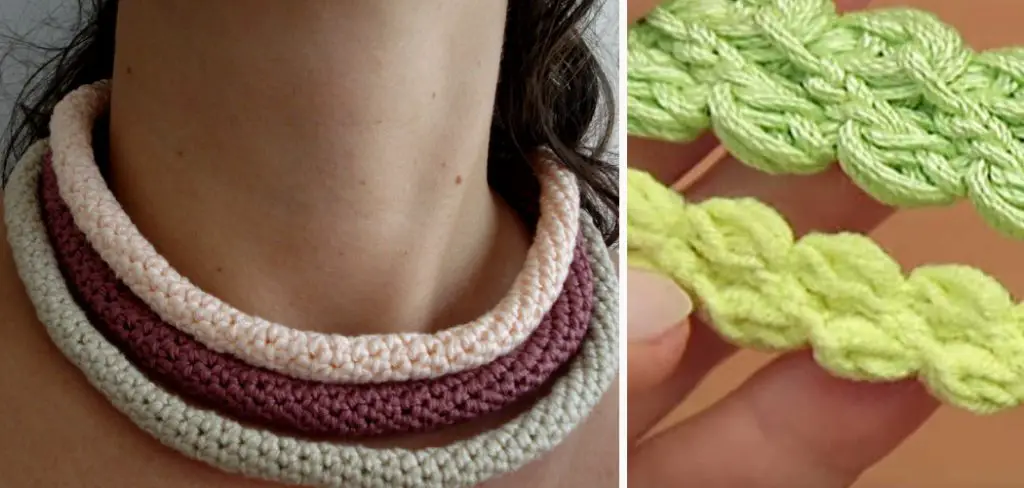
Mastering the movements of inserting the hook and pulling up a loop is the first step to any crochet project. Once you learn this basic tube technique, you’ll be able to make all sorts of fun and functional items.
In this post, I’ll break down the simple steps to crochet a tube so you can start experimenting with this foundational stitch.
What Will You Need?
Before we dive into the steps, let’s make sure you have everything you need to get started. Here are the supplies that you will need:
- Yarn: Pick any type of yarn in your favorite color.
- A hook: Choose a hook size that is appropriate for your yarn weight. You can find this information printed on the yarn label.
- Scissors: You will need this to trim the yarn at the end.
- Stitch Marker (optional): This can help you keep track of your stitches as you work.
Once you have all these materials, find a comfortable place to sit, and let’s get started!
8 Easy Steps on How to Crochet a Tube
Step 1: Create a Slip Knot
To begin, create a slip knot by draping the yarn over your non-dominant hand and using your dominant hand to wrap the yarn around two fingers, creating a loop. Next, pull the working end of the yarn through this loop and tighten it onto your hook. This will serve as your first stitch.
Step 2: Make a Chain Stitch
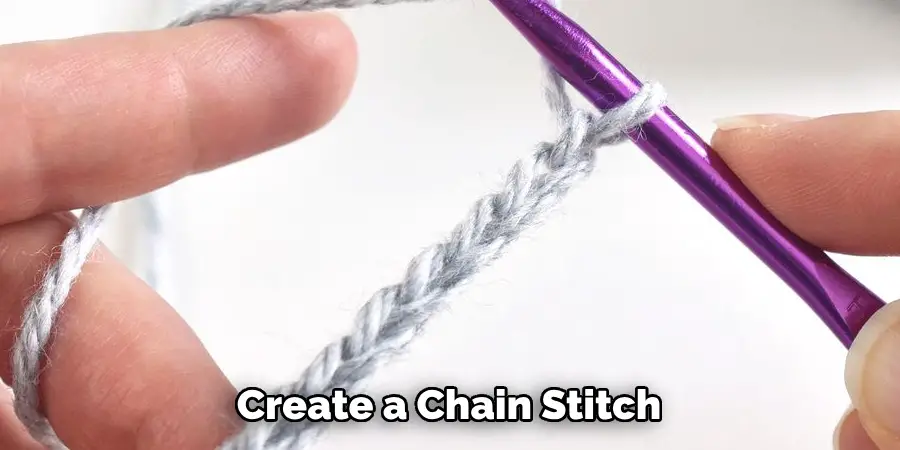
The next step is to create a chain stitch. Hold the hook in your dominant hand and the yarn in your non-dominant hand. Use your hook to grab the yarn (this is often referred to as ‘yarn over’). Now, pull the hooked yarn through the loop on your hook. You have now made your first chain stitch! Repeat this step until you have a chain of the desired length for your tube. Chain stitches form the foundation of your crochet tube, so ensure they are not too tight or loose.
Step 3: Join Chain into a Circle
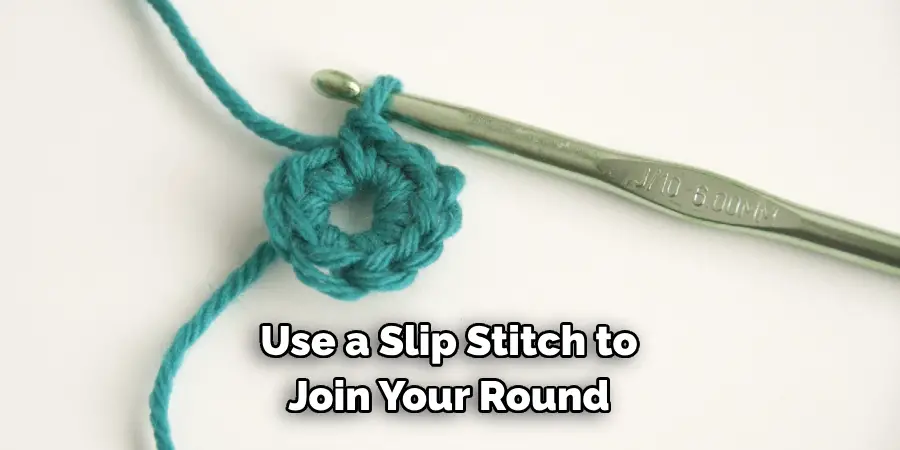
Now comes the most crucial step of how to crochet a tube – turning your chain into a circle. After finishing your chain stitch, you’ll need to join the beginning and the end to form a loop. To do this, simply insert your hook into the first chain stitch you made. Then, yarn over and pull the yarn through both loops on your hook. This is called a slip stitch, effectively turning your chain stitch into a circular shape. This forms the base of your tube. Ensure the chain is not twisted before you join, as this will affect the shape of your tube.
Step 4: Start the First Round
The first round is where you’ll start to see your tube take shape. To start, chain one. This will serve as the first stitch of your round. Now, crochet into the same stitch you just slip stitched into. This can be tricky, but with a bit of practice, you’ll get the hang of it. Continue to crochet into each stitch around your chain circle. Once you’re back to the beginning, use a slip stitch to join your round. Count your stitches in each round to ensure you have the same number. This will help keep your tube even and straight.
Step 5: Continue the Rounds
As you move on to the subsequent rounds, you will continue to crochet in a circle, just as you did in the first. Start each round with a chain stitch, which will serve as the first stitch. Then, crochet into each stitch around the circle. When you reach the beginning, join the round with a slip stitch. Remember to count your stitches in each round to maintain a uniform tube. Repeat these steps until you’ve achieved the desired length for your tube. This process is referred to as “working in the round,” an essential technique in crocheting tubes.
Step 6: Finishing Your Tube
When you’ve achieved the desired length for your tube, it’s time to finish off your project. To do this, cut your yarn (leaving a tail about 6 inches long) and fasten off by yarning over and pulling through the loop on your hook one last time. Then, thread the tail of yarn through a yarn needle and weave it in and out of the stitches of your tube. This will secure your work and prevent it from unraveling. Lastly, trim any excess yarn, and your tube is now complete! Congratulations, you’ve just crocheted a tube!
Step 7: Practicing Your Technique
Now that you’ve mastered the basic technique of crocheting a tube, it’s time to practice. Remember, like any other skill, crocheting improves with repetition. Craft several tubes of varying lengths and diameters to get more comfortable with the process. Try using different types of yarn and hook sizes to explore how they affect the final product’s look and feel. With time and practice, you’ll become proficient in creating perfect crochet tubes for any project.
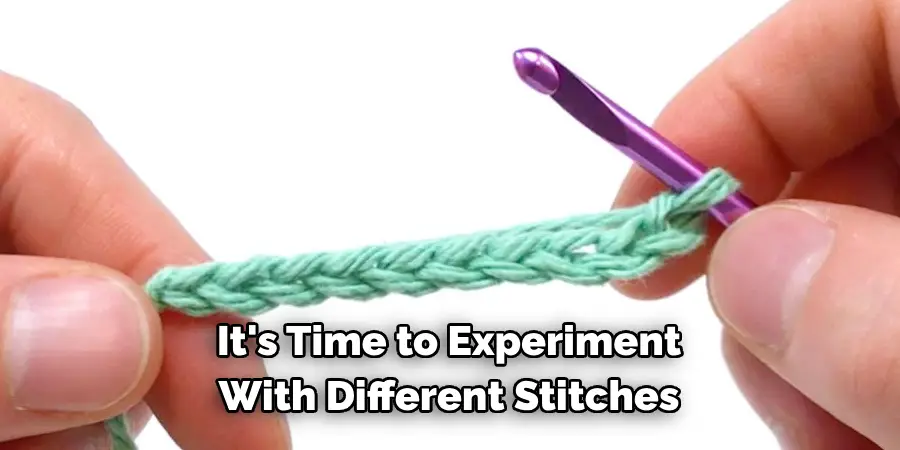
Step 8: Experiment with Different Stitches
Once you feel confident with the basic tube technique, it’s time to experiment with different stitches to add texture and complexity to your crochet tubes. For instance, you can try the single crochet stitch for a dense, sturdy tube or the double crochet stitch for a more airy, lacy effect. Other stitches to consider could be the half-double crochet or the treble crochet, each offering a distinct look and feel. Always start and end your rounds with a slip stitch to maintain the tube shape. Practice these stitches on your tubes to master crocheting to its fullest extent.
By following these easy steps, you can now create your own crochet tubes! You can use them for various projects such as hats, bags, and even clothing items. The possibilities are endless; it all depends on your creativity and crocheting skills.
5 Additional Tips and Tricks
- Experiment with Different Yarns: Different yarns can create different textures and finishes for your tube. It’s a good idea to sample a small portion of the tube with varying yarns before you decide which one you like the most.
- Practice Tension Control: Managing your yarn tension is crucial when crocheting a tube. Too loose and the tube may not hold its shape; too tight and it becomes rigid and stiff.
- Use Stitch Markers: Since tubes are worked in rounds, it can be easy to lose your place. Stitch markers can help you keep track of your starting point for each round.
- Count Your Stitches: To ensure your tube maintains its shape and size, count your stitches in each round. Any increase or decrease in stitches may alter the tube’s structure.
- Blocking: After you have finished crocheting your tube, consider blocking it. This process involves wetting your crochet piece and pinning it into its proper shape to dry. It can help your tube maintain its form and give it a more professional look.
With these additional tips and tricks, you can take your tube crocheting skills to the next level. Feel free to experiment with different yarns and techniques to create unique and beautiful tubes.
5 Things You Should Avoid
- Ignoring the Yarn’s Texture: Different yarns will create different results. Avoid using a thread that is too slippery or too rough, as it can make your tube challenging to construct and unpleasant to touch.
- Skipping Rounds: Missing a round or not completing a round entirely can create inconsistencies in your tube’s structure. Remember, each round is essential to the overall shape.
- Neglecting Tension Control: Failing to maintain consistent tension throughout your work can lead to a misshapen tube. Ensure your tension remains steady for the best result.
- Forgetting to Count Stitches: Forgetting to count your stitches can lead to size discrepancies in your tube. Always count your stitches to maintain a consistent size throughout the tube.
- Avoiding Blocking: Skipping the blocking process can leave your tube with an uneven shape and look. Even if it seems tedious, blocking is a crucial step to give your crochet tube a professional finish.
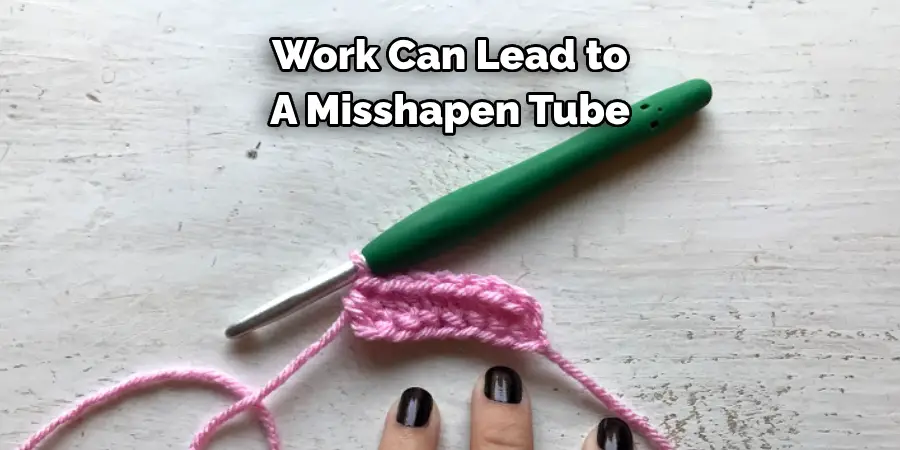
Avoiding the above pitfalls can significantly improve crocheting skills and lead to a more satisfying end product. Remember, practice makes perfect, so don’t be discouraged if you make mistakes. Just learn from them and continue improving your craft.
Conclusion
In conclusion, how to crochet a tube can seem like a daunting task for beginners, but with the right techniques and knowledge, it can be a fun and rewarding experience. Remember to always start with a slip knot, use the appropriate yarn and hook size, and master the single crochet stitch before moving on to more advanced stitches. With these essential points in mind, you can create endless possibilities with just a straightforward crochet technique.
So why not grab your hooks and yarn and give it a try? Who knows, you may discover your new favorite hobby or even turn it into a business. Crocheting is not just about creating beautiful pieces but also about finding joy and relaxation in the process.
So don’t be afraid to make mistakes or try new things. I encourage you to take what you’ve learned from this post and let your creativity flow freely as you embark on your own crocheting journey. Trust me, you won’t regret it! Happy crocheting!
Expertise:
Crafting expert with a focus on innovative techniques and diverse materials.
Specialization:
- Textile arts (weaving, embroidery, and fabric dyeing)
- Woodworking and furniture design
- Mixed media and upcycling projects
Recognition:
- Featured in local art exhibits showcasing innovative craft projects
- Collaborated with community organizations to promote crafting workshops
- Received accolades for contributions to sustainable crafting initiatives
Mission:
- To inspire and empower crafters of all levels to discover their creative potential
- Encourages experimentation and self-expression through hands-on projects

