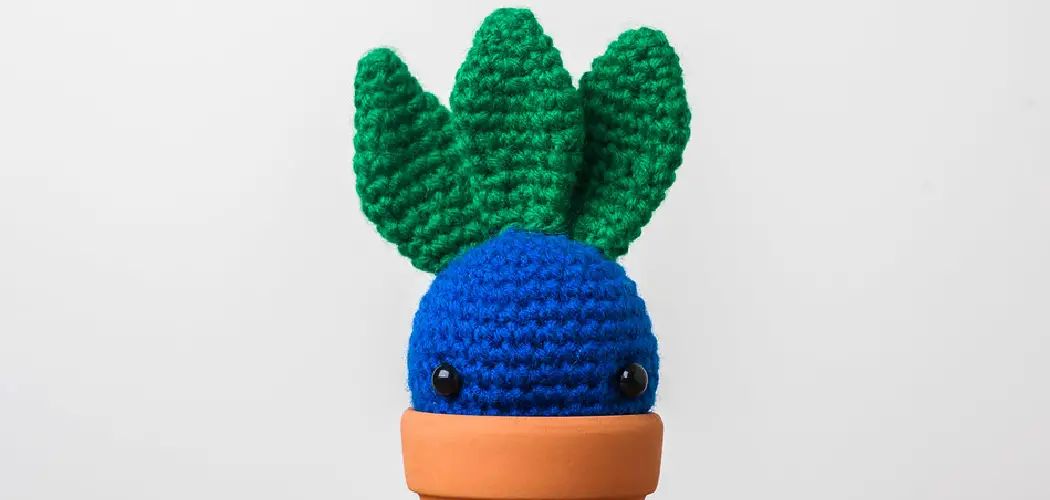
Embarking on a delightful and whimsical crochet project, learning how to crochet a sprout brings a touch of nature-inspired charm to your handmade creations. This endearing pattern allows crafters to infuse their projects with a playful and organic aesthetic, making it a perfect choice for those looking to add a touch of freshness to their crochet repertoire.
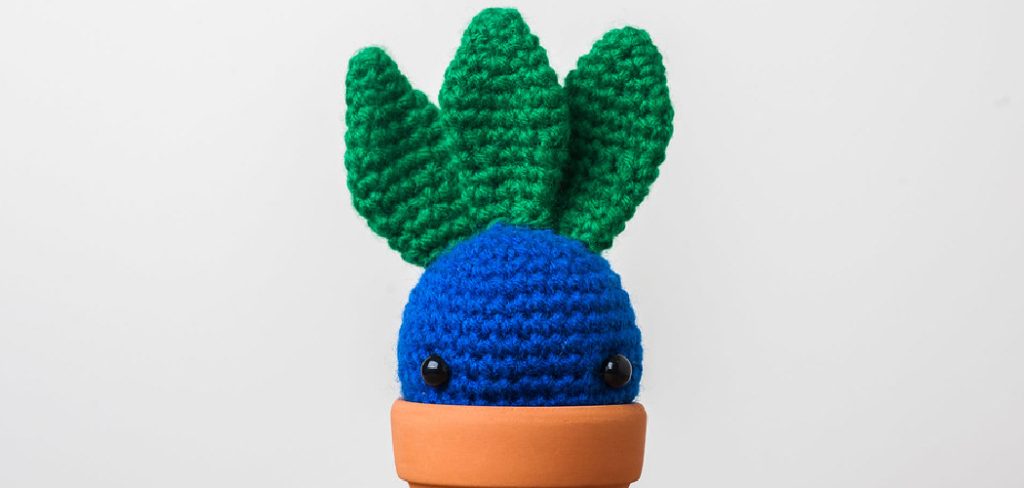
In this guide, we will explore the step-by-step process of crocheting a sprout, from selecting the right yarn colors to capturing the essence of budding leaves and shoots. Whether you’re a beginner seeking an engaging introduction to amigurumi or an experienced crocheter looking for a quick and adorable project, join us on this journey as we cultivate creativity, one stitch at a time, and bring a little crochet sprout to life.
Symbolism and Popular Uses of Crochet Sprouts
Crochet sprouts are small, adorable creations that can add a touch of charm to any project. They are usually less than an inch tall and created using the amigurumi technique in crochet. But beyond their cute appearance, there is also a deeper meaning behind these tiny crochet creations.
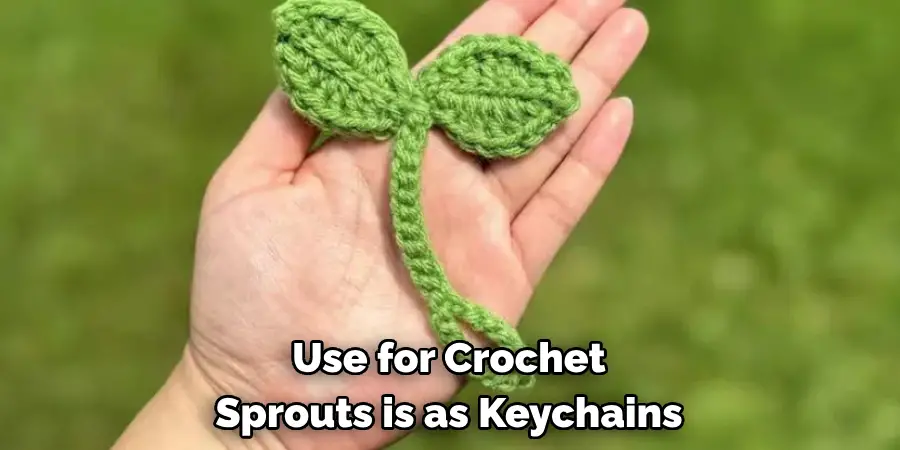
One popular use for crochet sprouts is as keychains or bag charms. These little sprouts can add a pop of color and personality to any bag or keychain. But beyond their practical use, crochet sprouts also hold symbolic meanings.
In many cultures, sprouts symbolize growth, new beginnings, and hope. This symbolism is often represented in the crochet community through the creation of sprout motifs. These motifs are often used in projects such as blankets, scarves, and hats to represent new growth and new beginnings.
Crochet sprouts can also hold personal significance for individuals. For example, someone who has recently embarked on a new journey or started a new chapter in their life may choose to create a crochet sprout as a reminder of this significant moment. It can serve as an uplifting symbol of hope and positive change.
Appropriate Crochet Hook Size
When it comes to crocheting a sprout, the appropriate crochet hook size can make all the difference. Using the right hook size for your project can ensure that your sprout turns out just how you want it, with perfect tension and stitch definition.
The recommended crochet hook size for crocheting a sprout is typically G-6 (4mm). This hook size works well for most yarn weights and can create a medium-sized sprout. However, depending on the desired size of your sprout, you may need to adjust the hook size accordingly.
For a smaller sprout, consider using a hook size between E-4 (3.5mm) and F-5 (3.75mm). This will result in tighter stitches and a smaller overall size. On the other hand, if you want to make a larger sprout, try using a hook size between H-8 (5mm) and I-9 (5.5mm). This will create looser stitches and a bigger sprout.
It’s important to remember that these recommended crochet hook sizes are just suggestions. Ultimately, the best hook size for your sprout will depend on the type of yarn and your personal tension. Don’t be afraid to experiment with different hook sizes to achieve the perfect sprout for your project.
10 Methods How to Crochet a Sprout
1. Gather Materials
Before beginning your crochet sprout project, make sure you have all the necessary materials. This includes yarn in various shades of green, a crochet hook, scissors, and a tapestry needle.
2. Start with a Magic Ring
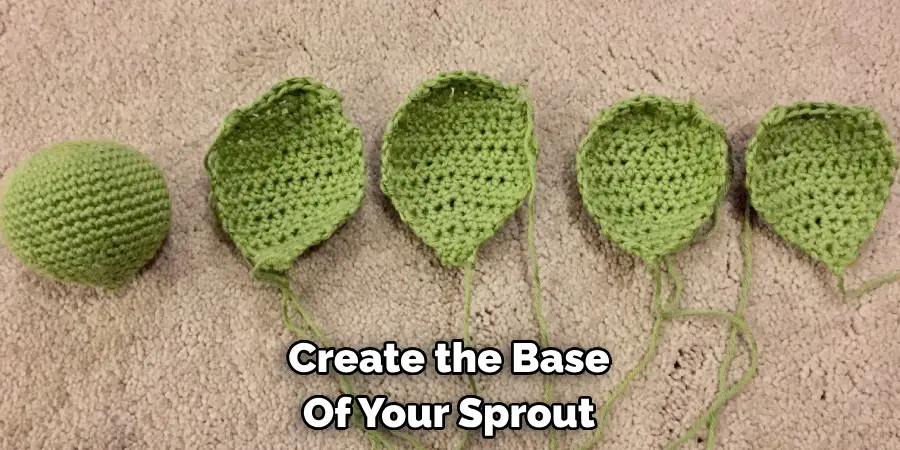
To create the base of your sprout, begin with a magic ring. This is a technique used in crochet to create a tight circle that can be pulled closed after completing the first round of stitches.
3. Chain Stitch for the Stem
To create the stem of your sprout, use a chain stitch. This is done by pulling yarn through the loop on your hook and repeating until you reach the desired length for your stem.
4. Single Crochet for Leaves
For each leaf on your sprout, use single crochet stitches. These are done by inserting your hook into the previous stitch, wrapping yarn around it, and pulling it through both loops on your hook.
5. Increase Stitches for Round Shape
As you continue to work on your sprout, increase the number of stitches in each round to create a rounder shape. This can be done by adding an extra stitch in certain areas or using different types of increases such as double or triple crochet.
6. Decrease Stitches for Tapered End
To create the tapered end of your sprout, decrease the number of stitches in each round as you get closer to the top. This can be done by skipping stitches or using different types of decreases such as single or half-double crochet.
7. Change Colors for Variation
To add more visual interest to your crochet sprout, try changing colors throughout the project. You can do this by simply switching to a different shade of green or even adding some brown for dirt at the base.
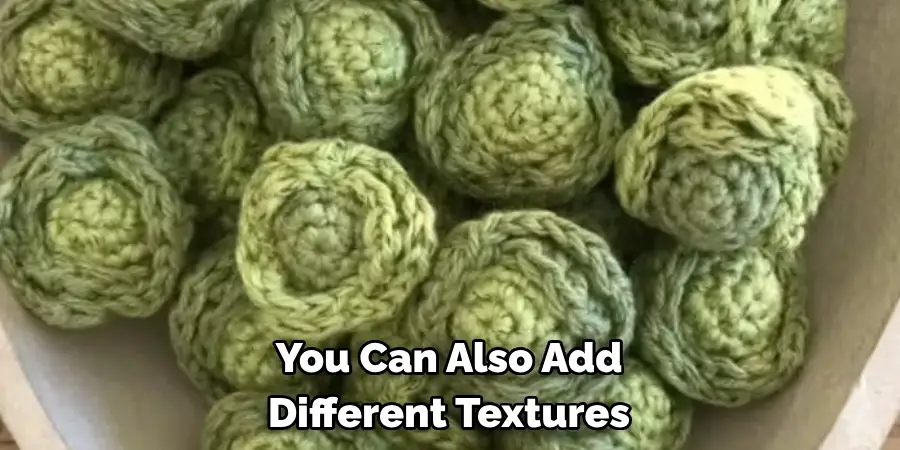
8. Use Different Textures
In addition to changing colors, you can also add different textures to your sprout using various crochet stitches such as popcorn stitch or bobble stitch. This will give your sprout a more realistic look.
9. Add Details with Embroidery
To make your crochet sprout even more lifelike, add some details with embroidery. This can include adding veins to the leaves or small dots for seeds.
10. Finish with a Slip Stitch
Once you have completed your sprout, finish it off with a slip stitch to secure the last stitch and create a clean edge. Then weave in any loose ends and admire your finished project!
Things to Consider When Crocheting a Sprout
When it comes to crocheting a sprout, there are certain things that you should consider. This will not only help you create a beautiful and realistic-looking sprout, but also make the process easier for you. Here are some tips to keep in mind when crocheting a sprout:
1) Choose the Right Yarn: When crocheting a sprout, it is important to choose the right yarn. A worsted weight or sport weight yarn works best for this project as it will give the sprout a nice and dense texture.
2) Use the Right Hook Size: Along with choosing the right yarn, using the appropriate hook size is also crucial. Depending on the type of yarn you use, you may need to use a smaller or larger hook. It is recommended to start with a size 4mm or 5mm crochet hook and adjust accordingly.
3) Familiarize Yourself With Basic Stitches: Before attempting to crochet a sprout, it is important to have a good understanding of basic crochet stitches such as single crochet, double crochet, and slip stitch. These stitches will be used throughout the pattern and having a solid foundation in them will make the process smoother.
Common Mistakes to Avoid When Crocheting
Crocheting is a popular and rewarding hobby that allows you to create beautiful and unique items using yarn and a hook. However, like any skill, crocheting takes practice and patience to master. Many beginners make common mistakes when first starting out, but don’t be discouraged! With some guidance, you can easily avoid these errors and improve your crocheting technique. In this guide, we will discuss some of the most common mistakes to avoid when crocheting.
Not Using the Correct Tension
One of the biggest mistakes beginners make is not using the correct tension while crocheting. Tension refers to how tightly you hold your yarn and hook as you work on a project. If your tension is too loose, your stitches will be too big and uneven. If your tension is too tight, your stitches will be small and difficult to work with.
Skipping Stitches
Another common mistake is skipping stitches, especially when working on more complex patterns. It’s easy to lose track of where you are in a pattern and accidentally skip a stitch or two. This can throw off the entire project and make it look uneven or misshapen. To avoid this, it’s important to count your stitches at the end of each row and double check your work frequently.
Holding the Hook Incorrectly
Believe it or not, how you hold your hook can greatly affect your crocheting technique. Many beginners make the mistake of holding their hook like a pencil, which can lead to hand fatigue and decrease control over the hook. The correct way to hold a crochet hook is to grip it between your thumb and middle finger, with the index finger resting lightly on top.

Conclusion
In conclusion, learning how to crochet a sprout is not only a fun and fulfilling hobby, but it also allows for endless creativity and personalization. With the right tools and techniques, anyone can create their own unique sprout in no time. Crocheting is a meditative practice that helps reduce stress and anxiety while allowing for self-expression. Plus, by crocheting your own cute and cuddly sprouts, you can save money on store-bought stuffed animals or home decor. So why not give it a try? Don’t be intimidated by complex patterns or stitches – start with the basics and work your way up to more intricate designs.
Expertise:
Crafting expert with a focus on innovative techniques and diverse materials.
Specialization:
- Textile arts (weaving, embroidery, and fabric dyeing)
- Woodworking and furniture design
- Mixed media and upcycling projects
Recognition:
- Featured in local art exhibits showcasing innovative craft projects
- Collaborated with community organizations to promote crafting workshops
- Received accolades for contributions to sustainable crafting initiatives
Mission:
- To inspire and empower crafters of all levels to discover their creative potential
- Encourages experimentation and self-expression through hands-on projects

