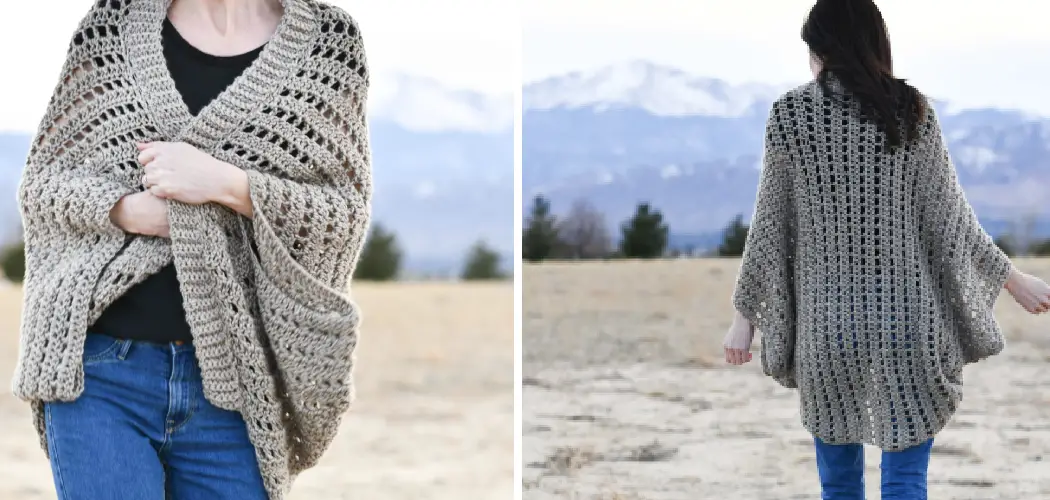
Are you looking to add an extra touch of warmth and style to your wardrobe? Crocheting a shrug is the perfect way to do both! A crochet shrug can be made in any color or yarn weight, making it ideal for dressing up or down.
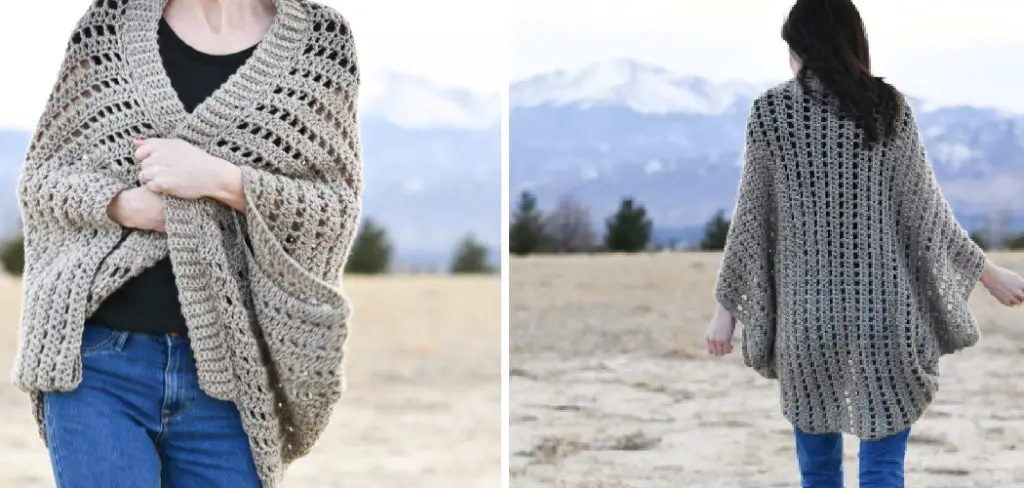
Not only does crocheting a shrug offer fashion possibilities, but it’s also enjoyable and rewarding. Plus, with the proper instructions, anyone can learn how to create this stylish garment from start to finish— regardless of their skill level. So read on for our step-by-step guide on how to crochet a shrug that will have you feeling confident and cozy all season long!
Supplies You Will Need to Crochet a Shrug
- Yarn (choose your favorite color and weight!)
- Crochet Hook
- Scissors
- Tape Measure or Ruler
- Yarn Needle
- Stitch Markers (optional)
- Extra Buttons or Closures (if desired)
Step-by-Step Guidelines on How to Crochet a Shrug
Step 1: Measure Your Seamless Shrug
The first step in making your shrug is to measure the length and width of the design. For a typical shrug pattern, you’ll need to measure from your shoulder down to your wrist and across your back. You’ll then use these measurements as a guide for calculating how much yarn you’ll need for the project and the number of stitches you’ll need to crochet.
Step 2: Calculate Your Yarn Requirements and Gauge
Once you have your measurements, it’s time to calculate how much yarn you will need for your project. For this calculation, you should consider the type of yarn used (generally worsted-weight is best for a shrug), the gauge (how many stitches there are per inch), and how wide your pattern will be.

After you’ve calculated your yarn requirements, decide what type of stitch you want to use for your project. For instance, a single crochet is often used for a basic crocheted shrug as it has a tight weave that won’t stretch out with wear.
Step 3: Chain Your Starting Stitches
Next, you’ll need to chain the number of stitches that corresponds to your measurements from Step 1 (the length and width). Start by chaining a few extra stitches so that you can later join them together in a loop. If desired, add stitch markers at both ends of the chain so that you know which direction to work in.
Step 4: Start Crocheting Your Shrug
It’s time to start crocheting your shrug! Begin by working single crochet stitches around each stitch of the chain until you reach the end of the row. Then turn your work and repeat this pattern until you reach your desired length.
If you’re looking for extra texture or design, try adding in some increases and decreases to the pattern. This will give your shrug a more custom look and fit. For example, you can add an increase at the beginning of each row (i.e., two single crochet stitches into one stitch) or decrease by skipping one stitch before each row.
Step 5: Finish Your Shrug
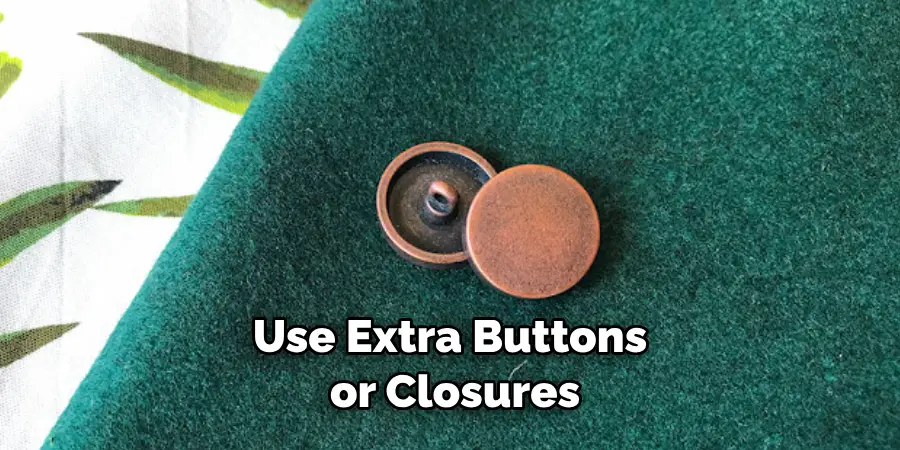
Once you’ve reached your desired length, it’s time to finish off the shrug. To do so, tie off the end of your yarn and weave in any remaining ends with a yarn needle. Then use extra buttons or closures (if desired) to secure the front sides of the shrug. And voila! Your beautiful, handmade crochet shrug is now ready to wear.
Following these key steps and guidelines on how to crochet a shrug, you can create an effortlessly stylish garment that will last for years. Whether you’re looking for a practical way to stay warm or simply want to add some unique style to your wardrobe, crocheting your own shrug is the perfect way to do so. So grab your yarn and hook and get ready to craft something special!
Additional Tips and Tricks to Crochet a Shrug

- To make sure your shrug fits well, always measure your shoulders and bust to decide what size you should crochet.
- When crocheting, it’s important to keep the tension even – if it’s too tight or too loose on one side, you can use a hook one size bigger or smaller to even it out.
- Use stitch markers to keep track of which stitches you’ve already done and where increases or decreases should be made.
- Make sure to use the correct type of yarn for your shrug – if it requires a light material, cotton or linen is ideal, while heavier ones may need wool or acrylic yarns.
- To create different styles of shrugs, try using a variety of different stitches and colors. The pattern you attach to the bottom can also help create a unique look!
- If you want the shrug to last longer, take time to block it after it’s finished – this will ensure that all your stitches are even and secure.
- Lastly, don’t forget to add a few buttons or other decorative elements to personalize your shrug and make it even more special!
Following these tips and tricks will help make sure that your shrug looks great and fits perfectly. Whether you’re a beginner or experienced in crocheting, making your own shrug is sure to be a fun and rewarding experience! Good luck, and happy crocheting!
Things You Should Consider to Crochet a Shrug
1. Choose a Pattern That Matches Your Skill Level:
There are countless patterns available for crocheting a shrug. Some may be more complex than others and require more experience with the craft. Ensure you choose one that fits your current abilities so that you can work through it successfully. Choosing a pattern that is too advanced for your current skill level can be discouraging and result in an unfinished project.
2. Select Appropriate Yarn:
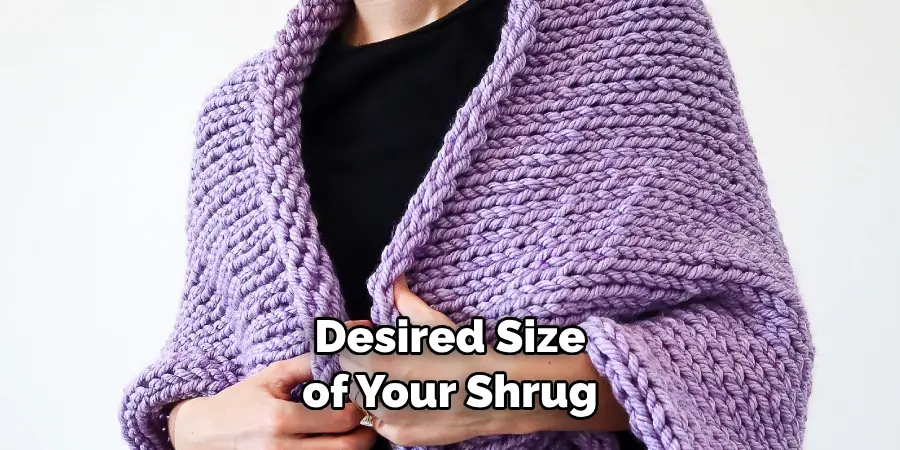
When selecting yarn for your project, make sure to take into account the pattern requirements and the desired size of your shrug. You may want to plan ahead by purchasing extra if there is a chance of running short. Consider each yard as one row or round; pick a yarn that’s compatible with the size crochet hook recommended in the pattern.
3. Utilize Crochet Hooks:
Crochet hooks help you create loops with yarn to create your shrug. When selecting a hook, ensure it is the same size as what is listed in the pattern. You may also want to consider choosing one with an ergonomic grip for comfortable crocheting. This will help to ensure you can work uninterrupted for hours without any discomfort in your hands.
4. Measure and Check Gauge:
Gauge is a crucial element of successful crochet projects. After completing the instructions in the pattern, measure and check that it is accurate before proceeding with the next steps. This will help to ensure that your shrug fits properly. If you find that the measurements are off, it could be due to a number of reasons: using the wrong size yarn or hook, incorrect tension, etc.
5. Gather Supplies:
In addition to yarn and a crochet hook, you may need additional supplies such as scissors, needles, stitch markers, and tape measure. Make sure to have all of these items available before starting your project if they are listed in the pattern. This will help you move through the process more efficiently.
6. Take Breaks:
Crocheting for an extended amount of time can be tiring and tedious, so don’t forget to take breaks throughout the process. Step away from your project for a few minutes every hour or two by going on a walk or having a snack. This will help keep you focused and motivated as you create your shrug. Taking breaks will also help to prevent any possible mistakes due to fatigue.
Following these considerations will help you crochet a shrug that is both aesthetically pleasing and comfortable to wear. If you have any questions or need additional help with your project, don’t hesitate to seek advice from an experienced crafter. With the right supplies and dedication, you can create a stylish shrug in no time!
Precautions Need to Follow for Crocheting a Shrug
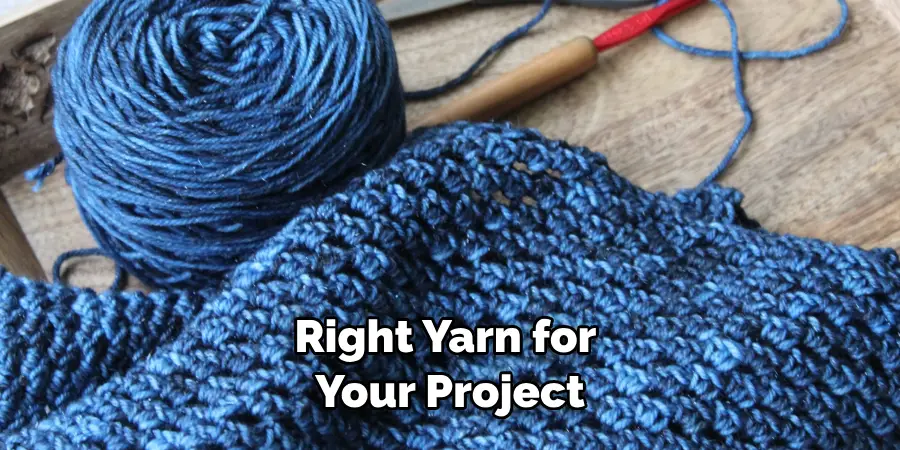
- Make sure to buy the right yarn for your project. Depending on the type of shrug you want to make, a lightweight or bulky-weight yarn is necessary. You should also consider the color and texture of the yarn before beginning.
- Invest in a good pair of crochet hooks that are suited to your project’s material and size requirements. It’s important to ensure that you have the appropriate length of crochet hook to complete the projects comfortably.
- Work with a pattern or instructions to help guide your progress. Patterns offer insights into details such as stitch and gauge count, as well as other helpful hints for completing your project.
- Choose an appropriate size for your project. Depending on whether you’re making a full-length or short-sleeved shrug, you should determine the size that will best fit your body type.
- Consider using a locking stitch marker to ensure that pieces of the project don’t become unraveled during the crocheting process. This is especially important when working with multiple colors or when making large items such as an adult shrug.
- 6. Have patience and take breaks when you need them. Crocheting a shrug can be time-consuming, depending on the size, complexity of stitches, and type of yarn used. It’s important to give your hands and eyes regular breaks throughout the process to prevent strain and fatigue.
- Make sure that you have enough yarn to complete your project. You don’t want to get stuck halfway through your shrug and not have enough yarn to finish it. Consider buying an extra ball or skein of the same type of yarn you used for your project in case you run out during the process.
- When completed, use a fabric steamer or iron (on low) to press out any wrinkles from your finished shrug. This will help give the finished product a more polished and professional look.
Following these precautions can help ensure that your shrug comes out looking the way you envisioned it. With dedication and patience, you’ll soon have a beautiful shrug of your own to show off! Good luck!
Frequently Asked Questions
What Type of Yarn Should I Use for Crocheting a Shrug?
Depending on the size and style of shrug you’d like to make, you should choose either a lightweight or bulky-weight yarn. Consider the color and texture of the yarn as well before beginning your project.
What Size Hook Should I Use for Crocheting a Shrug?
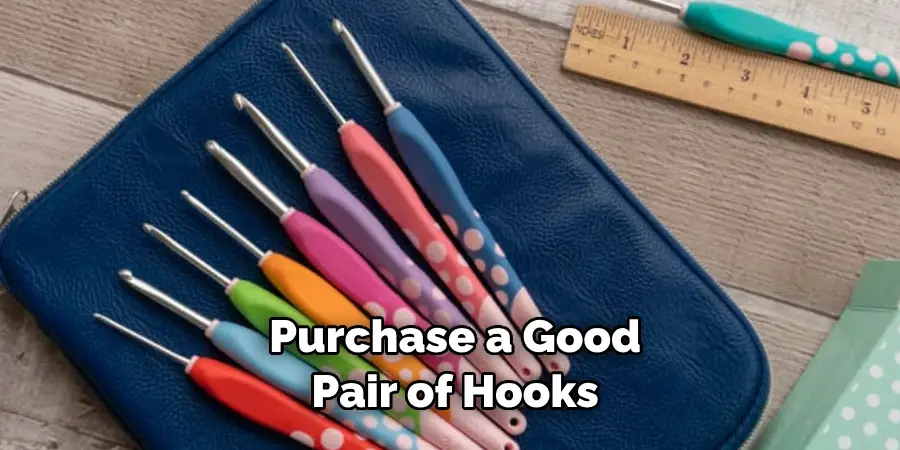
The size of the crochet hook you should use depends on the type of yarn and the size of your project. Make sure to purchase a good pair of hooks that are suited to the material and size requirements. Also, ensure that you have the appropriate length of crochet hook to complete projects comfortably.
How Can I Best Preserve My Finished Shrug?
To give your finished shrug a more polished and professional look, use either a fabric steamer or iron (on low) to press out any wrinkles. This will help ensure the longevity of your shrug for years of wear and enjoyment!
What is the Best Way to Track My Progress?
Using a pattern or instructions is the best way to keep track of your progress when crocheting a shrug. Patterns offer insight into details such as stitch and gauge count, as well as other helpful hints for completing your project. Additionally, using a locking stitch marker can help ensure that pieces don’t become unraveled during the crocheting process.
How Long Does it Take to Crochet a Shrug?
The amount of time it takes to crochet a shrug depends on the size, complexity of stitches, and type of yarn used. It’s important to be patient and take breaks when needed throughout the crocheting process. With dedication and patience, you’ll soon have a beautiful shrug of your own to show off!
Conclusion
With the above outlined you can easily understand how to crochet a shrug. From choosing the right type of yarn and size of crochet hook to tracking your progress with a pattern or instructions, these tips can help you create an amazing shrug of your own that you’ll be proud to show off. With patience and dedication, you can turn this project into something beautiful that will last for years! So grab those hooks and get started on your project today!

