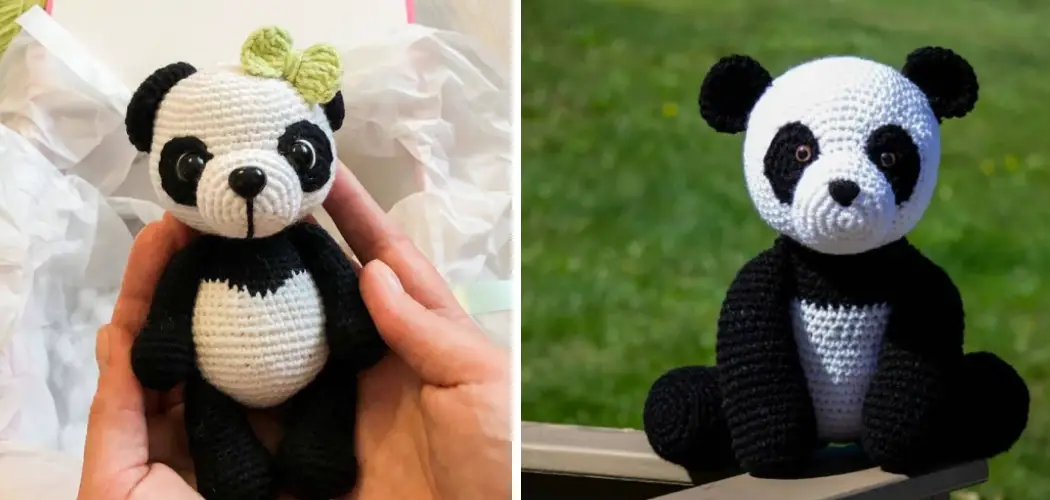
Are you feeling crafty and looking to add some handmade touches to your home decor? Learning how to crochet is not only a fun, relaxing hobby, but it also allows you to create beautiful, custom pieces for yourself or as gifts.
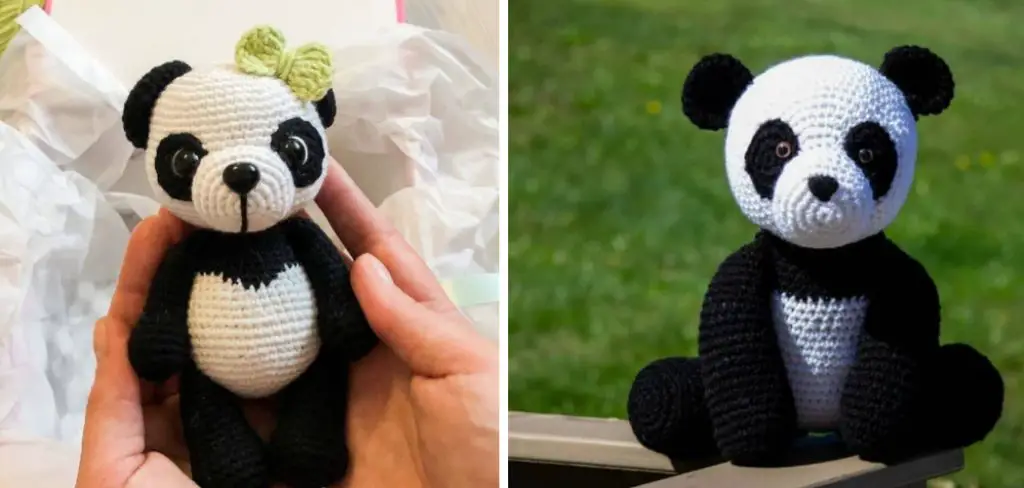
Today I am going to be teaching you how to crochet the cutest creature of them all – an adorable panda! Crocheting these cuddly stuffed animals doesn’t require any specific skills; with this guide on how to crochet a panda, anyone can learn quickly and easily! So don’t wait another second: let’s get started on creating one of the most huggable slow friends around.
Needed Materials
Given below is the list of materials you will need to crochet your very own panda:
- Yarn (I Recommend Black, White, and Pink)
- A Size G (4.25 Mm) Crochet Hook
- Stuffing for Stuffing the Panda
- 2 Safety Eyes or Buttons That You Can Use as Eyes
- Embroidery Thread and Needle
- Scissors
- Stitch Markers
Step-by-step Guidelines on How to Crochet a Panda
Step 1: Crochet the Legs
Start by making two legs in black yarn using a 3mm hook. Each leg should start with six chains and then you should work in rounds, increasing 6 single crochets per round until you reach a total of 18 stitches. Continue crocheting until you have two long legs, each with 18 stitches.
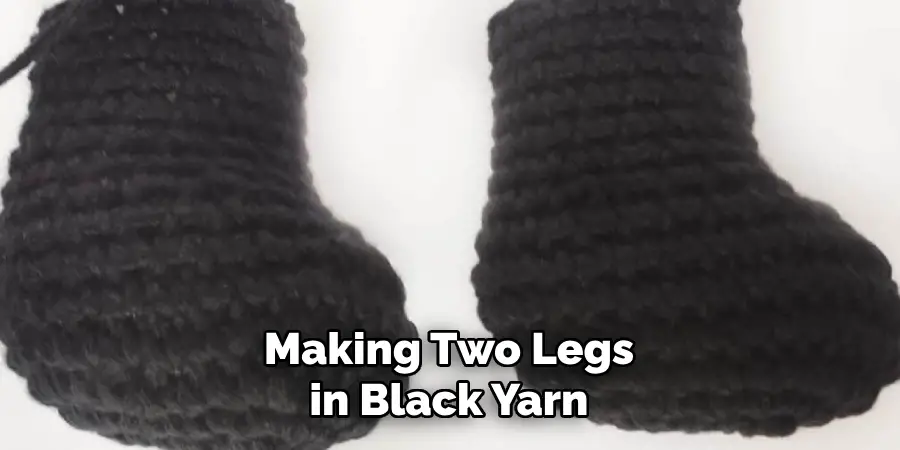
This will be the base of your panda and is important for giving it its structure. It should look like two long tubes. It is okay if the legs are slightly different sizes; this will add to your panda’s unique charm! It is also important to note that the number of increases you make in each round may vary depending on your chosen yarn weight.
Step 2: Crochet the Body
Crochet the body in white yarn. Use the same hook that you used for the legs. Start with six chains and then work in rounds increasing three single crochets per round until you reach a total of 30 stitches. Continue crocheting until the body is approximately 5 inches long.
You can adjust the length depending on how big or small you want your panda to be. It is important that the body is slightly longer than the legs so that the panda’s head can sit on top of its body nicely. This will also give the panda a snugger fit when you stuff it.
Step 3: Join the Body and Legs
Join the legs together by crocheting around them using black yarn. Then attach the legs to the body using white yarn. It is important to make sure the legs are securely attached so that your panda will stand up on its own. But be careful not to crochet too tightly, as this may make the panda look lumpy.
It is also important to make sure the legs are evenly placed on either side of the body so that your panda will be able to stand up straight. It is helpful to use stitch markers to keep track of where the legs should be placed.
Step 4: Crochet the Head
Crochet the head in white yarn. Make it in the same way as you did the body, but with fewer rounds. Once it is the right size, attach it to the body. But make sure to leave a small gap between the head and body so that you can stuff it later.
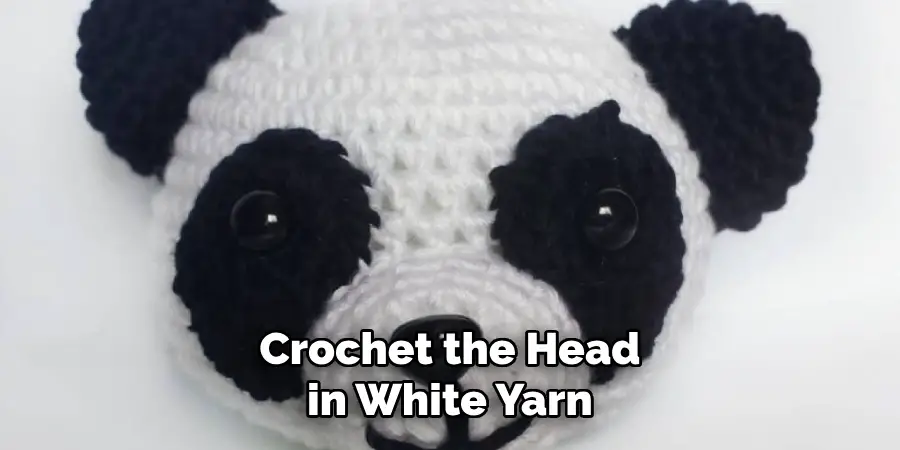
This is also important for making sure the panda’s head looks proportional to its body. Although it is not essential, you can also crochet two ears in black and attach them to the head for a more realistic look. It is best to use the same hook that you used for the body and legs.
Step 5: Crochet the Arms
Crochet two arms in black yarn. Start with 6 chains and then increase 3 single crochets per round until you reach a total of 12 stitches. Crochet until the arms are approximately 2 inches long. This will give your panda enough room to hug its new friends!
You can adjust the length depending on how large or small you want your panda’s arms to be. It is important to make sure that the arms are securely attached, so be careful not to crochet too tightly.
Step 6: Join the Arms to the Body
Attach the arms to the body using black yarn. It is important to make sure that the arms are securely attached, so be careful not to crochet too tightly. It is also important to make sure that the arms are evenly placed on either side of the body so that your panda looks balanced.
But don’t worry if the arms are slightly different sizes; this will add to your panda’s unique charm! You can also crochet two additional arms in white and attach them to the body for a more realistic look.
Step 7: Crochet the Ears
Crochet two ears in black yarn by chaining 6 and increasing 3 double crochets in each stitch. Once the ears are the right size, attach them to the top of the head. This will give your panda a cute, floppy-eared look! You can also crochet two additional ears in white and attach them to the head for a more realistic look.
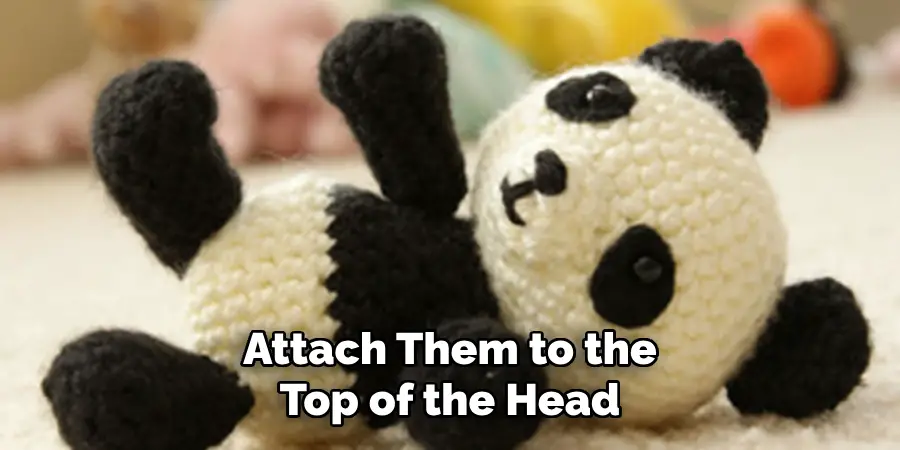
It is best to use the same hook that you used for the body and legs. You can also add some white detailing to the ears with embroidery thread.
Step 8: Add the Nose
Add the panda’s nose using black yarn. You can use a simple embroidery stitch to stitch the nose onto the face. It is important to make sure the nose is securely attached. You can also add two small eyes using black yarn and a simple embroidery stitch.
But be careful not to make the eyes too big; they should only be about 1/4 inch in diameter. It is best to use the same hook that you used for the body and legs. Whether you choose to use safety eyes or buttons, make sure they are securely attached.
Step 9: Add the Eyes
Add the eyes using safety eyes. Make sure you follow the instructions and place them in the correct position. You do not want your panda to have wonky eyes! You can also use buttons for the eyes if you do not have safety eyes. But be sure to make sure they are securely attached.
This will help ensure that your panda looks its best. Otherwise, the eyes may become loose and start to droop. It is best to use the same hook that you used for the body and legs. You can also embroider the eyes onto the face for a more realistic look.
Step 10: Crochet the Tail
Crochet the tail in black yarn, chaining 6 and then increasing 3 double crochets per stitch. Once the tail is the right length, attach it to the back of the panda. It is important to make sure the tail is securely attached so that it will not become loose over time. You can also crochet two additional tails in white and attach them to the back of the panda for a more realistic look.
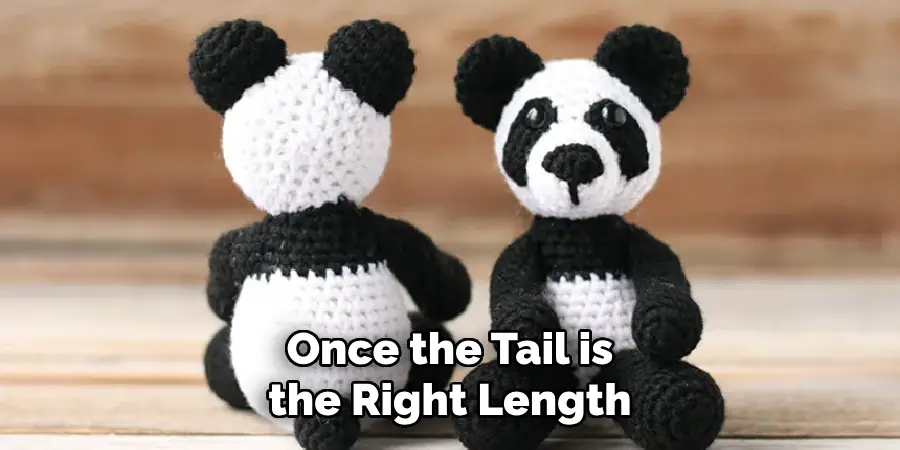
It is best to use the same hook that you used for the body and legs. It is also a good idea to add a few strands of stuffing to the tail before you attach it so that it looks nice and fluffy. You can use the same stuffing that you used for the body.
Step 11: Stuff and Finish
Once you have completed all the steps, stuff your panda and use black yarn to sew together any loose ends of your crochet. Then you will have your own cute, cuddly, crocheted panda! It’s time to give your panda some hugs and love!
So there you have it – a simple, step-by-step guide on how to crochet a panda. With this guide, anyone can learn quickly and easily how to make these huggable stuffed animals. Happy crocheting!
Tips & Tricks for Crocheting Your Panda
- Make Sure to Use the Correct Yarn and Hook for Crocheting Your Panda.
- Use Stitch Markers to Help Keep Track of Your Stitches as You Crochet.
- Stuff Your Panda Firmly but Not Too Tightly as It May Cause It to Become Misshapen When Played With.
- Have Fun and Experiment With Different Colors and Yarn Textures.
- Use Safety Eyes Instead of Buttons for the Eyes as They Are Less Likely to Come Off.
Happy crafting! I hope this guide has been helpful in teaching you how to crochet a panda. Have fun creating your own little stuffed friends and don’t forget, with practice comes perfection! If at first you don’t succeed, try again!
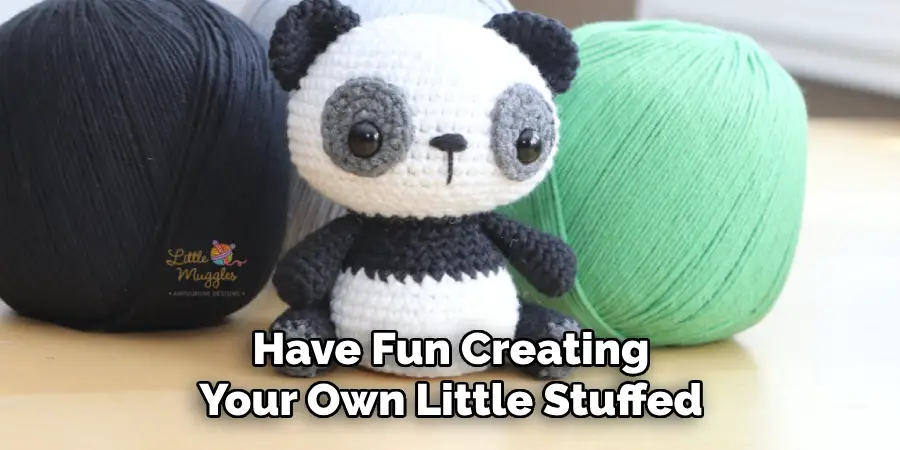
Now go out there and make something awesome. Who knows, maybe your panda will be the next big hit among friends and family. Good luck! 🙂
How Long It Will Take?
On average, it takes about 4-5 hours to crochet a panda. But this can vary depending on your skill level and the type of yarn you are using. If you are a beginner or using more complicated stitches, it may take longer.
It is also helpful to have plenty of patience and practice with various techniques before attempting something like this! Generally speaking, it is a great idea to practice some of the basics beforehand so that you have an easier time crocheting your panda.
In addition, having all of the supplies ready ahead of time will make things much more efficient and enjoyable. So take the time to gather all of your materials before starting out. That way, you won’t have any surprises or interruptions while crocheting.
With some practice and patience, you can easily create your own cuddly panda in no time! Have fun and happy crafting! 🙂
Frequently Asked Questions
Q: How Long Does It Take to Crochet a Panda?
A: It usually takes about 2-3 hours to crochet a panda, depending on your skill level and how quickly you work. It’s a good idea to take your time and focus on getting the details right. But once you get the hang of it, it should become quicker and easier.
Q: What’s the Best Yarn to Use for Crocheting a Panda?
A: Acrylic yarn is typically the best choice because it’s soft and durable. However, you can also use cotton or wool if you prefer. Just make sure that whatever yarn you choose is suitable for crochet projects.

Q: Can I Crochet a Panda Without Safety Eyes?
A: Yes, you can use buttons instead of safety eyes. However, it’s not recommended because buttons are more likely to come off when the panda is played with. It’s much safer to use safety eyes if possible.
Q: What Are Some Ideas for Personalizing My Panda?
A: You can personalize your panda in many different ways! Consider using different colors of yarn, adding a bow or embellishments like buttons, embroidery thread, and sequins. Another idea is to add custom features like ribbons, bows, and patches. Have fun experimenting with different ideas to make your panda one of a kind!
Conclusion
Crocheting animals can be a fun and rewarding hobby. After following the step-by-step instructions outlined in this blog post, you now have the basic knowledge to crochet your own panda. Why not challenge yourself and fill your home with cuddly critters? If you put your time and patience into it, you can create beautiful pieces of artwork that you can keep or give away as gifts. Who knows?
Maybe a little of your crocheted panda will go a long way; it might even end up traveling around the world! Make sure to share your progress with us on social media channels too so we can see how creative you get with color combinations! Get your yarns ready, and let’s make these amazing pandas together! Thanks for reading this article on How to Crochet a Panda.

