Embark on a delightful crochet journey by mastering the art of creating a Japanese Knot Bag, a stylish and functional accessory with roots in traditional Japanese design. Crocheting a Japanese Knot Bag combines both beauty and practicality, making it a rewarding project for crafters of all skill levels.
In this comprehensive guide, we will explore the step-by-step process of how to crochet a Japanese knot bag, from selecting the appropriate yarn and colors to mastering the knotting technique that gives the bag its distinctive shape.
Whether you’re a crochet novice or an experienced enthusiast, this article provides clear instructions and creative insights to help you bring a touch of Japanese-inspired elegance to your handmade creations. Learn to crochet a Japanese Knot Bag and infuse your wardrobe with a blend of cultural charm and personalized style.
Materials Needed
To begin crafting your own Japanese Knot Bag, gather the following materials:
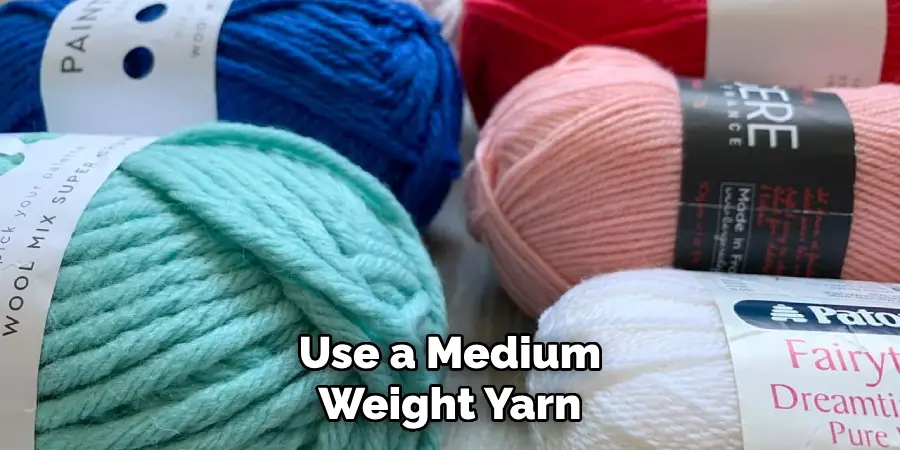
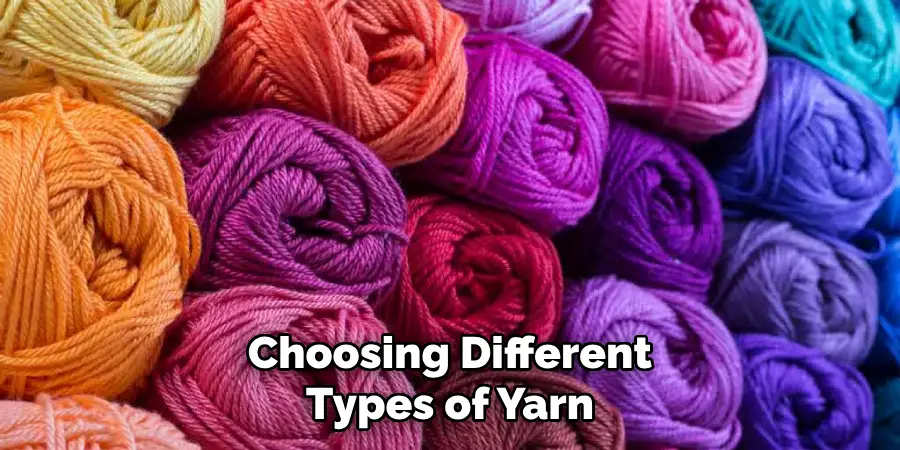
- Yarn: Choose medium-weight (worsted) yarn in your desired color for durability and ease of handling.
- Crochet Hook: A 5mm (H-8) hook is recommended for this project to achieve the proper gauge.
- Scissors: For cutting the yarn when necessary.
- Tapestry Needle: To weave in ends and construct the bag.
- Stitch Markers: To mark rounds or important stitches in your pattern.
- Pattern: A reliable and well-tested pattern for a Japanese Knot Bag will be your guide throughout the process.
Make sure to select yarn and a crochet hook that feel comfortable in your hands and correspond to the recommended gauge in the pattern you’ve chosen. This will ensure that your Japanese Knot Bag turns out the perfect size and with a nice structure.
Gauge and Sizing
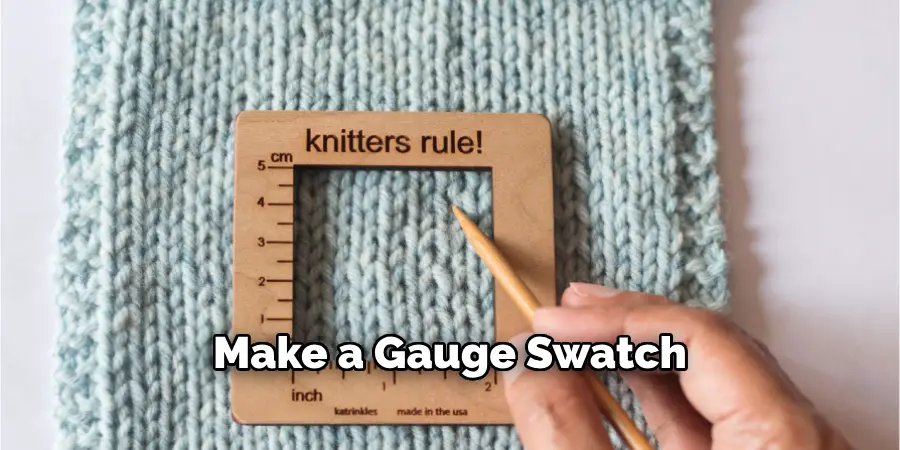
Before you begin to crochet your Japanese Knot Bag, it’s crucial to make a gauge swatch. This step helps you ensure that your stitches match the pattern’s specified gauge, which will affect the final size and fit of the bag.
- Creating a Gauge Swatch: Use your 5mm (H-8) crochet hook to work a small square in the primary stitch pattern indicated by your chosen design. Typically, this swatch should be at least 4 inches by 4 inches.
- Measuring Gauge: Once your swatch is complete, lay it flat and measure its width and height. Count the number of stitches and rows within a 4-inch section. Your pattern will specify the correct number of stitches and rows for the gauge—adjust your hook size accordingly if your gauge doesn’t match.
- Sizing Considerations: Be aware that any deviations from the specified gauge could lead to a finished bag that’s smaller or larger than intended. If customizing the size, consider how changes in dimensions might affect the bag’s functionality and aesthetic.
Ensuring that your gauge matches the pattern’s recommendations is paramount in learning how to crochet a Japanese Knot Bag, as it sets the foundation for a well-made final product that looks and functions as envisioned.
Crochet Techniques
To continue your journey on how to crochet a Japanese Knot Bag, you must become familiar with the essential crochet techniques that will be utilized in the pattern. These foundational techniques will shape the unique design of your bag, and understanding them is key to crafting a handmade piece that is both beautiful and functional.
- Magic Ring: Starting with a magic ring ensures a tightly closed beginning, ideal for the base of the bag.
- Chain Stitch (ch): This basic crochet stitch will be used to start each round and to create the loops for the handles.
- Single Crochet (sc): A fundamental stitch that will form the sturdy fabric of the bag’s body.
- Double Crochet (dc): For parts of the bag where a slightly looser stitch is desirable or for creating decorative patterns.
- Slip Stitch (sl st): Used to join rounds seamlessly and to finish edges with a neat, professional look.
- Increasing and Decreasing Stitches: Mastering increases and decreases will allow you to shape the bag and the handles elegantly.
- Working in the Round: Since the Japanese Knot Bag is typically crocheted in the round, this skill will help to avoid seams for a sleek appearance.
10 Methods How to Crochet a Japanese Knot Bag
1. Gather Materials
To start crocheting a Japanese knot bag, you will need some basic materials such as yarn, crochet hook, scissors, and a tapestry needle. You can choose any type of yarn and crochet hook size that you prefer, but it is recommended to use a medium weight yarn and a 5mm or 5.5mm crochet hook.
2. Start with a Magic Ring
To create the base of the bag, you will need to start with a magic ring. This technique allows for a tight and seamless circle in the center of your work. To make a magic ring, wrap the yarn around your fingers twice and insert your hook through the first loop created. Then, chain one and begin working single crochets into the ring.
3. Work in Rounds
The Japanese knot bag is typically worked in rounds rather than rows. This means that you will continue working in a spiral without turning your work until you reach the desired height for your bag.
4. Increase Stitches
To create the widening shape of the bag, you will need to increase stitches evenly throughout each round. This can be done by simply adding an extra stitch in between each existing stitch or by following a specific pattern depending on the design of your bag.
5. Create Handles
Once you have reached the desired height for your bag, it’s time to create handles for carrying it. To do this, simply stop increasing stitches and continue working in rounds without adding any new stitches.
6. Add Color Changes or Patterns
One of the unique features of Japanese knot bags is their ability to incorporate different colors or patterns into their design. You can add color changes by switching out yarn colors at any point during your project or create patterns using different types of stitches such as double crochets or treble crochets.
7. Use Different Stitch Techniques
Aside from traditional single crochets, there are many different stitch techniques that can be used to create a Japanese knot bag. For example, you can use the bobble stitch for a textured look or the shell stitch for a lacy effect.
8. Create a Lining
To make your bag more durable and secure, consider adding a lining to the inside of your bag. This can be done by sewing in fabric or using a no-sew adhesive lining.

9. Add Embellishments
Personalize your Japanese knot bag by adding embellishments such as buttons, beads, or tassels. These can be sewn on or attached with hot glue.
10. Finish Off and Secure Ends
Once you have completed all rounds and added any desired embellishments, it’s time to finish off your bag. Cut the yarn leaving a long tail and use a tapestry needle to weave it through the remaining stitches to secure them in place. Then, weave in any other loose ends throughout the project for a clean finish.
Variations and Customization
Embarking on the fascinating endeavor of how to crochet a Japanese Knot Bag offers ample room for variations and customization, allowing each crafter to impart their own creative flair on the finished accessory. Consider the following ideas to make your Japanese Knot Bag truly unique:
- Varying the Size: By adjusting the number of initial stitches and rounds, you can create Japanese Knot Bags of various sizes, from small pouches that carry just the essentials to larger totes suitable for shopping trips.
- Incorporating Texture: Experiment with textured stitches such as the puff or cable stitches to give your bag a tactile quality and visual depth.
- Selecting Yarn: Choosing different types of yarn, from cotton and acrylic to wool and bamboo, can affect the bag’s feel, drape, and use. Variegated or Ombre yarns can also introduce a new dimension of color without complex stitch changes.
- Adding Closures: While the knot handle typically serves as a closure, consider attaching snaps, magnetic clasps, or zippers for added security.
- Mix and Match Handles: Who says both handles need to be the same? Play with different lengths or widths for each handle to give your bag an unconventional and stylish asymmetry.
Conclusion
In conclusion, learning how to crochet a Japanese knot bag may seem daunting at first, but with the right guidance and practice, anyone can become a master at this unique and functional technique. The key is to start with the basics and gradually work your way up to more advanced patterns.
Remember to have patience with yourself and enjoy the process of creating something beautiful with your own hands. Whether you’re an experienced crocheter or a beginner looking for a new challenge, this versatile bag is sure to become a staple in your wardrobe. So don’t hesitate any longer, gather your materials and get started on your very own Japanese knot bag today!

