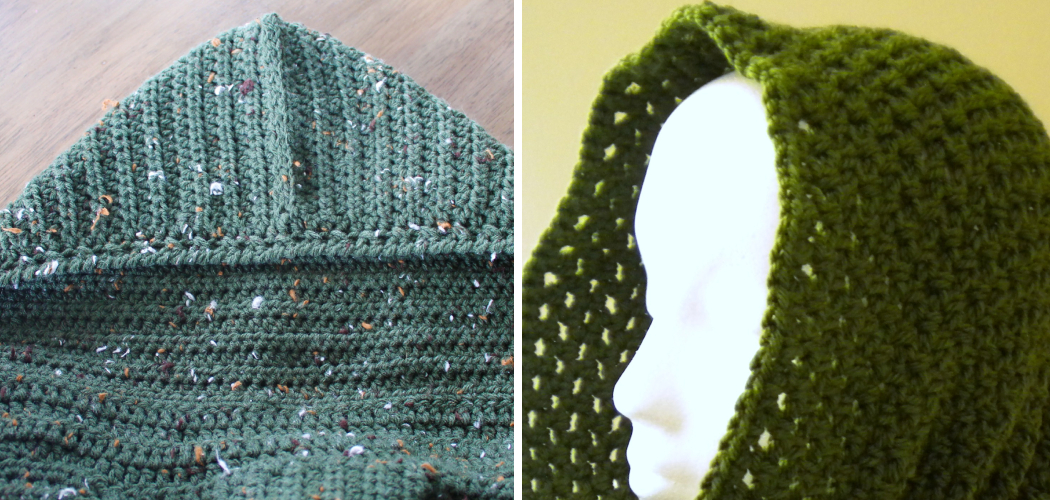
Are you looking for a fun and creative way to express yourself? Have you ever wanted to learn how to crochet, but thought it was too intimidating? Well, fear not! Crocheting is actually an incredibly versatile craft that can be used to create many unique and amazing projects.
Today we’ll be taking a look at the basics of how to crochet a hood from scratch. Whether you’ve never touched a crochet hook before or have been in love with yarn your entire life, this guide can help get you started on making your own striking hooded creations that will set you apart from everyone else! Let’s dive into the details of creating exquisite crocheted pieces below!
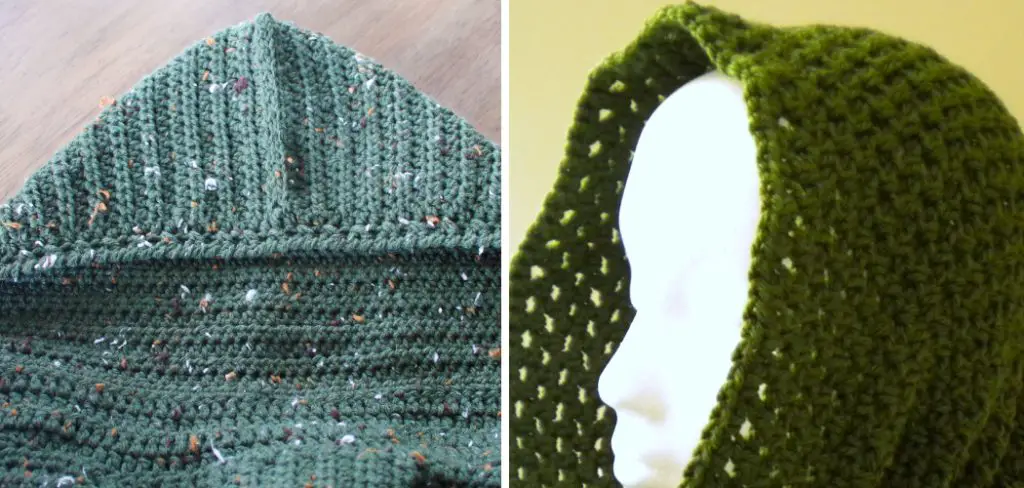
Supplies You Will Need to Crochet a Hood
- Crochet hook
- Yarn
- Scissors
- Tapestry needle (optional)
Step-by-Step Guidelines on How to Crochet a Hood
Step 1: Choose Your Yarn and Hook
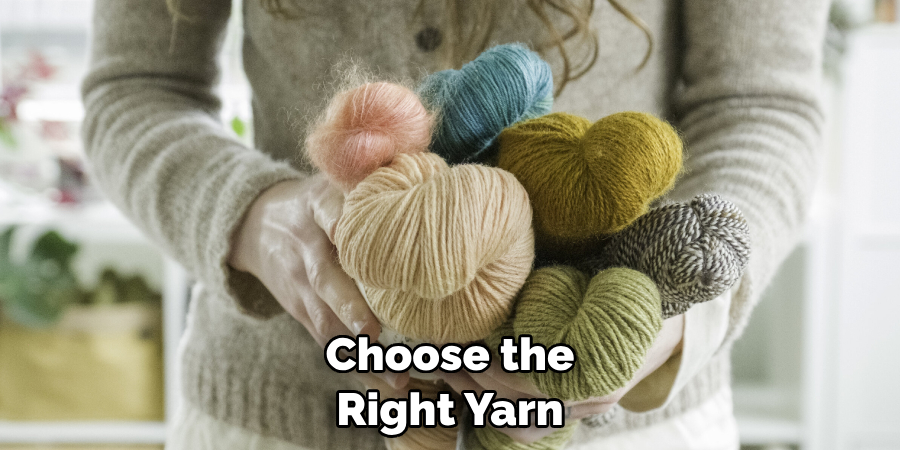
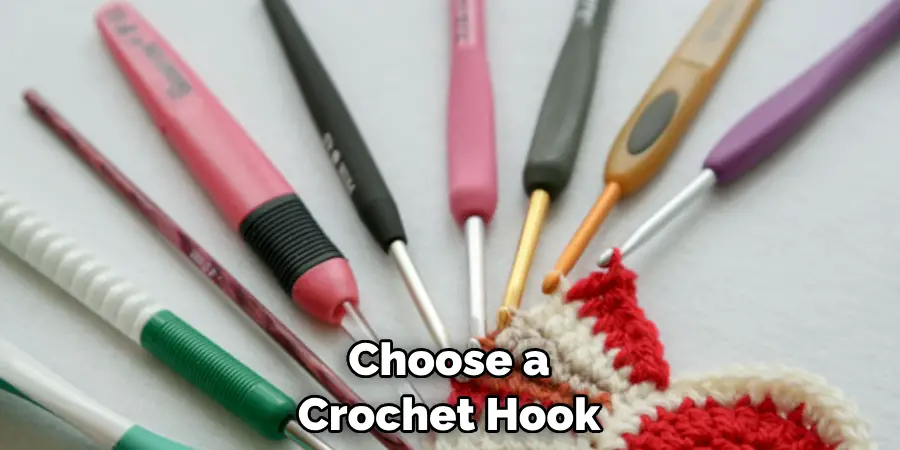
When it comes to crocheting a hood, you’ll want to choose the right yarn and hook for your project. For a hood, medium-weight yarn is ideal for the task. You’ll also want to choose a crochet hook that is sized appropriately for your chosen yarn, usually ranging from 4mm to 5 mm depending on the amount of tension you need.
Step 2: Make Your Foundation Chain and First Row
Now that you have the tools you need, let’s begin crocheting! Start by making a foundation chain (usually about 40-50 chains depending on the size of the hood you’re making).
Then, crochet one single crochet into the second chain from your hook. Work 1 single crochet into each chain until you reach the end. When you get to the last stitch, make sure to do 2 single crochets into that last stitch and then turn your work.
Step 3: Continue Working Rows
Continue to work in rows until your hood is the desired length. To do this, chain 1 and then single crochet into each stitch across the row until you get to the end. Once you get to the last stitch, make sure to do 2 single crochets into that last stitch and then turn your work. Continue this sequence of alternating rows until you reach the desired length for your hood.
Step 4: Begin to Shape the Hood
Once your hood is long enough, it’s time to start shaping it into an actual hood! To do this, begin decreasing stitches on each end of the row until you have a triangle shape. This will be the hood shape you will use for your project.
Step 5: Add a Border to Your Hood
Once you have finished shaping your hood, it’s time to add a border around the edges. To do this, pick up a contrasting color and begin crocheting scallops along each side of the hood. You can also add a decorative pattern of your choice along the edge to give it an extra special touch.
Step 6: Finishing Touches
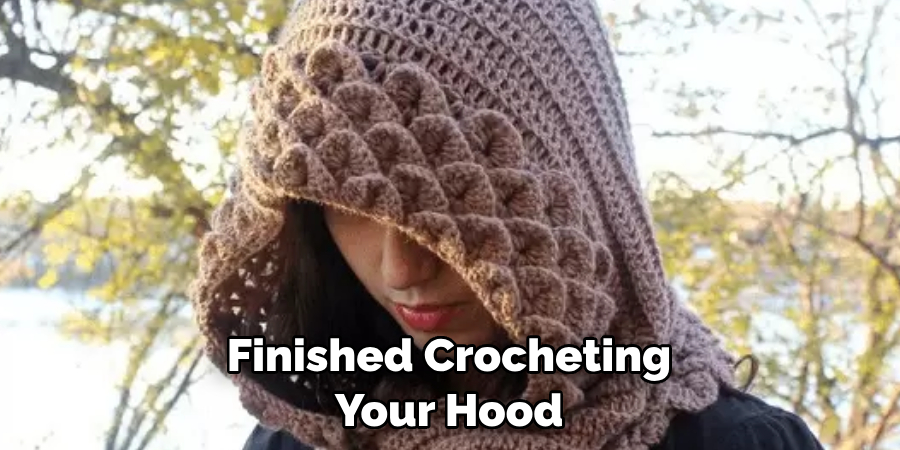
Once you’ve added the border and any other desired embellishments, all that’s left is to weave in any remaining ends and enjoy your new crocheted hood! With a few simple steps, you have successfully crafted a unique piece of apparel that will definitely stand out in the crowd.
Now that you’ve learned the basics of how to crochet a hood, you can experiment and create your very own one-of-a-kind designs. Have fun creating and don’t be afraid to try something new! We hope this tutorial has helped open up a world of possibilities for you to express your creativity through crocheting.
Additional Tips and Tricks to Crochet a Hood
1. To add a bit of texture to your hood, you can use different types of yarns and stitches. For example, using a thicker, more textured yarn will give your hood a unique look.
2. If you’re feeling adventurous, try out some colorwork techniques to create stripes or color blocks in your hood! Mixing multiple colors of yarn can add an interesting dimension to your hood.
3. Don’t forget to fasten off your work when you’re finished! This is an important step that will ensure the hood stays in place and doesn’t unravel over time.
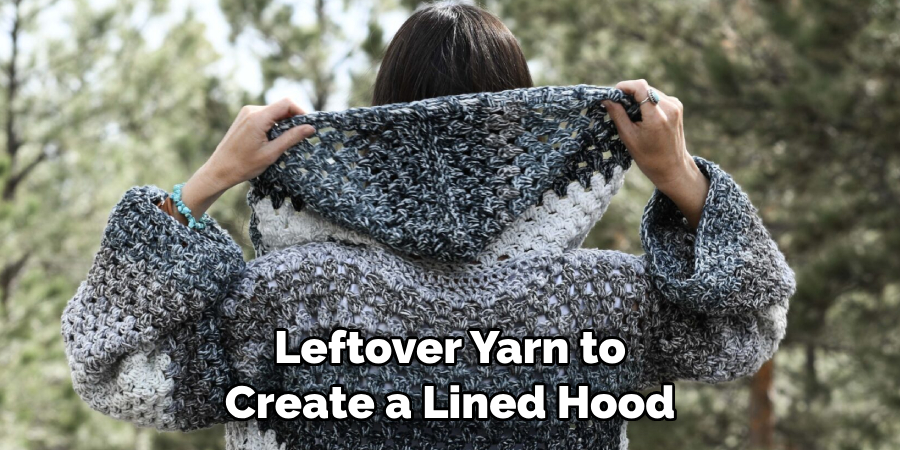
4. If you want even more warmth, try making a lined hood! You can use any type of fabric for the lining, or you can even use leftover yarn to create a lined hood.
5. For an added touch of personality, consider adding decorative elements such as pom-poms or buttons to your hood. This will give it your own unique style and make it stand out from the crowd!
6. Finally, don’t forget to share your work with your friends and family! Posting pictures of your hood on social media or giving it as a gift will make the experience even more special.
Following these tips and tricks will help you create a beautiful, unique hood that will keep you warm and cozy. Have fun crocheting and happy creating!
Things You Should Consider to Crochet a Hood
1. It’s important to select the right type of yarn for your project. Consider the weight or thickness of the yarn and the texture it will create in your finished piece.
2. Think about how large you want your hood to be, and choose a pattern accordingly. You can find plenty of patterns online for different sizes and shapes.
3. If you’re using a pattern, make sure you understand the instructions before getting started. It can be helpful to read through the entire pattern before beginning so that you know what stitches and techniques are used.
4. As you’re crocheting your hood, take time to check your work periodically for mistakes so that they can be fixed quickly.
5. Consider the type of closure you want to use for your hood. A drawstring, button-up or even a zipper can all be used to secure the hood in place.
6. Don’t forget about embellishments! Adding a few decorative elements such as pom-poms, embroidery or appliques can really add a personal touch to your hood.
7. Have fun with the project and let your creativity shine through! There are endless possibilities when it comes to crocheting, so don’t be afraid to experiment and try something new.
8. Finally, take pride in your work and share it with others! Posting pictures of your finished hood on social media or giving it as a gift will make the experience even more special.
Following these considerations will help you create a beautiful, unique hood that will keep you warm and cozy. Have fun crocheting and happy creating!
Precautions Need to Follow for Crocheting a Hood
When crocheting a hood, there are some important safety precautions to keep in mind.
1. Always wear appropriate clothing while crocheting your hood. This should include closed shoes and comfortable, loose-fitting clothes. Avoid wearing tight or restrictive clothing that can cause discomfort when you’re crocheting for long periods of time.
2. If you plan to crochet for more than a few hours, make sure to take breaks and stretch your muscles every 20 minutes or so. This will help prevent strain and fatigue.
3. If you are using a hook with a wooden handle, use caution when handling the hook as the wood may splinter if dropped or mishandled.
4. Make sure your work area is well-lit and free of distractions. This will help you stay focused and alert while crocheting your hood.
5. When using yarn, be sure to handle it gently as some fibers can be easily damaged or snagged if handled too roughly. Also, always choose a yarn that is appropriate for the project you are working on as certain fabrics may not work well with certain yarns.
6. Lastly, be sure to read and follow the instructions for any pattern you are using. This will help ensure that your hood turns out looking the way you want it to!
Following these precautions will help ensure you have a successful and enjoyable experience while crocheting your hood. Now that you know the basics, it’s time to get started!
Frequently Asked Questions
What Type of Yarn Should I Use?
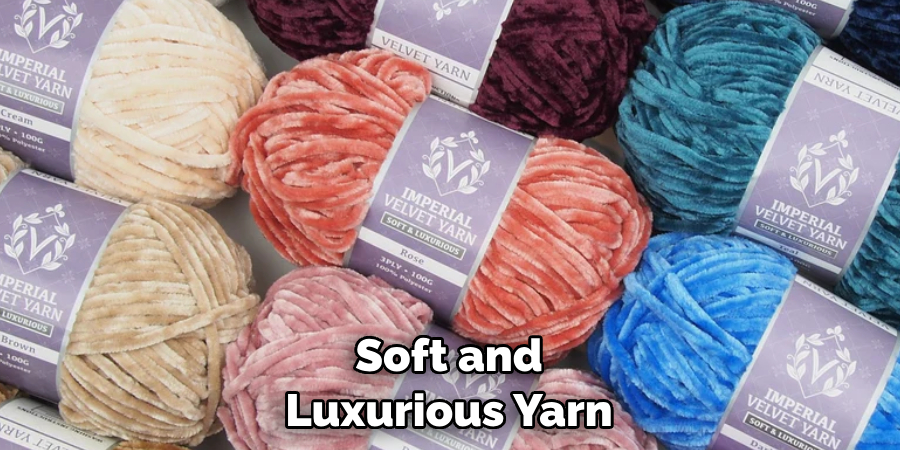
It’s recommended to use a soft and luxurious yarn for your hood. A chunky or bulky weight yarn usually works best, as it will keep the hood warm while also being lightweight enough that you don’t have to put too much effort into crocheting it. Be sure to check the label of your yarn for any care instructions, as these guidelines can help you ensure your hood will look perfect every time!
What is a Good Size For My Hood?
The size of your hood will depend on who it’s for and what type of fit they prefer. Generally, a child’s hood should be around 18-22 inches in circumference, while an adult’s hood should be about 24-28 inches. For a more snug fit, you can go down by two to four inches.
To get the right length for your hood, measure from the back of the neck to where you want it to end – this should give you a good starting point for deciding on the size of your hood.
What is the Best Way to Attach My Hood?
Once you’ve finished crocheting your hood, the next step is attaching it to the sweater. You can either sew on the hood or use a crochet hook to attach it with single crochet stitches. Whichever method you choose, make sure to use extra care when working around any ribbing or neckline – these areas will be the most visible and you want to make sure they look perfect!
Conclusion
Our journey into the magical world of crocheting a hood has come to its climax. We’ve discussed the materials you need, the basic stitches used, and the importance of paying attention to detail. This blog post has hopefully provided you with some insight on how to craft your very own hood from start to finish. Now it is up to you! Work hard and stick with it.
The hood is only limited by your creativity— pick out fun fibers and experiment with a variety of shapes or patterns. However, if at any point in time you feel overwhelmed or stuck, don’t hesitate to reach out for help. Crafting can be an incredibly rewarding activity yet still a challenge – enjoy the process! So go ahead: give it a try! You won’t regret learning How to Crochet a Hood!

