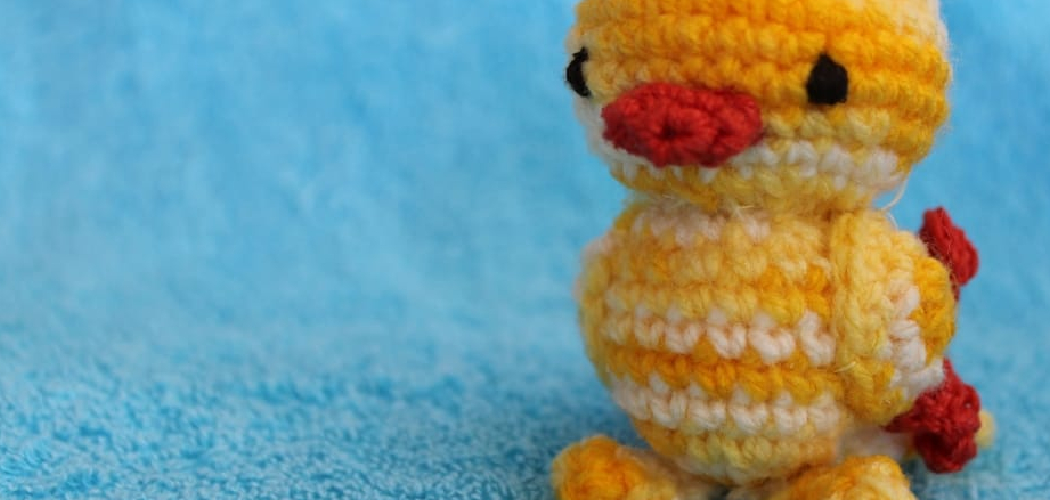
Are you looking to get creative with your next crafting project? Look no further than crocheting a cute and cuddly duckling! With just a few basic supplies and crochet techniques, you can make an adorable little duckling pal in no time.
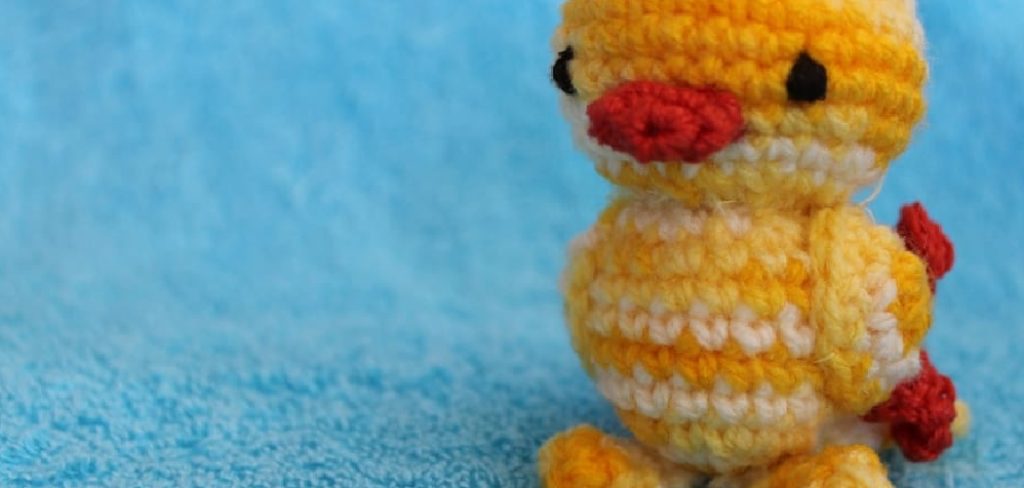
In this post, we’ll walk you through the process step-by-step, including what yarn and hook size to use, how to crochet a duckling using different stitches, how to customize its design by adding accessories or extra embellishments, and finally, how to assemble it all together for a final product that looks (and perhaps even waddles!) like the real thing. Read on for details about this fun hobby – let’s start crocheting!
What Is the Easiest Animal to Crochet?
If you are looking for a simple, fun crochet project that you can finish in no time, a duckling is a perfect choice! Ducklings are one of the easiest animals to crochet because they require very few stitches and don’t have any complex shaping.
Plus, once you get started, it’s hard to put down the hook as you watch your creation come to life! This pattern is a great way for beginners to practice their basic crochet stitches and create something unique. With just a few materials and some creativity, you can make an adorable duckling of your own. So, let’s get started!
10 Methods How to Crochet a Duckling
1. Gather Materials:
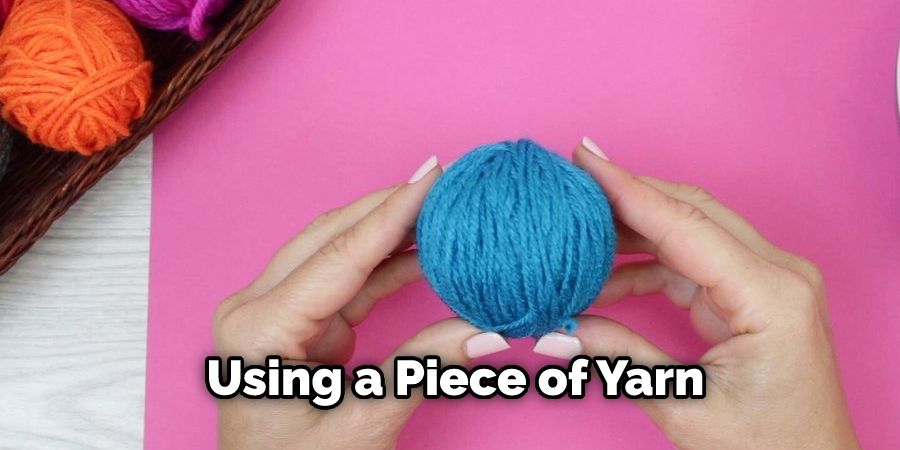
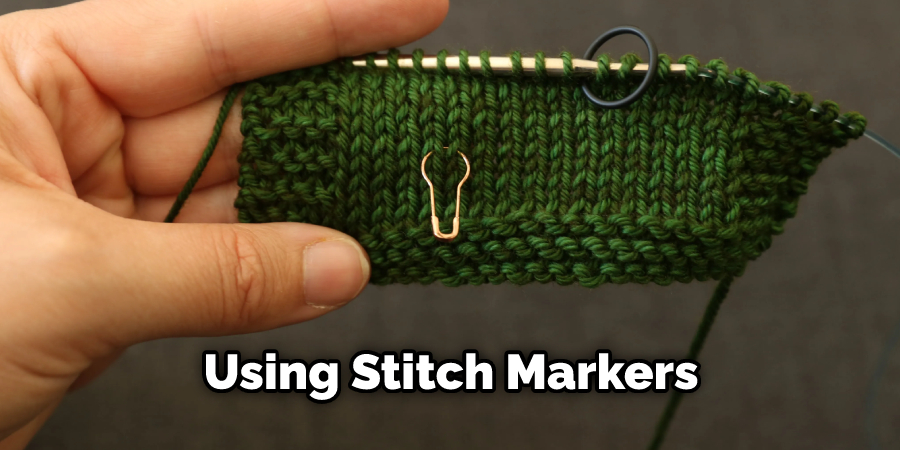
To crochet your own little duckling, you will need a 7mm crochet hook, light worsted weight yarn in yellow and orange, stuffing material, two 6mm black safety eyes, a tapestry needle, scissors, and stitch markers. If you don’t have one, you can make your own stitch markers using a piece of yarn. Although not required, using a stitch marker can help keep your place as you work.
2. Create the Head:
Start by making a magic ring with six single crochets. Pull the tail of the magic ring tight and then add one single crochet into each stitch for a total of twelve single crochets. Now increase in every stitch by doing two single crochets for twenty-four stitches. Increase once more for a total of thirty-six stitches.
To create the beak, chain three and then slip stitch the first chain to secure it.
Next, add one single crochet into the same stitch and then two more single crochets in the next three stitches. Slip stitch to the next stitch and then chain three. Slip stitch the first chain to secure it and then add one single crochet into the same stitch, two single crochets in the next three stitches, and one single crochet in the last stitch.
3. Add the Safety Eyes:
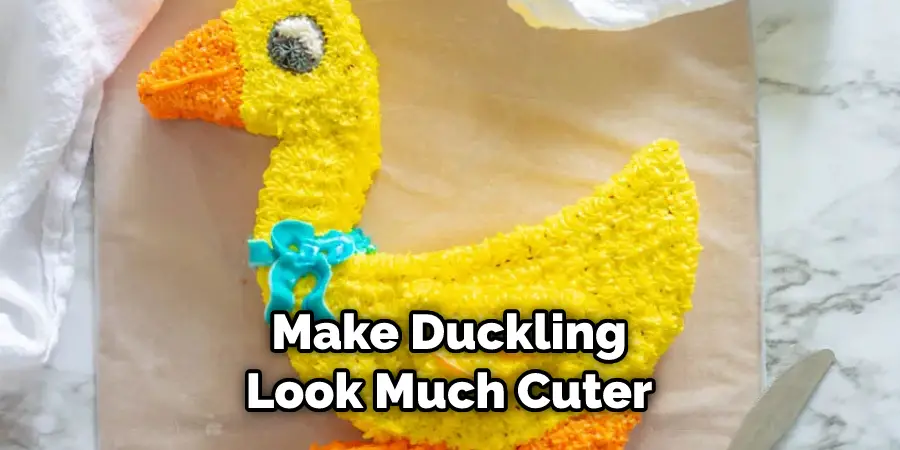
Place the safety eyes between rounds three and four from the center of the head around ten stitches apart from each other. Securely fasten them on both sides with small pieces of yarn to prevent them from coming loose or falling out easily. If desired, you can also embroider details such as a beak and feathers to give the duckling more character. Although this step is optional, it will make your duckling look much cuter and lifelike. While doing so, try to keep a consistent stitch tension to make sure the eyes are placed at the same level on each side.
4. Attach Orange Yarn:
Cut off your yellow yarn and attach your orange yarn onto the same stitch where you attached the black safety eyes using a slip stitch. Continue with thirteen single crochets before decreasing by one chain each round until you reach twelve stitches total again in round nine or ten, depending on how tightly you’ve been crocheting up until this point.
Although you will have some gaps as you decrease, it’s important to remember that these can always be fixed in the finishing stages. Try to close the gaps as best as you can as you work.
5. Make Beak:
You can make a beak for your duckling either by decreasing or increasing, but we suggest decreasing as it’s easier, and it gives a more realistic shape to your duckling’s face when stuffed and stitched down later on in the project. Decrease over two rounds until there are six stitches left altogether, after which finish off the beak with an invisible decrease (by pulling through two loops at once).
While still attached to the duckling, fasten off a tail of yarn long enough to sew in later. If the beak is too long, you can always pull the yarn back through it and adjust to your desired length. However, if you’re happy with it, simply secure the end of the yarn and move on to the next step.
6. Stuff Your Duckling:
Before continuing further, be sure to stuff your duckling lightly so that it retains its shape as you go along, stitching up its body parts together later on in this project. Stuff your duckling with a stuffing of your choice – cotton, wool, or any kind of fabric remnants.
You can also use plastic pellets as stuffing if you wish, but be sure not to overstuff the duckling. Once you have finished stuffing your duckling, set it aside for later use. While it is not necessary, you may want to use a straw or other thin tool to help create compartments and spaces in the stuffing for extra fluffiness.
7. Start Body Shaping:
Continue with four rounds of increasing in every second stitch (one chain each round), yielding twenty-four stitches overall after round four is finished being worked – this will become your duckling’s neck area when finished off correctly later on.
If you’re unsure about your stitch count, place a stitch marker at the end of each round to ensure you don’t lose track. While still using your 4.5mm crochet hook, work five rounds of single crochets in every stitch (two chains each round). This will create the body of your duckling. Your stitch count should be at thirty-six stitches when you reach the end of round five.
Now, continue with five rounds of decreasing in every third stitch (one chain each round). By the end of round ten, you should have twenty-four stitches total – the same number as at the beginning of the body shaping rounds.
8. Add Wings:
For wings, divide up forty-eight stitches total evenly between two separate pieces of scrap yarn – one piece for each wing – leaving six unworked stitches on either side of each wing where they should remain untouched until all wings have been completed and ready to be stitched down onto either side of your duckling’s body afterward. You can either crochet around the yarn or slip-stitch it in place.
9. Make Tail Feathers:
To make tail feathers work five rounds straight without any increases or decreases, which will give enough length for about ten feathers when counted out evenly across both sides of your duckling’s backside. After that, create another three rows still working without any increases or decreases, making sure to keep track of how many rows have been worked so far by either counting them yourself or using stitch markers if needed.
Finally, decrease over three final rows before stuffing lightly again, just as you did before with the head and wings.
10. Finishing Touches:
To finish off your duckling, stitch in any remaining ends and weave them through the back of your work. You can also sew or glue on a few extra details, such as feet and nostrils, to give it even more personality if desired!
Things to Consider When Crocheting a Duck
1. Choose the Right Yarn:
When it comes to crocheting a duck, you want to make sure that the yarn that you choose is soft and durable. Baby yarn is a great option for creating the soft body of the duck.
2. Pick the Right Colors:
Color can be an important factor when making a duck. You want to pick colors that will make the duck look vibrant and life-like. Reds, oranges, and yellows are all great choices for giving your duckling an authentic look.
3. Get the Right Supplies:
In order to create a realistic-looking duck, you need the right supplies. Make sure to grab items such as stuffing, safety eyes, and a crochet hook.
4. Learn the Basics:
Before you begin crocheting your duckling, it is important to learn about the basics of crochet. Learning how to chain stitch, single crochet stitch, and half double crochet stitch are all vital skills when creating your duck.
Conclusion
If you are looking for a beginner project, crochet a duckling! This is an easy project that will help you practice the basic stitches. Once you have mastered these stitches, you can start making more complex projects.
We hope you enjoyed this tutorial on how to crochet a duckling. Thanks for reading, and we hope this has given you some inspiration on how to crochet a duckling!
You Can Check It Out to Crochet Shapes

