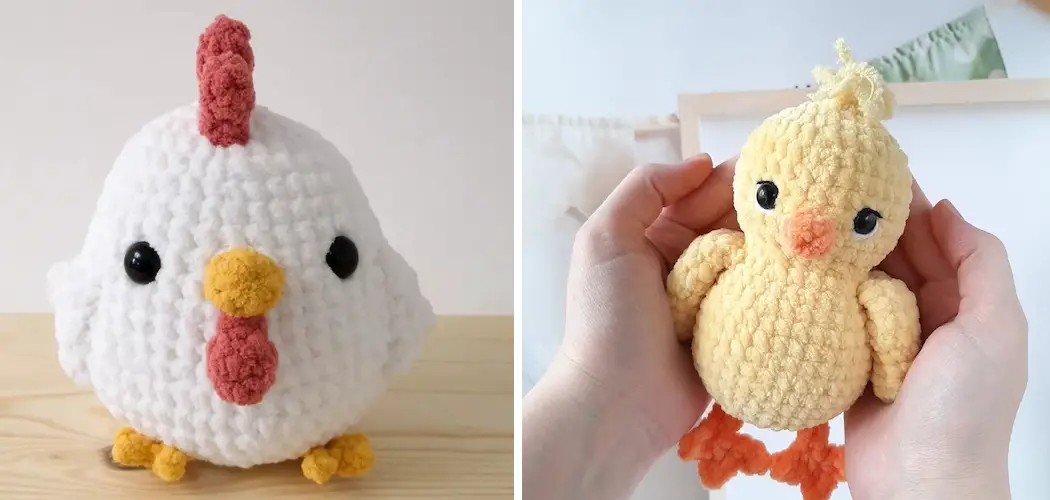
Do you ever feel the urge to create but don’t have the time for a long-term project? If you love crocheting and need a fun and creative way to spend an afternoon, look no further! Today, we will be teaching you how to crochet a chicken.
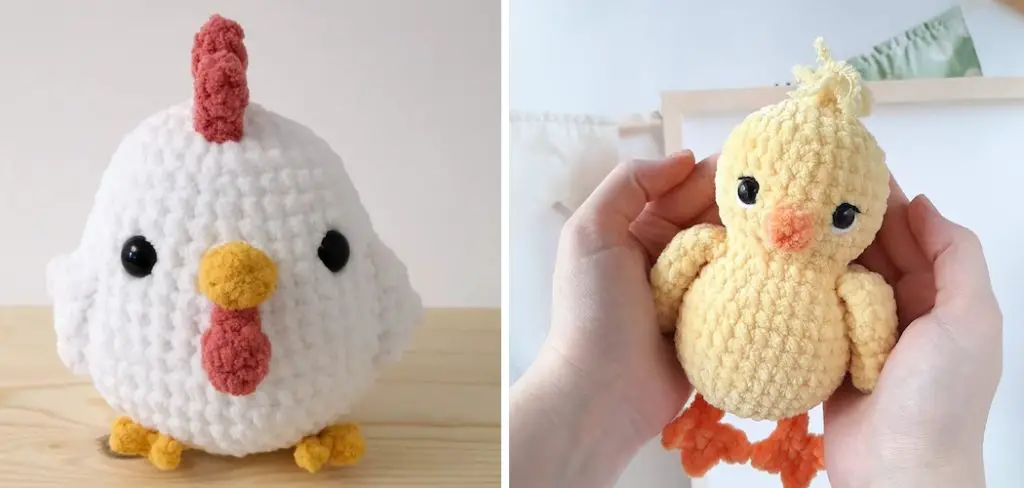
This project is perfect for beginners! All you need to get started is basic crochet supplies and a few materials. Whether you’re an expert with crochet stitches or just starting your first project, this step-by-step guide will walk you through each stage of making your chicken in no time.
So join us as we teach you how to bring these adorable birds from our imaginations into reality!
What are the Uses of Chicken Crochet Patterns?
The possibilities are endless when it comes to using crochet chicken patterns! There’s something for everyone, from making decorations and toys to creating headbands and hats. You can make a cozy blanket or pillow with your favorite chicken pattern!
These patterns can also make a unique gift for friends and family – think of a custom-made chicken phone holder or a fun plush toy.
No matter how you use it, crocheting chickens will surely be a hit! With the right supplies and a bit of practice, you can create something special that will certainly put a smile on anyone’s face.
What Will You Need?
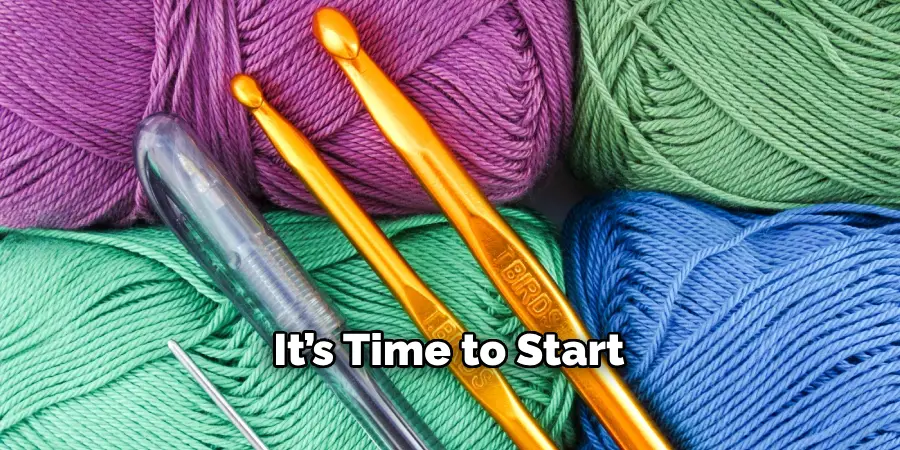
The supplies you will need to create your crochet chicken are:
- Yarn in the colors of your choice (solid, variegated, or a combination of both)
- A 4.5mm crochet hook
- Fiberfill stuffing material
- Tapestry needle
- Black embroidery floss (for eyes)
- Scissors
Once you have gathered your supplies, it’s time to start.
10 Easy Steps on How to Crochet a Chicken
Step 1: Start with the base
First, begin by creating a magic circle with your yarn. If you need help with how to do this, there are plenty of online tutorials to guide you through the process. Once your magic circle is ready, crochet 6 single crochet stitches into the circle. This will act as the base of your chicken. Pull the loose end of the yarn to cinch the circle closed.
Step 2: Expand the Base
Now, you’ll be working on expanding the base of the chicken. You’ll need to perform two single crochets in each stitch from the previous round. This doubles the number of stitches from 6 to 12. Once you’ve completed this round, placing a stitch marker in the last stitch you worked is advisable. This will help you keep track of the beginning and end of each round as you continue to crochet your chicken.
Step 3: Increase the Rounds
To shape your chicken’s body, you will need to increase the rounds gradually. For the third round, follow this sequence: single crochet in the next stitch, then two single crochets in the following stitch. Repeat this pattern all around the circle. This will increase the total number of stitches from 12 to 18. Remember to move your stitch marker to the last stitch of this round when you’re done.
Step 4: Continue to Expand
For the fourth round, you will continue to expand your chicken’s body by increasing the number of stitches. Follow the sequence: single crochet in the next two stitches, then two single crochets in the third stitch. Repeat this pattern all around the circle.
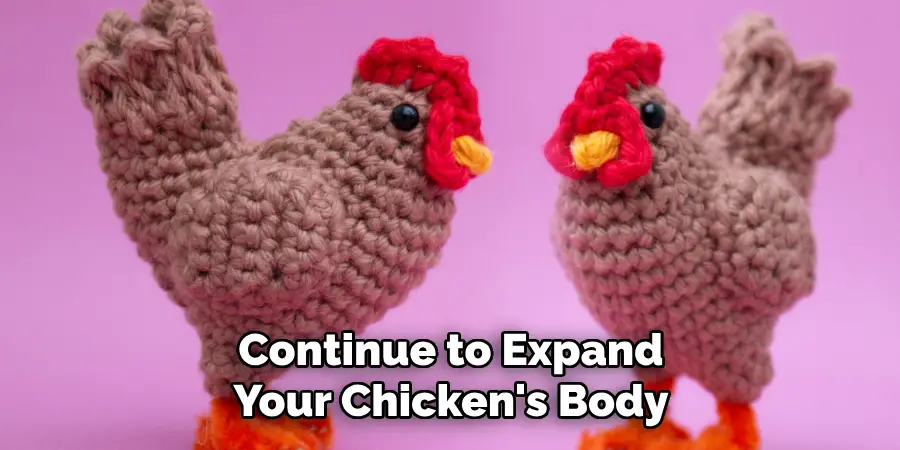
By the end of this round, the total number of stitches will increase from 18 to 24. Remember to move your stitch marker to the last stitch of this round. Now, your chicken is starting to take shape!
Step 5: Maintain the Form
To begin forming the sides of your chicken, you will crochet without increasing the number of stitches. So, for the fifth round, you will simply single crochet in each stitch around the circle, maintaining the total number of stitches at 24.
Remember to move your stitch marker to the last stitch of this round. This round will start to create the curved sides of the chicken body. Repeat this process for several rounds until you reach the desired height for your chicken’s body.
Step 6: Start Decreasing
Now that you’ve reached the desired height for your chicken body, it’s time to start decreasing the number of stitches to form the top part of the chicken. For the sixth round, follow this sequence: single crochet in the next two stitches, then crochet the next two stitches together (known as single crochet decrease).
Repeat this pattern all around the circle. By the end of this round, you should be down from 24 stitches to 18. Remember to move your stitch marker to the last stitch of this round.
Step 7: Check the Size
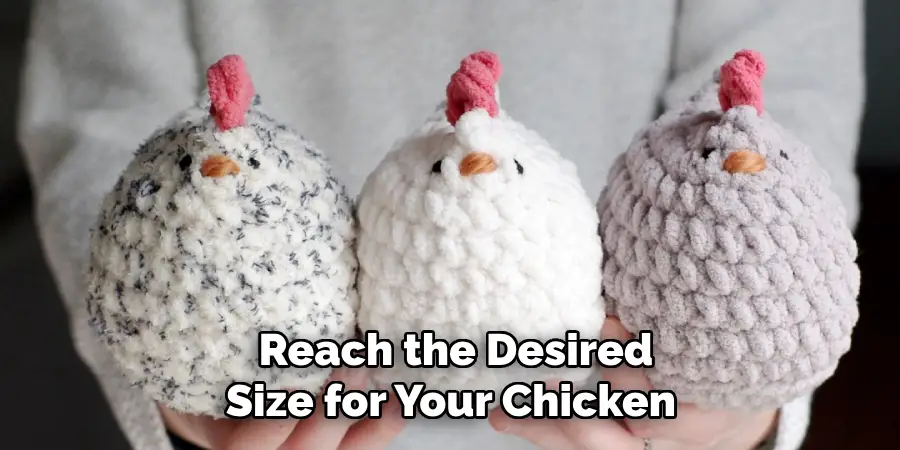
At this point, it’s a good idea to check the size of your chicken and make any necessary adjustments. If your chicken is too big or small, add or remove rounds as needed until it reaches your desired size. Be careful not to pull the yarn too tightly, or your chicken will be distorted.
Step 8: Finish Decreasing
Continue decreasing the number of stitches until you reach the desired size for your chicken. For each round, follow this sequence: single crochet in the next stitch, then crochet two stitches together (single crochet decrease). Repeat this pattern all around the circle. By the end of this round, you should reach your desired number of stitches.
Step 9: Add Stuffing
Once you’ve finished crocheting your chicken, start stuffing it with fiberfill material until it is firmly packed and has a nice shape. Be sure to stuff the head and tail separately so they have a nice round shape. Adding a few pieces of yarn inside the chicken is also a good idea so it feels like real feathers.
Step 10: Last Touches
Once you’re done stuffing, finish off the top of your chicken with a slip stitch. Cut off any remaining yarn and use your tapestry needle to weave in all loose ends. To add life to your chicken, use black embroidery floss to stitch two eyes onto the head. And you’re done – you now have a cute little crochet chicken!
With these ten easy steps, you can create a unique and special crocheted chicken for yourself or someone else. Enjoy your new feathered friend!
5 Additional Tips and Tricks
- When crocheting a chicken, use the right size hook for your project. For instance, if you make a larger chicken than the pattern calls for, use a larger hook to ensure that everything comes together properly.
- Be sure to follow the instructions carefully when crafting any crochet project! You don’t want to end up with a wonky-looking chicken.
- If you use different colors of yarn when crocheting your chicken, plan ahead for how the colors will be arranged. This can help you avoid any surprises!
- Experiment with different stitch types and techniques to add texture and dimension to your project. You may even find something unexpected that looks great on your chicken!
- If you’re feeling adventurous, try crocheting a big batch of chickens and create a fun flock to display in your home. The creative possibilities are endless!
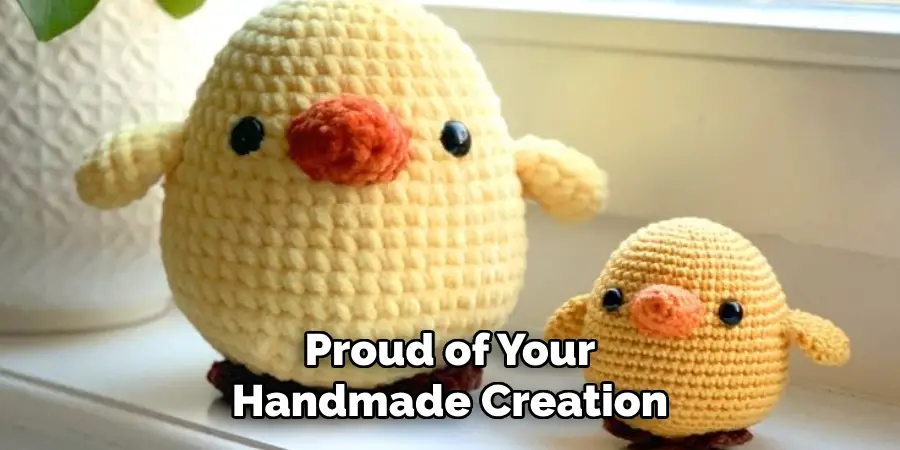
So grab your hook and prepare to create something new – it’s time to crochet a chicken! You’ll be proud of your handmade creation with the right supplies and following the steps above.
5 Things You Should Avoid
- Don’t start crocheting your chicken without doing a proper gauge swatch. This will help ensure the finished project is the right size and shape.
- Avoid using yarns with too much texture or bulk, as this can make it difficult to work with when crocheting a chicken.
- Don’t rush through your project – take your time to make sure all the stitches are even, and your chicken’s shape is just right.
- Don’t forget to firmly stuff the chicken with stuffing material before closing its body. Otherwise, it may end up looking too lumpy!
- Avoid tangling your yarn while working – this can be a real pain, so wrap it up nicely and keep it organized throughout the process.
By following these tips and tricks, you can create a wonderful crochet chicken that will make any home look great! Get creative with your colors and textures – the possibilities are endless!
5 Different Stitches You Can Try
- Single Crochet Stitch: This is the most basic of all crochet stitches, and it can be used to create a solid fabric or work in patterns to make more intricate designs.
- Half-Double Crochet Stitch: This stitch is slightly taller than the single crochet and creates a tighter fabric. It’s great for adding texture and detail to your project.
- Double Crochet Stitch: This stitch is twice as tall as the single crochet, creating a more open fabric. It’s perfect for creating lacy patterns and adding texture to your project.
- Treble Crochet Stitch: This stitch is three times as tall as the single crochet and creates an even more open fabric. It’s perfect for making intricate designs and adding detailed texture to your project.
- Slip Stitch: This stitch combines two pieces of crochet, making it a great addition when crocheting a chicken. Slip stitches can also be used for joining separate ends of yarn together or to help create color changes in a pattern.
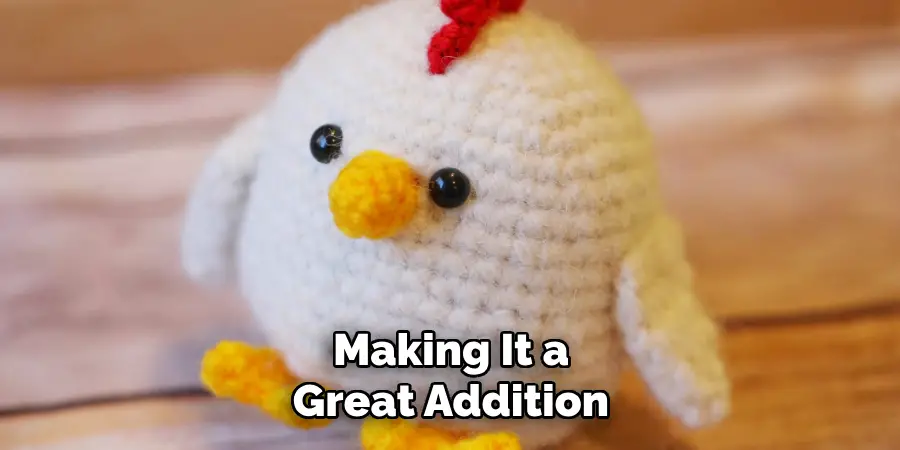
So grab your crochet hook and start making some fun chickens! With a few essential stitches, you can create something unique and special for any occasion.
Why Do My Fingers Hurt When I Crochet?
If your fingers start to hurt when crocheting, it’s likely due to the tension of the yarn. When you’re working with a tight grip and too much tension, it can cause pain in your hands and fingers. To prevent this from happening, try to relax your grip on the yarn as you crochet and take breaks throughout your project.
You can also try using ergonomic crochet hooks, designed to be more comfortable for your hands. Additionally, if you find yourself tired while crocheting, take a break and give your hands and wrists some time off!
Another great thing you can do to avoid hand pain while crocheting is to use the correct size hook for your project. If the size of the hook is too small or too large, it can cause strain on your hands as you work.
You should also make sure that you’re using good posture when crocheting. Sitting with a straight back and neck will help reduce strain on your hands and wrists.
Follow these tips and tricks, and you can crochet for hours without pain!
Is Crocheting Good for Your Brain?
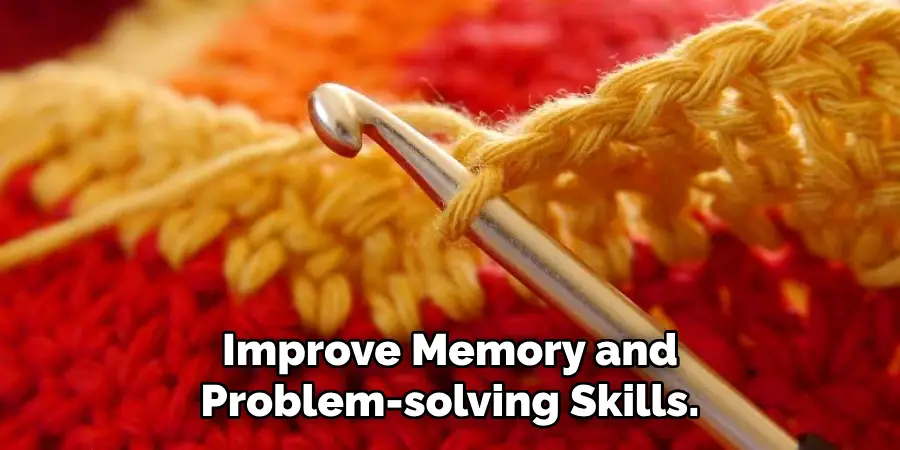
Crocheting is a great way to relax and reduce stress, as it forces you to focus on the task. Studies have shown that crocheting can help boost concentration, boost creativity, increase productivity, and even improve memory and problem-solving skills.
Moreover, crocheting can also be a great way to meet new people and connect with other crafters. Whether through online groups or in-person classes, connecting with other crocheters can help you learn more techniques and share project ideas.
So, if you’re looking to take up a craft that’s good for the mind and soul, why not try crocheting? It offers many benefits, and you’ll be proud of the projects you create. So pick up your hook – let’s get started!
Conclusion
Now you know the basics of how to crochet a chicken, and with practice and patience, you can create a one-of-a-kind piece. Don’t be intimidated by this project—it’s truly achievable! Plus, not only will you have a fun activity to pass the time, but you’ll also have an adorable pet chicken that you created with your own two hands.
Hopefully, this guide has given you the confidence to take on this project and make a chicken that will last for years!
Have fun crocheting those feathers, beaks, and wings, and watch as your creation comes to life! Share your work with us on our social media sites so we can celebrate your successes, too! Who knows? You might just become a master crocheter in no time at all.

