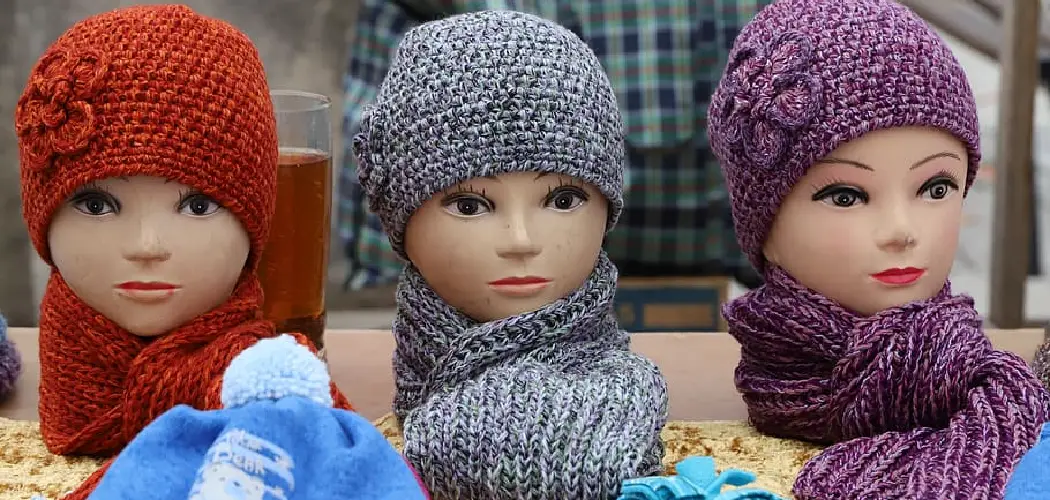
If you’re looking to add a touch of creativity and warmth to your wardrobe this winter, crochet is the answer! There are endless possibilities when it comes to creating handmade pieces for yourself or for friends and family. But have you ever considered taking your craft skills up a notch with one of the most stylish winter accessories out there?
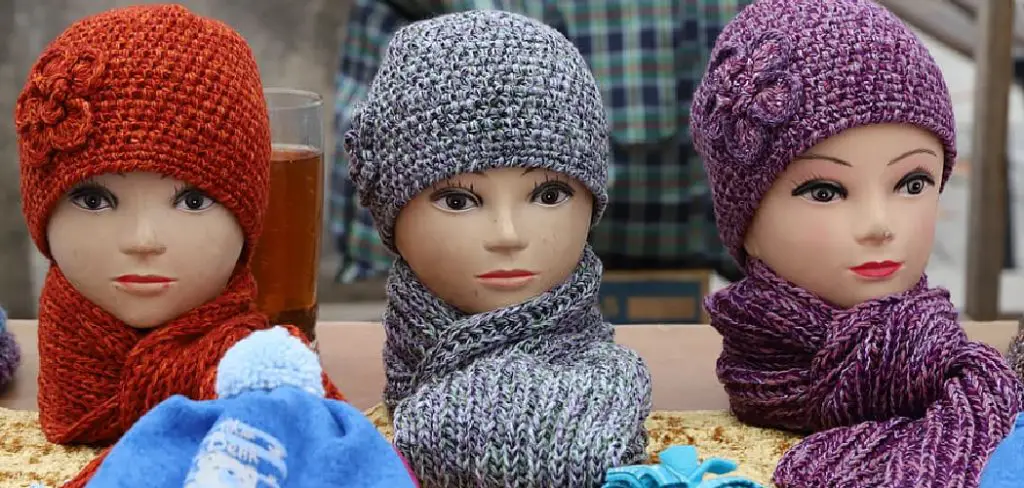
We’ll show you how to crochet a balaclava – a headwear piece that has taken the fashion world by storm in recent seasons. Get ready to wrap yourself up in an incredibly warm and fashionable accessory – perfect both indoors and outdoors! Let’s get started on our journey into crocheting innovative yet timeless wearables.
Supplies You Will Need to Crochet a Balaclava
- Crochet hook in size G/4.00mm
- Worsted weight yarn in the color of your choice – approximately 160 yards
- Yarn needle and scissors
- Tapestry needle
- Stitch marker (optional)
Step-by-Step Guidelines on How to Crochet a Balaclava
Step 1: Make a Foundation Chain
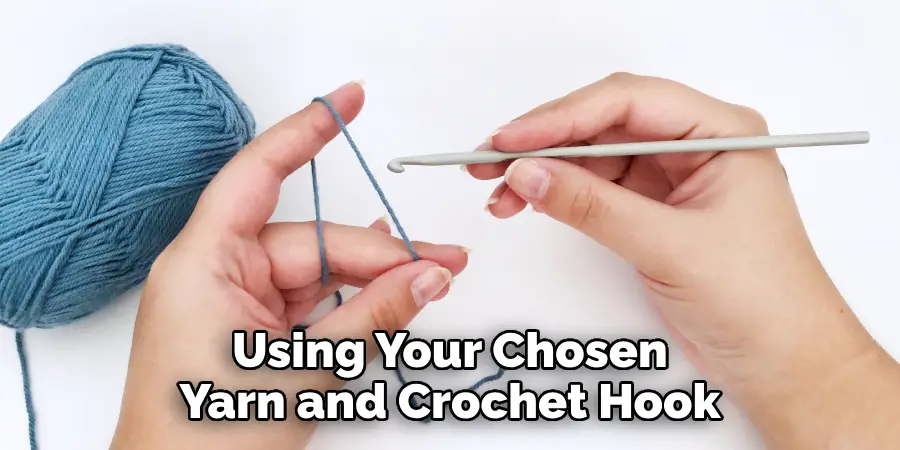
Using your chosen yarn and crochet hook, create a foundation chain that is long enough to fit comfortably around the head. You can use any size hook, but for beginners, we recommend using at least a G/4.00mm crochet hook and worsted-weight yarn (or any weight you prefer).
Try to make sure the foundation chain is neither too tight nor too loose. You can use a stitch marker to help keep track of the number of stitches.
Step 2: Single Crochet Stitches
Once the foundation chain is made, start working single crochet stitches (sc) into each chain from the second one onwards. Once you reach the end of the row, chain 1 and turn.
Then, work your single crochet stitches back across the other side of the chain until you reach the end. Repeat this process until you have reached your desired length (for example, up to just below the ears).
Step 3: Increase Your Stitches
Now it’s time to start making increases in order to make sure that the balaclava fits snugly around your head. To do this, you’ll need to work two single crochet stitches into the same stitch on each row. Make sure to use your stitch marker here if you have one, so that you can keep track of where your increases are being made and how many there are in total.
Step 4: Decrease Your Stitches
Once you have reached the desired length for your balaclava, it’s time to start decreasing. To do this, you’ll need to work two single crochet stitches together in each row (decreasing by one stitch per row). Once all of the decreases are complete, fasten off and weave in any loose ends.
Step 5: Finishing Touches
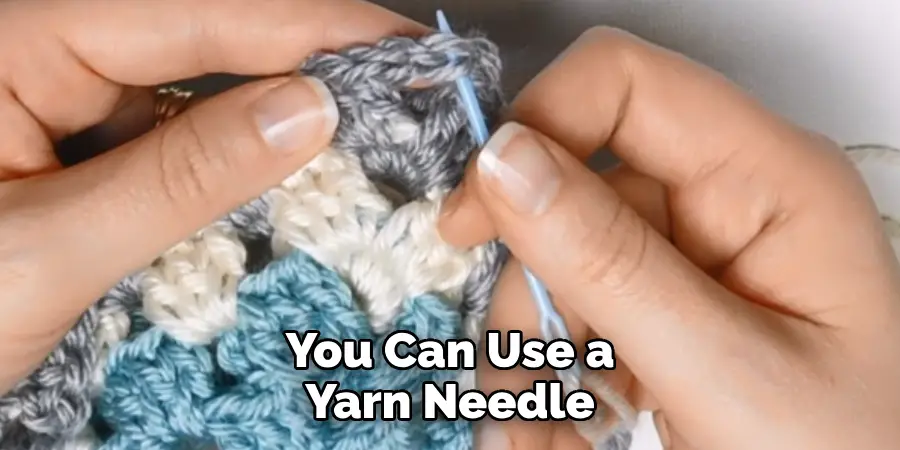
Now it’s time to add the finishing touches! To make sure that your balaclava stays securely in place, you can use a yarn needle and thread it through the stitches at the base of the opening. Pull this tightly and tie it off for extra security. You can also add some decorative touches such as tassels or pompoms if you would like.
Following these five steps, you’ll have a beautiful balaclava that is sure to keep you warm in the coldest of weather. Show off your handiwork proudly – it’s time to start rocking your very own crochet masterpiece!
Additional Tips and Tricks to Crochet a Balaclava
When crocheting a balaclava, there are several additional tips and tricks that you should consider to make sure your finished product looks its best. Here are some of the most important things to keep in mind:
1. Use a high-quality yarn for your project. This will ensure that your balaclava is comfortable to wear and will last for many years.
2. To ensure a good fit, take measurements of the person who will be wearing your balaclava before you begin crocheting. This will help you to make sure that the finished product is snug and fits properly on their head.
3. When crocheting around the neck area, use tight stitches to create a secure fit and avoid any gaps in the fabric.
4. If you need to make adjustments, try using a different hook size or changing your tension. This will allow you to tweak the size of your balaclava until it fits perfectly.
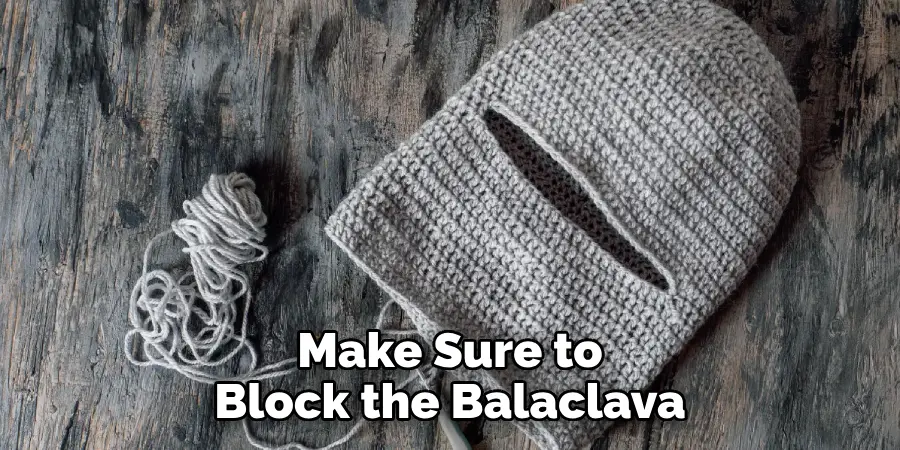
5. Once you’ve finished crocheting, don’t forget to block it so that all the stitches lay flat and look uniform. Blocking is an important step that will make the finished product look even more professional.
6. If you’re new to crocheting, it may be helpful to look up tutorials online or find a pattern specifically designed for beginners. This will allow you to familiarize yourself with the basic techniques and build your skills as you go along.
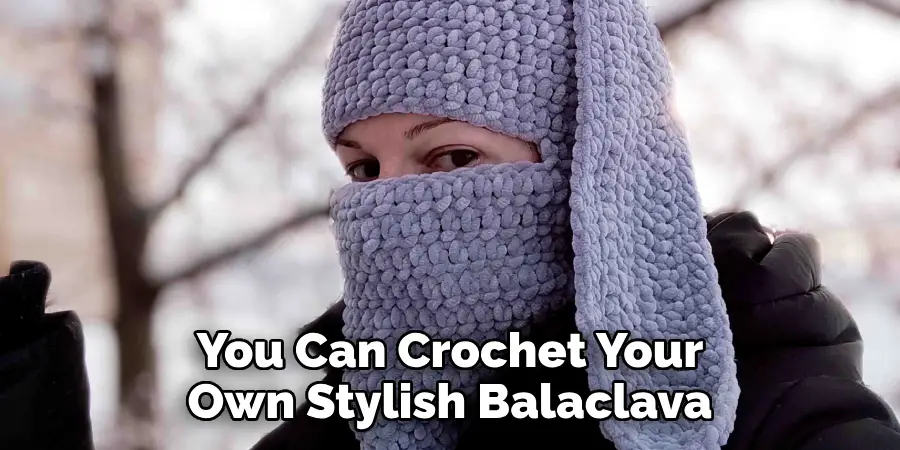
7. You can also customize the basic balaclava pattern to add unique features, such as a pompom on the top or ear flaps for extra warmth. Have fun experimenting and getting creative with your design!
8. When washing your balaclava, it is important to use gentle detergents and cool water. This will help preserve the shape of the fabric and keep it looking its best for years to come.
By following these tips and tricks, you can easily create a beautiful balaclava that will keep you warm and make for an excellent winter accessory. So don’t be afraid to give it a try – happy crocheting!
Things You Should Consider to Crochet a Balaclava
1. Choose the right yarn for your balaclava. Yarn can be made from different materials such as wool, acrylic, and cotton, so it’s important to select one that fits the purpose of your project and is comfortable to work with.
2. Select a suitable crochet hook size. The size of the crochet hook will affect how tight or loose your stitches are. For a balaclava, you’ll want to use a slightly smaller hook than the recommended size for your yarn to ensure that it is snug and warm.
3. Make sure to make your stitches tight enough so that the balaclava won’t stretch out of shape when worn.
4. Measure the circumference of your head before beginning to crochet, so that you can customize the size of your balaclava to fit your head perfectly.
5. When making a balaclava, it’s important to take into consideration the thickness and shape of the yarn as well as the type of stitch used in order to make sure that it looks neat and professional when finished.
6. Consider adding extra features such as a visor or earflaps to your balaclava.
7. Finally, make sure to block the balaclava before wearing it in order to keep its shape and ensure that all of the stitches are even and tight.
Following these considerations, you’re ready to get started on your crochet balaclava! With a few basic supplies and some practice, you’ll be able to create a functional and stylish winter accessory. Have fun crafting!
Common Mistakes in Crocheting a Balaclava
1. Not using the right hook size – When crocheting a balaclava, it is important to use the correct hook size. Too small a hook may create tight stitches that are difficult to work with while too large a hook may stretch out the fabric or make it look sloppy.
2. Using the wrong yarn weight – The type of yarn used should be matched to the size of your hook. Generally, a smaller yarn is better for balancing the tightness of the stitches with an appropriately sized hook.
3. Crocheting too loosely – It is important to crochet tightly as loose stitches can easily unravel or stretch out over time and ruin the look of your balaclava.
4. Not crocheting in the round – When crocheting a balaclava, it is important to crochet in a continuous round. This will create an even finish that looks professional and polished.
5. Not leaving enough length for the drawstring – The last step of crocheting a balaclava involves adding a drawstring to adjust the fit of the hat. Make sure you leave enough yarn at the end of the project to create a long enough drawstring that will fit around your head.
6. Not testing the final product – Before you finish your balaclava, it is important to test the fit and adjust any lengths or stitches as needed. This ensures that your balaclava fits correctly and looks great!
7. Not adding finishing touches – To complete your balaclava, you can add pompoms or tassels for decoration. This will give your project an extra bit of flair and make it truly unique!
8. Not securing the drawstring – After you have added the drawstring to your balaclava, make sure you securely knot it in place. This will ensure that your hat stays securely on your head and looks great.
By avoiding these common mistakes, you can create a beautiful and professional-looking balaclava that is sure to turn heads! With just some basic supplies and simple instructions, you can crochet your own stylish balaclava in no time.
Whether it’s for cold weather protection or just for fun, crocheting your own balaclava can be a rewarding and enjoyable experience. So grab your hooks and get started!
Precautions Need to Follow for Crocheting a Balaclava
1. Make sure to purchase a yarn that is suitable for the weather conditions you are going to be wearing your balaclava. Woolen or cotton-based yarns are ideal as they provide excellent insulation and breathability.
2. Use crochet hooks of the right size; too small a hook will make it difficult to work with, while too large a hook can result in a looser balaclava.
3. Read through the pattern instructions carefully before you start crocheting your balaclava. Make sure to note the size and any changes required for sizes beyond what is given in the instructions.
4. Choose colors that suit your style preferences, but also ensure that they coordinate well with the rest of your clothing.
5. When you are crocheting the balaclava, keep an eye on the tension of your stitches to ensure that it is even. This will help your final product look neat and professional.
6. Take extra care when stitching around the edges for a nice finish. Seam them properly so that no raw edges are visible in your finished piece.
7. To make sure your balaclava fits well, measure it against your head and make any necessary adjustments before you finish the project.
8. Gently hand wash or dry-clean the finished piece to keep it looking new for a longer time.
Following these precautions will help you get the perfect balaclava that fits you like a glove and keeps your head and face comfortable in cold weather. Have fun crocheting!
Frequently Asked Questions
What Type of Yarn Should I Use for a Balaclava?
The best yarn to use for a crocheted balaclava is a worsted-weight wool or acrylic blend. This will provide the warmth you need with the added softness of natural fibers such as wool, cashmere, or alpaca.
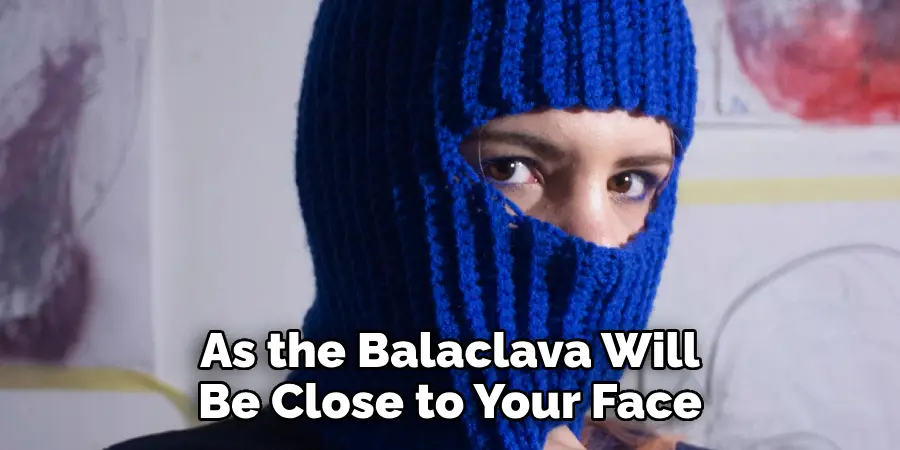
It’s also important to pick a yarn that will be comfortable against your skin, as the balaclava will be close to your face. For extra warmth, you can also choose a heavier-weight yarn such as bulky or super bulky.
How Many Stitches and Rows Should I Make for the Balaclava?
The number of stitches and rows depends on the size of the balaclava you are making. Generally, it’s recommended to make a minimum of 80 stitches and 30 rows for a child-sized balaclava, while an adult-sized one should have at least 90 stitches and 40 rows. You can also customize the size by adding or subtracting stitches or rows to create the perfect fit.
What Type of Stitches Should I Use?
For a basic balaclava, single-crochet and half-double-crochet stitches are the most common. You can also choose to use other stitches such as double or treble crochet for added texture and interest. If you’re a beginner crocheter, it’s best to start with simple stitches and then progress to more complicated ones once you become more comfortable with the process.
Conclusion
Now you know how to crochet a balaclava! With the right type of yarn, stitches, and row count for the size you need, you’ll have a warm and cozy accessory in no time. Have fun creating your own balaclava and don’t forget to experiment with different stitches to give it some personal flare. Happy crocheting!

