
Sewing is a creative endeavor that requires patience, skills, and attention to detail. One of the key aspects of sewing is darts, which are the folded triangular fabric pieces used to shape and contour a garment. Darts give a garment a professional and polished look and are necessary for a proper fit. However, if not sewn properly, darts can look puckered, uneven, or unsightly. In this blog post, we’ll discuss how to close a dart on a pattern, step by step, so that your darts look perfect every time!

Can You Close a Dart on A Pattern?
Dart closures are known for being a tricky part of sewing, but have you ever wondered if you can close a dart on a pattern? It’s a valid question, and the answer is yes! While darts may seem intimidating initially, they are essential in creating a garment that fits perfectly.
Sewing a dart requires a certain level of skill and precision, but it can become a breeze with a little practice. When it comes to closing a dart on a pattern, the key is to follow the instructions carefully and pay attention to the markings and lines on the pattern. By doing so, you’ll be able to create a tailored and professional-looking garment that fits like a dream.
Why Should You Close a Dart on A Pattern?
Darting is a crucial process in garment design and can make all the difference in the fit and look of a well-made garment. The process involves folding and stitching a piece of cloth to fit a particular shape, and it’s important to close the dart on a pattern completely. This will prevent any unsightly bulging or puckering in the final product while ensuring the garment’s shape is flattering and comfortable to wear. In fact, a well-placed dart can make a person feel like the clothing was made just for them. So, whether you’re a seasoned seamstress or just starting on your sewing journey, always remember to close those darts and enjoy the result of a well-tailored garment!
Mastering the Art: How to Close a Dart on a Pattern
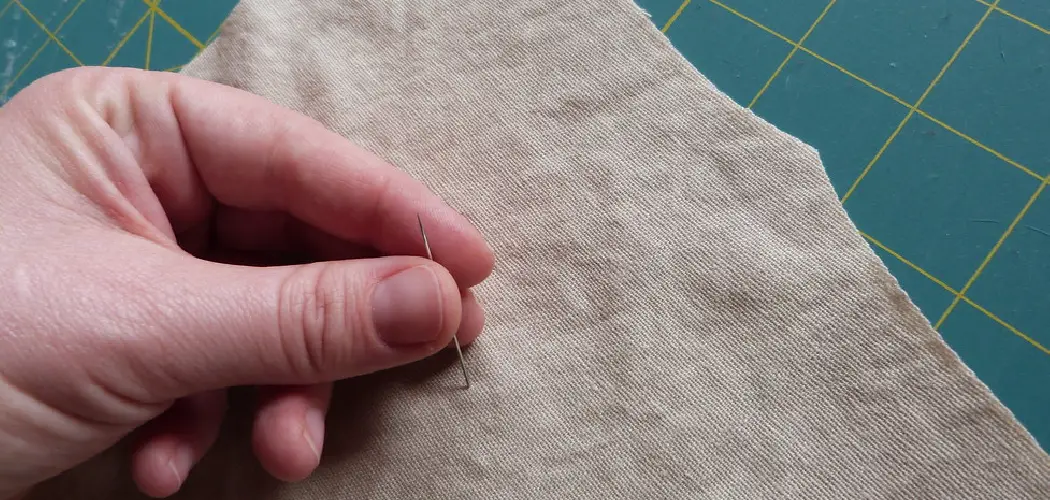
Step 1: Mark the Dart
Before you begin sewing, mark the dart lines on the fabric using a tailor’s chalk, tracing paper, or a fabric pencil. Use a ruler or a straight edge to ensure that the lines are straight and even. Ensure you have marked the wrong side of the fabric or printed side on the pattern, if there is any.

Step 2: Fold the Dart
Fold the dart in half along the center line, with the right sides of the fabric facing each other. The center line is the line of fabric that you marked in step 1. Pin the dart in place and ensure that the dart folds are equal and smooth. The pins should be placed perpendicular to the dart line and placed close together.
Step 3: Sew the Dart
Sew the dart by starting at the wide end and stitching along the marked line, tapering off to the dart’s point. Ensure that you backstitch securely at the start and end of the dart to prevent the threads from unraveling. Do not sew over the pins; remove each pin as you sew. The stitches should be uniform and straight.
Step 4: Trim & Finish the Dart
Once you have sewn the dart, trim any excess fabric with a sharp pair of scissors. Trim the seam allowance carefully along the dart lines, allowing 1/8 inch seam where the dart ends. This helps to remove the bulk in the dart area. Finish the edges by either overlock (serge on the dart allowance) or zigzag stitch.
The finishing choice depends on the fabric’s nature, need, and type of garment. After finishing, depending on the pattern instructions, you can press the dart in the desired direction. But generally, darts are pressed downwards.
Step 5: Clip the Dart
To help the fabric lie flat, clip the dart at the point without cutting through your stitching. The clip should be perpendicular to the dart line and extend to about 1/8 inch from it. This helps in easing any excess fabric that can gather around the dart when you sew other seams.
Step 6: Secure & Press the Dart
Secure the end of the dart by tying a small knot in the thread and snipping it close to the fabric. Then, press down on both sides of the dart with an iron, using a pressing cloth if necessary. This will ensure that your dart is perfectly pressed and smooth, giving a professional finish to your garment.
Step 7: Repeat on the Other Side

Lastly, repeat all the steps above for any other darts on your pattern. Ensure that all darts are marked, folded, sewn, and finished correctly before moving on to the next step of your sewing project. Following these simple steps, you can easily close a dart on any pattern with precision and create beautifully tailored garments. So don’t be afraid of darts; embrace them and make your sewing projects look polished and professional!
5 Considerations Things When You Need to Close a Dart on A Pattern
1. Measurement Accuracy
When closing a dart on a pattern, it is important to ensure that the measurements are accurate. This means measuring the amount of fabric needed for the dart and the seam allowance length. Additionally, you should measure the distance between points on the pattern to ensure they are equal. If any of these measurements are off, it can result in an ill-fitting garment.
2. Seam Allowance Width
The width of the seam allowance is also an important consideration when closing a dart on a pattern. Generally, a 5/8 inch or 1/4 inch seam allowance is recommended for most projects. However, if you are working with thicker fabrics such as denim or leather, then you may need to use a wider seam allowance to accommodate them.
3. Directional Pressing
When pressing darts closed, it is important to pay attention to the direction of pressing as this can affect how well your garment fits. Generally speaking, you should press towards the widest part of your dart as this will help to reduce bulk and create a more flattering shape when worn.
4. Stitching Method
The stitching method to close your darts can also affect how well your garment fits. For example, if you use hand stitching, it is important to ensure that your stitches are even and consistent to avoid puckering or bunching in your fabric when pressed closed. On the other hand, if you are using machine stitching, you need to be careful not to stretch out your fabric, as this can cause distortion when pressed closed.
5. Finishing Touches
Once you have finished closing your darts, it is important to give them some finishing touches in order to create a professional-looking finish on your project. For example, if you have used machine stitching, then it is recommended that you overlock or zigzag stitch around each edge to prevent fraying and add extra strength and stability to each dart closure point. If desired, topstitching around each dart closure point can also provide extra reinforcement and visual interest when worn.

Benefits of Close a Dart on A Pattern
If you’re a fan of sewing, you’re likely familiar with the technique of closing a dart on a pattern. Although it may seem like a small step in the process, this simple technique offers many benefits for your finished garment. Firstly, closing a dart on a pattern creates a smoother and more professional look, eliminating any excess fabric that may bunch up or bulge.
This gives your garment a cleaner and more streamlined appearance. Additionally, closing a dart can prevent your garment from looking bulky or ill-fitting, as it allows the fabric to contour to your body shape more naturally so if you’re looking to elevate your sewing game and give your garments a more polished appearance, consider the benefits of closing a dart on a pattern.
Some Common Mistakes People Make When Trying to Close a Dart on A Pattern
Closing a dart on a pattern can be daunting, even for seasoned sewers. One of the common mistakes people make when trying to close a dart is leaving too much fabric in the seam allowance. This can cause unsightly puckering and bulging in the finished garment.

Another common mistake is not properly marking the dart on the fabric before sewing. This can lead to uneven, crooked darts that throw off the entire fit of the garment. Lastly, many people make the mistake of not pressing their darts after sewing. A good press helps shape the dart and ensures it lays flat on the finished garment. You can achieve a clean, professional finish every time by avoiding these mistakes and practicing proper dart-closing techniques.
Conclusion
Darts may be small, but they are essential in garment construction. They can be tricky, so take your time and practice. Remember to mark your fabric carefully, sew neatly, trim precisely, and check your work several times.
Closing a dart on a pattern may seem challenging, but with a little patience and attention to detail, you can master the art of dart sewing. Thanks for reading our post about how to close a dart on a pattern.