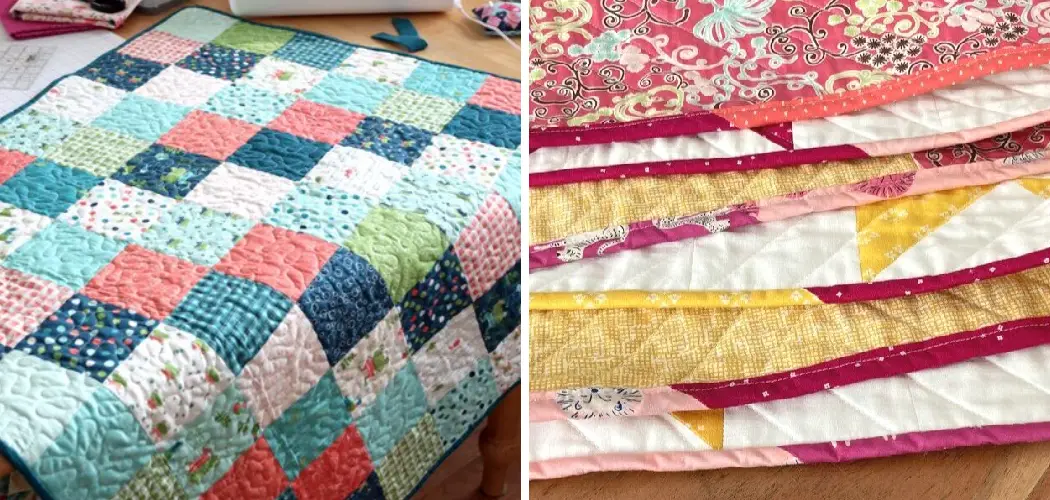
How to calculate quilt binding can feel frustratingly complex for new quilters. Between piecing together the quilt top, sandwiching all the layers, and hand-sewing the finished quilt, figuring out binding can seem like just one more knotty stitching problem.
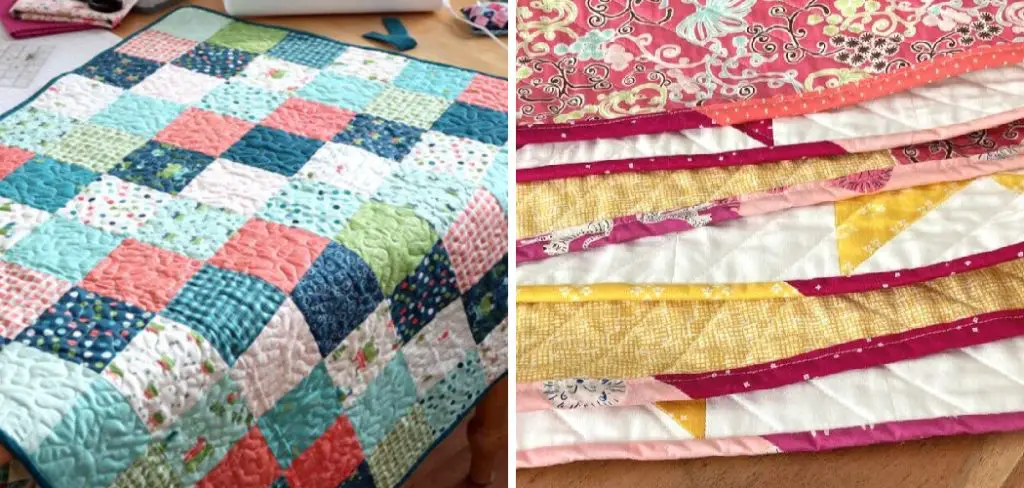
But fear not – with some practice, measuring, and this step-by-step guide, you’ll confidently wrap your quilts in beautifully finished binding in no time.
In this blog post, I’ll break down the key measurements and formulas needed to calculate precisely how much binding you need for any size and shape of your quilts. From practice quilt tops to large bed quilts, we’ll cover the basics of prepping, cutting, and attaching binding so you can say goodbye to running short or using excess fabric. Let’s get started!
What Will You Need?
Before we dive into the formulas and calculations, it’s essential to make sure you have all the necessary materials for calculating quilt binding. The most critical tools include:
- Quilt Top: This is the main piece of your quilt, made up of individual blocks or a single large fabric.
- Batting: The layer of filler between the quilt top and backing that adds warmth and thickness.
- Backing Fabric: This fabric will make up the back of your quilt. Make sure it’s large enough to cover the entire quilt top.
- Binding Fabric: This is a strip of material that will wrap around the edges of your quilt, creating a finished look.
- Measuring Tape or Ruler: You’ll need precise measurements for your quilt and binding, so make sure to have a measuring tape or ruler handy.
- Calculator: Depending on the size of your quilt, you may need to do some calculations. A calculator will come in handy for this step.
Now that you have all your materials ready, it’s time to calculate how much binding you’ll need.
10 Easy Steps on How to Calculate Quilt Binding
Step 1: Measure the Perimeter of Your Quilt
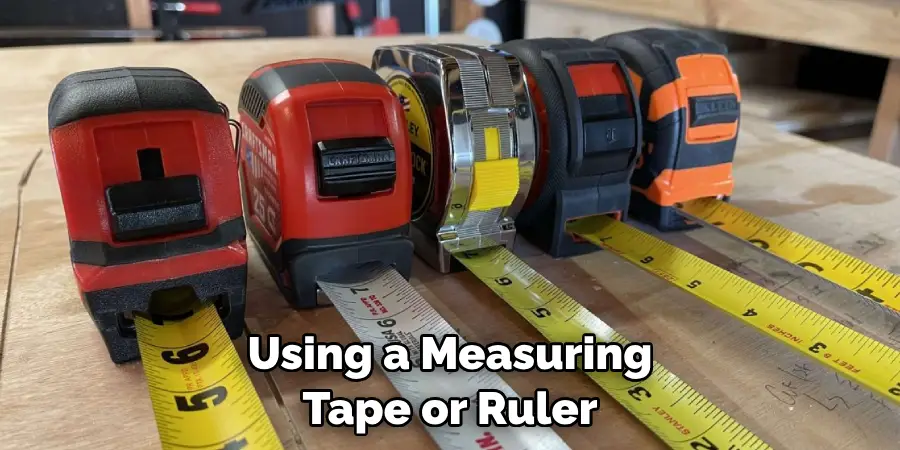
Using a measuring tape or ruler, carefully measure the length and width of your quilt. Be sure to include any borders or sashing in your measurement. Once you have these numbers, calculate the perimeter of your quilt by summing up the lengths of all four sides. Be precise – an accurate measurement here will ensure that you have enough binding to cover your quilt without unnecessary waste.
Step 2: Determine the Width of Your Binding Strip
Next, you’ll need to decide on the width of your binding strip. An excellent standard width for a quilt binding is 2.5 inches, which can be adjusted based on your preference or the quilt’s design. Remember, this measurement is for the unfolded binding; it will be half this width once you fold and sew it onto your quilt. Ensure your width will be wide enough to encase the raw edges of your quilt securely.
Step 3: Calculate the Length of Binding Needed
Now it’s time to calculate the total length of binding required for your quilt. Add 10 inches to the perimeter of your quilt to allow for corners and a few inches to join the ends. This total gives you the length of binding needed. Be aware that this measurement is in inches and represents the total binding length that should surround your entire quilt, including corners and a slight overlap.
Step 4: Calculate the Binding Strip Quantity
To find out how many strips you need to cut from your binding fabric, divide the total length of binding needed (calculated in Step 3) by the width of your fabric. Most quilting fabric has a usable width of about 40 inches. Remember to round up your result to the nearest whole number because you can’t cut a fraction of a strip. This will give you the total number of binding strips you need to cut.
Step 5: Cutting the Binding Strips
Now that you know how many binding strips you need, it’s time to start cutting. Lay your binding fabric on a flat, stable surface and align your ruler along the edge. Mark the width of your strips (as determined in Step 2) along the length of the fabric.
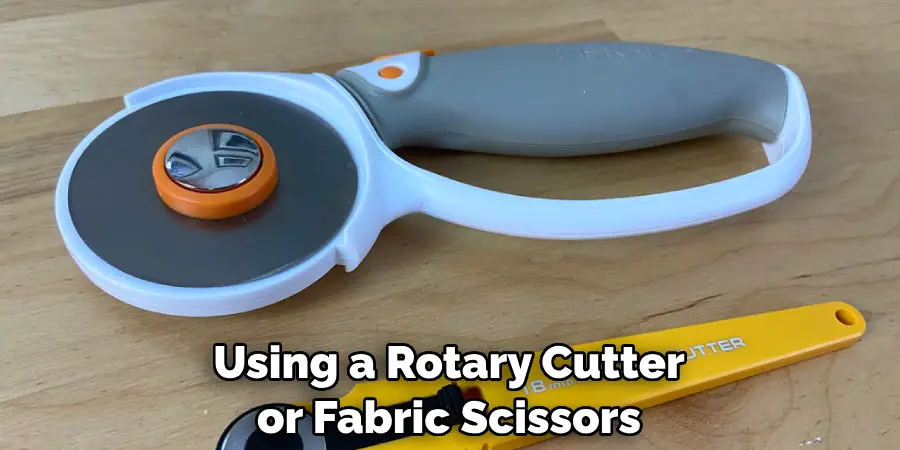
Once you have marked all the strips you need, carefully cut along your markings using a rotary cutter or fabric scissors. Remember to cut straight and follow your markings closely to ensure uniform strips. After cutting, you should have long strips of fabric ready to be joined and attached as the binding of your quilt.
Step 6: Joining the Binding Strips
Now comes the part where you combine your cut strips to make one long binding strip. Place two strips right sides together at right angles to each other. Stitch them together at a 45-degree angle; this will help reduce bulk when you fold your binding. Repeat this for all your strips.
After stitching, trim the excess fabric, leaving a 1/4-inch seam allowance. Press the seams open to reduce bulk further, and then press the entire binding strip in half lengthwise, wrong sides together. You now have your quilt binding ready to attach!
Step 7: Attaching the Binding to the Quilt
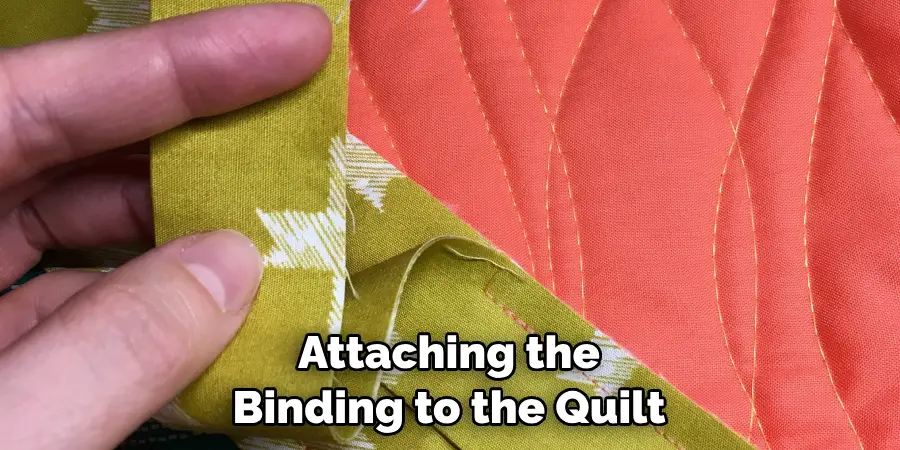
Start by leaving a tail of about 10 inches of binding. Place the folded binding strip along the edge of your quilt top, aligning raw edges. Begin sewing the binding to the quilt using a 1/4-inch seam allowance. When you approach a corner, stop sewing 1/4 inch from the edge of the quilt, then fold the binding up and away at a 90-degree angle.
Fold the binding back down, align it with the quilt’s next edge, and start sewing from the edge. Continue this process for all four corners. Stop sewing before you start your binding, leaving about a 10-inch gap.
Step 8: Joining the Binding Ends
To join the binding ends, overlap the starting and ending binding tails by the width of your binding strip (the measurement you decided on in Step 2). Cut off any excess binding.
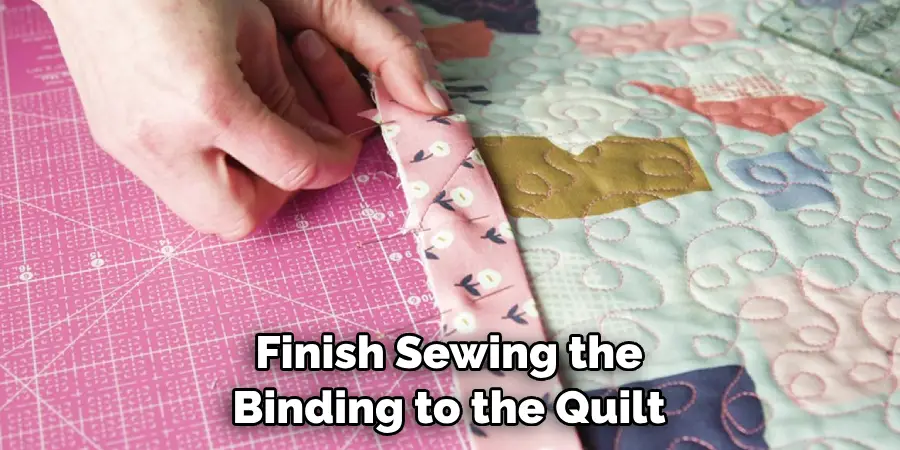
Open the end binding strip and place the beginning binding strip inside it. Refold the binding, and it should now align with the edge of the quilt. Finish sewing the binding to the quilt, ensuring the joining seam is securely stitched.
Step 9: Finishing the Binding
Once the binding strip is attached to the quilt top, fold the binding over to the back. The folded edge of the binding should just cover the stitching line from attaching the binding. Start hand sewing the binding to the back of the quilt using a blind stitch, ensuring it’s secure and neat. As you approach a corner, fold it into a neat miter on the front and back and continue sewing.
Step 10: Admire Your Work
Finally, step back and admire your work once all the binding is securely sewn. Congratulations! You’ve calculated, cut, and attached your quilt binding. This beautiful finished edge is a testament to your hard work and skill. Enjoy your newly finished quilt, or give it as a lovingly handmade gift. Remember, each quilt you bind will help you improve your technique and efficiency.
By following these steps, you can easily calculate the binding needed for your quilt and create a professional-looking finish.
5 Additional Tips and Tricks
- Measure Twice, Cut Once: Always double-check your measurements before cutting your fabric. This adage is particularly true when calculating quilt binding. A small error can lead to insufficient material or an unneeded surplus.
- Consider the Quilt’s Use: If your quilt will see heavy use, consider using a double-fold binding for extra durability. This will withstand more wear and tear than a single-fold binding.
- Strip Width: A good rule of thumb for determining the strip width for your binding is multiplying the finished binding width by four. For example, if you want a finished binding that’s 1/4 inch wide, cut your strips 1 inch wide.
- Seam Allowance: Remember to add a seam allowance when calculating the total length of binding required. Usually, a 1/4-inch seam allowance is used in quilting.
- Extra Binding: Always calculate a bit extra quilt binding than your initial measurements. This accounts for any miscalculations and provides a buffer when attaching the binding to the quilt.
With these additional tips and tricks, you can confidently calculate the perfect amount of quilt binding for your project.
5 Things You Should Avoid
- Avoid Guesswork: Never estimate or guess your measurements when calculating quilt binding. Accuracy is critical to ensuring you have enough material to complete your project.
- Don’t Neglect the Corners: When calculating the binding, remember to account for the fabric required to miter the corners. You need to complete this step to avoid running out of binding before you finish the quilt.
- Avoid Mixing Measurements: Do not mix different units of measurement. Stick to either inches or centimeters throughout your calculation process to avoid confusion and errors.
- Don’t Skimp on Quality: Avoid using poor-quality fabric for your binding. Even though it’s a small part of the quilt, a low-quality binding can ruin your quilt’s overall durability and aesthetics.
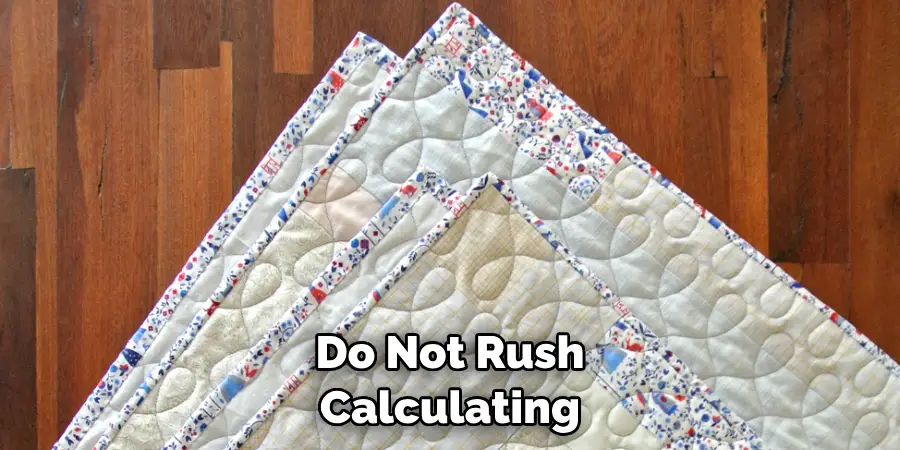
- Avoid Rushing: Do not rush calculating and attaching the quilt binding. Take your time to ensure accuracy and a professional finish. Remember, the binding frames your work, so it’s worth the extra attention to detail.
By avoiding these common mistakes, you’ll be well on your way to successfully calculating and attaching quilt binding for a beautiful result.
Conclusion
In conclusion, how to calculate quilt binding may seem like a daunting task at first, but with the proper techniques and a bit of practice, it can become second nature. Remember to measure your quilt’s perimeter and add extra length for seam allowance and joining the ends.
Remember to factor in your preferred width and any additional decorative elements you may want to include in your binding. Deciding between a double-fold or single-fold binding will ultimately depend on personal preference and the desired look for your quilt. It’s also essential to remember durability when choosing between machine stitching or hand stitching your binding.
Regardless of your chosen method, be sure to take your time and pay attention to detail for a clean and professional finish. As with any new skill, some trial and error may be involved, but keep going. The satisfaction of completing a beautifully bound quilt will make it all worth it in the end.
So grab your measuring tape, sewing machine, and favorite fabric scraps – it’s time to take your quilting game to the next level by mastering quilt binding calculations!

