
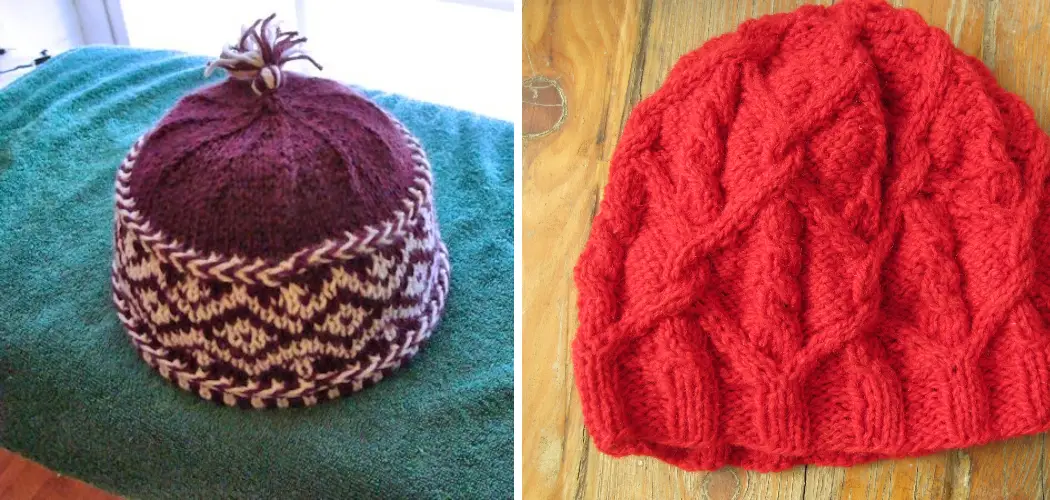
Blocking a knit hat is a key technique that elevates your knitting project from raw creation to a polished masterpiece. Whether you’ve crafted a cozy beanie, a slouchy hat, or any other style, knowing how to block a knit hat can greatly improve its fit, shape, and overall appearance.

In this comprehensive guide, we will delve into the art of hat blocking, unveiling the steps and considerations necessary to achieve a professionally finished result. From choosing the appropriate blocking method to shaping the crown and brim, we’ll explore the intricacies of the process that ensure your hat retains its intended form.
Whether you’re a seasoned knitter aiming for perfection or a novice excited to enhance your skills, join us as we unravel the world of hat blocking, offering insights that will empower you to create hats that are as stylish as they are comfortable.
What Is Blocking in Knitting and Its Purpose?
Blocking is an essential part of the knitting process. It is a way to gently shape, reshape, and even out stitches in a hand-made knitted item. By doing this you can create a neat, professional look that will make all your garments look amazing! Blocking also has another important purpose—it stabilizes fabric structure and ensures that your project will keep its shape over time.
So, how do you block a knit hat? It doesn’t take much effort or time and the results are definitely worth it! Here is what you need to know:
First, wash your hat in lukewarm water with a mild detergent (such as wool wash). Then lay out the hat on a towel and shape it to the desired size. Pin it in place with rust-proof pins, making sure that all stitches are even and evenly spread out. Finally, mist the hat lightly with a spray bottle of water and let it dry at room temperature.
Once the blocking is complete, you can remove your pins and admire the finished product! Blocking your knit hats can not only help to keep them looking great, it also helps strengthen the fibers within the fabric and gives added longevity to all of your projects. So don’t be afraid to give blocking a try—it won’t take long and will definitely add that professional touch!

Importance of Blocking a Knit Hat for Proper Fit and Appearance
Blocking a knit hat is essential for achieving the perfect fit and appearance. It is important to block hats after completion, as they often come out with uneven sizing or distorted shapes due to knit stitches. Blocking a hat allows you to adjust its shape and size by stretching it into the desired form using pins and steam or wet blocking techniques.
Additionally, blocking a hat also allows you to ensure that all of the individual pieces of the hat are properly aligned, giving it a uniform look. Blocking can help to even out tension, correct any irregularities in size or shape, and make sure the edges lay flat without curling up.
Blocking hats is an easy process that requires minimal supplies and time; however, the results can be dramatic. Blocking a hat not only helps to improve its fit and appearance, but also prevents it from stretching out of shape over time. By taking the extra step to block your knit hats, you can create well-fitted and beautiful pieces that will last for years to come.
To begin blocking your knit hat, you will need a few supplies. You will need blocking mats and pins, a steam iron (or spray bottle for wet blocking), and an absorbent towel. Start by laying out the hat on your blocking mats, with the wrong side facing up. Make sure to use minimal tension when pinning your hat into place so that it does not stretch too much or become distorted in any way.
10 Methods on How to Block a Knit Hat
1. Single Crochet Method:

The single crochet method is a simple and effective way to block a knit hat. To begin, lay out your hat on a flat surface. Using a crochet hook, insert the hook into the top of the hat and draw up a loop of yarn. Pull the yarn through the loop and repeat this process around the entire circumference of the hat. This will help to even out any uneven stitches and give your hat an even shape.
2. Blocking Mats:
Blocking mats are an excellent tool for blocking hats as they provide an even surface for you to work on. Place your hat on the mat and use pins to secure it in place. Make sure that each pin is placed evenly around the circumference of the hat so that it maintains its shape while drying.
3. Steam Blocking:
Steam blocking is another great way to block a knit hat. To do this, fill a large pot with water and bring it to a boil over medium heat. Once boiling, reduce heat to low and place your hat in the pot for several minutes until it’s dampened throughout. Remove from heat and allow to cool before shaping your hat using pins or blocking mats as desired.
4. Wet Blocking:
Wet blocking is similar to steam blocking but involves soaking your knit hat in water rather than steaming it overheating. To wet block your knit hat, submerge it in lukewarm water for several minutes until it’s completely saturated with water.
Remove from water and gently squeeze out any excess moisture before laying flat on a towel or blocking mat to dry completely before shaping as desired with pins or other tools if needed.

5. Pinning Method:
The pinning method is another great way to block a knit hat if you don’t have access to blocking mats or other tools like steamers or irons that may be used with the steam-blocking methods mentioned above.
Simply lay out your knit hat on a flat surface such as an ironing board or towel and use pins or clips (like binder clips) around the circumference of your hat at regular intervals until you achieve the desired shape when dry.
6. Blocker Boards:
Blocker boards are specifically designed tools used for blocking hats that can be purchased online or at craft stores near you! They are made from sturdy foam material, which makes them perfect for pinning down hats securely while they dry into their desired shape without warping or distorting their original form too much during the drying process.
7. Ironing Method:
The ironing method is one of the most popular methods used by professional knitters when they need to block their projects quickly! To get started, lay out your project on an ironing board covered with thick towels so that there’s no direct contact between fabric fibers and a hot metal plate underneath.
Then turn on the low-medium setting on the iron. Move the iron back and forth slowly over the project until the desired shape has been achieved – make sure not to leave the iron in the same spot too long otherwise could cause damage!
8. Stretching Method:
The stretching method is another popular way of blocking hats that doesn’t require any special tools like blockers, boards or irons! Begin by turning inside out so that all seams are hidden, then stretch fabric gently along its length until the desired size has been achieved – this will help define stitches more clearly as well as giving the finished project a more professional look.
9. Spray Method:
The spray method is another easy way of blocking hats without having access to any fancy equipment like blocker boards, irons, etc. All you need is some plain old tap water! Simply lightly spritz the entire surface area of the project evenly, then let sit for a few minutes until dampened throughout – make sure not to oversaturate otherwise could cause damage!

Once done, reshape the garment using hands/fingers/pins/clips, etc.. into the desired form before allowing dry naturally either outside (if weather permits) or indoors away from direct sunlight.
10. Freezing Method:
The freezing method is one of the more creative ways of blocking hats which involves immersing the garment in cold temperatures temporarily in order to achieve the desired shape!
Start by filling a large bowl with ice cubes, then submerge the garment into the ice bath, ensuring all areas have been covered evenly – leave submerged for about 15-20 seconds, then remove carefully from the bowl, allowing excess liquid to drain off before reshaping item using hands/pins/clips, etc.
Conclusion
As we’ve seen, blocking your knit hat is essential to ensuring a good finished product that you can enjoy wearing. Like any other craft project, some skill and knowledge are required, but the steps are easy enough to follow with the right guidance and materials.
To get the most out of your hat knitting projects, gather as much information as possible about how to block a knit hat after knitting them. With enough practice, you’ll be able to transform even ordinary knit hats into beautiful works of art. Why not try it yourself today? Learn how to block a knit hat and watch your knitted items come alive!