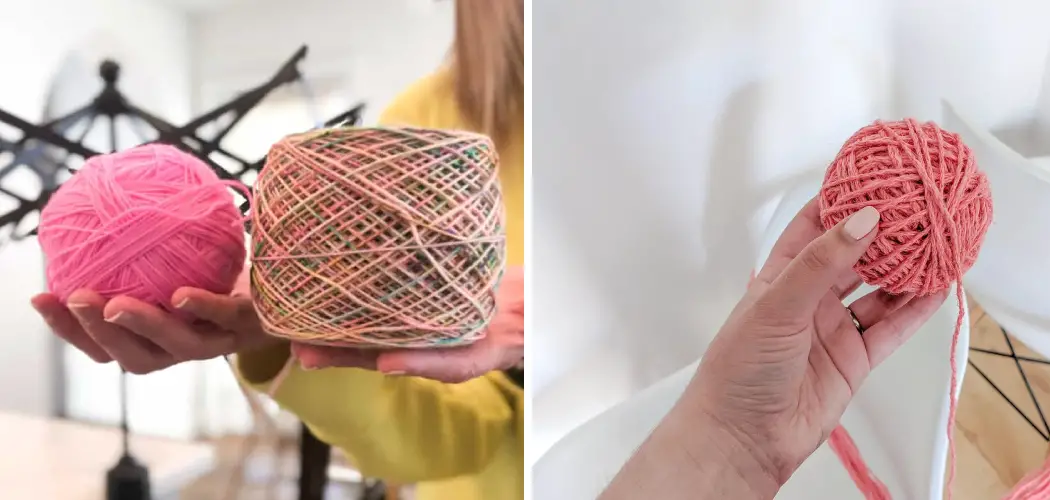
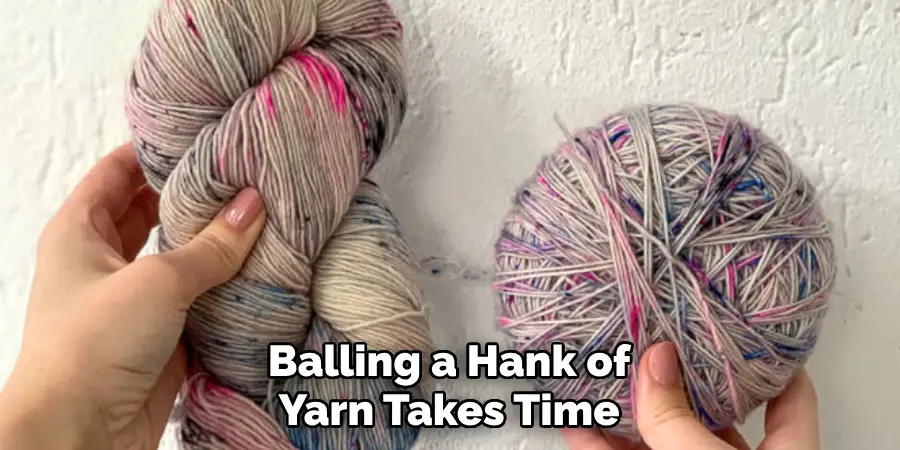
Hanks of yarn is an essential tool for knitters, crocheters, and weavers alike. They come in many different sizes, materials, and forms. However, storing and using them can be a challenge due to their unruly nature. When it comes to knitting or crocheting, having a neatly wound hank of yarn can make all the difference in your crafting experience. A ball of yarn is not only easier to work with, but it also prevents tangling and allows for more control over the yarn.
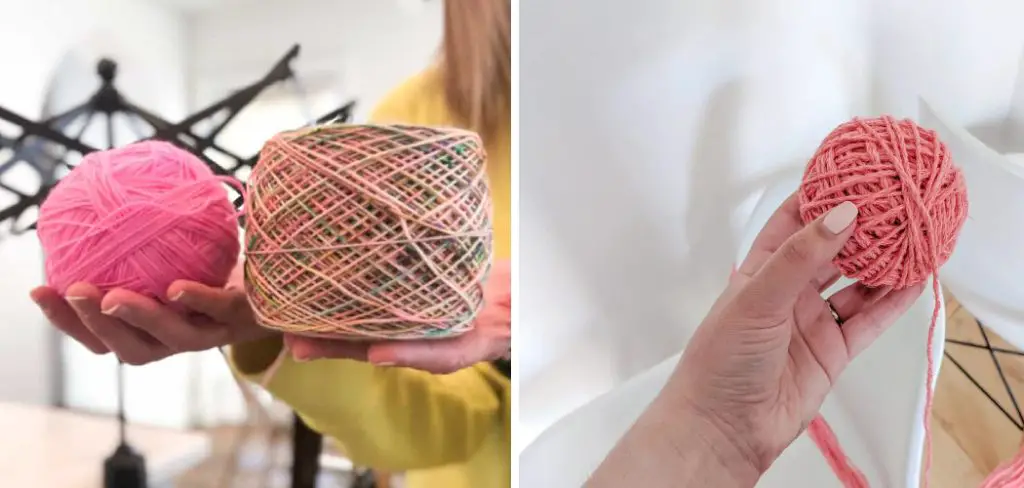
Fortunately, balling a hank of yarn is a simple process that can make working with yarn much more accessible. In this guide on how to ball a hank of yarn, we will discuss the steps for balling a hank of yarn and provide some tips for keeping your yarn organized.
Materials
To ball a hank of yarn, you will need:
- A hank of yarn
- A swift or another method to hold the hank in place (optional but recommended)
- A yarn ball winder (optional but recommended)
- Scissors
- A chair or table
- A friend or family member to hold the hank in place while you wind
- Patience and time
8 Things to Know Before You Start
Before you begin balling your hank of yarn, there are a few things to keep in mind:
1) Choose the Right Space
Find a transparent and open space to work in, preferably near a table or chair you can use as support. Make sure the area is clean and dust-free to prevent any unwanted debris from getting caught in your yarn.
2) Check for Tangles or Knots
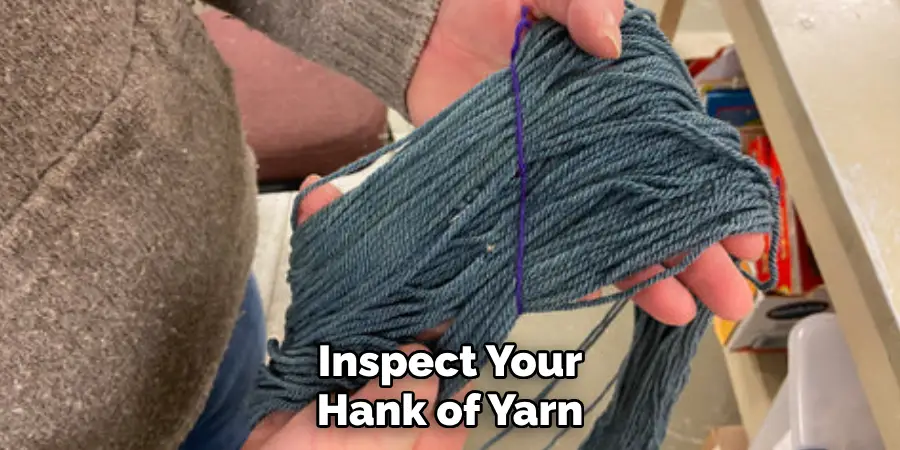
Inspect your hank of yarn before beginning. Look for any tangles or knots that may be present, as these can cause issues when winding. If you find any tangles or knots, gently untangle them before starting.
3) Use a Swift if Available
A swift is a helpful tool for holding your hank of yarn in place while you wind it. It keeps the yarn taut and prevents it from getting tangled. If you do not have a swift, you can use another method to hold the hank in place, such as having a friend or family member hold it.
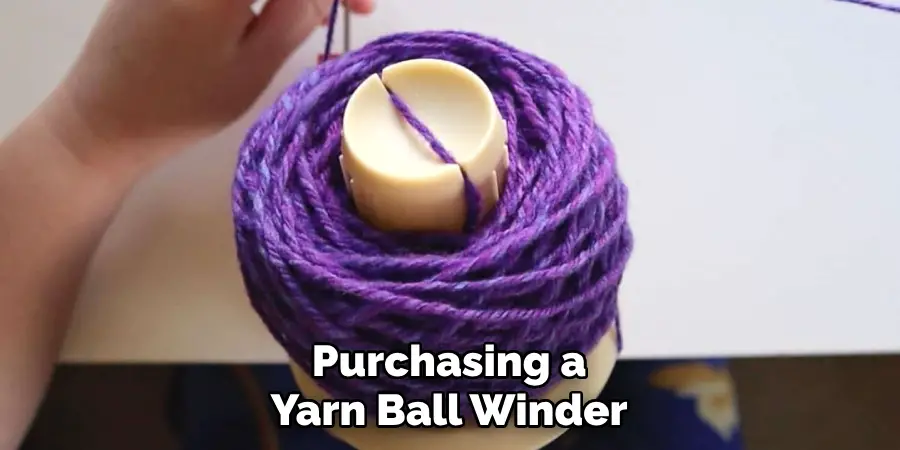
4) Choose the Right Yarn Ball Winder
Many types of yarn ball winders are available, so be sure to choose one that suits your needs. Some may be better for smaller or larger hanks of yarn, and some may have additional features. Do your research beforehand to find the best option for you.
5) Take Your Time
Balling a hank of yarn can be a time-consuming process, so it’s essential to have patience. Rushing through the winding process can result in tangles and an uneven ball of yarn. Give yourself plenty of time to complete the task.
6) Keep the Yarn Taut
As you wind your yarn, make sure to keep it taut. This will prevent any loose or uneven sections in your ball of yarn and create a neater result. If using a swift, be sure to adjust it accordingly as you wind.
7) Cut the Tails
Before removing your ball of yarn from the winder, cut the tails close to the center. This will prevent loose ends from tangling or getting caught in your project. You can also tie the seats in a knot for added security.
8) Store Your Yarn Balls Properly
Once you have completed balling your hank of yarn, be sure to store it properly to prevent tangles and damage. A yarn bowl or ziplock bag can help keep your thread neat and organized until you are ready to use it again.
Balling a hank of yarn may seem like a daunting task, but with the suitable materials and tips, it can be a simple and satisfying process. So next time you are ready to start your knitting or crocheting project, take the extra time to ball your hank of yarn beforehand for a more enjoyable crafting experience.
10 Steps on How to Ball a Hank of Yarn
Step 1: Prepare Your Materials
Make sure you have all the necessary materials within reach, including the hank of yarn, swift (if available), yarn ball winder, scissors, chair or table for support, and a friend or family member to hold the hank in place if needed.
Step 2: Unwind the Hanks of Yarn
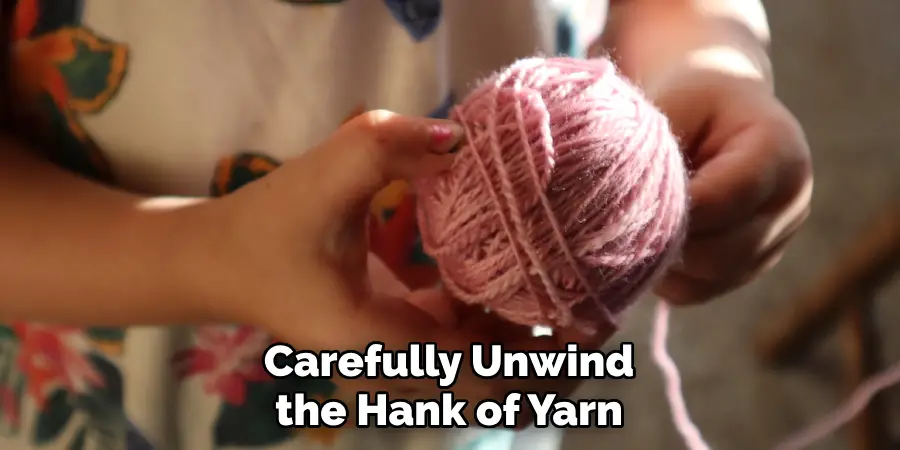
Carefully unwind the hank of yarn, making sure to keep it as untangled and flat as possible. But don’t worry if it gets a little twisted – this can be easily fixed later. If the hank is made up of multiple strands, untie them and lay them flat.
Step 3: Attach the End of the Yarn to the Winder
Find the end of the yarn and attach it to your winder. If using a yarn ball winder with a guide arm, follow its instructions for attaching the rope. Otherwise, you can tie a small knot around the winder’s base or use a clip to secure the yarn in place.
Step 4: Secure the Hanks of Yarn
If using a swift, place your hank on it and adjust it to fit the size of your yarn. If not using a swift, have your friend or family member hold the coil in place as you wind. While it’s not necessary to secure the yarn, doing so can make the process smoother and prevent tangles.
Step 5: Begin Winding
Start turning the winder handle or crank slowly. As you wind, keep in mind to keep the yarn taut and adjust your swift (if using one) accordingly. Continue winding until all of the yarn is on the ball winder.
Step 6: Fix Any Tangles
If you notice any tangles or knots while winding, stop and gently untangle them before continuing. This will prevent further problems down the line. Other minor twists or traps can be fixed once the ball is removed from the winder.
Step 7: Cut the Tails
Once all of the yarn is on the winder, use scissors to cut any remaining tails close to the center of your yarn ball. Be careful not to cut too close and risk unraveling your hard work. More extended seats can be cut once the yarn ball is removed from the winder.
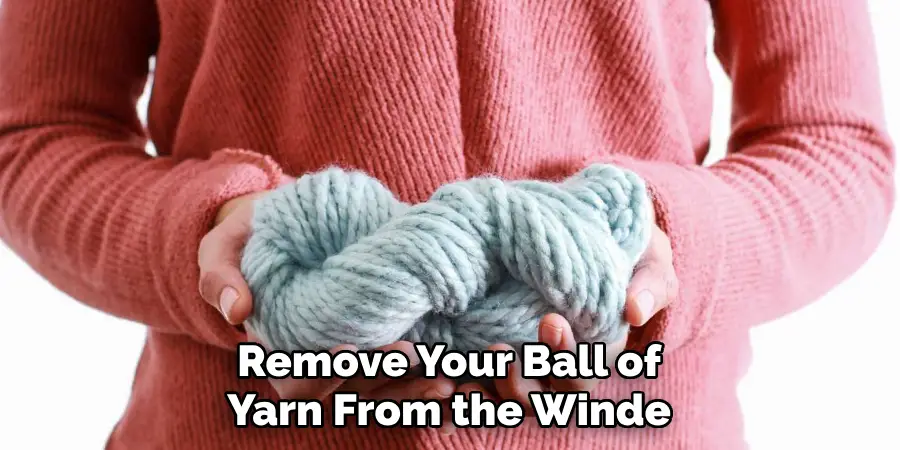
Step 8: Remove the Ball of Yarn
Carefully remove your ball of yarn from the winder, making sure to keep it taut. If using a swift, gently slide your hand through its center loop and lift it off. If not using a swift, have your friend or family member hold the hank and help you remove it from the winder.
Step 9: Adjust & Neaten Your Yarn Ball
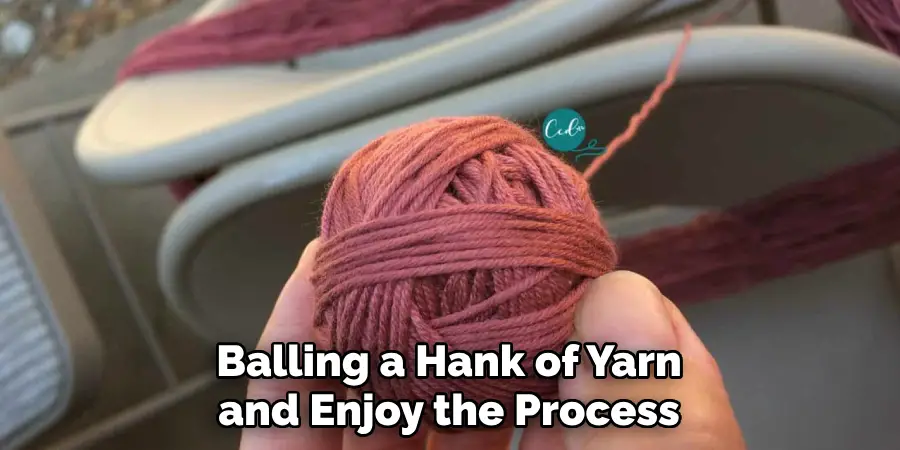
Once your yarn ball is off the winder, take a moment to adjust any twists or tangles that may have occurred. Gently pull on the yarn to even out any uneven spots. You can also roll the ball on a flat surface to neaten it up.
Step 10: Store Your Yarn Ball
Finally, store your yarn ball in a yarn bowl or ziplock bag until you are ready to use it. Be sure to label the type and color of yarn for easy identification later on. And there you have it – a perfectly balled hank of yarn ready for your next knitting or crocheting project! So, follow these steps to master the art of balling a hank of adventure and enjoy a smoother crafting experience.
Keep exploring new patterns and techniques with your perfectly balled hank of yarn. Feel free to try out different types of yarn ball winders to find the one that works best for you. And remember, patience is vital when it comes to this task – take your time and enjoy the process!
8 Things to Avoid While Balling a Hank of Yarn
Now that we’ve covered the steps to ball a hank of yarn properly, let’s discuss some things to avoid during this process.
1) Rushing Through the Winding Process
Balling a hank of yarn takes time, and rushing through it can lead to tangles and an uneven ball. Take your time and enjoy the process of balling your yarn. So, it’s best to avoid doing this task if you’re in a hurry.
2) Not Keeping the Yarn Taut
To prevent any loose or uneven sections in your yarn ball, make sure to keep the yarn taut as you wind it. This will ensure a neater result and save you from fixing any tangles later on. If using a swift, remember to adjust it accordingly as you wind.
3) Using Old or Damaged Yarn
Before balling your hank of yarn, make sure that it is in good condition. Using old or damaged yarn can result in tangles and ruined projects. If you notice any knots or breaks while winding, stop and fix them before continuing.
4) Not Securing the Yarn
While it’s not necessary to secure your yarn, it can make the winding process smoother and prevent tangles. So, if you have a swift or someone to hold the hank in place, take advantage of it. While not a deal-breaker, this is definitely something to avoid if possible.
5) Using Inappropriately Sized Winders
Using a winder that is either too big or too small for your hank of yarn can lead to problems. A winder that is too large may cause the thread to slip off, while a winder that is too small can result in an unevenly wound ball. Make sure to choose the appropriate-sized winder for your yarn.
6) Cutting Tails Too Close
When cutting the tails of your yarn, be careful not to cut too close and risk unraveling all of your hard work. It’s best to leave a decent tail length until you remove the ball from the winder. Then, you can carefully trim the bottoms to your desired size.
7) Ignoring Minor Tangles
It may be tempting to ignore minor tangles while winding and fix them later. However, this can cause more significant problems in the long run and lead to an unevenly wound ball. Take the time to fix any tangles as you notice them.
8) Not Labeling Your Yarn Ball
Once your hank of yarn is balled, make sure to label it with the type and color for easy identification later on. This will save you from having to unravel multiple balls of yarn just to figure out which one you need for your project. So, remember this important step!
Remember these tips on how to ball a hank of yarn to avoid any complications while balling a hank of yarn and enjoy the process. Happy crafting! So, keep practicing and trying out new techniques for perfectly balled yarn every time. With these tips in mind, you’ll be an expert at balling hanks of yarn in no time! Keep creating beautiful projects with your neatly wound balls of yarn.
8 Additional Tips for Perfectly Balled Yarn
Now that we’ve covered the do’s and don’ts of balling a hank of yarn, here are some extra tips to make sure your yarn balls turn out perfect every time.
1) Experiment with Different Winders
As mentioned before, different types of winders work better for certain types of yarn. Be bold and try out a few different ones before settling on your favorite. You may find that certain winders work better for thicker or thinner yarn.
2) Consider Using a Ball Winder Accessory
If you already have a swift and don’t want to invest in an additional winder, consider purchasing a ball winder accessory. These attachments can turn your swift into a makeshift winder, saving you money and space.
3) Use a Yarn Ball Holder
If you don’t have a yarn bowl or ziplock bag to store your yarn ball in, consider using a yarn ball holder. These handy tools hold your yarn in place while leaving it free to unwind as needed, preventing any tangles.
4) Wind in a Quiet and Calm Environment
Balling yarn requires patience and concentration, so try to wind your rope in a quiet and calm environment. This will help you stay focused and prevent any mistakes or tangles. Other distractions can also cause uneven winding.
5) Try a Different Winding Technique
If you’re struggling with tangles or an uneven ball, try experimenting with different winding techniques. There are various ways to wind yarn, and one may work better for you than another. Don’t be afraid to mix it up and find what works best for your personal preferences.
6) Keep a Yarn Ball Organizer
For those who have multiple yarn projects going on at once, it can be helpful to keep a yarn ball organizer. This could be as simple as labeling and storing your yarn balls in separate containers or drawers. This will save you time and hassle when searching for the perfect yarn for each project.
7) Use a Yarn Ball Winder Counter
Some winders come with built-in counters, but consider purchasing a yarn ball winder counter if yours doesn’t. This will help you keep track of how much yarn you have wound and prevent over or under-winding.
8) Practice Makes Perfect
Last but not least, remember that practice makes perfect! Don’t get discouraged if your first few yarn balls don’t turn out exactly as you’d hoped. Keep practicing and trying out new techniques for perfectly balled yarn every time. With these tips in mind, you’ll be an expert at balling hanks of yarn in no time! Keep creating beautiful projects with your neatly wound balls of yarn.
So, keep practicing and trying out new techniques for perfectly balled yarn every time. With these tips on how to ball a hank of yarn in mind, you’ll be an expert at balling hanks of yarn in no time! Keep creating beautiful projects with your neatly wound balls of yarn.
Frequently Asked Questions
Here are some frequently asked questions about balling hanks of yarn:
Do I Need to Use a Swift and Winder to Ball My Yarn?
While using a swift and winder can make the process easier, it is not necessary. You can still ball your yarn without them, but it may take more time and effort.
What is the Best Type of Winder to Use?
The best type of winder to use varies depending on the type of yarn you are working with. It’s best to experiment with different winders and see what works best for your specific adventure.
How Can I Prevent Tangles While Winding My Yarn?
Some ways to prevent tangles include using a swift, winding in a calm environment, and fixing any knots as you notice them. Additionally, using a yarn ball holder or trying different winding techniques can also help prevent messes.
How Do I Store My Yarn Ball?
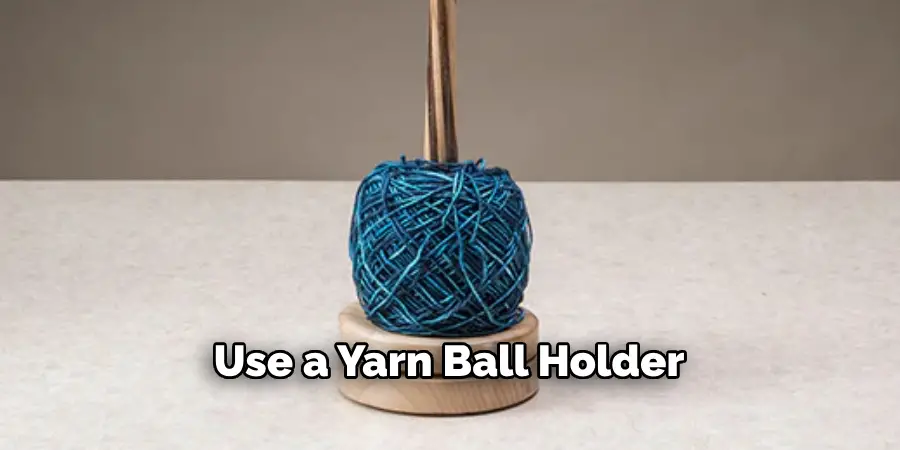
After balling your yarn, it’s best to store it in a yarn bowl or ziplock bag to keep it clean and untangled. Alternatively, you can use a yarn ball holder to hold it in place and prevent tangles. Remember to label your yarn ball with the type and color for easy identification later on. So, be sure to follow these tips while winding and storing your yarn balls for perfectly organized and hassle-free crafting!
Conclusion
Balling hanks of yarn may seem like a daunting task, but with the right tools and techniques on how to ball a hank of yarn, it can be an enjoyable and stress-free process. By using a swift and winder, fixing any tangles as you go, and labeling your yarn ball, you’ll have neatly wound balls of yarn ready for your next project in no time.
Remember to try different winders and winding techniques to find what works best for you. And most importantly, keep practicing and enjoying the process of creating beautiful projects with your perfectly balled yarn. So, keep practicing and trying out new techniques for perfectly balled yarn every time. With these tips in mind, you’ll be an expert at balling hanks of yarn in no time!

