
If you’re looking for a creative way to spice up your wardrobe, adding feathers to fabric is an ideal way to do it! Feather embellishments have impacted high fashion, adding texture and interest to footwear, handbags, clothing, and even jewelry.

But the thought of attaching feathers seems daunting or overwhelming. Fear not. In that case, quite a few simple techniques make it easy for anyone interested in this unique look.
In this blog post, we will explore exactly how to attach feathers to fabric so you can unlock your fashion potential. From sewing them onto existing garments or creating completely new pieces with them, join us as we guide you through the process step-by-step and supply some helpful tips about it.
What Will You Need?
Before attaching feathers to fabric, it’s important to ensure you have all the necessary materials. Here’s a list of things you might need:
- Feathers (of course!)
- Fabric
- Needle and thread
- Fabric glue
- Scissors
- Pins
Depending on the method you choose, you may also need additional supplies such as a glue gun, a sewing machine, or embroidery floss.
10 Easy Steps on How to Attach Feathers to Fabric
Step 1. Prepare Your Feathers.
The first step in attaching feathers to fabric is preparation. If you’ve purchased feathers, they’ll likely come pre-cleaned, but it’s always a good idea to give them a gentle wash with mild soap and warm water.
This can help remove any dust or debris. After washing, let them air dry completely before proceeding to the next step. It’s also a good idea to sort your feathers by size and shape. This will help you create a more uniform look when attaching them to your fabric.
Step 2. Position Your Feathers.
The next step is to lay your feathers on the fabric in the pattern or design you want. This is an important stage where you can let your creativity shine. Try different arrangements until you find one that you are satisfied with.
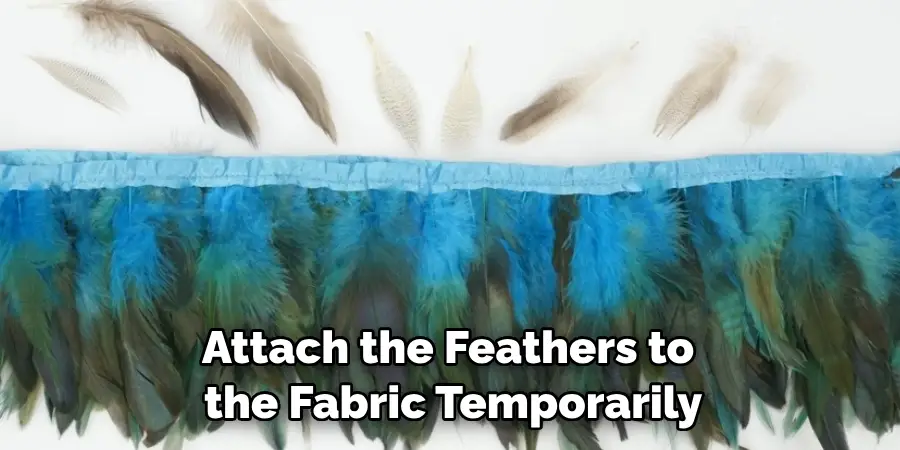
Remember, you can cover the entire fabric with feathers or add them as accents to certain areas. Once you’ve decided on a design, use pins to attach the feathers to the fabric temporarily. This will help keep them in place when you start the attachment process.
Step 3. Secure Your Feathers.
With your feathers positioned to your liking, it’s time to secure them. If you’re sewing, carefully stitch the feathers onto the fabric, removing the pins. Ensure the thread you’re using matches the color of the feathers to keep it discreet.
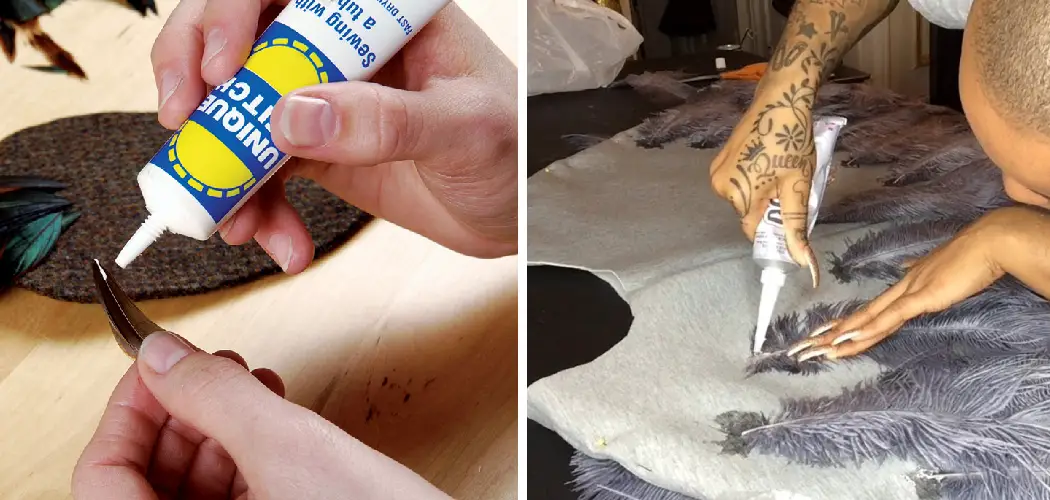
If you’re using fabric glue, apply a small amount to the base of each feather, press it onto the fabric, and allow it to dry as per the manufacturer’s instructions. Regardless of your chosen method, it’s crucial to work systematically from one end to the other to ensure a uniform look.
Step 4. Review Your Work.
After attaching all the feathers, take a moment to review your work. Look for any areas where the feathers might need to be more secure or where the design might not be as even or attractive as you’d like. If you notice any feathers out of place or not fully attached, now is the time to fix those issues.
Once you’re happy with how everything looks, give the feathers a gentle shake to ensure they’re all properly attached. If any feathers come loose during this process, reattach them using your chosen method. With this step done, you’ve successfully attached feathers to the fabric!
Step 5. Final Touches.
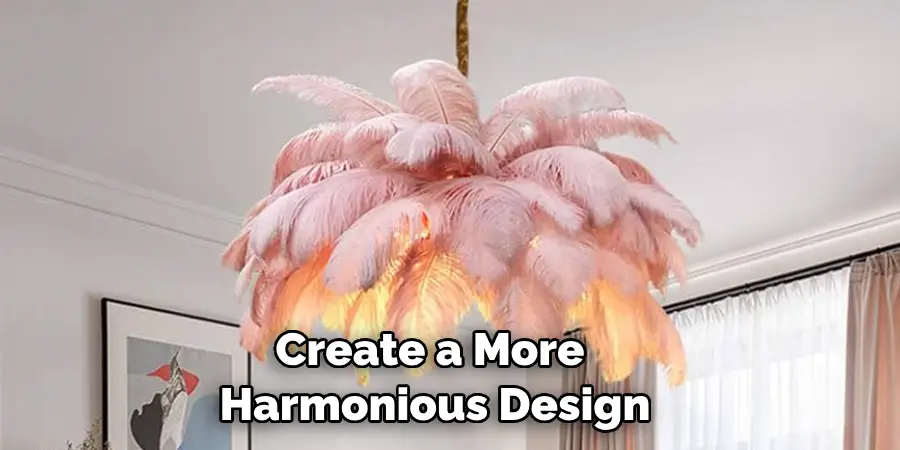
The last step in attaching feathers to fabric is adding the final touches. At this point, add additional feathers to fill in any gaps or adjust the positioning of some feathers to create a more harmonious design.
Remember, the goal is to create a look that you’re satisfied with, so feel free to make adjustments until you’re happy with the result. Once you’re done, let the feathers settle and the glue (if used) dry completely. And voila, you’ve successfully mastered how to attach feathers to fabric! Enjoy your new feather-enhanced fabric piece!
Step 6. Care and Maintenance.
Taking care of your feather-embellished fabric is crucial to ensure its longevity. If your fabric is washable, hand-wash it gently with a mild detergent and cold water. Avoid rigorous washing and wringing as it can damage the feathers and the fabric.
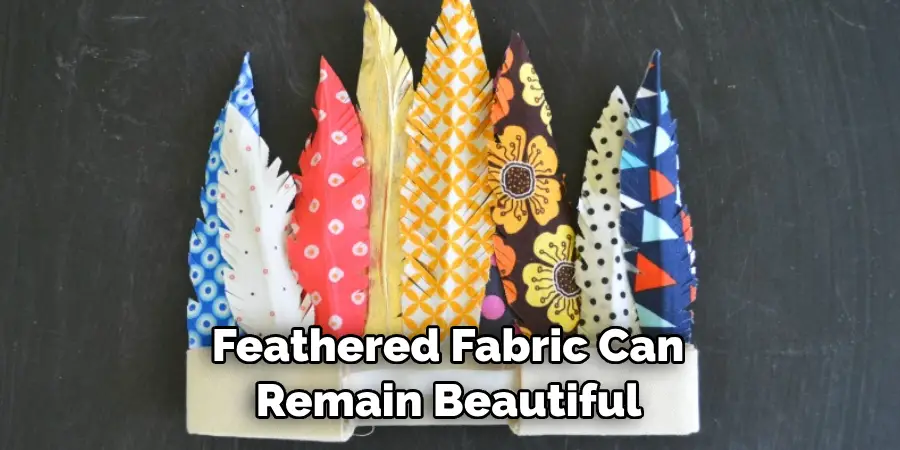
It’s best to air-dry the fabric without exposure to direct sunlight to prevent fading. For non-washable fabrics, consider professional dry cleaning. Regularly dust off the feathers to keep them looking vibrant and fresh. With proper care, your feathered fabric can remain beautiful and striking for a long time.
Step 7. Showcase Your Creation.
Now that you’ve successfully attached feathers to fabric and know how to care for your creation, it’s time to show it off. Whether you’ve adorned a piece of clothing, a handbag, or a piece of home decor, your feathered fabric will surely draw attention and compliments.
Remember, the beauty of this technique is that it is fully customizable and unique to you. Each feathered piece reflects your individual creativity and style. Enjoy the pride and satisfaction of creating something beautiful with your own hands.
Step 8. Experiment and Innovate.
After mastering the basic technique of attaching feathers to fabric, don’t be afraid to experiment and innovate. Try using feathers of different sizes, colors, and types for varied visual effects.
Combine feathers with embellishments like beads, sequins, or embroidery for a more elaborate design. The possibilities are endless and limited only by your imagination. Each project is an opportunity to learn, grow, and express creativity. So, go ahead and explore the exciting world of feathered fabrics!
Step 9. Share and Inspire.
Consider sharing your creation with others once you’ve created your unique feathered fabric. Whether it’s through social media, crafting communities, or simply showing friends and family, your work can serve as an inspiration to others.
Many people seek unique and creative ideas, and seeing your feathered fabric might inspire them to try something new. Remember, creativity is contagious. By sharing your work, you’re showcasing your skills and encouraging others to explore their creativity and try their hand at attaching feathers to fabrics.
Step 10. Repeat and Refine.
You may wish to undertake another after completing your first feathered fabric project. With the skills and knowledge you’ve gained, each subsequent project allows you to refine and perfect your technique. Consider different types of feathers or different attachment methods.
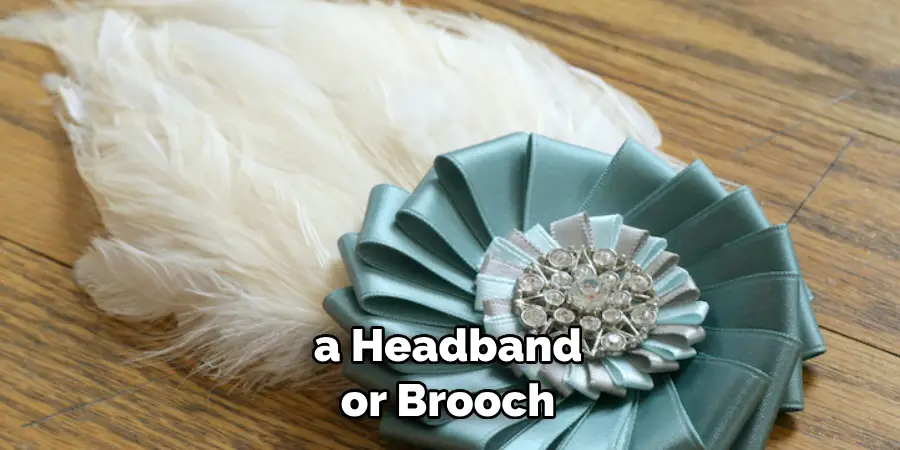
You might even explore using feathers in a new context, such as a headband or brooch. The most important aspect is to have fun and enjoy the creative process. Remember, each feathered fabric piece you create reflects your creativity, patience, and dedication.
By following these steps and continually exploring and refining your technique, you can continue to create unique and stunning feathered fabric pieces that will impress you. So go forth, attach feathers to fabric, and unleash your creativity!
5 Additional Tips and Tricks
- Choose the Right Adhesive: Not all glues are made equal. To attach feathers to fabric, opt for fabric glue or hot glue. These types of glue are strong, fast-drying, and can securely attach feathers to fabric without causing damage.
- Prep before Gluing: Clean your feathers before attaching them to ensure dirt or dust doesn’t interfere with adhesion. Also, prepare your fabric by ironing if necessary, creating a smooth surface for attachment.
- Application Method: Apply glue to the quill of the feather, not the fabric. This will keep your fabric from becoming oversaturated and help the feather stick more effectively.
- Give it Time: After applying the feather, give it ample time to dry. Rushing the process could result in a poorly attached feather that may come off later.
- Placement and Pattern: Before starting, clearly understand your feather placement and pattern. This will save you both time and resources. You might find it helpful to lightly trace your design onto the fabric first lightly.
With these additional tips and tricks, you can attach feathers to fabric like a pro. So, next time you want to add some flair to your clothing or home decor projects, remember these helpful pointers for a successful attachment every time.
5 Things You Should Avoid
- Avoid Using Inappropriate Glue: Not all adhesives are suitable for feathers and fabric. For instance, avoid super glue as it can harden the feathers, ruining their natural softness.
- Avoid Dirty Feathers: Even if the feather appears clean, it may have microscopic dirt or oils. Always clean your feathers before attaching them to the fabric to ensure a strong bond.
- Avoid Over-applying Glue: Excessive glue can seep through the fabric and create a mess. Apply sparingly and spread evenly along the quill of the feather.
- Avoid Rushing the Drying Process: It can be tempting to speed up the drying process with a hairdryer or heat gun, but this can weaken the glue’s bond. Patience is key here.
- Avoid Unplanned Designs: Don’t attach feathers randomly. Always have a plan or pattern in mind before you start gluing. Attaching without a plan can lead to waste of resources and a design that might not be pleasing.
By avoiding these common mistakes, you’ll save yourself time, money, and frustration in the feather attachment process. Remember to take your time and follow these tips for a secure and successful attachment every time.
Conclusion
Using feathers to add adornment and flair to a fabric can be a fun and creative endeavor. Whether through painting, stitching, or gluing, you can discover various ways to attach feathers to any fabric project. Creating intricate designs with feathers can be as simple as incorporating a few easy tools that will help you bring any idea to life.
Your project’s outcome will be even better than expected with practice and patience- you just have to get started. Now that you know all the ins and outs of attaching feathers to fabrics, why not start creating confidently? It is time for you to show off your creations made from this step by step guide!
Hopefully, the article on how to attach feathers to fabric has inspired you to explore your creative side and add a unique touch to your fabric projects. With the right techniques, materials, and tips, you can successfully attach feathers to any fabric and create stunning pieces that will turn heads.