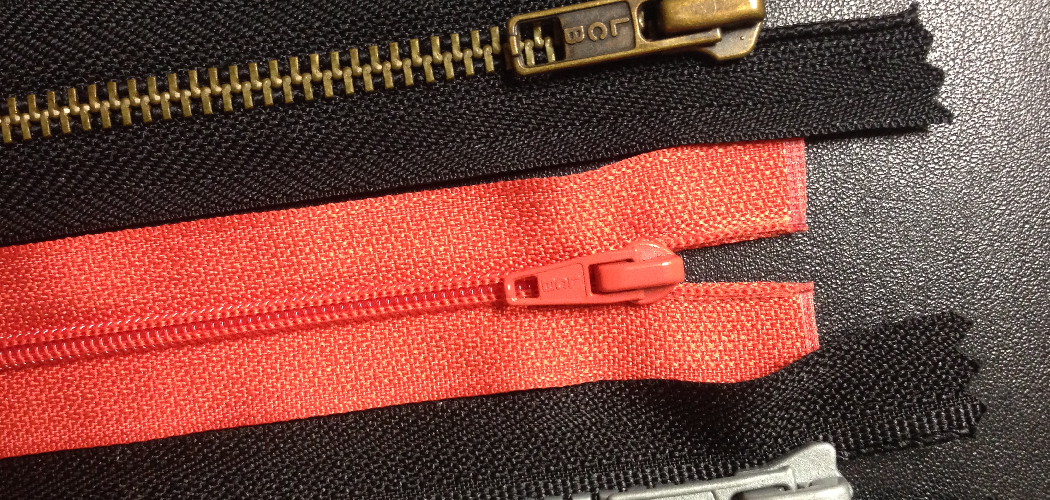
Do you like to sew and want to take your garments or other creations to the next level? Zippers, especially zippers by the yard, are a fun way of adding that special extra pop of style and convenience.
With a zipper by the yard, you can make functional details like pockets or plackets while creating something unique and stylish. Whether you’re a novice or an experienced sewer, here is a guide on how to use zippers by the yard.
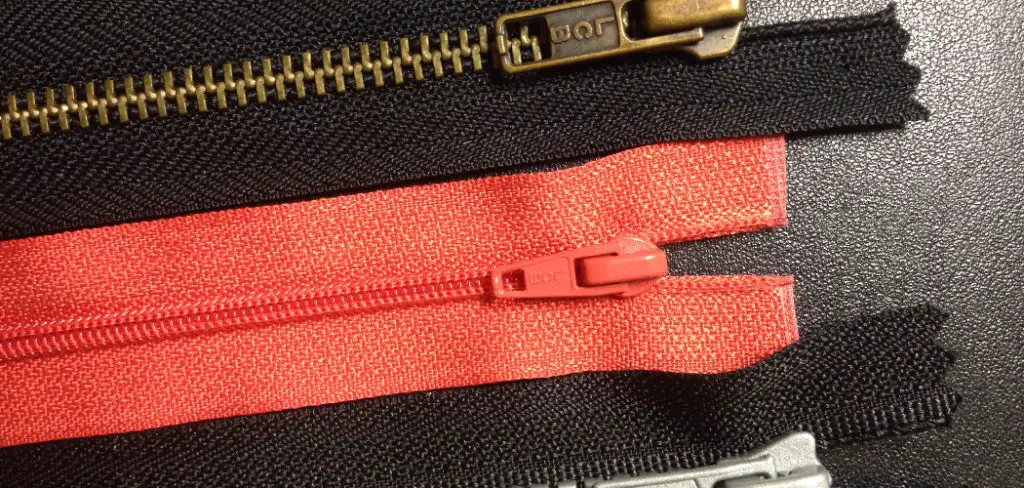
In this article, we’ll discuss the use of zippers by the yard in clothing projects as well as other useful tips for embroidery projects such as quilts and purses. After reading this post, you’ll learn how to incorporate zippers into your sewing project and create amazing results! So let’s get started!
What Will You Need?
Before you get started, make sure you have all the necessary supplies. Here is a list of what you will need:
- Zipper by the Yard
- Fabric
- Pen or marker
- Ruler
- Scissors
- Sewing needle and thread
Once you have all the supplies, it’s time to get started.
10 Easy Steps on How to Use Zippers by the Yard
Step 1: Measure and Cut Your Fabric:
Measure the fabric according to the size you need and mark it out using a pen or marker. You can choose to use a ruler for this. If you’re unsure of the measurements, it is best to overestimate slightly so that your zipper can fit. Then cut the fabric out accordingly.
Step 2: Cut the Zipper:
Measure and cut the zipper according to the size of the fabric. Make sure to add a few extra inches at the ends so that the zipper can easily fit in. As you cut the zipper, ensure none of the teeth are broken or missing.
Step 3: Pin Your Zipper in Place:
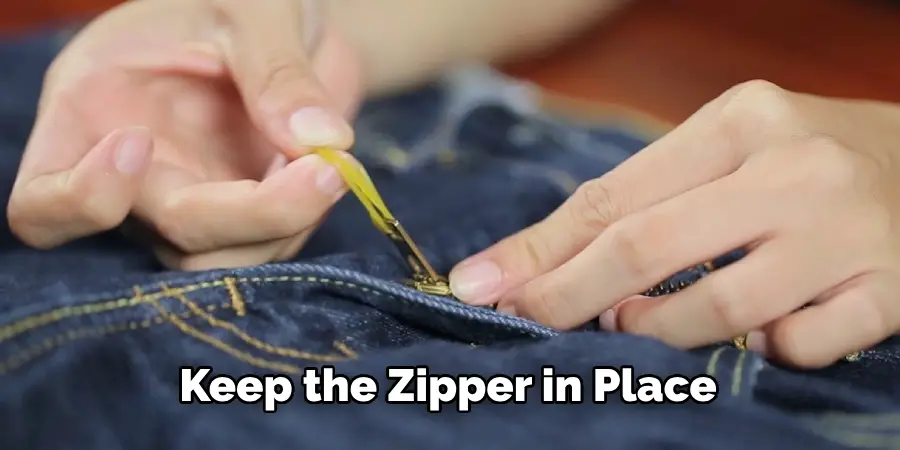
Pin your zipper into place using pins, ensuring that each side of the zipper is even with both sides of the fabric. This will help you keep the zipper in place as you sew. Additionally, make sure that the zipper is facing inwards so that it will not be visible outside your garment.
Step 4: Sew On The Zipper:
Using a needle and thread, sew on the zipper to secure it in place. It is important to ensure that you’re sewing evenly and precisely on both sides so that it looks neat and professional. You can sew a few extra stitches at the end for extra security.
Step 5: Close Your Zipper And Remove Pins:
Once your zipper is sewn in place, close it up and remove any pins. Be careful not to pull too hard on the pins, as this can damage your fabric. Otherwise, you should now have a fully functional zipper in your garment!
Step 6: Trim Excess Zipper and Fabric:
Once the zipper is in place, you can trim any excess fabric or teeth of the zipper if needed. This will help make sure that your garment looks neat and professional. Ensure that you do not cut too close to the stitches or teeth, as this may cause problems. If you are adding a placket, make sure to leave some excess fabric on both sides of the placket.
Step 7: Reinforce Your Stitches:
If desired, you can reinforce your stitches by adding a few extra topstitches around the edge of the zipper. This will help strengthen the seam and give it a more polished look. Moreover, it will help your zipper stay in place better.
Step 8: Finish Up The Seam:
Once you have reinforced your stitches, finish up the seam according to your garment type. For example, if it’s a dress, then hemming will be required. Always refer to the pattern instructions for this.
Step 9: Test Your Zipper To Ensure That It Works:
Before you finish up your garment, test out the zipper and ensure it works properly. This is important so you can be certain that all your hard work has paid off! Remember that if the zipper does not work properly, you may need to go back and make some adjustments.
Step 10: Enjoy Your Finishing Results!:
Now that everything is finished enjoy the results of your hard work! You should now have stylish clothing with a perfectly functional zipper. With zippers by the yard, you can take your garments to the next level and create amazing results. So get creative and start sewing!
By following these easy steps, you can use zippers by the yard like a pro! With practice and patience, you can make amazing garments with zipper details that will wow anyone who sees them. So don’t be afraid to experiment and take your sewing projects to the next level!
6 Additional Tips and Tricks
1. When working with zippers by the yard, it is important to ensure you always thread from the right side of the fabric. This will ensure that the zipper teeth and fabric are lined up correctly.
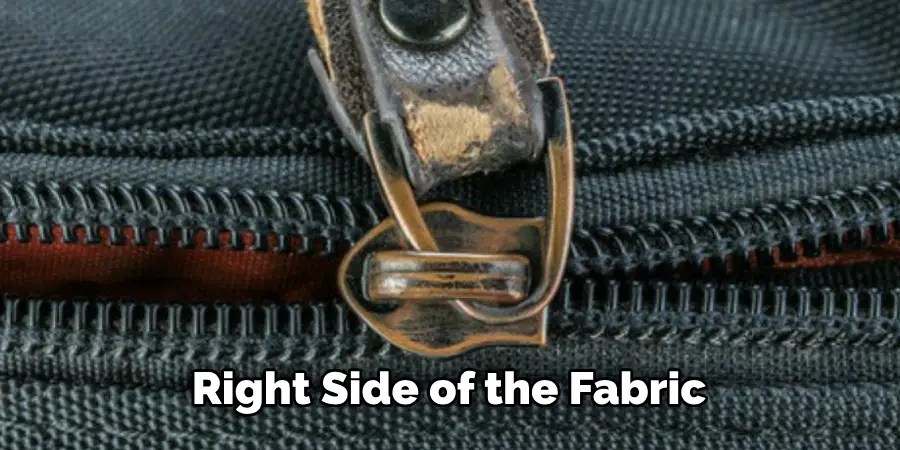
2. When applying a zipper to a larger project, it is best practice to use an extra wide seam allowance so that you can avoid any misalignment or puckering of the fabric.
3. To help keep your fabric from shifting when installing zippers by the yard, consider using masking tape or pins along the edges of your fabric. This will ensure the fabric stays in place while you sew it together.
4. Before you start sewing a zipper onto your project, double-check that all of your pieces fit together properly and that no seams are overlapping or bunching up.
5. For a more polished look, try pressing each side of your zipper seam before you sew it together. This will help ensure that the seam lies flat and looks professional.
6. To make sure that you have enough fabric to cover the entire length of your zipper, it’s best to measure and cut out a longer strip of fabric than the actual length of your zipper. Once you’ve installed it, simply trim off any excess fabric.
Using zippers by the yard can be a great way to add an extra touch of detail to your projects. With just a few simple tips and tricks, anyone can quickly learn how to add this popular embellishment to their handmade items. Hopefully, these five tips have helped get you started on using zippers by the yard!
5 Things You Should Avoid
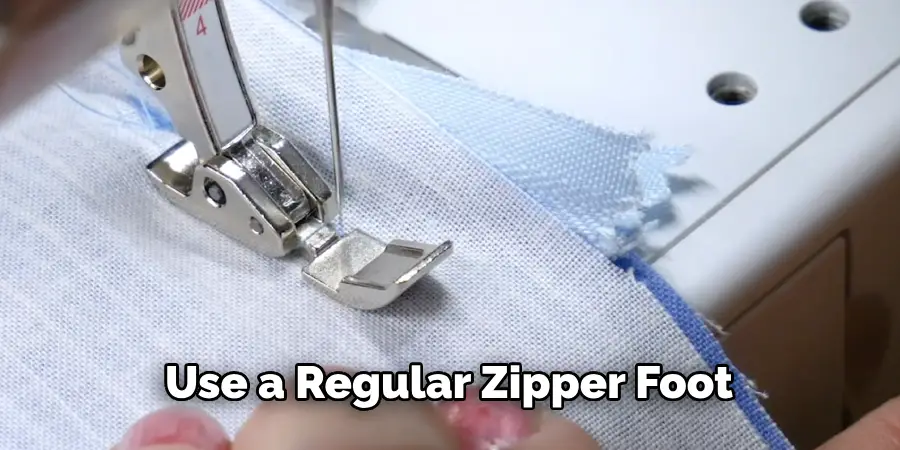
1. Don’t use a regular zipper foot when working with zippers by the yard. Instead, make sure to use an extra wide zipper foot to avoid any misalignment or puckering of the fabric.
2. Avoid using too much pressure while sewing your zipper into place – this can cause the teeth to become distorted and result in a poor quality product.
3. When installing zippers by the yard, remember to use masking tape or pins along the edges of your fabric – this will help keep everything in place as you sew it together!
4. Only start sewing with double-checking that all your pieces fit together properly and that no seams overlap or bunch up.
5. Lastly, avoid skipping the pressing step when constructing a zipper seam – this will help ensure the seam lies flat and looks professional.
When it comes to using zippers by the yard, there are certain things you should do as well as some mistakes you should avoid. Following these tips and tricks can help ensure your project looks professionally made!
What Are the Main Types of Zippers?
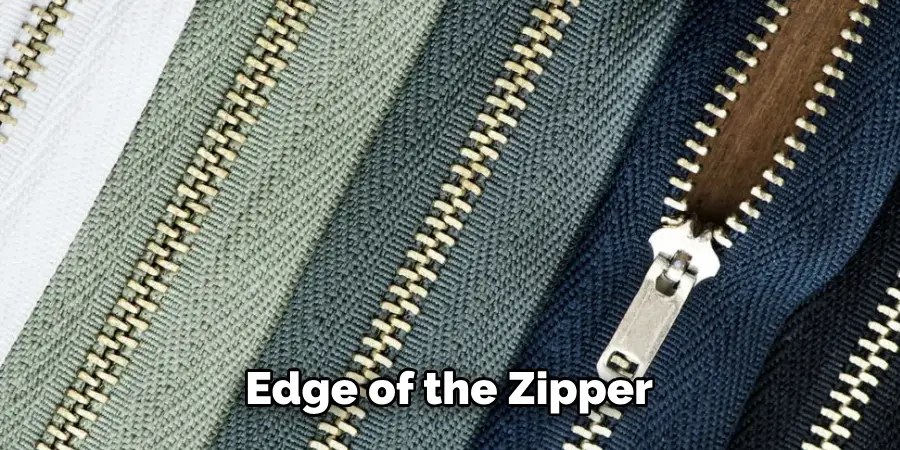
When it comes to zippers by the yard, there are several main types available. The most common type is a coil zipper, constructed using small plastic or metal coils sewn into fabric tapes.
Other popular zipper types include the invisible zipper, which has inconspicuous tape and teeth; the two-way zipper, which splits at one end for added flexibility; and separating zippers, which can be used to separate two connected pieces of clothing.
No matter what your project requires, there’s likely a type of zipper that will work for you!
What Should I Consider When Purchasing Zipper By The Yard?
When purchasing zippers by the yard, it is important to consider a few key points. Firstly, you should buy the right size zipper for your project – this will depend on the width of the fabric seam allowance you plan to use.
Secondly, it’s important to check that the zipper is made from a durable material that can withstand regular wear and tear. Lastly, consider what type of closure or fastener you need – zippers come in several different styles, including coil, invisible, two-way, and separating.
Additionally, you can choose from different colors, finishes, and hardware to create a unique look for your project. By considering these factors, you can ensure that you purchase the best zipper for your project!
Conclusion
Zippers by the yard can be an indispensable tool in your craft projects. With no extra hardware or sewing, they are a quick and easy way to add zippers to garments and bags.
Plus, they come in a variety of colors, styles, and sizes, so you’re sure to find the perfect zipper for whatever project you have going on! As we’ve demonstrated with this post, you don’t need professional skills or an expensive machine to sew zippers by the yard—just some simple supplies and a bit of patience.
Hopefully, this post on how to use zippers by the yard has given you the confidence and knowledge to get started with zippers by the yard. Now it’s time to practice what you’ve learned!
So grab yours from your local fabric store and let your creativity take flight! With zippers by the yard, you’ll make incredible creations in no time. Good luck and have fun creating!

