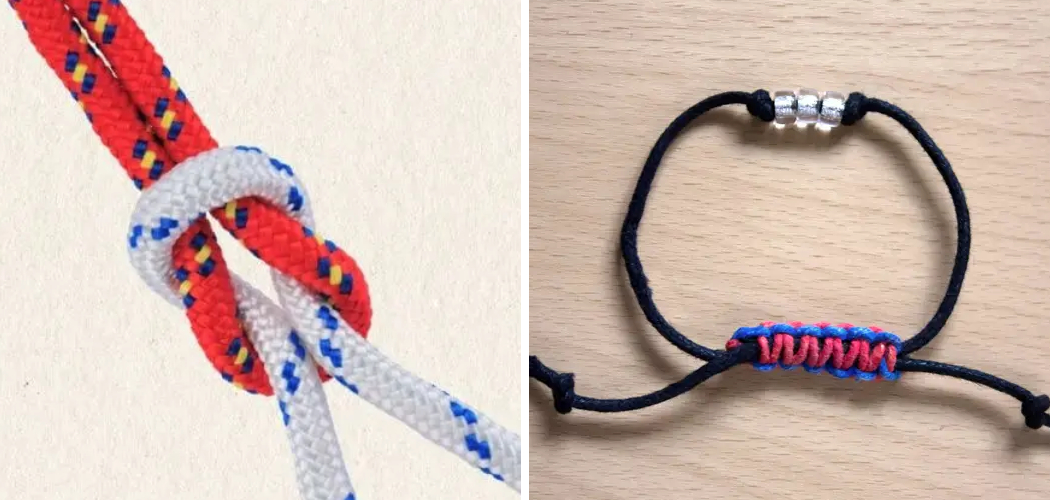
Do you want to learn how to make beautiful DIY craft accessories? Creating your own fashionable jewelry is an excellent way to express yourself and add flair to any outfit. Whether you’re making a bracelet or adorning another item with some intricate knot work, it’s important to know how to tie the appropriate knots.
Today we will discuss how to tie a square knot for a bracelet and other pieces of craftwork. This type of knot looks great because it is symmetrical and easy enough for beginners yet also provides enough sophistication that advanced crafters can make interesting designs with it.
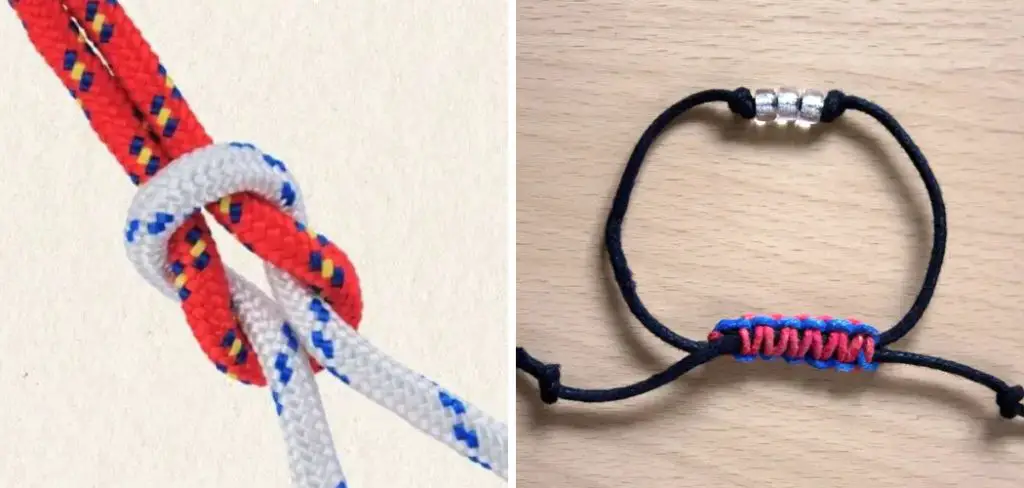
Whether your aim is to use these fashionable bracelets as gifts, covers, or used to decorate other items, learning how to tie a square knot could provide endless possibilities for creative crafting projects. Let’s dive into learning about how best to use this classic knot!
What is a Square Knot?
A square knot is a type of knot used in crafting, specifically when it comes to making bracelets and other items that require intricate knot work. The basic structure of the square knot includes two half hitches and two overhand knots that are tied tightly together. This combination creates a symmetrical pattern with nice crossed lines which makes for an interesting visual effect.
Why Tie a Square Knot?
1. Aesthetically Pleasant
Not only is the square knot a great way to make an aesthetically pleasing pattern, but it can also be used as a practical way of making sure that your bracelets are secure. By looping the two half hitches around one another and tying them together with an overhand knot, you can create a secure and stable shape for your bracelet that won’t slip or unravel.
2. Strong and Secure
A square knot is one of the most secure knots that you can tie in crafting, making them perfect for bracelets and other items that require intricate knot work. By looping the two half hitches around one another and tying them together with an overhand knot, you can create a secure and stable shape for your bracelet that won’t slip or unravel.
3. Versatile
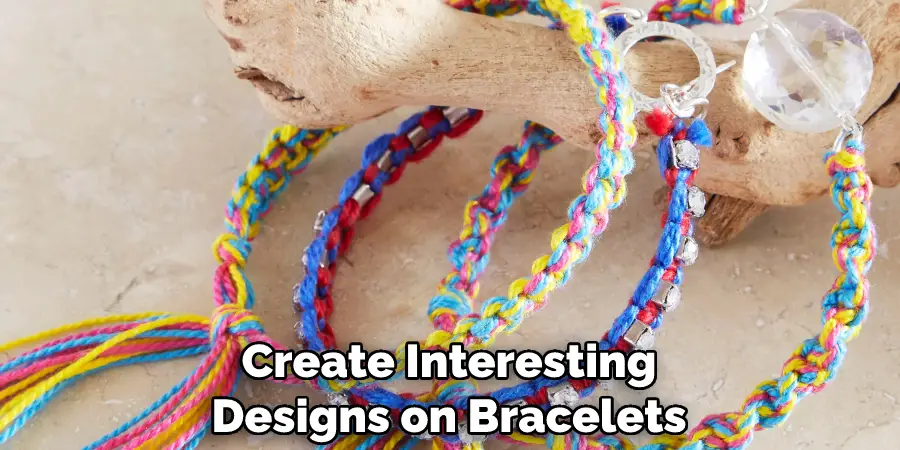
The square knot is incredibly versatile when it comes to crafting. You can use the knot in a variety of ways to create interesting designs on bracelets, scarves, bags, and any other item that requires intricate knot work. The knot can also be used to fasten items together, making it a great choice for functional and decorative projects alike.
Required Items to Tie a Square Knot
Before you start tying your knot, it’s important to make sure that you have the right tools on hand. You will need the following:
- String or Yarn – this is what you will be using to tie your knots with
- Scissors – these will be used to cut the string when necessary
- A ruler – this will be used to measure the length of the string
- Beads or Other Decorative Items – these are optional but can give your knotwork some extra pizazz!
10 Instructions on How to Tie a Square Knot for a Bracelet
Now that you have all the supplies necessary, it’s time to start tying. Here are the steps to take in order to tie a square knot for your bracelet:
1. Cut the String
Cut the string or yarn with Scissors to the desired length. It should be long enough to wrap around your wrist at least twice. Also, make sure that you have enough string to create your knot pattern. While cutting, it may be helpful to wrap the string around your wrist or a ruler in order to get an accurate measurement.
2. Start with Half Hitches
To begin your knot, tie two half hitches on either side of the loop you created by wrapping the string around your wrist. Make sure that they are tight and secure. It may help to use a ruler or other straight edge as you tie the knots in order to keep them even.
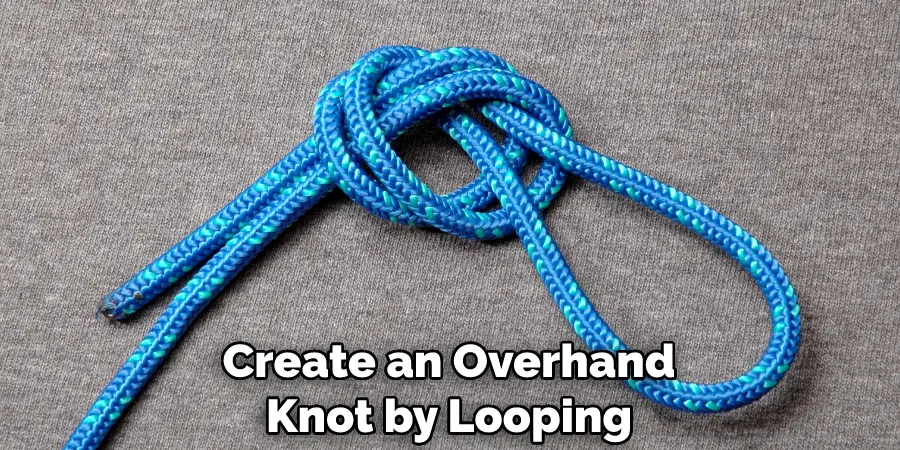
3. Create an Overhand Knot
Next, create an overhand knot by looping the string around your finger twice and pulling it tight. This will create a figure-eight pattern with the two half hitches on either side of the loop. Overhand knots are one of the most secure knots that you can tie and are great for crafting projects.
4. Pull Half Hitches Tight
Now, pull each of the halves hitches tight to create a basic square knot pattern. Make sure that all four strands of string stay taut as you pull them in opposite directions. This will make the knot more secure and also create a nicer visual effect.
5. Tighten the Knot
Once the half hitches have been pulled tight, you can start to tighten the entire knot. This is done by pulling on each strand of string in opposite directions until the knot is as tight as possible. Make sure that all four strands are equally taut.
6. Add Beads or Decorative Items
If desired, you can now add beads or other decorative items to your knotwork pattern. String the beads onto the strands of string before pulling them tight in order to create a nice visual effect. Adding beads can also add more security to your knot, as they will help keep the strings from slipping or unraveling.
7. Tie a Final Overhand Knot
Once all of the decorative items have been added, tie a final overhand knot at the end of the pattern in order to secure everything together. Pull this knot tight and make sure that it is as secure as possible.
8. Trim the Excess String
Finally, trim off any excess string or yarn from around the knotwork in order to give your bracelet a nice, neat finish. It may also help to tidy up any strands of string that are sticking out in an unruly fashion.
9. Enjoy Your Bracelet
Now that your knotwork is complete, you can enjoy wearing your new bracelet! Knotwork designs are a great way to add some visual interest and texture to any accessory or piece of clothing, so have fun experimenting with different patterns and colors.
10. Use the Square Knot for Other Projects
Once you’ve mastered how to tie a square knot, you can use it for other projects as well. Knotwork is great for jewelry making, lanyards, and even wall hangings. Have fun experimenting with different patterns and colors to create unique pieces of art!
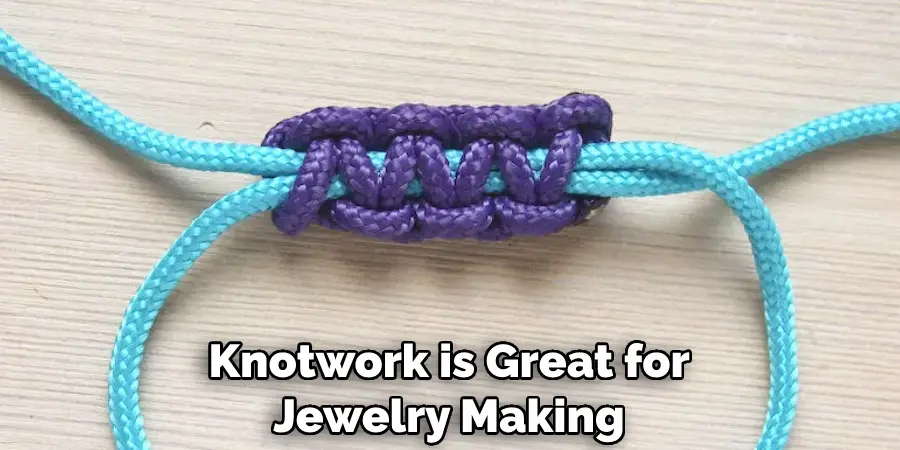
With these instructions, you should now have all the knowledge necessary to create beautiful knotwork bracelets!
Have fun experimenting with different patterns and colors to make your own unique pieces. Don’t forget to practice tying the knot until you have mastered it – this will help ensure that your finished product looks great and lasts a long time.
7 Additional Tips to Secure the Square Knot
1. Start with two even-length pieces of string or twine. Make sure they are both the same length, as this will ensure a symmetrical knot. It will make the knot easier to tie if the strings have some give to them, such as cotton or nylon.
2. Cross one of the strands over the other, then pull it through to form a loop. Now you have two loops facing opposite directions: one on top and one on bottom. Tie a loose knot at the center.
3. Take the top loop and pull it around the bottom loop, making sure to keep both sides of the string even. Pull it tight, but not too tight, as you don’t want to break the string. It is important that you end up with two loops on each side once more.
4. Take the bottom loop and cross it over the top one, again making sure to keep both sides of the string even. Pull it tight, but not too tight, as you don’t want to break the string. You should now have four loops on each side once more.
5. Take the left loop and pass it over and around the right loop. Pull it tight, making sure to keep both sides of the string even. You should now have two loops on each side again.
6. Take the right loop and pass it over and around the left loop once more. Pull it tight, making sure to keep both sides of the string even. You should now have four loops on each side again.
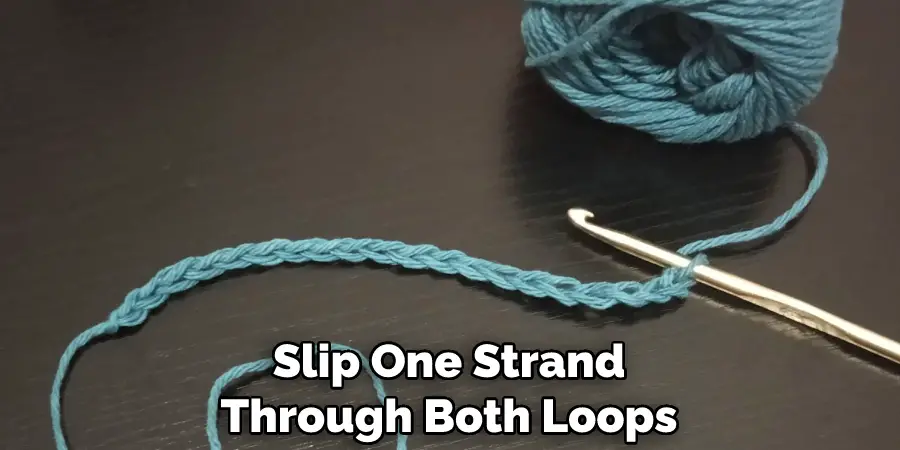
7. Once you’re happy with the size of your knot, slip one strand through both loops on either end to complete the square knot. Finally, cut off any excess string, and you’re done!
Conclusion
Overall, the square knot is a simple but effective way to tie bracelets together. If you follow the steps on how to tie a square knot for a bracelet above, you’ll have no trouble executing a beautiful and secure knot. While this guide provides an easy introduction, there are many variations to experiment with and expand on the aesthetic possibilities.
Don’t forget that practice makes perfect, spend some time mastering this classic knotting technique to add flair to all your jewelry creations! Take it a step further by trying different bead sizes and colors, too – the sky is truly the limit when crafting using this traditional knotting method. So why not give it a go and see what amazing combinations you can come up with? Happy knotting!

