
Welcome to the magical world of crocheting and photography! If you’re a crochet enthusiast like myself, you’ve probably found immense joy in creating beautiful handmade items with your crochet hooks. But have you ever struggled with capturing the true beauty of your creations through photography?

Whether you’re an aspiring crochet blogger, an Etsy seller, or simply someone who wants to document their crocheting journey, this blog post is here to help you master the art of taking stunning pictures of crochet items. In this comprehensive guide on how to take pictures of crochet items, we’ll cover everything from lighting and composition techniques to styling and editing tips.
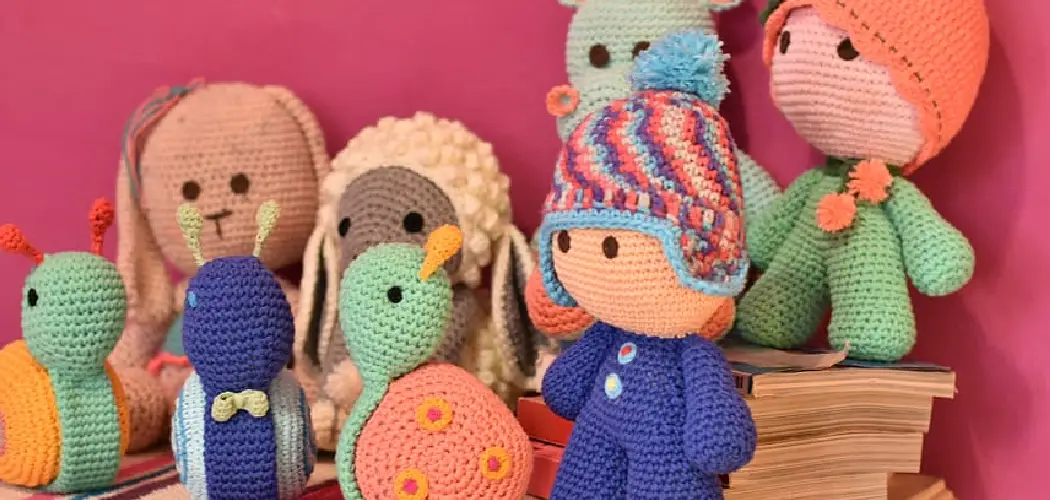
So grab your camera, dust off your crochet masterpieces, and get ready to create breathtaking images that showcase the intricate details and vibrant colors of your creations. Let’s dive in!
What Will You Need?
Before we dive into the nitty-gritty details of taking pictures, let’s go through what you’ll need to get started. Here are some essential items you’ll need to take stunning pictures of your crochet items:
- A camera: Whether a DSLR or a smartphone camera, any device that can capture high-quality images will work just fine.
- Tripod: A tripod will come in handy when you want to take pictures with a slow shutter speed or need to keep your camera steady for multiple shots.
- Natural Light: As a general rule, natural light is the best option for taking pictures of crochet items. So, find a room with ample sunlight before setting up your photography space.
- Backdrop/Background: A solid-colored sheet, a wooden set, or even a wall with exciting textures can make great locations for your crochet item photos.
- Props: While unnecessary, props such as other crochet items, flowers, and plants can help add interest and context to your pictures.
Once you have all these items ready, it’s time to set up your photography space and start taking pictures!
10 Easy Steps on How to Take Pictures of Crochet Items
Step 1. Prepare Your Crochet Item:
Start by ensuring your crochet item is clean and wrinkle-free. If any threads are hanging out, trim them carefully. You want your crochet masterpiece to look its best for the photoshoot! Be careful not to stretch or distort the shape of the item while handling it.

Step 2. Set Up Your Backdrop:
Location plays a significant role in photography. Choose a simple, uncluttered background that won’t distract from the crochet item. You can also use a piece of fabric as a backdrop or flat surfaces such as a wooden table or a marbled countertop.
Ensure the background complements the colors of your crochet item to make it stand out. Once you’ve found the perfect spot, unfold your tripod and set it up. Ensure your camera or smartphone is secure and positioned correctly to capture the best possible view of your crochet masterpiece.
Step 3. Adjust Your Lighting:
Lighting is crucial when capturing your crochet items’ colors and intricate details. Natural light is often the best choice, so aim to shoot in a room with plenty of sunlight, ideally near a window.
Avoid direct sunlight, as it can create harsh shadows. Instead, look for evenly diffused light. If you’re shooting in a room without sufficient natural light, you can use a softbox or a white piece of cardboard to reflect light onto your crochet item. Remember, the goal is to illuminate your crochet item without casting any unwanted shadows or over-exposing the image.

Step 4. Position Your Crochet Item:
Arranging your crochet item properly is critical to capturing its beauty and uniqueness. Lay the thing flat or position it to accentuate its shape and highlight its most attractive details. Consider using a mannequin or model for more realistic images if it’s a wearable item like a scarf or hat. For small things like amigurumi, use a flat surface. Play with different angles and perspectives to find the most flattering views. If you’re using props, arrange them around your crochet item in a way that adds depth and context to the image but doesn’t distract from the main focus.
Step 5. Focus on the Details:
Close-up shots can genuinely capture the craftsmanship and detail of your crochet items. Use your camera’s macro mode or a macro lens, if available, to focus on the texture, stitches, or any unique attributes of your crochet piece. Remember, highlighting these aspects will convey the quality and artistry of your work to the viewers. Ensure the image is sharp and well-focused, keeping the item as the main focus and letting the background blur slightly.
Step 6. Experiment with Different Angles:
The angle at which you capture your crochet item can significantly impact the overall look of your photograph. Try taking your photos from various angles – a s-eye view to showcase the entirety of large crochet items, a front view for showing off the details of smaller pieces, or an angle shot for adding dimension and depth to your crochet piece. Experimenting with angles helps you present your item in a more dynamic and exciting way, allowing viewers to appreciate your work from different perspectives.

Step 7. Check Your Camera Settings:
Before clicking that shutter button, ensure your camera settings are appropriate for the scene. If you’re using a DSLR, adjust the ISO, aperture, and shutter speed accordingly. A lower ISO and a moderate aperture (around f/8 to f/11) can ensure sharp, noise-free images. For smartphone users, you might have fewer customizable settings, but you can still adjust the brightness and focus. If your camera has a ‘macro’ setting, use it to focus closely and capture the detailed texture of your crochet items. Remember to set your camera to the highest resolution for the best quality images.
Step 8. Take the Shot:
You’re ready to take the shot once you’ve set up your scene, adjusted your camera settings, and positioned your crochet item. Keep the camera steady to avoid blurry images – this is where a tripod can come in handy. Use a timer or remote shutter to minimize further camera shaking. Take several photos from each setup, experimenting with different angles and positions. Having too many options is better than not enough when selecting your final image.
Step 9. Review and Select Your Photos:
After completing your photo shoot, it’s time to review your images. Look for photos that accurately represent your crochet item’s colors, textures, and intricate details. Watch for clear, well-lit, and crisp images with minimal distractions. Choose several options that showcase your item in different ways or from different angles. Remember, the goal is to provide an accurate and enticing visual representation of your crochet masterpiece. Take your time with this process, take the time to critically evaluate each photo before making your final selections.
Step 10. Post-Processing Your Photos:
After selecting your favorite photos, it’s time to do some post-processing. Use photo editing software or apps to enhance the quality of your images. Adjust brightness, contrast, and saturation if needed to ensure your crochet item’s colors are accurate and vibrant. You can also crop the image or remove any unwanted elements to keep the focus on your crochet item.
If any shadows or highlights distract from your article, use the adjustment tools to minimize them. However, be careful not to over-edit; your goal is to present an accurate representation of your crochet item. Once you’re satisfied with your edits, save your high-resolution images for the best quality. Your visually stunning photos are now ready to showcase your crochet creations, whether for a personal portfolio, social media, or to aid in selling your work online.
Following these steps, you can ensure that your crochet items are beautifully captured in photos.

5 Things You Should Avoid
1. Avoid Poor Lighting:
Highlighting can make your crochet items look dull and attractive. Too much light can cause overexposure, while too little can make the image look dark and unclear. Aim for balanced, natural lighting whenever possible.
2. Don’t Neglect the Background:
Avoid cluttered or distracting backgrounds that take attention away from your crochet item. Your experience should enhance your thing, not overshadow it. A plain or lightly textured surface works best.
3. Avoid Blurry Images:
Blurry photos can detract from the beauty of your crochet work. Use a tripod to keep your camera steady and ensure sharp, clear images. Don’t forget to check your focus before taking the shot.
4. Don’t Rush the Process:
Photographing your crochet work takes time and patience. Take your time with the process. Spend time arranging your item, experimenting with different angles, and reviewing your shots.
5. Avoid Over-editing:
While it’s essential to enhance your photos in post-processing, use it sparingly. More editing can make your images look natural and may misrepresent your crochet items. Strive for a balance between enhancing your photos and keeping them authentic.
Conclusion
With these tips and tricks on how to take pictures of crochet items, you are now ready to capture stunning and eye-catching images that will showcase your hard work and creativity. Experiment with different angles, lighting, and backgrounds to find the best. Feel free to get creative and think outside the box when photographing your crochet pieces. And most importantly, have fun with the process! Taking pictures should be an enjoyable experience, not a stressful one.
Now that you have all the tools and techniques put them into practice. Practice makes perfect, so keep taking photos and refining your skills. Share your images on social media platforms to gain exposure for your brand. Who knows? Your stunning photographs inspire someone else to pick up a crochet hook.
Expertise:
Crafting expert with a focus on innovative techniques and diverse materials.
Specialization:
- Textile arts (weaving, embroidery, and fabric dyeing)
- Woodworking and furniture design
- Mixed media and upcycling projects
Recognition:
- Featured in local art exhibits showcasing innovative craft projects
- Collaborated with community organizations to promote crafting workshops
- Received accolades for contributions to sustainable crafting initiatives
Mission:
- To inspire and empower crafters of all levels to discover their creative potential
- Encourages experimentation and self-expression through hands-on projects