Have you ever spent hours or even days creating a beautiful crochet project only to find that it stretches out of shape after washing it? I know the frustration well, as I’ve ruined more than one handmade item due to unintended stretching.
For a long time, I didn’t know the best way to block crochet and prevent this dreaded stretching. I had tried pinning, spraying with water, and even putting heavy books on top – but I needed something to work consistently. That all changed once I discovered the magic of blocking wires.
In this blog post, I’ll share the blocking wire method that has transformed my crochet projects and allowed me to enjoy my handiwork for much longer without dreading stretching or warping the shape. Let’s dive into how to stop crochet from stretching.
What Will You Need?
- Blocking wires
- T-pins
- Spray bottle with water
- Towel or blocking mat
Once you have all these materials, you’re ready to get started.
10 Easy Steps on How to Stop Crochet From Stretching
Step 1: Soak Your Project
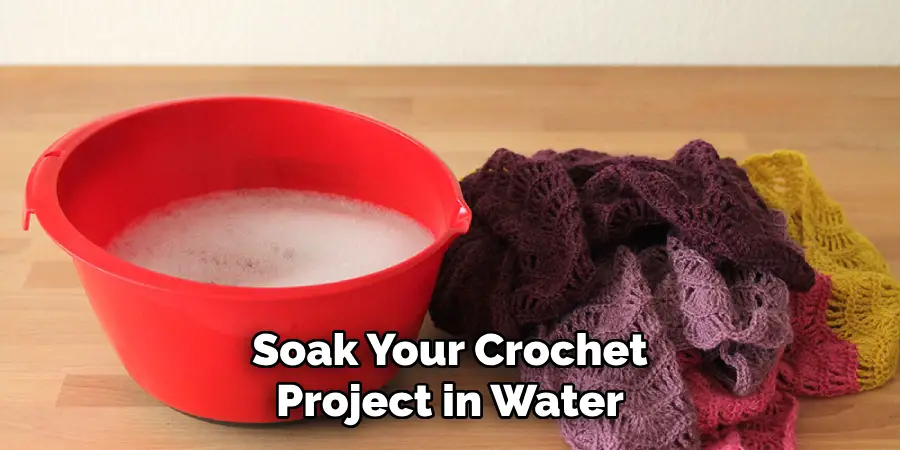
Before beginning the blocking process, it’s essential to soak your crochet project in water. This step will relax the fibers and make them easier to shape without causing any damage. Fill a sink or basin with lukewarm water and add a little bit of gentle detergent or wool wash. Soak your project for 15-20 minutes, then gently squeeze the excess water.
Step 2: Lay Out Your Blocking Mat
Using a towel or blocking mat to cover your work surface will prevent water from soaking through and damaging it. If using a towel, make sure to place a waterproof barrier between the towel and your surface. Be careful not to stretch or distort your project while laying it out.
Step 3: Stretch Out Your Project
Take your wet crochet project and gently stretch it out to the desired shape. This step is crucial as it allows you to manipulate the stitches into their correct positions before securing them in place with blocking wires. If unsure of the correct shape, refer to your project’s pattern or measurements.
Step 4: Pin Your Project to the Mat
Once your project is stretched to its full size, use the T-pins to secure it onto the blocking mat. Start by pinning the corners first, then move towards the center, ensuring you maintain your desired shape and size. Make sure to place the pins at an angle to hold the project in place securely. The goal is to keep the crochet item flat and stretched while it dries, preserving the desired shape and size.
Step 5: Insert the Blocking Wires
Next, insert the blocking wires along the edges of the project. These wires provide additional structure and ensure the project maintains its shape while drying. Start from one end and weave the wire in and out of the edge stitches to the other end. Use as many wires as needed to support your project adequately. Once the cables are in place, adjust the T-pins if required for any fine-tuning of the shape.
Step 6: Spray Your Project with Water
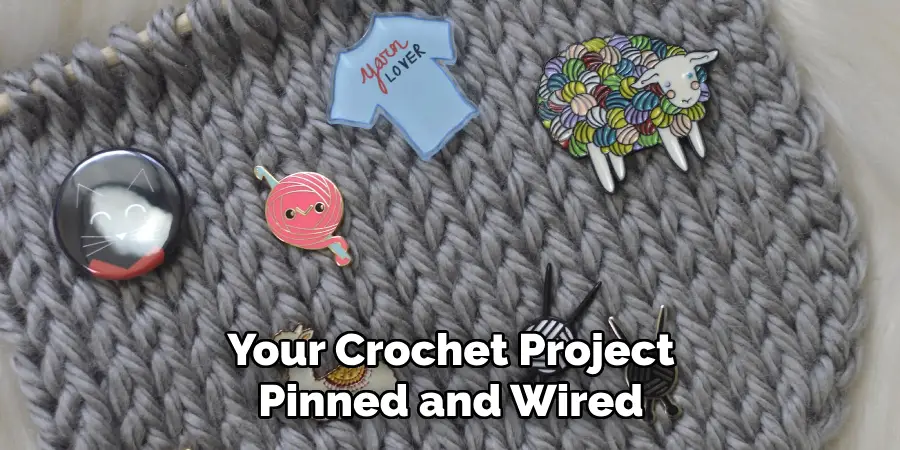
After you have your crochet project pinned and wired, take your spray bottle and evenly mist your project with water. This will help further relax the fibers. Be careful not to oversaturate — a light, even misting, is enough. This step ensures that your project will keep its shape as it dries, effectively combating stretching.
Step 7: Let Your Project Dry
Now, it’s time to allow your project to dry naturally. Wait until your crochet project is completely dry before you remove the blocking wires and T-pins. This process might take a few hours or even a full day, depending on the thickness of the yarn and the humidity in your area.
Refrain from attempting to speed up this process with a hairdryer or heater, as this can cause uneven drying and potential damage to your yarn. Patience is critical in this step to ensure your crochet project retains its shape and doesn’t stretch.
Step 8: Remove the Blocking Wires and T-Pins
After ensuring that your crochet project is completely dry, you can remove the blocking wires and T-pins. Carefully take out the wires first, being mindful not to distort the shape of your project. Once the cables are removed, proceed to take out the T-pins. Remember to handle your project gently during this step to maintain its shape.
Step 9: Check the Results
Now, inspect your crochet project. It should hold its shape and size as desired. The stitches should be even, and the edges should be straight. This step allows you to see how effectively the blocking process prevented your crochet from stretching.
Step 10: Store or Use Your Project
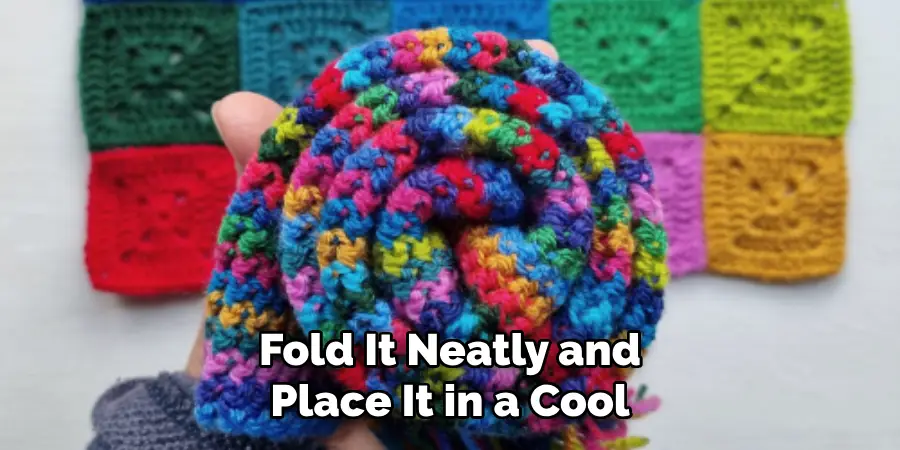
After the blocking process, your crochet project is ready to be used or stored. If you plan to store it, fold it neatly and place it in a cool, dry place. Avoid hanging or placing heavy items on it to prevent it from stretching out of shape. And there you have it – a method to stop your crochet from stretching. Enjoy your perfectly blocked crochet project!
By following these ten easy steps, you can successfully prevent your crochet from stretching and ensure that your handmade items retain their shape.
5 Additional Tips and Tricks
- Use a Smaller Hook: Crochet with a smaller hook size than recommended can help to tighten your stitches and prevent your work from stretching.
- Tension Control: Maintaining consistent tension throughout your crochet work is crucial to prevent it from stretching out. If your pressure is too loose, your stitches will be larger and more prone to stretching.
- Choose the Right Yarn: Not all yarns are created equal. Some yarns, like cotton or silk, are more prone to stretching than others. Consider using synthetic yarns or wool, which tend to hold their shape better.
- Blocking: This technique involves wetting your finished piece and pinning it to a flat surface to dry, which can help to set the shape and reduce stretching.
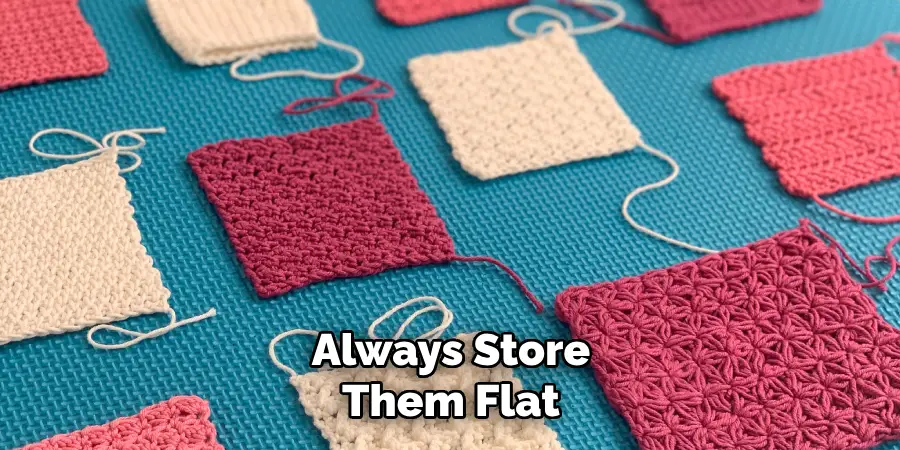
- Proper Storing: How you store your crochet items can also affect their shape. Avoid hanging them as it can lead to stretching due to gravity. Instead, fold your items and store them flat.
With these additional tips and tricks, you can confidently create crochet pieces that will maintain their shape and last for years.
5 Things You Should Avoid
- Avoid Rushing: Crocheting requires patience. Rushing through your project can lead to loose stitches and increased stretch chances. Remember, good things take time.
- Avoid Inconsistent Tension: Maintaining consistent tension throughout your project is essential. Inconsistent pressure can cause your crochet work to stretch or distort.
- Avoid Using Unsuitable Yarn: Not all yarns are suitable for all projects. Using a thread prone to stretching for a project that needs to maintain its shape could lead to disappointment. Always match your yarn to the project requirements.
- Avoid Skipping the Blocking Step: Many crocheters are tempted to skip the blocking step, especially if they are in a hurry. However, blocking is crucial to prevent your crochet work from stretching and to help it maintain its shape.
- Avoid Incorrect Storage: Hanging or crumpling your crochet works can lead to them losing their shape. Always store them flat, preferably in a cool, dry place.
By avoiding these common mistakes, you can ensure that your crochet projects stay in top shape. With the right techniques and proper care, your crochet work can last for generations.
Why Does My Crochet Stretch?
Crocheting is a process of interlocking loops using yarn and a crochet hook. Due to the nature of this craft, it’s natural for your work to stretch over time. However, there are several reasons why your crochet may stretch more than you’d like:
- The type of yarn used.
- The tension is applied while crocheting.
- Incorrect blocking or lack thereof.
- Improper storage methods.
- The type of stitch used.
By understanding these factors, you can take steps to prevent your crochet from stretching. Incorporating the tips and tricks discussed above and avoiding common mistakes can help maintain the shape and structure of your crochet pieces. So keep on stitching and happy crocheting!
Is 100% Cotton Yarn Good for Crochet?
Cotton yarn is a popular choice for crocheting, with pros and cons. It’s soft, hypoallergenic, absorbent, and comes in various colors. However, 100% cotton yarn may not be the best option when it comes to stretching. Cotton tends to stretch more than other types of yarn due to its lack of elasticity.
It also tends to shrink when washed, which can affect the overall shape of your crochet piece. If you’re using cotton yarn for a project that needs to maintain its shape, consider blending it with other fibers like wool or acrylic to add elasticity and stability to your work.
Before starting any project, always do a gauge swatch to test how the yarn behaves and make adjustments accordingly. With proper tension control and blocking, you can still achieve beautiful results with 100% cotton yarn in your crochet projects.
Conclusion
In conclusion, understanding how to stop crochet from stretching is essential for any avid crocheter. By following these helpful tips and techniques, you can ensure your projects retain shape and maintain quality over time. Always start with a good foundation by properly blocking your work and using the proper tension while stitching. Feel free to experiment with different materials and stitches to find the best.
And most importantly, have patience and take breaks when needed – the key to producing beautiful crochet pieces is to enjoy the process! So, the next time you take on a new project, remember these tips and say goodbye to stretched-out pieces forever.
Remember to share this knowledge with your fellow crocheters and spread the love of this beloved craft. Now, armed with your new knowledge, and create stunning crochet creations that will stand the test of time! Happy hooking!
Expertise:
Crafting expert with a focus on innovative techniques and diverse materials.
Specialization:
- Textile arts (weaving, embroidery, and fabric dyeing)
- Woodworking and furniture design
- Mixed media and upcycling projects
Recognition:
- Featured in local art exhibits showcasing innovative craft projects
- Collaborated with community organizations to promote crafting workshops
- Received accolades for contributions to sustainable crafting initiatives
Mission:
- To inspire and empower crafters of all levels to discover their creative potential
- Encourages experimentation and self-expression through hands-on projects

