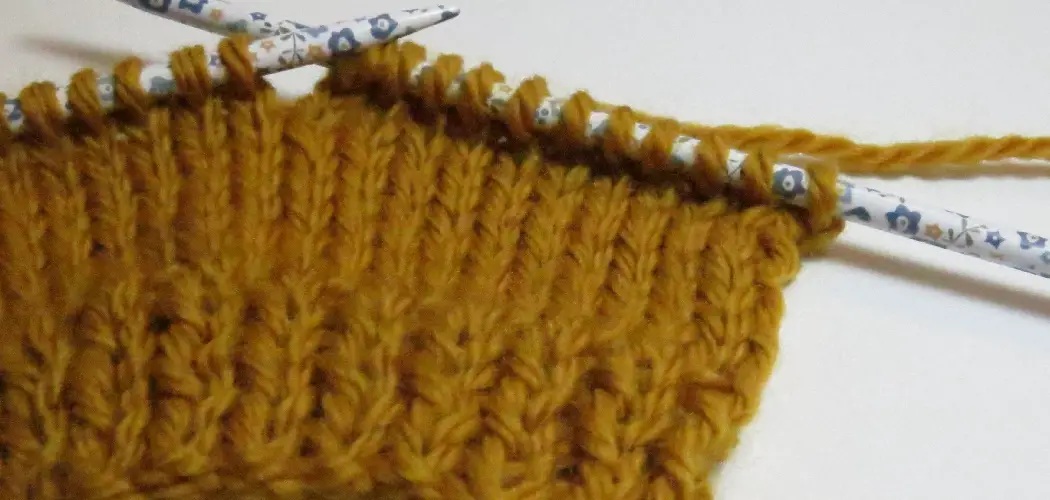
Attention all crochet enthusiasts! Are you ready to take your skills to the next level? Whether a beginner or an experienced crocheter, learning new techniques is essential for expanding your repertoire. If you want to add texture and dimension to your projects, mastering how to single crochet 2 together is a must. This technique can be used in many patterns, such as hats, scarves, and even blankets.
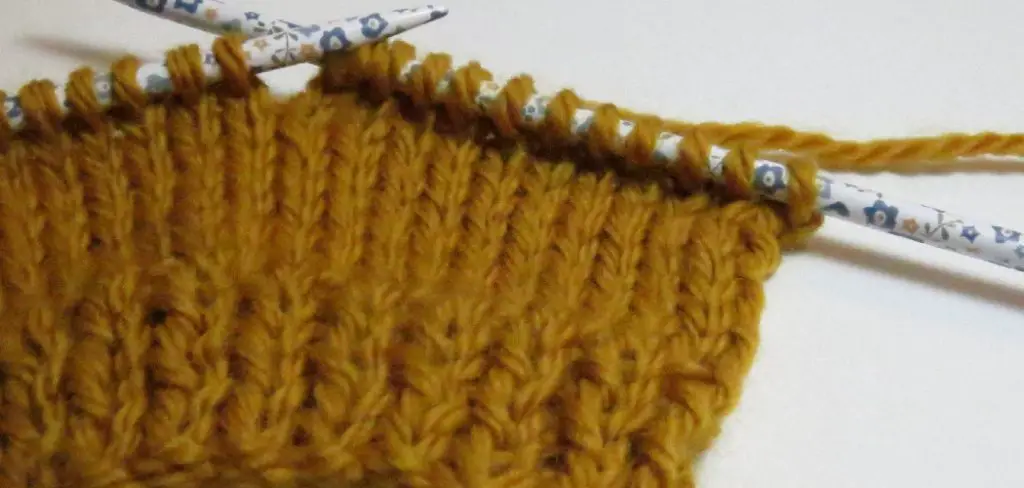
Crochet stitches are often abbreviated in patterns, and single crochet two together is commonly called “sc2tog.” This stitch decreases the number of stitches on your hook by combining two stitches into one. It’s a helpful technique for shaping your work or creating intricate designs.
In this blog post, we will dive into the nitty-gritty details of single crocheting two together and provide step-by-step instructions on perfecting this stitch.
What Will You Need?
To follow along with the tutorial, you will need:
- Yarn of your choice
- Corresponding crochet hook
- Scissors
Once you have your materials ready, we can get started.
10 Easy Steps on How to Single Crochet 2 Together
Step 1: Make a Loop
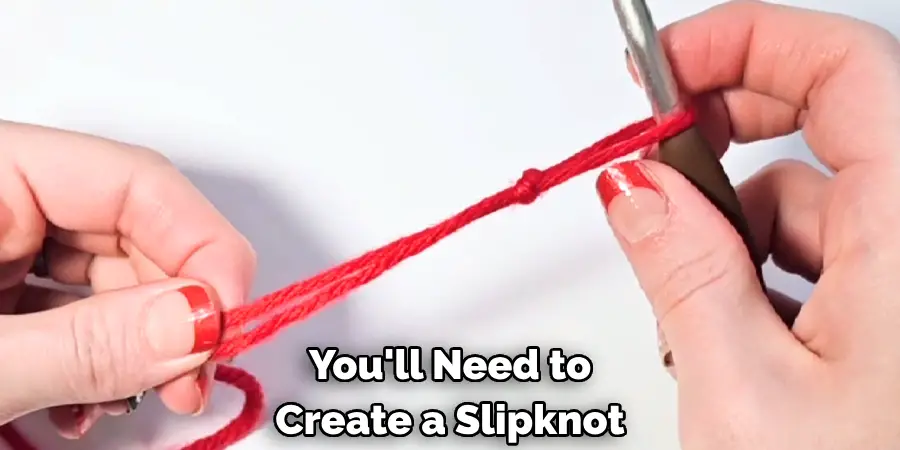
To kick-start the process, you’ll first need to create a slipknot. This fundamental crochet technique forms the basis of your work. Here’s how to do it:
- Hold the end of your yarn, leaving a 6-inch tail.
- Make a loop by bringing the yarn over itself.
- Hold where the yarn crosses.
- Bring the yarn from the back through the loop, creating another loop.
- Insert your crochet hook into this new loop.
- Pull on both ends of the yarn to tighten the knot.
Remember, the slipknot should slide easily up and down your hook. You’ve made your first loop and are ready to move on to the next step!
Step 2: Chain
The chain stitch is another essential crochet skill you’ll need to know. To create a chain:
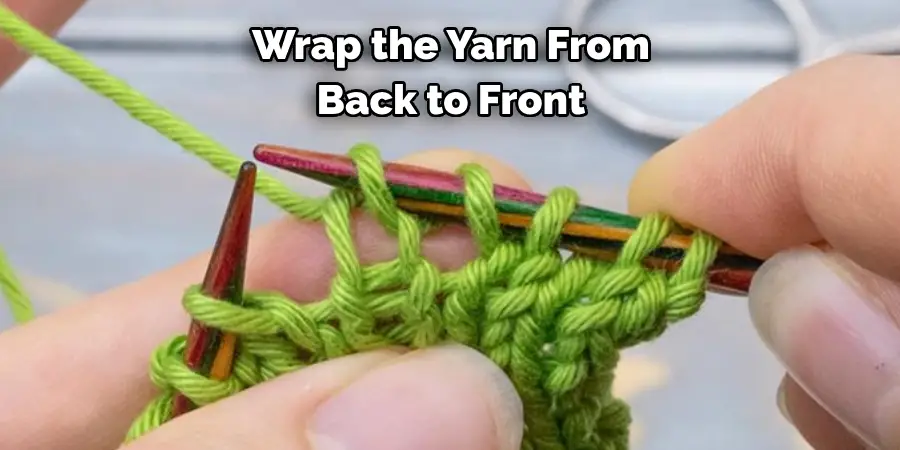
- Wrap the yarn over your hook from back to front.
- With your hook, grab the yarn and pull it through the first loop on your hook.
- Continue this process until you have the number of chains required for your project.
- You’ll now have a foundation chain that you will use to form the first row of single crochet stitches.
Step 3: Insert Your Hook
In this stage, you must insert your hook into the crochet. Here’s how to do it:
- Hold your crochet hook in your right hand (if you’re left-handed, switch to your left hand).
- Now, insert your hook into the second chain from the hook. Make sure you’re going under the back loop only. This is your first single crochet stitch.
Step 4: Yarn Over
Wrap the yarn over your crochet hook from back to front. This process is called a “yarn over” and creates a loop on your hook. If you’re a beginner, getting the tension right may take some practice. Be careful not to wrap the yarn too tightly, or your stitches will be challenging to work with.
Step 5: Pull Through
After you’ve completed your “yarn over,” you’re ready to pull this loop through the stitch. Here’s how to do it:
- With your hooked end, grab the loop you just created with the “yarn over.”
- Pull this loop through the first single crochet stitch. You should now have two loops on your hook.
By executing these five steps, you’ve successfully initiated the process of single crocheting two together. Patience is key! This intricate stitch may take a few tries to master, but you’ll have it down in no time with practice.
Step 6: Yarn Over Again
Now that you have two loops on your hook, you must do another “yarn over.” Here’s how:
- Wrap the yarn over your crochet hook from back to front, just like in step 4.
- You should now have three loops on your hook. This is an integral step in creating the single crochet 2-together stitch, known as “sc2tog.” Take your time with this step; take your time to ensure you’re doing it correctly. This will set the stage for the following stages of the process.
Step 7: Skip a Stitch
At this point, you should be getting the hang of things. The next step is to skip the next stitch in your foundation chain. This process will help to decrease your stitches and bring them closer together. Skipping a stitch is simple: move your crochet hook past the next chain stitch without inserting it.
Step 8: Insert Your Hook Again
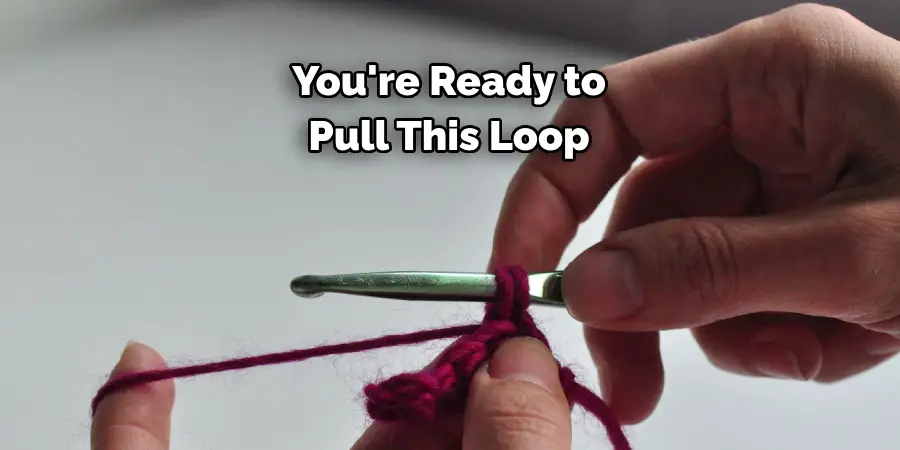
Now, it’s time to insert your hook into the next stitch in your foundation chain. Again, ensure that you are going under the back loop only. You will now have four loops on your hook. This is a critical step in single crocheting two together, as it sets the stage for the final combination of stitches into one. Ensure that a steady tension on the yarn is maintained for uniformity.
Step 9: Yarn Over and Pull Through
Now, you’ll yarn over one more time. As before, wrap the yarn from back to front over your crochet hook. You should now have five loops on your hook. Now, you’ll need to pull through. Here’s how to do it:
- Insert your hook under all five loops.
- Catch the yarn with your hook and pull it through all the loops on your hook. You should be left with a single loop on your hook if done correctly. This signifies you’ve successfully combined two stitches into one, effectively executing a single crochet two together, or “sc2tog.” This new stitch might look different from what you’re used to seeing, as it is essentially two stitches sharing the exact top, resulting in a decrease in your overall stitch count.
Step 10: Repeat the Process
Once you’ve mastered the steps of single crocheting two together, you’ll want to continue this stitch for the length of your project. To do this, simply repeat steps 3 to 9. As you work more stitches, you’ll start to see the defining characteristics of the “sc2tog” stitch come to life. It’s important to maintain your rhythm and tension throughout, as this will ensure that your project is uniform and professional-looking. Once you reach the end of your row, you can turn your work and start a new row, continuing the “sc2tog” stitch as required by your pattern.
With practice, you’ll find that the process of single crocheting two together becomes second nature and you can easily create intricate and beautiful designs.
5 Additional Tips and Tricks
- Maintain Consistent Tension: Keeping a consistent tension on your yarn throughout the project is essential. This practice will ensure that your stitches are even and your final product looks professional and well-crafted.
- Practice Makes Perfect: Don’t be discouraged if your first few attempts at single crocheting 2 together don’t turn out perfect. This stitch requires some practice, but once you get the hang of it, it will become second nature.
- Use Stitch Markers: Stitch markers can be beneficial when working on larger projects or complex patterns. They help keep track of your stitches and can be particularly beneficial when working with the “sc2tog” stitch.
- Take Breaks: Crocheting for extended periods can strain your hands and wrists. Take regular breaks to stretch and rest your hands. This will make the process more enjoyable and help prevent potential strain or injury.
- Explore Different Yarns: Different yarns can give different textures and looks to your projects. Don’t be afraid to experiment with various types and colors of yarn to see how they affect your “sc2tog” stitches. This exploration can lead to the creation of unique and beautiful pieces.
With these tips and tricks, you’ll be well on your way to mastering the art of single crocheting 2 together.
5 Things You Should Avoid
- Skipping Steps: As a beginner, you might be tempted to skip some steps or hurry through them. However, each step is necessary for the single crochet 2-together technique; omitting any can lead to errors in your finished product.
- Over-Tightening Your Stitches: While maintaining consistent tension is crucial, avoid pulling your yarn too tight. Over-tightening can make inserting your hook in the next stitch difficult and can result in uneven work.
- Ignoring Mistakes: When you notice a mistake, fix it immediately. Ignoring mistakes or leaving them to fix later may disrupt the pattern and make the correction more difficult.
- Choosing the Wrong Hook Size: Using a crochet hook that is too large or too small for your yarn can lead to irregular stitches. Ensure you are using the appropriate hook size for your specific string.
- Neglecting to Count Your Stitches: Remember to count your stitches regularly, especially when working on larger projects. Losing track of your stitch count can result in irregularities in your work and may affect the overall pattern. Avoid the temptation to “eyeball” it – accurate counting is key to a successful project.
By avoiding these common mistakes, you can create beautiful and precise “sc2tog” stitches every time. Now that you have mastered the technique let your creativity shine by incorporating it into your future crochet projects!
Conclusion
In conclusion, how to single crochet 2 together is a valuable skill for any crocheter to have in their repertoire. Not only does it add a unique texture and look to your work, but it also allows for more intricate designs and patterns. With the simple steps outlined in this post, you are well on your way to becoming an expert at this versatile stitch. So go ahead and grab your hook and yarn, and give it a try! Remember to take your time and practice until you feel comfortable with the method.
Once you have mastered the art of single crocheting two together, experiment with different yarn weights, colors, and patterns to create one-of-a-kind pieces that showcase your newfound skills. And remember to share your creations with us by tagging us on social media using #SC2togMaster.
We can’t wait to see all of the fantastic projects you will create using this technique! Happy hooking!
Expertise:
Crafting expert with a focus on innovative techniques and diverse materials.
Specialization:
- Textile arts (weaving, embroidery, and fabric dyeing)
- Woodworking and furniture design
- Mixed media and upcycling projects
Recognition:
- Featured in local art exhibits showcasing innovative craft projects
- Collaborated with community organizations to promote crafting workshops
- Received accolades for contributions to sustainable crafting initiatives
Mission:
- To inspire and empower crafters of all levels to discover their creative potential
- Encourages experimentation and self-expression through hands-on projects

