
Are you ready to take your dressmaking skills up a notch? By learning how to sew darts, you can transform yourself from just an average seamstress into a master of fashion design. Sewing darts in dresses is surprisingly easy, and it’s the perfect way to give your finished projects a professional-looking finish. Not only do fitting darts make garments look more flattering on all body types, but they also use pleats and tucks to help create shape and add visual interest for maximum impact.
This guide will provide you with step-by-step instructions on how to sew darts in a dress properly. Additionally, we will cover different types of darts, fabric considerations, and tips for achieving a perfect fit every time.
So if you are ready to sharpen your sewing skills, read on for our guide on how to sew darts in a dress!
What Will You Need?
Before we dive into the sewing process, let’s make sure you have all the necessary materials. Here is a list of things you will need to sew darts in a dress successfully:
- Dress pattern
- Fabric (preferably lightweight)
- Sewing machine and appropriate needle
- Thread
- Pins or clips
- Fabric scissors or rotary cutter
Now that you have all the materials let’s move on to the sewing process.
10 Easy Steps on How to Sew Darts in a Dress
Step 1. Mark the Dart on Your Fabric:
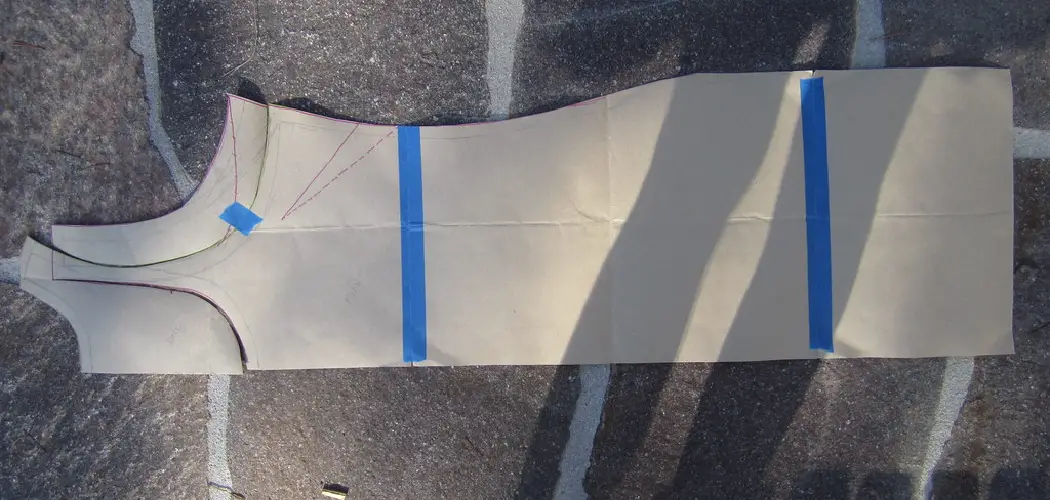
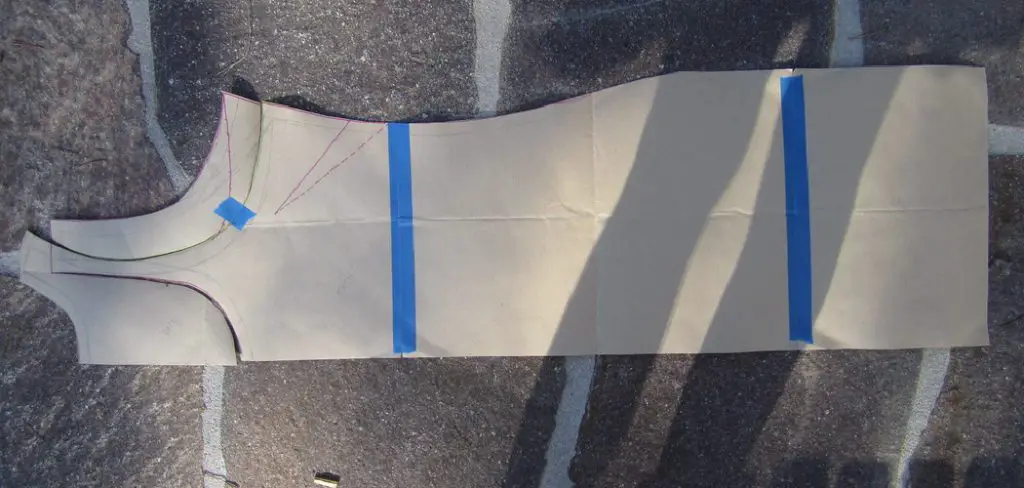
First, you must transfer the dart markings from your pattern to your fabric. This can be done using a tracing wheel and dressmaker’s carbon paper or by simply making small snips and dots with a fabric marker or a tailor’s chalk. Make sure to mark both the dart legs (the two lines that form the dart) and the dart point (the tip of the dart).
Step 2. Align and Pin the Dart:
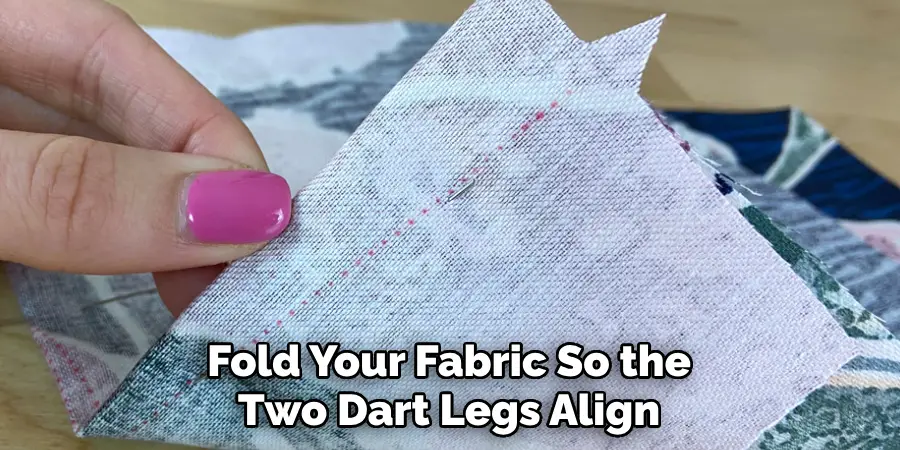
After marking the dart, fold your fabric so the two dart legs align. It’s crucial to ensure that the dart point is on the fold. Then, pin the dart from the wide end towards the dart point. Ensure that the pins go through both layers of fabric and that the points of the pins are aimed toward the dart point. This will help guide your sewing machine when you start sewing the dart.
Step 3. Start Sewing the Dart:
Now it’s time to sew! Start from the wide end of the dart, removing the pins as you sew. Make sure to backstitch at the beginning for added strength. Continue sewing, following the line of the dart leg towards the dart point. You should sew a straight line that smoothly tapers to the dart point. It’s essential not to backstitch at the dart point, as this can cause a bulky appearance.
Instead, leave long thread tails when you finish sewing and tie them off by hand to secure the dart. This creates a neat and flat finish at the point of your dart.
Step 4. Press the Dart:
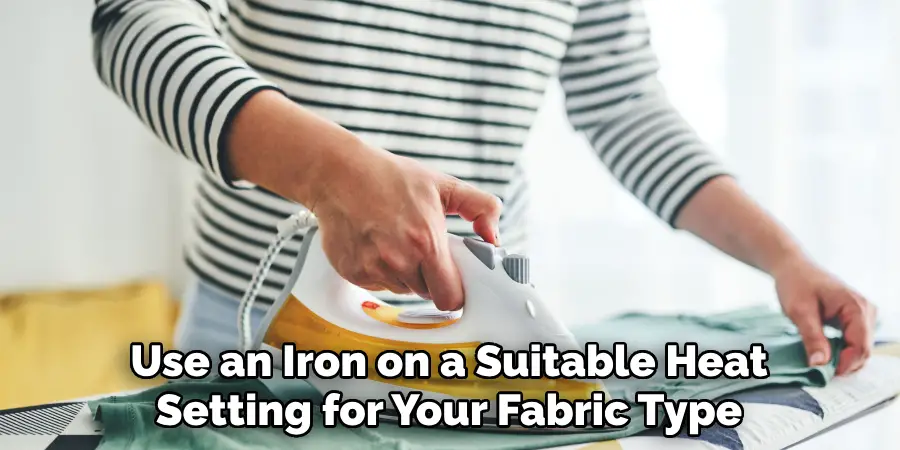
The final step in sewing a dart is pressing it to set the stitches and give it a professional finish. Use an iron on a suitable heat setting for your fabric type, and press the dart from the wrong side of the fabric. Be careful not to stretch or distort the fabric. Remember to pack the bulk of the dart towards the center of your dress. This step is crucial as it will make your dart lay flat against the body, providing a clean and smooth line. Once you’ve pressed your dart, repeat the process for any remaining darts in your dress.
Step 5. Add a Dart if Needed:
After pressing, you can try on the dress to check the fit of your darts. If they’re not fitting as desired, you may need to add additional darts for a better fit. This is common in garments with larger busts or curvier figures.
Step 6. Repeat the Process for Other Darts:
Once you are satisfied with your initial dart, you must repeat the process for the remaining darts on your dress pattern. Remember to ensure each dart is accurately marked and pinned and that the sewing and pressing process is conducted meticulously for each dart. Consistency is critical to achieving a professional, flattering finish.
Step 7. Check the Overall Fit:
After sewing and pressing all the darts, put on the dress to check the overall fit; pay particular attention to the bust, waist, and hip areas, as darts have the most impact. The dress should fit snugly but not too tight. If the darts are causing the fabric to bunch or wrinkle, you may need to adjust the size or position of the darts. Remember, it’s easier to take in a tighter fit than to let out a dart for a looser fit.
Step 8. Make Necessary Adjustments:
If you’re not happy with the fit, don’t worry! Making adjustments is a normal part of the dressmaking process. Simply unpick the dart stitching using a seam ripper and adjust the size or position of the dart as necessary. Then, resew and press the dart as before. Repeat this process until you’re happy with the fit.
Step 9. Finish Your Dress:
After all the darts are sewn, and the dress fits your liking, it’s time to finish it. This may involve adding any additional design details, sewing the hem, and adding fastenings such as zippers or buttons. Remember to press your dress one last time after all sewing is complete for a professional finish.
Step 10. Admire Your Work:
Finally, it’s time to admire your hard work! You’ve successfully sewn darts in a dress, elevating your dressmaking skills to a new level. Thanks to your well-sewn darts, your dress should have a professional-looking finish and a flattering fit. Take a moment to appreciate your accomplishment before stepping out in your beautiful, custom-made dress.
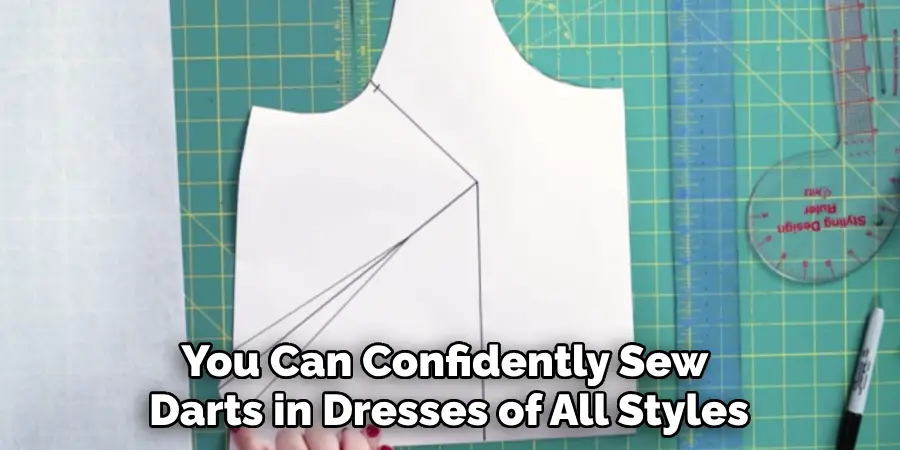
By following these steps, you can confidently sew darts in dresses of all styles and achieve a perfect fit every time.
5 Additional Tips and Tricks
Tip 1. Practice on Scrap Fabric:
Before diving into sewing darts on your actual dress, it can be helpful to practice scrap fabric first. This allows you to get comfortable with the process and can help prevent mistakes in your dress.
Tip 2. Take Your Time:
Sewing darts isn’t a race. Rushing can lead to uneven or misplaced darts, affecting your dress’s overall look and fit. Take your time to ensure each step is done correctly.
Tip 3. Use a Dart Ruler:
A dart ruler can be a valuable tool to ensure your darts are symmetrical and correctly positioned. By lining up the ruler with your dart markings, you can ensure they are even and accurate.
Tip 4. Regularly Change Your Needle:
Using a dull needle can lead to snagged fabric and uneven stitches. Remember to change your needle regularly, especially when working with delicate fabrics.
Tip 5. Iron Regularly:
Don’t only iron your darts at the end. Ironing your fabric before you start and after you mark your darts can make the sewing process smoother and can lead to a cleaner finish. Plus, regular ironing throughout the entire sewing process can help maintain the shape of your dress.
With these additional tips and tricks, you can become a pro at sewing darts in no time.
5 Things You Should Avoid
Avoid 1. Overfitting the Darts:
While darts are meant to shape the dress, overfitting can make the dress too tight, especially around the bust, waist, and hips. This might make the dress uncomfortable and restrict your movements.
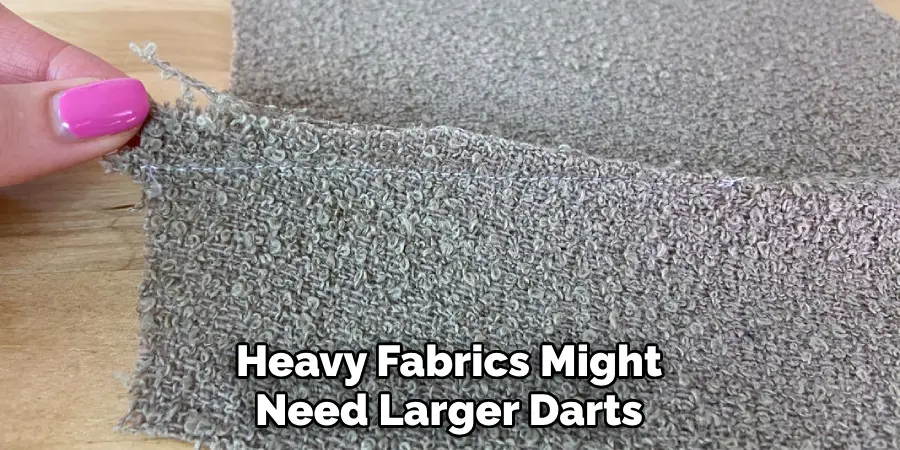
Avoid 2. Ignoring Fabric Type:
Different fabrics require different care when sewing darts. Heavy fabrics might need larger darts, while lightweight fabrics might need smaller, more delicate darts. Ignoring the fabric type can lead to less than desirable results.
Avoid 3. Neglecting to Mark Darts Properly:
Good marking is the first step to perfect darts. You need to mark your darts properly to avoid sewing them in the wrong place or angle, which will affect the fit of your dress.
Avoid 4. Forgetting to Press Darts:
Pressing your darts not only sets the stitches but also gives the dress a more professional finish. Skipping this step may cause your darts to appear bulky or puckered.
Avoid 5. Leaving Loose Threads at the Dart Point:
Always remember to tie off your threads neatly at the dart point. Leaving loose threads can cause your darts to be undone over time or create a bulky appearance.
By avoiding these common mistakes, you can ensure your darts are sewn beautifully and create a flattering fit for your dress.
Conclusion
As you have just learned, it is easy to sew darts in a dress. By taking the proper precautionary measures and having the necessary equipment, you too, can make beautiful, tailored clothing and show off your excellent sewing skills.
Don’t be overwhelmed by the idea of making a professional-looking dress; remember that practice makes perfect, and with enough time and hard work, you can create an incredible garment. So, give yourself a break today and take the plunge into crafting an original fashion masterpiece!
Hopefully, the article on how to sew darts in a dress has been helpful and informative, giving you all the tools and knowledge needed to tackle this sewing technique confidently. Now go out there and create stunning dresses with perfectly sewn darts! Happy sewing!