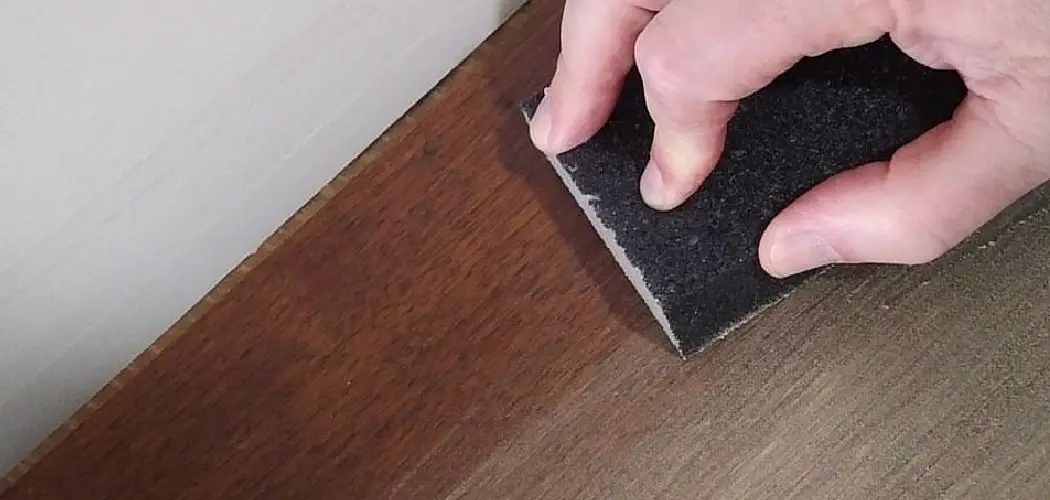
Are you trying to remove old vinyl from wood with limited success? If so, look no further – this blog post will show you how! Whether it’s an old piece of furniture or a kitchen cabinet, you’re likely facing the daunting task of figuring out how to remove vinyl from wood. Vinyl removal can be one of the most tedious and laborious tasks when decorating your home.
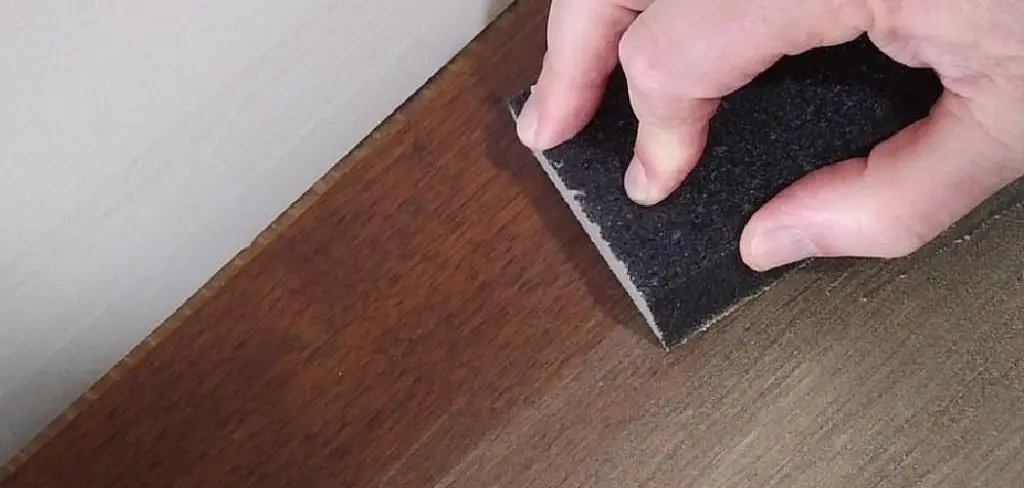
Not only do you need to ready yourself (and the room) for a long task ahead, but there might also be some unexpected issues lurking below the surface if you need to be done correctly.
With our helpful tips and advice, you’ll be able to quickly learn how easy it is to safely remove any unwanted vinyl from wooden surfaces without damaging or discoloring your furniture. We’ll share step-by-step instructions so that even first-timers like ourselves can put our newfound knowledge into practice in no time!
Necessary Items
Before getting started, you’ll need to gather some supplies. You don’t want to be halfway through and realize you’re missing something crucial. Here’s what you’ll need:
- A heat gun or hairdryer: These will help soften the adhesive on the vinyl and make it easier to remove.
- A putty knife or scraper: These tools will allow you to scrape off the softened vinyl.
- Mineral spirits or adhesive remover: These products will help dissolve any remaining adhesive after removing the vinyl.
- A cloth or sponge: You’ll need something to wipe away any excess adhesive and clean the surface afterward.
10 Steps on How to Remove Vinyl From Wood
Step 1: Prepare for Removal
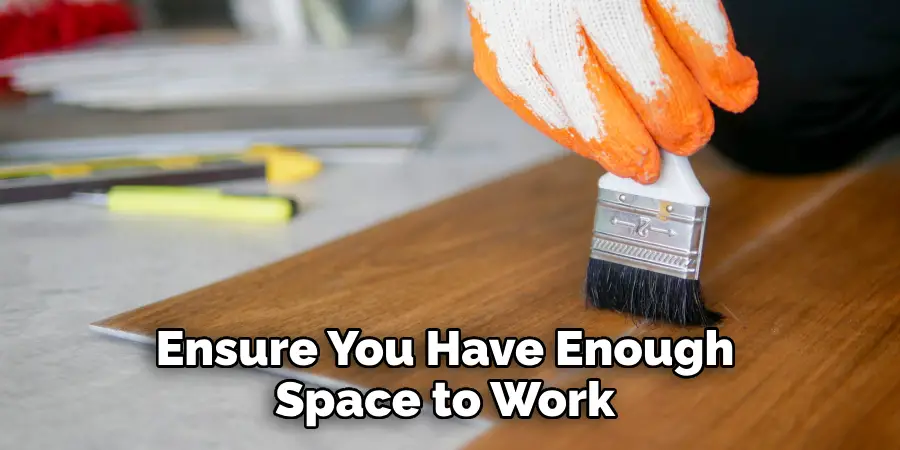
Before you begin, ensure you have enough space to work in and protect your surroundings. This means removing any nearby furniture or objects that could get in the way and covering up surfaces or floors to avoid damage from falling vinyl pieces or adhesive remover.
Step 2: Heat it Up
Start by heating the vinyl with a heat gun or hairdryer on its highest setting. Hold it about an inch away from the surface and move it back and forth until you feel the vinyl softening.
Step 3: Scrape Away
Using a putty knife or scraper, gently start prying up the corners of the vinyl. Once you have a good grip, slowly and carefully scrape away at the vinyl using moderate pressure. If you’re having trouble getting under the vinyl, try heating it again for a few seconds.
Step 4: Remove the Vinyl
Continue scraping away at the vinyl until you have removed it entirely from the wooden surface. If there are any stubborn pieces or leftover adhesive, move on to the next step.
Step 5: Apply Adhesive Remover
Using a cloth or sponge, apply adhesive remover or mineral spirits to the surface where there is still adhesive residue. Let it sit for a few minutes to allow it to dissolve.
Step 6: Scrape Away Residue
After letting the adhesive remover sit, use your putty knife or scraper to scrape away any remaining residue gently. Be careful not to scratch the wood surface underneath. If there is still residue, repeat this step until it’s completely gone.
Step 7: Clean the Surface
Once all the vinyl and adhesive have been removed, take a clean cloth or sponge and wipe down the surface to remove any remaining debris or residue.
Step 8: Let it Dry
Allow the surface to dry completely before moving on to the next step. This will prevent any moisture from getting trapped under the new vinyl.
Step 9: Apply New Vinyl
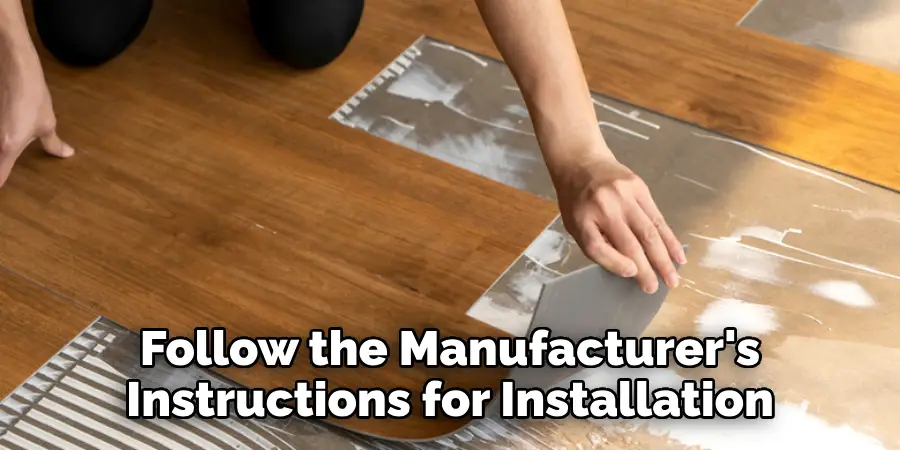
If you plan on replacing the old vinyl with new material, now is the time. Follow the manufacturer’s instructions for installation.
Step 10: Clean Up
Once you’ve finished installing the new vinyl, clean up any remaining debris and remove any protective coverings from your surroundings. Admire your newly restored wooden surface!
8 Care Tips for Maintaining Your Wooden Surfaces
Now that you’ve successfully removed vinyl from your wooden surface, here are some care tips to keep it looking beautiful:
1. Avoid Using Harsh Chemicals or Abrasive Cleaners
Harsh chemicals can strip away the finish on your wooden surface, leaving it vulnerable to damage. Stick to mild cleaners or natural solutions like vinegar and water. Also, avoid using abrasive cleaners or scrubbers that can scratch the surface.
2. Use Coasters and Mats
To prevent scratches or water damage, use coasters for drinks and mats for hot dishes on wooden surfaces. This will also help protect the finish from any spills or stains.
3. Dust Regularly
Dust can settle on wooden surfaces and cause scratches over time, so it’s important to dust them regularly with a soft cloth or duster.
4. Wipe Up Spills Immediately
Accidents happen, but it’s essential to clean up spills on wooden surfaces immediately to prevent any damage or staining.
5. Avoid Placing in Direct Sunlight
Direct sunlight can fade the color of your wooden surface over time, so try to keep it out of direct sunlight or use window treatments to protect it.
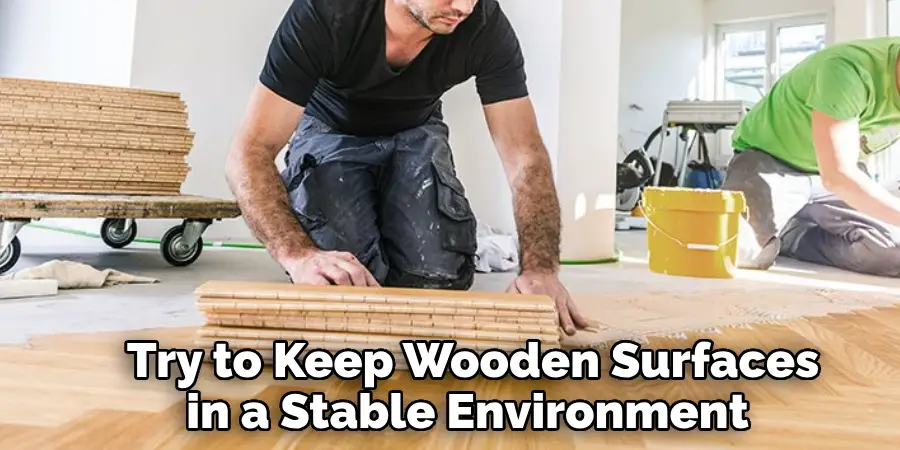
6. Be Mindful of Temperature and Humidity
Wood expands and contracts with changes in temperature and humidity, which can cause cracks or warping. Try to keep wooden surfaces in a stable environment to prevent damage.
7. Regularly Oil or Wax
To maintain the shine and protect the finish of your wooden surface, regularly apply oil or wax according to the manufacturer’s instructions.
8. Repair Damage Immediately
If you notice any scratches or dents on your wooden surface, you must repair them immediately to prevent further damage. Use wood filler or touch-up paint for minor repairs.
Now that you have all the necessary knowledge and tips for maintaining your wooden surfaces go forth and keep them looking beautiful for years to come! So, these were some of the expert tips on how to remove vinyl from wood and maintain your wooden surfaces. This guide helped tackle any future DIY projects involving vinyl removal. Always take your time, use the right tools and techniques, and keep your wooden surfaces well-cared for.
Frequently Asked Questions
Can I Use a Heat Gun on All Types of Wooden Surfaces?
It’s best to check with the manufacturer or do a small test patch first, as high heat can potentially damage certain types of wood.
What Can I Use Instead of Adhesive Remover?
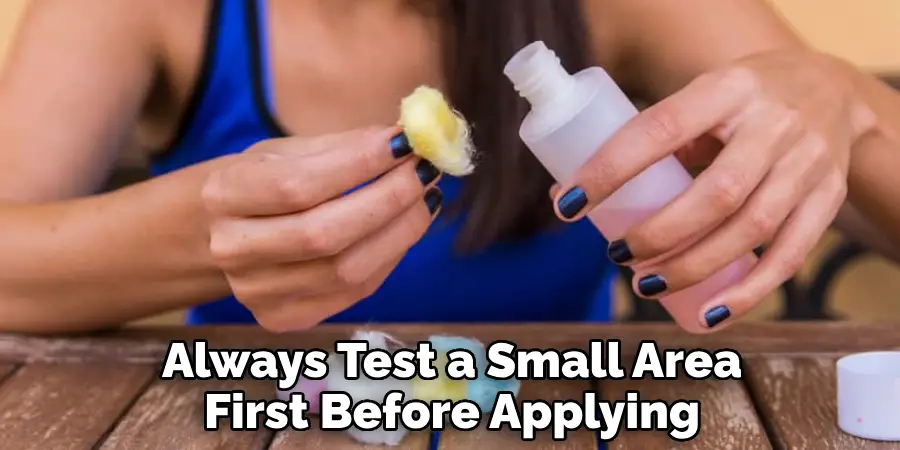
If you don’t have adhesive remover, try using warm, soapy water or equal vinegar and water. Remember to always test a small area first before applying to the entire surface.
How Do I Prevent Damage When Scraping Away at the Vinyl?
Use moderate pressure when scraping away at the vinyl to avoid damaging the wood surface. It may take a bit more time, but it’s worth it to protect your furniture. Also, use a putty knife or scraper with a sharp edge.
Can I Install New Vinyl Over Old Adhesive?
It’s not recommended to install new vinyl over the old adhesive as it may cause unevenness and bubbling in the new vinyl. It’s best to remove all old adhesives before installing new material.
How Often Should I Oil or Wax My Wooden Surfaces?
This will depend on the type of wood and finish, so it’s best to refer to the manufacturer’s instructions for specific recommendations. Generally, oil or wax your wooden surfaces every 6-12 months.
What Do I Do If There Are Gaps Between the Wooden Planks?
If there are gaps between wooden planks, you can fill them in with wood filler or use a putty knife and wood glue to fill any more significant gaps. Remember to sand down the area afterward for a smooth finish. If the gaps are too large, it’s best to consult a repair professional. These tips help prevent dirt and debris from getting trapped in the gaps as well.
Can I Use Vinegar on All Types of Wood?
Vinegar is generally safe to use on most types of wood, but it’s always best to test a small area first before using it on the entire surface. If you need more clarification, consult the manufacturer or a professional for specific recommendations.
How Do I Remove Stains From Wooden Surfaces?
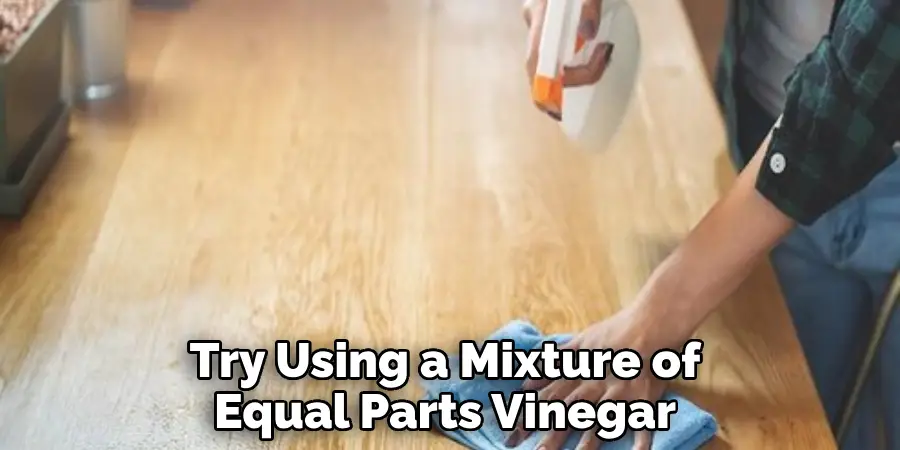
For minor stains, try using a mixture of equal parts vinegar and water to scrub the area gently. For tougher stains, consult a professional or refer to the manufacturer’s instructions for specific stain removal products that are safe to use on your wooden surface.
Conclusion
Maintaining wooden surfaces may seem daunting, but with these tips and proper care, your furniture will stay beautiful for years. Remember to avoid harsh chemicals and dust regularly, protect from spills and direct sunlight, and repair any damage immediately. With these simple steps on how to remove vinyl from wood, you’ll have a well-maintained wooden surface that will be the envy of all your friends and family. So go ahead, take on that DIY project with confidence!
Removing vinyl from wood may seem daunting, but with the right tools and techniques, it can be done quickly and without causing damage to your furniture. Remember to take your time and be patient, as rushing through the process can lead to mistakes and potential damage. With these steps in mind, you’ll have that old vinyl removed quickly and be ready to tackle any new DIY project with confidence!
You Can Check It Out Make Coasters Waterproof

