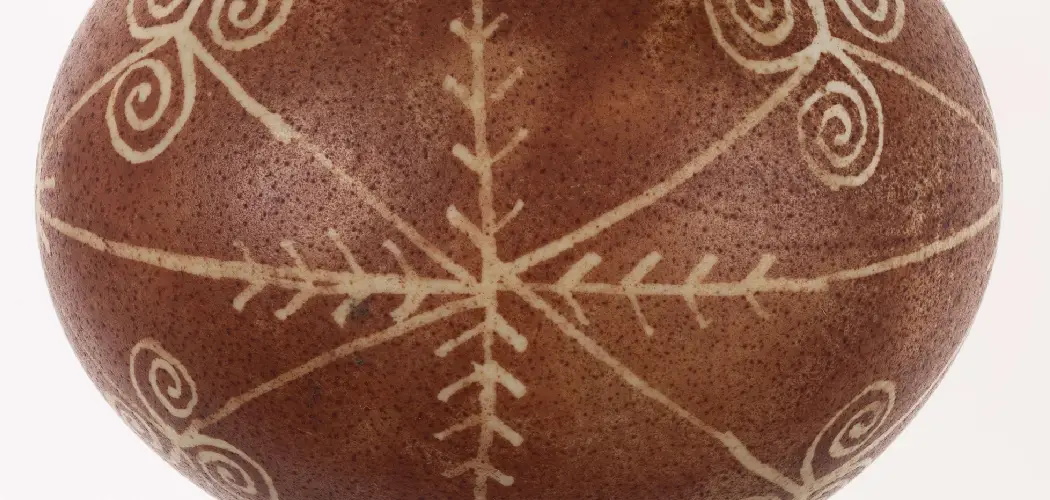
Welcome to the most creative and colorful Easter season ever! If you’re looking for a way to add extra fun and flare to your holiday décor this year, why not try painting wooden Easter eggs? Painting wooden eggs is an easy craft that can be enjoyed by both kids and adults alike, providing hours of entertainment as you create beautiful pieces of artwork.
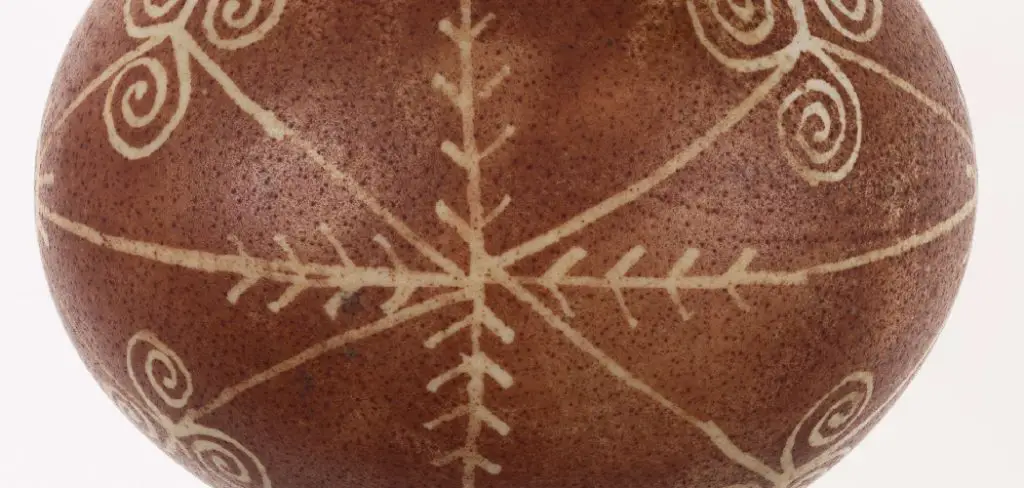
Wooden easter eggs come in a variety of sizes and shapes, making them the perfect blank canvas for your artistic expression. Whether you’re an experienced painter or just starting out, we’ve covered you with some helpful tips and techniques to make your wooden easter egg painting experience a success.
In this blog post, we’ll provide you with all the steps necessary for how to paint wooden easter eggs – so let’s get started!
What Will You Need?
To get started, you’ll need a few basic supplies. You can find them at your local craft store or easily order them online:
- Wooden Easter eggs (can be found in various sizes and shapes)
- Acrylic paint in assorted colors
- Paintbrushes in different sizes (make sure to have small detail brushes as well)
- Water cups for diluting paint and cleaning brushes
- Paper towels or old cloth for drying brushes
- Optional: decorative items such as glitter, gems, stickers, or ribbons to add some extra flair to your eggs.
Once you have all your supplies gathered, it’s time to start painting!
10 Easy Steps on How to Paint Wooden Easter Eggs
Step 1. Prepare Your Work Area:
Start by laying out a newspaper or a drop cloth over your work surface to protect it from any paint spills. Make sure you have all your supplies within arm’s reach, and it’s a good idea to keep a cup of water and some paper towels nearby for cleaning your brushes. Try to work in a well-ventilated area, as acrylic paint can have a strong odor.

Step 2. Choose Your Colors:
Using your creativity and imagination, decide which colors you want for your wooden eggs. Traditional Easter colors are pastel shades of pink, blue, green, and yellow, but feel free to think outside the box. Don’t limit yourself to just one or two colors – the more colors you use, the more vibrant and eye-catching your eggs will be. Also, consider using color combinations that complement each other for a harmonious look. Remember, this is your artistic expression, so let your creativity shine!
Step 3. Paint Your Base Layer:
Before you dive into the details, it’s essential to start with a base layer of paint on your wooden eggs. This will serve as the backdrop for your design. You can choose to paint the entire egg a single color or use multiple colors for a multi-colored base. Apply the paint evenly with a medium-sized brush, ensuring the whole egg is covered. You may need to apply two coats for a more vibrant color. Remember to let the paint dry completely before moving on to the next step.
Step 4. Plan Your Design:
Now that your base layer has dried, you can start planning your design. You could sketch it on paper or directly onto the egg. You should make it simple with stripes, polka dots, or an abstract pattern.
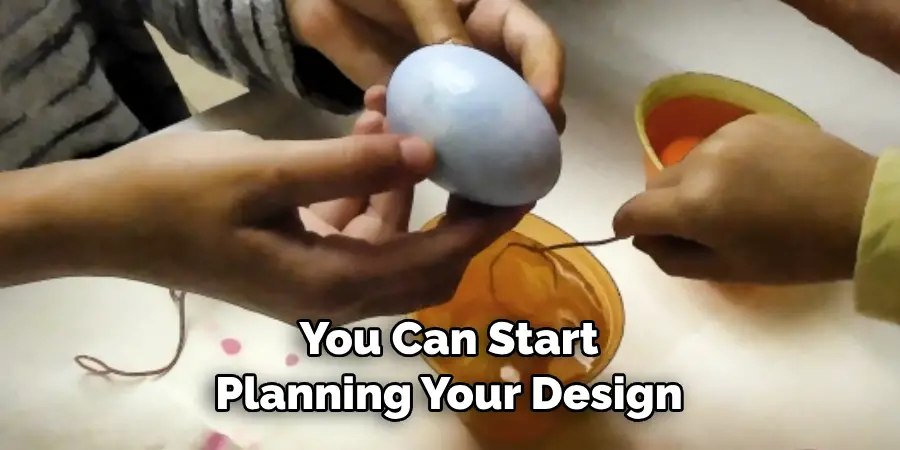
Alternatively, you could be more elaborate and paint a landscape, animals, or flowers, or even recreate famous pieces of artwork. If you need more clarification about your drawing skills, you can find many design ideas and templates online. Remember, there’s no right or wrong here – it’s all about having fun and expressing your creativity.
Step 5. Begin Painting Your Design:
With your design planned out, it’s time to bring it to life. Choose the appropriate brush size for the detail you’re working on. Smaller brushes work best for intricate designs, while larger ones cover larger areas. Don’t rush this part – take your time to paint your design onto the egg carefully. Remember, if you make a mistake, you can always paint over it once it’s dry. This is your chance to let your creativity shine, so enjoy the process!
Step 6. Let Your Eggs Dry:
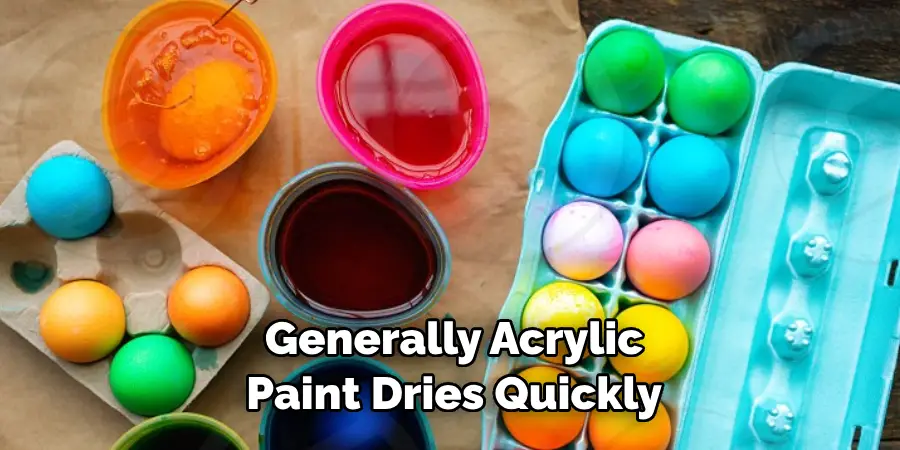
Patience is critical in this step. Allow your beautifully painted eggs sufficient time to dry. Place them in a spot where they won’t be disturbed. Generally, acrylic paint dries quickly, but the drying time can vary depending on how thick the paint is applied. You don’t want to smudge your work of art by handling it too soon, so it’s best to wait a little longer than you think you need.
Step 7. Add Finishing Touches:
Now that your paint is thoroughly dried, you can add finishing touches to your Easter eggs. This could include utilizing a fine-tip marker to outline your designs, adding glitter or gems for some sparkle, or even gluing on ribbon for extra flair. Remember, these extra touches should enhance your design, not overpower it. Use your discretion and let your artistic instinct guide you.
Step 8. Seal Your Design:
It’s a good idea to seal your design with a clear varnish or Mod Podge to make your painted Easter eggs last longer. This step is optional but highly recommended if you want your designs to withstand handling and last for many Easters. Apply a thin coat evenly over the egg, covering all painted areas, then let it dry completely.
Step 9. Display Your Eggs:
You’ve put a lot of effort into these eggs, so let’s show them off! Arrange them in a decorative bowl, place them on an egg stand, or incorporate them into your Easter table centerpiece. Wherever you decide to display them, they will surely attract attention and compliments from your family and guests!
Step 10. Clean Up:
Finally, remember to clean up your workspace when you’re all done. Rinse your brushes thoroughly, put away your paint, and recycle or safely discard any waste. Now, you can sit back, relax, and admire your beautiful, hand-painted wooden Easter eggs.
Following these steps, you can create unique and personalized Easter decorations that add a special touch to your home. Have fun with it, and be bold and experiment with different techniques or designs.
5 Additional Tips and Tricks
- Use Acrylic Paints: Acrylic paints are ideal for wooden easter eggs due to their fast-drying and robust adhering properties. They also offer a vibrant finish, bringing your designs to life.
- Sealant is Key: After drying your paint, apply a clear sealant to protect your designs and give your eggs a polished look.
- Use Fine Brushes for Detail: Opt for fine brushes for the more intricate parts of your designs. They offer better precision and control, ensuring your designs come out as planned.
- Practice Makes Perfect: Don’t be disheartened if your first few painted eggs turn out differently than expected. Practice is vital when it comes to mastering this craft.
- Get Creative: The beauty of painting wooden easter eggs is that creativity’s not limited. Whether it’s polka dots, stripes, or even a portrait, don’t be afraid to think outside the box and make your eggs truly unique.
With these tips and tricks, you can take your wooden easter egg painting skills to the next level.
5 Things You Should Avoid
- Avoid Using Watercolors: While watercolors can be beautiful, they don’t adhere well to wooden surfaces. Stick to acrylic paints for a more vibrant and durable finish.
- Don’t Skip the Primer: Skipping the primer might be tempting to save time, but it’s critical for ensuring your paint adheres properly to the egg and doesn’t peel off.
- Avoid Rushing the Drying Process: Patience is vital when it comes to drying. Rushing the process with a hairdryer or placing them in the sun might lead to paint cracking or peeling.
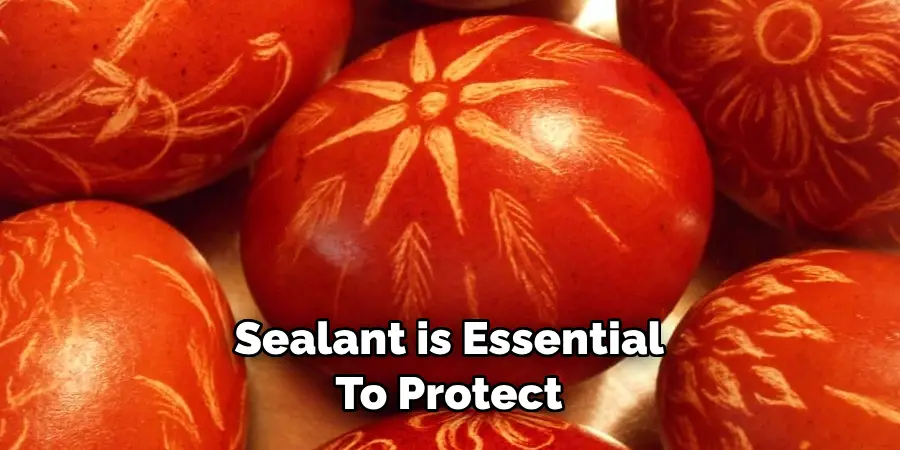
- Remember the Sealant: It might seem like an optional step, but a sealant is essential to protect your designs and give your eggs a glossy, finished look.
- Avoid Painting Without a Clear Idea: While creativity is encouraged, starting to paint without a straightforward design could lead to a messy result. Sketch out or visualize your design before you begin.
By avoiding these common mistakes, you can ensure your wooden easter eggs turn out beautifully.
Conclusion
If you can access any of the above materials, painting wooden Easter eggs can be a great way to make your holiday more festive and unique. The possibilities are endless, From bright, vibrant colors to complex art designs! There is nothing quite like seeing the finished product come together in front of your eyes. Painting wooden Easter eggs can make this particular time of year much more special.
Hopefully, the article on how to paint wooden easter eggs has provided you with all the necessary information and tips to get started. Remember, practice makes perfect, so don’t be afraid to experiment and have fun!
So why not make the most of it and get creative with fun egg painting? You never know what beautiful creations you’ll craft until you try – so start gathering your supplies today and become an Easter egg painting master!

