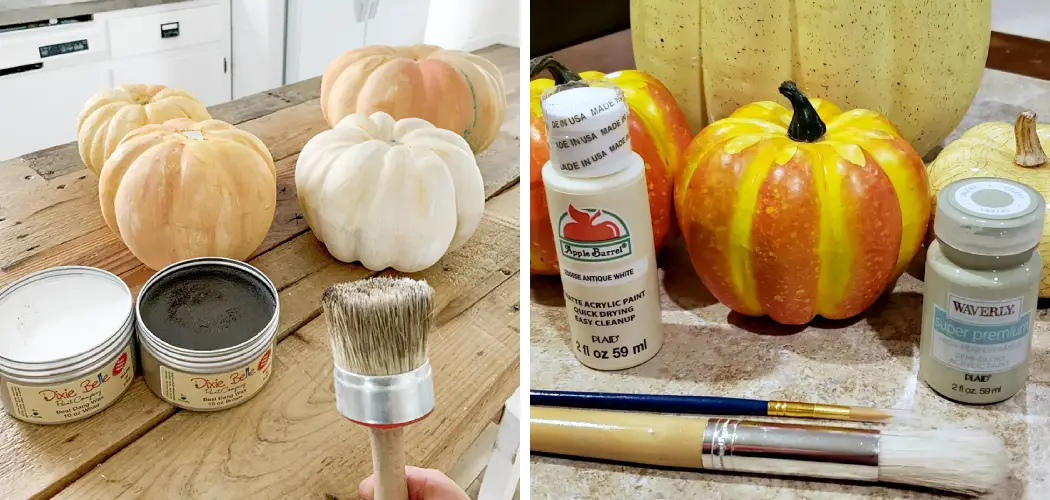
As the leaves begin to change and the cool whispers of fall breeze through, it’s the perfect time to embrace the festive spirit with an engaging and artistic endeavor—painting plastic pumpkins! These versatile decorations offer a blank canvas for creativity, perfect for crafters of all skill levels. They’re affordable and lend themselves endlessly to customization, making them ideal for anyone looking to add a personal touch to their autumn decor. This comprehensive guide will walk you through how to paint a plastic pumpkin and design ideas, ensuring your pumpkins stand out in all their harvest glory.
Understanding Your Canvas: Plastic Pumpkin Prep
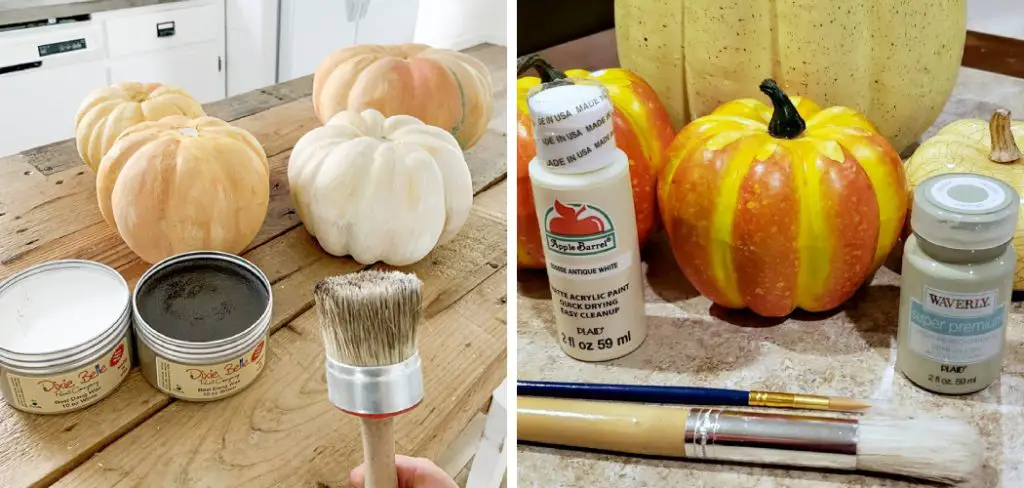
Choosing the right plastic pumpkin is the first step in ensuring your painted creation is both lasting and beautiful. Smooth plastic pumpkins provide a sleek surface that allows the paint to adhere easily, presenting a vibrant and polished finish. In contrast, textured plastic pumpkins offer a more natural look, reminiscent of real pumpkin rinds, but may require additional preparation for paint to adhere properly.
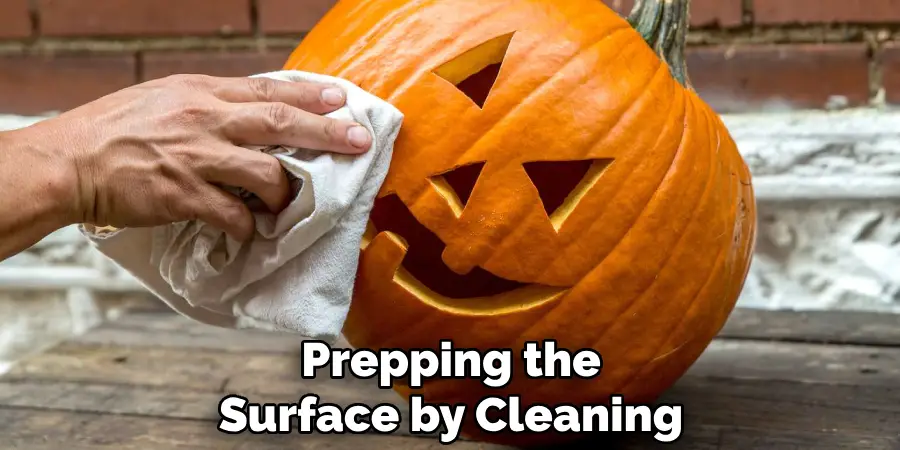
To prepare any plastic pumpkin for painting, it is crucial to clean it thoroughly. Use a mild soap and water solution to remove any dust, dirt, or oils that could prevent the paint from sticking to the surface. If you’ve chosen a textured plastic pumpkin, it’s worth considering light sanding with fine-grit sandpaper. This optional step roughens the surface slightly, improving the paint’s grip and ensuring better durability of your design.
After cleaning (and possibly sanding), dry your pumpkin completely. Any remaining moisture can dilute the paint or cause it to bubble, which compromises the finished look. Patience in prep work is a small price to pay for a flawless, festive result that lasts all season long.
Choosing the Right Paint: Vibrant Options for Your Vision
When selecting paint for your plastic pumpkin, the array of choices available can be both exciting and overwhelming. Acrylic paints are a popular choice due to their versatility and ease of water cleanup. They offer a wide range of colors and are easy to blend and dry with a durable finish ideal for beginners and seasoned crafters.
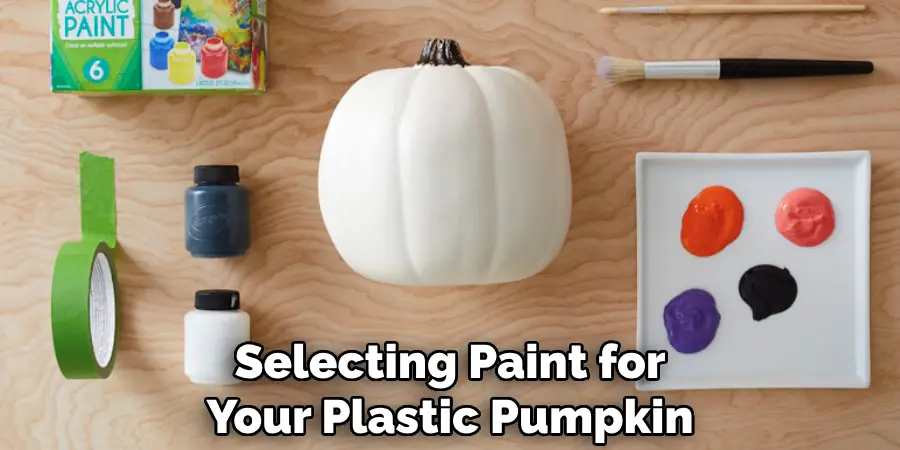
Other options include craft paints, which often come in convenient sets tailored for specific projects. These are great for achieving a consistent look across multiple pumpkins, though they may require several layers for opaque coverage. On another note, spray paints can provide a quick and even coat, perfect for larger projects. However, they require a well-ventilated space and a bit of practice to master the technique without drips.
Metallic paints can be an excellent choice for those looking to add a bit of shimmer. Depending on the application, they catch the light beautifully and can offer an elegant or rustic finish. In terms of the drawbacks, these specialty paints often take longer to dry and may show brushstrokes more readily.
A primer can enhance paint adherence regardless of paint type, particularly on smoother plastic surfaces. While optional, it creates an even base that can make your colors pop and extend the longevity of your festive creation.
How to Paint a Plastic Pumpkin – A Guide to Colorful Creations
Choose a color that speaks to your festive spirit to achieve a classic, single-color look on your pumpkin. Begin with a clean, dry pumpkin for the best results.
1. Solid Color:
- Take your chosen acrylic or craft paint and pour a small amount onto a palette.
- Dip a flat, wide brush into the paint, ensuring a moderate amount on the bristles to avoid drippiness.
- Start at the top of your pumpkin, applying paint in thin, even strokes. Work your way down and around for full coverage.
- Allow the first coat to dry completely, which could take anywhere from 20 minutes to an hour, depending on the paint type and thickness of the layer.
- Apply additional coats until you’re satisfied with the opacity. Remember, patience between coats is key to avoiding any globs or paint peeling.
- For clean lines at the pumpkin’s base or around any designs, use painter’s tape to mask off the areas. When you peel off the tape, you’ll reveal a crisp edge.
2. Stripes:
- Choose two or more contrasting paint colors for your stripes. Remember, varying opacities will add depth to your design.
- Apply painter’s tape in equidistant lines around your pumpkin to create even stripes. Press the edges firmly to prevent the paint from seeping beneath the tape.
- Paint between the tape strips using a brush or sponge for different textures. Allow to dry before adding extra layers for boldness.
- Carefully remove the tape to reveal your neatly striped pumpkin.
- For a dynamic twist, angle the tape for diagonal or chevron stripes before you start painting.
3. Polka Dots:
- Add dots to your pumpkin using a sponge, cotton swap, or stencil. If you’re freehanding, dip your tool into the paint and gently press onto the pumpkin surface.
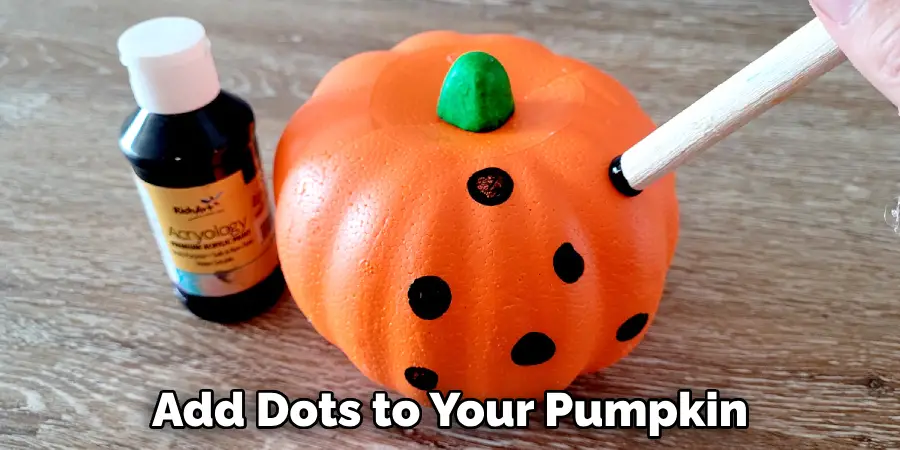
- Play with dot sizes by using different tools—small for intricate designs or larger for a bolder, playful effect.
- Consider a base color contrasting sharply with your dot colors to make your polka dots pop.
- Space your dots randomly for an organic look or in a pattern for symmetry. Allow each dot to dry before adding neighboring dots to prevent smudging.
Each of these techniques can be mixed and matched for a personalized creation. So let your creativity flow, and remember to have fun as you craft a pumpkin that’s uniquely yours!
That’s it! You’ve now learned how to paint a plastic pumpkin like a pro. With the right preparation and paint selection, your plastic pumpkin can become a stunning canvas for your festive visions, ready to shine in all its harvest glory. So grab your brushes, pick out your favorite colors, and get started on creating a one-of-a-kind piece that will be the envy of the neighborhood!
Unleashing Creativity: Beyond the Basics
Taking your plastic pumpkin painting to the next level means unleashing your creativity with more complex and intricate designs. One trendy effect that’s as stylish as it is easy to achieve is the ombre look.
Ombre Effect:
- To create a seamless ombre transition, paint the lightest color at the top of your pumpkin.
- While the first color is still wet, apply the next shade below it, gently blending where the two colors meet with a soft brush or a sponge for that perfect diffused transition.
- Continue with each shade, blending as you move down the pumpkin to avoid harsh lines.
- With ombre designs, choosing complementary colors or varying shades of the same color will produce a harmonious transition and an overall eye-catching effect.
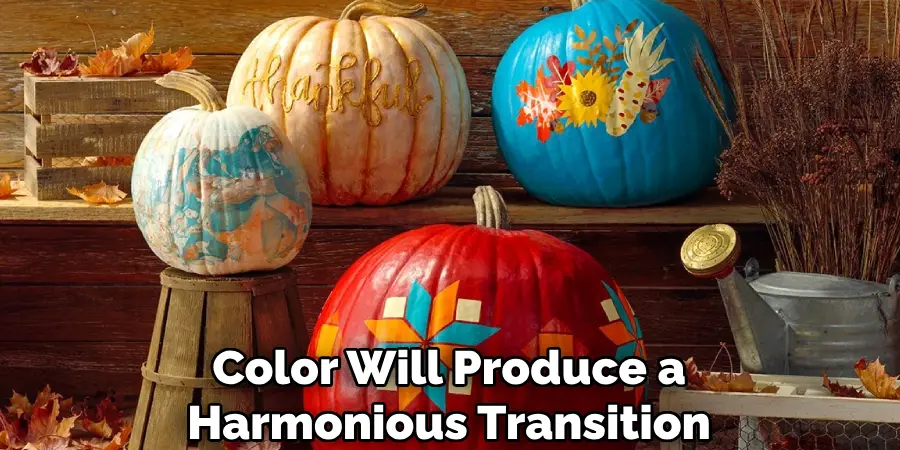
Geometric Patterns:
- Geometric patterns, like triangles, squares, and chevrons, offer a modern and dynamic aesthetic.
- Use stencils as a guide for precise lines and shapes, or, if you feel confident, go freehand with a steady stroke for a more unique touch.
- Don’t be afraid to experiment with geometric patterns and bold color combinations to make your pumpkin stand out.
Nature-Inspired Designs:
- For those who prefer a more natural look, consider painting leaves, miniature pumpkins, or winding vines around your plastic canvas.
- Stencils can help achieve a crisp outline, while reference images guide your hand if you’re painting freeform.
- Add depth to your pieces by including small details and shading, giving your nature-inspired designs a more lifelike and whimsical character.
Dive into these designs with an open mind and a willingness to experiment, and you’ll end up with a plastic pumpkin that displays your unique artistic expression.
Adding Sparkle and Dimension: Embellishments for Extra Flair
When your painted pumpkin is complete, consider adding embellishments to bring sparkle and dimension to your creation.
Glitter:
Incorporate glitter to make your pumpkin shine with festivity. For a mess-free option, glitter glue is perfect and easily applied. Alternatively, mix loose glitter with either paint or a decoupage medium to apply it over your painted designs. Aim for a light sprinkle to maintain elegance, as loading the pumpkin with glitter can overwhelm the intricate details of your painted base.

Sequins and Beads:
Attaching sequins or beads enhances the tactile experience for a textured and dimensional display. They should complement and accentuate the underlying paint design rather than detract from it. Use strong craft glue to ensure your sequins and beads stay firmly in place, protecting your design’s longevity.
Stencils and Textures:
Stencils are a fantastic tool to add sophisticated patterns such as lace or damask designs. To elevate your pumpkin further, consider using texture paste or modeling clay with stencils to achieve a raised effect. The creative use of textures can transform your pumpkin into a captivating piece of art with various finishes to explore.
Sealing Your Masterpiece: Preserving the Paintwork
Sealing your masterpiece is the final, crucial step to completing your artistic pumpkin. With exposure to dust, moisture, and light, your pumpkin’s vibrant paintwork risks becoming lackluster and wearing away prematurely. A sealant is essential in shielding the colors from fading and preserving the beauty of the paintwork long after the festive season.
Sealants are available, such as clear acrylic sprays, matte varnishes, and decoupage mediums. Each sealant has its unique benefits, depending on whether you wish for a glossy finish that makes the colors pop, a matte finish for a softer look, or a satin finish for a bit of sheen without too much glare. Be sure to choose a sealant compatible with your type of paint and desired finish.
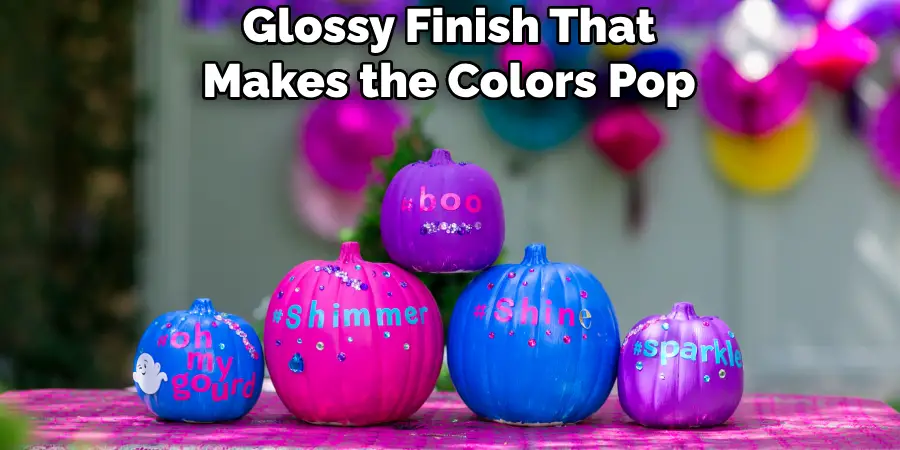
To apply the sealant effectively, hold the can or bottle at the recommended distance, usually about 12 inches away from the surface, and spray in a steady, back-and-forth motion to cover the pumpkin in thin, even coats. It’s vital to let each layer dry completely—this could take several hours—before applying the next to prevent any tackiness or uneven texture. Sealing your pumpkin properly will ensure that your creation retains its charm and can be admired as a timeless decoration.
Displaying with Pride: Showcasing Your Pumpkin Perfection
Once your painted pumpkin is sealed and ready, it’s time to proudly display it. Indoors, a proud perch on a mantel, bookshelf, or windowsill turns it into an eye-catching focal point. Elevate your pumpkin on stands or risers alongside autumnal flora like dried leaves and pinecones to create an enchanting fall vignette. If placing outdoors, arrange your pumpkin on the porch steps amid haystacks or nestled in a garden nook for a magical touch to your home’s curb appeal.
For an evening display, consider using LED candle lights inside your pumpkin for a warm, festive glow, avoiding the hazards of open flames. With the flick of a switch, your masterpiece becomes a beacon of artistry, inviting gazes and sparking conversations.
Transform your dining room by featuring the painted pumpkin as the star of a creative tablescape centerpiece, paired with elegant candle holders and fabric runners that complement your design’s color palette. Conversely, use it as an understated yet stylish accent on your entryway table or a cozy corner of your living room, where the high-quality craftsmanship of your painting can truly shine. Displaying your pumpkin is an act of creative expression itself—take joy in the presentation, knowing your handcrafted artistry will enhance the festive spirit of the season.
Sharing Your Creativity: Inspiration for Others
After the paint has dried and your pumpkin masterpiece stands ready to captivate, it’s not just about displaying it; it’s also about sharing it. Take high-quality photos from various angles to capture the essence of your creation. Use natural lighting for the most authentic representation of your pumpkin’s colors and textures, and consider a plain background to prevent distractions.
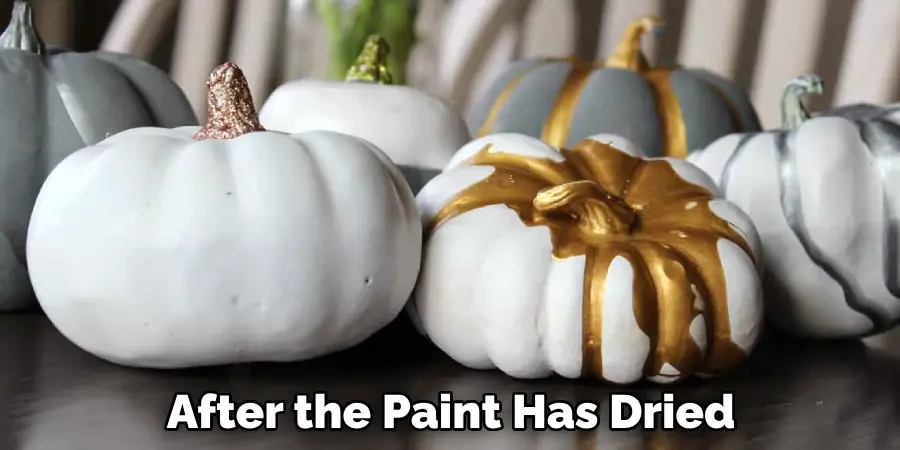
Encourage your creativity to ripple outward by posting these photos online. Social media platforms are ideal for inspiring others and showing off your artistic flair—Instagram and Pinterest are particularly visual and conducive to crafts. Hashtags can help your work gain visibility, and you might even find a community of fellow pumpkin painting enthusiasts.
Participating in online craft challenges or contests is a fun way to engage with others and a fresh source of inspiration. Whether looking for new ideas or competing for the joy of it, these activities can fuel your passion and improve your skills.
Lastly, don’t forget to share your creative journey. Behind-the-scenes glimpses and stories of your process bring your art to life, making your work more relatable and encouraging others to start their project. Your beautiful pumpkin, shared with the world, can spark creativity and joy.
Troubleshooting Tips: Addressing Common Issues
In every crafting endeavor, obstacles arise, such as paint smudging, uneven coverage, or glitter flaking. When facing a smeared design, a damp cloth can clean up any excess paint if acted upon swiftly. For patchy paint application, allow the first layer to dry thoroughly before applying subsequent coats for a more uniform appearance. If glitter starts to shed from your pumpkin’s surface, a light reapplication of sealant can help to reaffix the loose particles. Remember, the craft community is a trove of knowledge; online forums and crafting groups are excellent resources for specific troubleshooting advice and tried-and-true solutions.
Frequently Asked Questions (FAQs): Pumpkin Painting Guide
Q: What Type of Paint Is Best for Pumpkin Painting?
A: Acrylic paints are typically the best choice for pumpkin painting for their quick drying time and vibrant colors. They are also water-based, which makes cleanup easier.
Q: How Do I Prevent My Painted Pumpkin from Rotting?
A: Before painting, make sure to clean the pumpkin thoroughly and let it dry. After painting, apply a sealant to protect the paint and keep moisture out. Avoid puncturing the pumpkin, as holes can lead to quicker rotting.
Q: Can I Use Natural Products for Painting on Pumpkins?
A: Yes, you can use natural products such as food coloring mixed with water for a watercolor effect. However, their colors may not be as vivid or lasting as acrylic paints.
Q: What Should I Do if Paint Gets on An Area I Didn’t Intend to Cover?
A: If the paint is still wet, quickly wipe it off with a damp cloth. For dried paint, gently scrape it off with a tool that won’t damage the pumpkin’s surface.
Q: How Can I Create a Textured Look on My Pumpkin?
A: Consider using texture paste or modeling clay with stencils to create a raised effect. You can also add materials such as rice or sand into your paint for extra texture.
Q: How Long Do I Need to Wait for The Paint to Dry Before Applying a Sealant?
A: It’s best to wait until the paint is completely dry to the touch, which could take a few hours. Always refer to the paint manufacturer’s instructions for drying times.
Q: Is It Necessary to Prep the Pumpkin Before Painting?
A: Yes, prepping the surface by cleaning and drying the pumpkin will ensure better paint adhesion and longevity. Lightly sanding the surface can also help in some cases.
Conclusion and Creative Journey
In this artistic journey, we’ve explored the transformative power of paint, textural innovations, and the significance of sealing and showcasing your pumpkin artwork. Finishing touches like the right sealant is pivotal in preserving your piece while sharing it provides an avenue for inspiration and community connection. Thank you for your dedication to creativity and for sharing your unique vision.
Continue to embrace your artistic path, and let every stroke of the brush be a reflection of your individuality. We eagerly await to see how your future creations will enliven the festive season and spark a cycle of artistic enthusiasm. Share your pumpkin art with us; let it ripple through the canvas of the world. Thanks for reading our post about how to paint a plastic pumpkin.

