In the realm of DIY projects and creative endeavors, modifying tools to suit specific needs is a common practice. One such tool often subject to customization is the humble pencil torch.
Originally designed for simple tasks like soldering or small-scale welding, enthusiasts and professionals alike have discovered the potential for enhancement in these compact flame-producing devices. This article delves into how to modify a pencil torch, exploring innovative ways to elevate its performance and versatility.
Whether you’re a hobbyist looking to personalize your torch for precision work or a craftsperson seeking increased efficiency, the following insights will guide you through the process of transforming a standard pencil torch into a customized tool that aligns perfectly with your unique requirements. From adjusting flame intensity to incorporating specialized tips, this article unravels the steps to unlock the full potential of your pencil torch, turning it into a tailored instrument for various applications.
Purpose of Modifying a Pencil Torch
Pencil torches are a versatile tool that can be used for various tasks like soldering, welding, jewelry making, and even cooking. However, the stock pencil torch may not always fulfill your specific needs or preferences. That’s where modifying a pencil torch comes in.
Modifying a pencil torch involves altering its original design to fit your specific needs or achieve better performance. It can include changing the nozzle, adjusting the gas flow, or even adding attachments to expand its functionality. In this guide, we will discuss how to modify a pencil torch and some of the benefits that come with it.
Changing the Nozzle
One of the most common modifications for a pencil torch is changing or upgrading its nozzle. The nozzle controls the flame shape and intensity, so by changing it, you can achieve a more precise or powerful flame. To change the nozzle, you will need to unscrew the original one from the torch and replace it with a new one that fits your desired specifications.
Adjusting Gas Flow
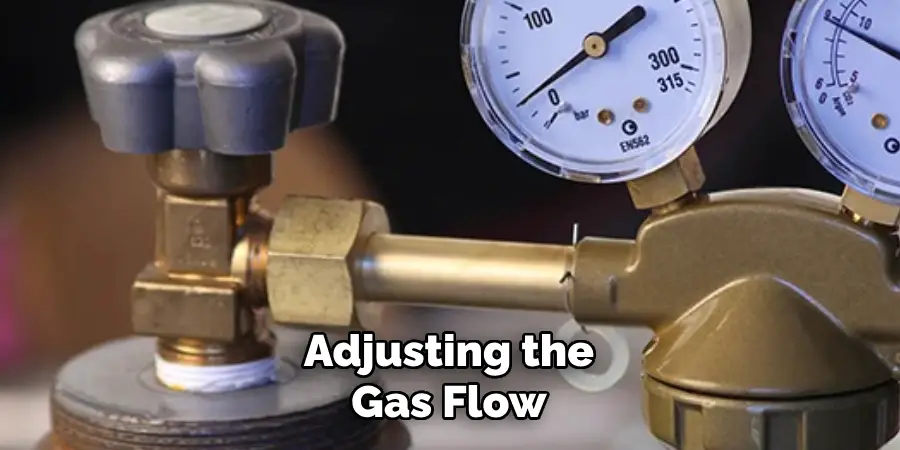
Another aspect of modifying a pencil torch is adjusting the gas flow. This can be done by either changing the gas regulator or installing a separate regulator on the gas line. By adjusting the gas flow, you can control the intensity and temperature of the flame, allowing for more precise and efficient work.
Adding Attachments
For those who require more functionality from their pencil torch, adding attachments is an excellent way to modify it. There are various attachments available in the market that can expand your torch’s capabilities, such as a hot knife, soldering iron, or even a mini torch head. These attachments can easily be attached to the pencil torch, making it a multi-functional tool.
Benefits of Modifying a Pencil Torch
Modifying a pencil torch not only allows you to customize it according to your needs but also offers some other benefits. By changing the nozzle or adjusting gas flow, you can achieve a more precise and efficient flame, leading to better results in your work. Additionally, adding attachments expands the torch’s functionality, making it a versatile tool that can handle various tasks.
10 Methods How to Modify a Pencil Torch
1. Change the Fuel
One way to modify a pencil torch is by changing the type of fuel it uses. Most pencil torches use butane as their fuel source, but you can also find models that use a propane or even a mixture of both fuels. Propane tends to burn hotter and longer than butane, making it a good option for more intense heating needs.
2. Adjust the Flame Size
Another way to modify a pencil torch is by adjusting the flame size. Some models have adjustable knobs or levers that allow you to control the size of the flame, while others may require you to change out the nozzle or tip to achieve different flame sizes.
3. Add an Attachment
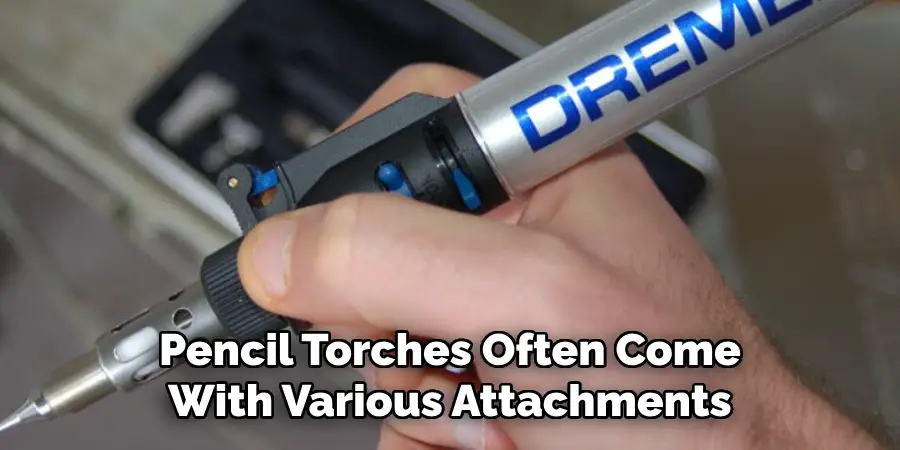
Pencil torches often come with various attachments that can be added or removed depending on your needs. These attachments can include soldering tips, hot knife tips, and even mini blowtorches for more precise heating.
4. Use Different Tips
In addition to attachments, there are also different tips available for pencil torches that can modify their functionality. For example, a fine point tip can create a smaller and more precise flame, while a flat tip can distribute heat over a larger surface area.
5. Upgrade the Ignition System
Some pencil torches come with manual ignition systems that require you to use a separate lighter or match to light the flame. However, you can modify your torch by upgrading to an electronic ignition system for easier and safer lighting.
6. Create Your Own Stand
If you find yourself constantly needing to use both hands while using your pencil torch, consider creating your own stand for it using simple materials like wire or metal rods. This will allow you to work hands-free and still have access to the heat from your torch.
7. Customize the Handle
The handle of your pencil torch may not always be comfortable or easy to grip during extended use. You can modify it by adding foam padding, rubber grips, or even wrapping it with tape to create a more ergonomic and comfortable handle.
8. Add a Regulator
For more precise control over the flame and fuel usage, you can modify your pencil torch by adding a regulator. This device allows you to adjust the flow of fuel to the torch, resulting in more consistent and controlled heating.
9. Use Different Brands of Fuel
While most pencil torches are designed to work with specific brands of fuel, you may find that some models can also work with other brands. Experimenting with different brands of fuel can result in changes in flame size, heat intensity, and burn time.
10. Create Your Own Accessories
If you have specific needs for your pencil torch that are not met by available attachments or tips, consider creating your own accessories using materials like wire, metal sheets, or even clay. This allows you to customize your torch for unique tasks or projects.
Testing the Modified Pencil Torch
Once you have successfully modified your pencil torch, it’s time to put it to the test! In this section, we will go over how to use and test your modified pencil torch.
Firstly, make sure that all parts of your modified pencil torch are securely attached and in proper working condition. This includes the fuel tank, flame adjuster knob, and ignition switch. If any parts are loose or damaged, do not use the pencil torch as it could be dangerous.
Next, fill the fuel tank with your desired fuel. It’s important to note that different fuels will produce different flames and temperatures, so choose one that best fits your needs.
Once you have filled the tank, turn on the ignition switch and ignite the flame using a separate lighter or match. Adjust the flame using the flame adjuster knob to your desired size.
To test the functionality of your modified pencil torch, try using it on different materials such as wood, metal, and plastic. Observe how the flame interacts with each material and make adjustments to your torch as needed.
It’s also important to check for any leaks or malfunctions while testing your modified pencil torch. If you notice any issues, turn off the ignition and troubleshoot before using it again.
Things to Consider When Modifying a Pencil Torch
Safety First
As with any modification, safety should always be your top priority. Pencil torches use highly flammable butane gas, and any changes made to the torch can increase the risk of fire or explosion. Before starting, make sure to read and understand the manufacturer’s instructions, wear protective gear, and work in a well-ventilated area.

Understand Your Torch
Before making any modifications, it is essential to understand how your pencil torch works. Take some time to familiarize yourself with the different parts and their functions, as well as the overall design of your torch. This will help you determine which modifications are possible and which ones may not be suitable for your specific model.
Know What You Want to Achieve
Are you looking for a hotter flame, longer burn time, or a more stable base for your pencil torch? Knowing your end goal will help you determine which modifications are necessary. For example, if you want a hotter flame, you may need to increase the flow of butane or add an additional nozzle.
Conclusion
In conclusion, modifying a pencil torch is a simple and efficient way to upgrade your tools and make them more versatile. We have discussed various ways to modify a pencil torch, including adding attachments for different tasks, creating a longer handle for better grip, and using different fuel sources. With these modifications, you can expand the capabilities of your pencil torch and use it for various purposes beyond its original design.
Remember, always prioritize safety when making any modifications to your tools. Now that you have learned how to modify a pencil torch, it’s time to put this knowledge into action. Gather your materials and start experimenting with different modifications to see which ones work best for you and your needs. Don’t be afraid to get creative and try new ideas!
Expertise:
Crafting expert with a focus on innovative techniques and diverse materials.
Specialization:
- Textile arts (weaving, embroidery, and fabric dyeing)
- Woodworking and furniture design
- Mixed media and upcycling projects
Recognition:
- Featured in local art exhibits showcasing innovative craft projects
- Collaborated with community organizations to promote crafting workshops
- Received accolades for contributions to sustainable crafting initiatives
Mission:
- To inspire and empower crafters of all levels to discover their creative potential
- Encourages experimentation and self-expression through hands-on projects

