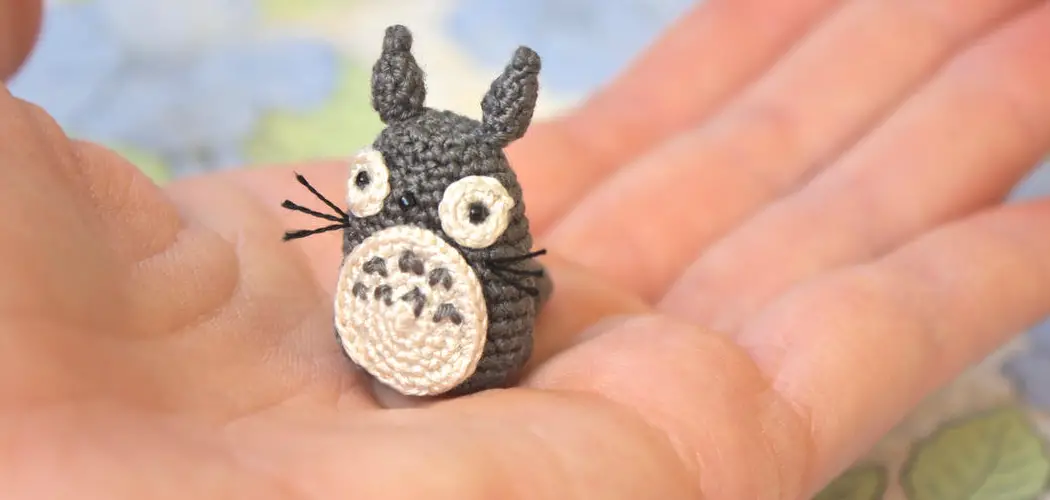
Have you ever marveled at the intricate designs and tiny stitches of microcrochet? This delicate form of crocheting has gained popularity in recent years, thanks to its ability to create detailed pieces on a miniature scale. From miniature animals and dolls to jewelry and home decor, there is no limit to what can be created through microcrochet. If you’ve been wanting to try your hand at this unique technique but don’t know where to start, look no further!
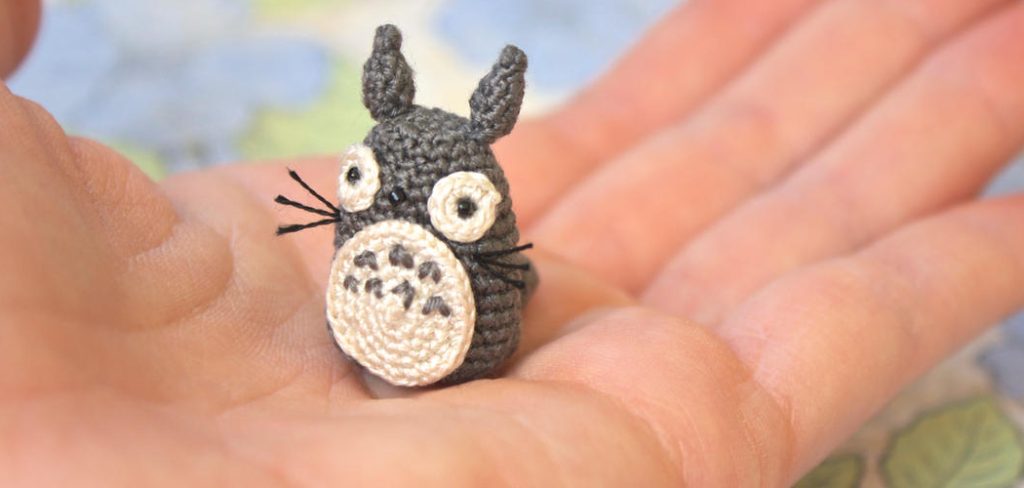
In this blog post, we’ll guide you through everything you need to know about how to micro crochet – from materials and tools needed to essential tips and tricks for perfecting your skills. So grab your hooks, thread up your yarn, and let’s get started on our journey into the world of microcrochet!
Tools and Materials You Will Need to Micro Crochet
- A set of tiny crochet hooks
- Thin crochet thread or yarn
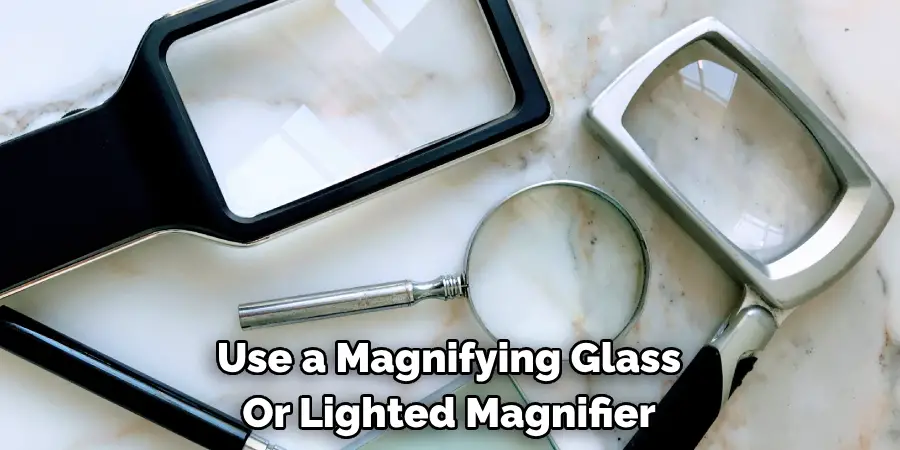
- A magnifying glass or lighted magnifier
- Scissors
- Beads, sequins, or other embellishments (optional)
Step-by-step Guidelines on How to Micro Crochet
Step 1: Choose the Right Hook Size
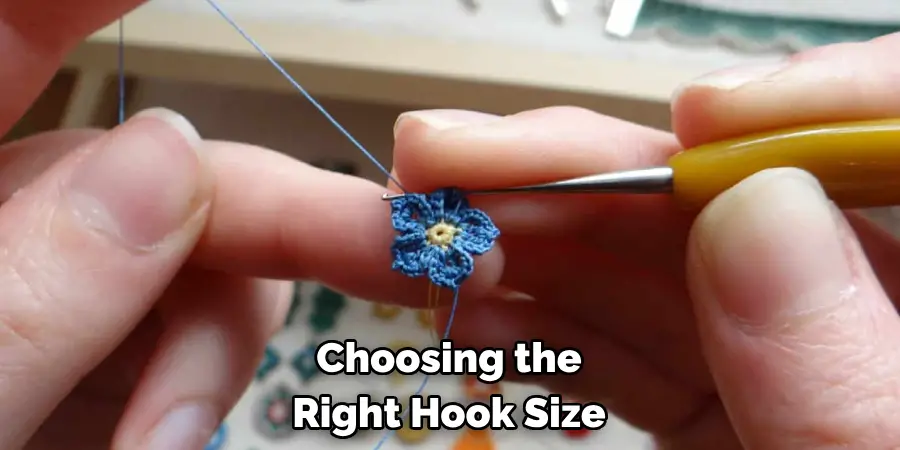
The first step in microcrocheting is choosing the right hook size. The smaller the hook, the finer and more delicate your stitches will be. Typically, micro crochet hooks range from 0.4mm to 2mm in size. Start with a larger size (around 1mm) if you’re new to this technique, and gradually work your way down to smaller sizes as you become more comfortable.
Step 2: Use Thin Thread or Yarn
The next essential element in microcrochet is the thread or yarn. As with the hook, the thinner the thread, the finer your stitches will be. Look for crochet thread that is labeled size 10 or smaller, or use a single ply of embroidery floss. You can also use lace weight or fingering weight yarn for slightly thicker designs. Using thicker yarn may result in larger stitches, which defeats the purpose of microcrochet.
Step 3: Get the Right Lighting
Microcrochet requires a lot of focus and precision, so proper lighting is crucial. Make sure to work in a well-lit area or use a lighted magnifier to help you see your stitches. This will prevent eye strain and allow you to see the tiny details of your work more clearly. If you’re working with dark-colored thread, consider using a light-colored background or placing a white cloth underneath your work to make it easier to see.
Step 4: Follow a Pattern
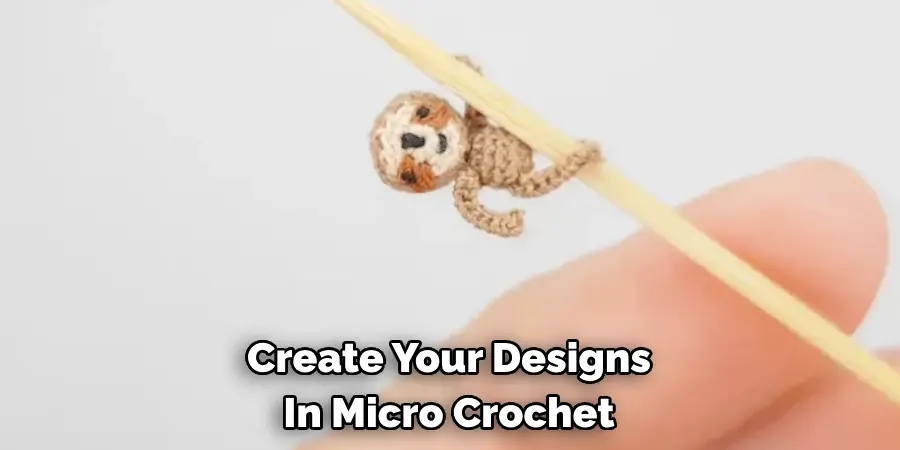
While it’s possible to create your designs in micro crochet, it’s recommended to start with a pattern if you’re new to this technique. This will give you an idea of the stitches and techniques used in microcrochet and help you get familiar with working on a smaller scale. You can find many free patterns online, or purchase books specifically dedicated to micro crochet designs.
Step 5: Go Slowly and Be Patient
Microcrochet is not for those who rush through their projects. It requires patience, precision, and attention to detail. Take your time with each stitch, and don’t be disheartened if you make mistakes – it’s all part of the learning process. It may also help to take breaks now and then to rest your eyes and prevent hand cramps.
Step 6: Add Embellishments (Optional)
One of the fun parts of microcrochet is adding embellishments to your finished piece. You can use beads, sequins, or other small decorations to add a touch of sparkle and texture to your designs. Just make sure not to overcrowd your work with too many embellishments – remember that less is more in microcrochet. If you’re using beads, a crochet hook with a small end or a pair of tweezers can help you place them more precisely.
Following these step-by-step guidelines will help you get started on your micro crochet journey with ease. Remember to have fun, be patient, and celebrate every tiny stitch – after all, that’s what makes micro crochet so special! Keep practicing, and before you know it, you’ll be creating miniature masterpieces in no time. Happy crocheting!
Additional Tips and Tricks to Micro Crochet
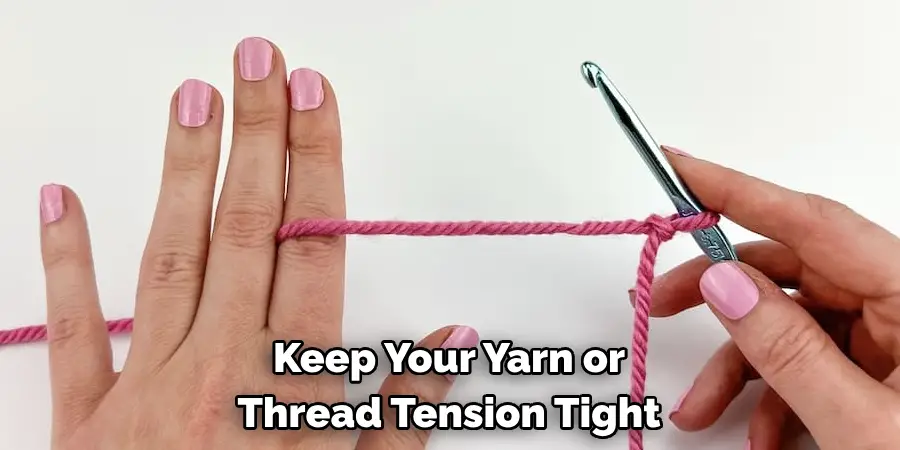
1. Always make sure to keep your yarn or thread tension tight when working on a micro crochet project. Loose stitches can result in larger and less defined designs.
2. Keep track of your stitch count by using stitch markers or counting out loud as you work. This will help you stay on track with your pattern and prevent mistakes.
3. If you find it challenging to work with tiny hooks and thread, try using a thimble or finger protector to help you grip your hook more comfortably.
4. Experiment with different types of yarn and thread to see which works best for you. Some crocheters prefer natural fibers like cotton or wool, while others find synthetic threads easier to work with.
5. Practice, practice, practice! The more you work on microcrochet projects, the more comfortable and skilled you will become. Don’t be afraid to try new patterns and techniques to challenge yourself and improve your skills.
6. Consider investing in a set of ergonomic crochet hooks specifically designed for microcrochet. These can help reduce hand fatigue and make it easier to work with small hooks for extended periods.
7. If you’re having trouble seeing your stitches, try using a headlamp or attaching a small light to your crochet hook. This can provide more direct and focused lighting for your work.
Following these additional tips and tricks will help you refine your micro crochet skills and create stunning miniature designs. Remember to always enjoy the process and have patience – with practice, anyone can learn how to micro-crochet like a pro! So keep on hooking and have fun exploring this unique and beautiful form of crochet. Happy crafting!
Things You Should Consider to Micro Crochet
1. The first thing you should consider when microcrocheting is the type of materials and tools you will be using. Because the projects are on a much smaller scale, it’s important to invest in high-quality materials and tools that will make your work easier and produce better results.
2. When choosing yarn for micro crochet, it’s best to go with a thinner weight such as lace or fingering. This will make it easier to work with and create finer details.
3. It’s also important to choose the right type of crochet hook for your project. For micro crochet, a smaller steel hook is recommended as it allows you to work with thinner yarn and create more intricate designs.
4. One thing many people overlook when starting with micro crochet is their tension. It’s important to maintain consistent tension throughout your project. If your tension is too loose, your stitches will be uneven and if it’s too tight, it will be difficult to work with.
5. Another aspect to consider is the pattern you’ll be using for your project. When microcrocheting, it’s best to choose patterns specifically designed for smaller projects as they will contain finer details and instructions tailored to microcrocheting.
6. When starting your project, it’s helpful to use a magnifying glass or lighted magnifier to help you see the stitches more clearly. This will make it easier to work with such small materials and ensure your stitches are accurate.
7. Along with smaller materials, micro crocheting also requires a great deal of patience and precision. It’s important to take your time and work slowly, paying close attention to each stitch.
8. It’s also helpful to have a designated workspace for microcrochets. This can be a small table or desk with good lighting and plenty of space for your materials. Keeping your workspace organized will make it easier to focus on your project and prevent any mishaps with tiny materials.
Following these considerations will help you successfully micro-crochet and create beautiful, intricate pieces. It may take some practice to get used to working with such small materials, but the result is well worth it. So gather your tiny tools and materials and start creating! There are endless possibilities in the world of micro-crocheting. Keep experimenting, learning new techniques, and sharing your creations with others who share your passion for this unique and challenging form of crochet. Happy micro crocheting!
Conclusion
In conclusion, learning how to micro crochet may seem like a daunting task at first, but with the right techniques and some practice, it can open up a whole new world of possibilities in your crafting journey. This intricate and delicate form of crochet allows you to create stunning pieces of jewelry and tiny amigurumi creatures, and even decorate everyday objects with colorful and detailed designs.
Through this blog post, we have explored the basics of micro crochet – from choosing the right tools and materials to mastering different stitches and techniques. We have also delved into the history of this unique craft and its growing popularity in recent years.
Now it’s time for you to put these newfound skills into practice and see where your creativity takes you! Whether you’re a beginner or an experienced crocheter looking for a new challenge, I urge you to give microcrochet a try. You never know what kind of dazzling creations you may come up with. So grab your hook and thread, and let your imagination run wild with this charming form of crochet – because now you know how to micro-crochet!

