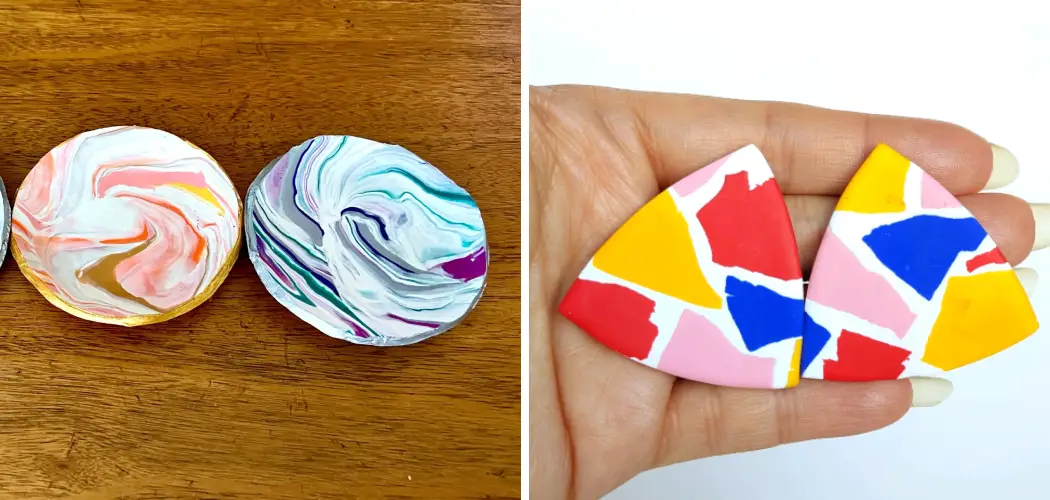
Delve into the captivating realm of polymer clay artistry by mastering the mesmerizing technique of marbling. Whether you’re a seasoned crafter or a newcomer to the world of sculpting, marbling polymer clay adds an extraordinary dimension to your creations, creating intricate patterns and vibrant swirls that elevate your projects to new heights.
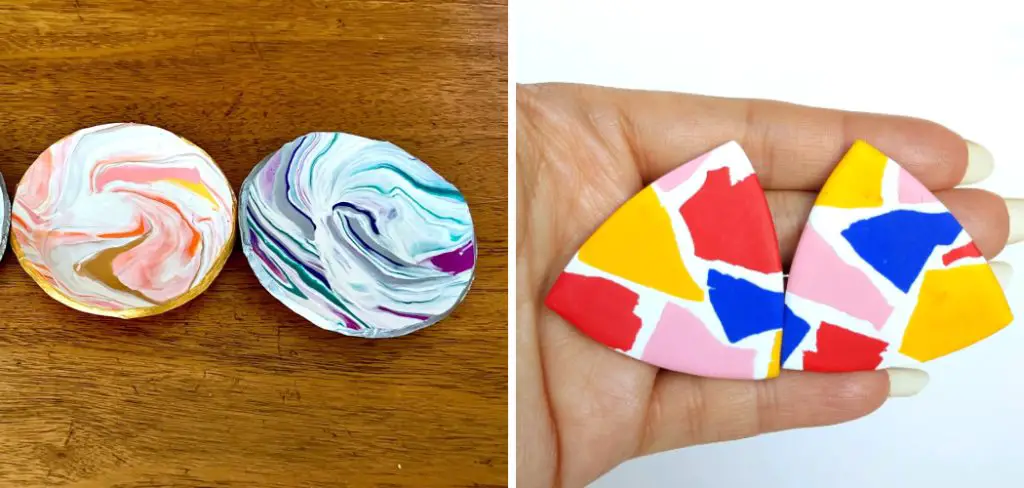
In this comprehensive guide, we will unravel the step-by-step process of how to marble polymer clay, from selecting the right colors and types of clay to mastering the various marbling techniques.
Explore the versatility of this medium as we discuss blending methods, creating gradient effects, and incorporating unique textures into your designs. Whether you’re crafting jewelry, ornaments, or intricate figurines, our guide will equip you with the knowledge and skills to infuse your polymer clay projects with a mesmerizing and personalized touch, transforming your creations into one-of-a-kind works of art.
List of Materials Required For Marbling Polymer Clay
- A pack of polymer clay
- Acrylic roller or rolling pin
- Clay cutters/ blades or knife
- Pasta machine (optional)
- Baking sheet
- Oven thermometer
- Parchment paper or baking paper
- Baby wipes or damp cloth for cleaning the surface
10 Methods How to Marble Polymer Clay
1. Water Marbling
Water marbling is a popular technique for creating marbled patterns on polymer clay. To do this, you will need a shallow container filled with water, acrylic paint, and a toothpick or needle tool. Drop small amounts of paint onto the surface of the water and use the toothpick or needle tool to create swirls and patterns. Then carefully place your polymer clay onto the surface of the water to transfer the design onto the clay.
2. Alcohol Ink Marbling
Alcohol ink can also be used to create beautiful marbled effects on polymer clay. Simply drip small amounts of alcohol ink onto your clay and use a brush, sponge, or straw to spread and blend the colors together. You can also use rubbing alcohol to dilute the ink and create more subtle designs.

3. Mica Powder Marbling
Mica powder is a popular choice for adding shimmer and shine to polymer clay projects. It can also be used to create marbled effects by sprinkling it onto your clay before rolling it out. This will result in a unique pattern with metallic accents throughout.
4. Acrylic Paint Swirls
Another method for creating marbled patterns with acrylic paint is by swirling different colors directly onto your rolled out clay using a paintbrush or toothpick. This technique allows for more control over the design and can result in intricate and detailed patterns.
5. Skinner Blend Technique
The Skinner Blend technique involves blending two or more colors of polymer clay together to create a gradient effect. This can then be used to make marbled designs by cutting thin slices from the blended sheet of clay and layering them on top of each other.
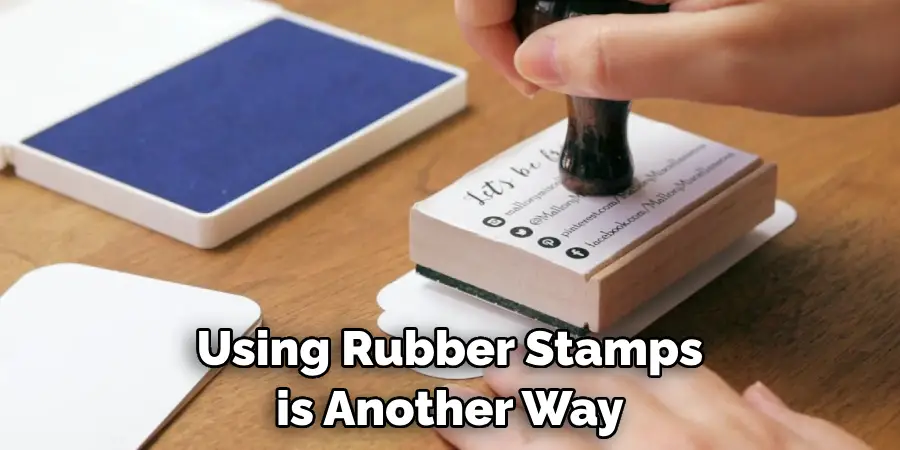
6. Stamping Method
Using rubber stamps is another way to add interesting patterns and textures to your polymer clay before marbling it. Pressing stamps into your rolled out clay will leave an impression that will show up in your final design.
7. Textured Rolling Pins
Textured rolling pins are a fun and easy way to add texture and patterns to your polymer clay. Simply roll out your clay with the textured rolling pin before marbling it for a unique and interesting design.
8. Clay Extruder
A clay extruder is a tool that allows you to create long, thin strands of clay in various shapes and sizes. These can then be twisted, braided, or layered on top of each other to create intricate marbled patterns.
9. Hand Blending
For a more organic and unpredictable marbled effect, try hand blending small pieces of different colored clay together before rolling it out. This will create a one-of-a-kind pattern every time. You can use a pasta machine to roll out the blended clay, or you can do it by hand.
10. Combining Techniques
Don’t be afraid to combine different techniques to create even more unique and complex marbled designs. For example, you could use water marbling as a base and then add stamped or textured elements on top for added interest. The possibilities are endless!
Choosing Complementary or Contrasting Colors for Marbling Polymers
Marbling is a popular technique used in polymer clay art, where colors are swirled together to create unique and beautiful patterns. While marbling can seem daunting at first, it’s actually quite easy to do with a little practice and experimentation. One of the key elements of successful marbling is choosing the right colors to work with.
When selecting colors for marbling polymer clay, you have two options: complementary or contrasting colors. Complementary colors are those that sit opposite each other on the color wheel, while contrasting colors are those that are next to each other on the color wheel.
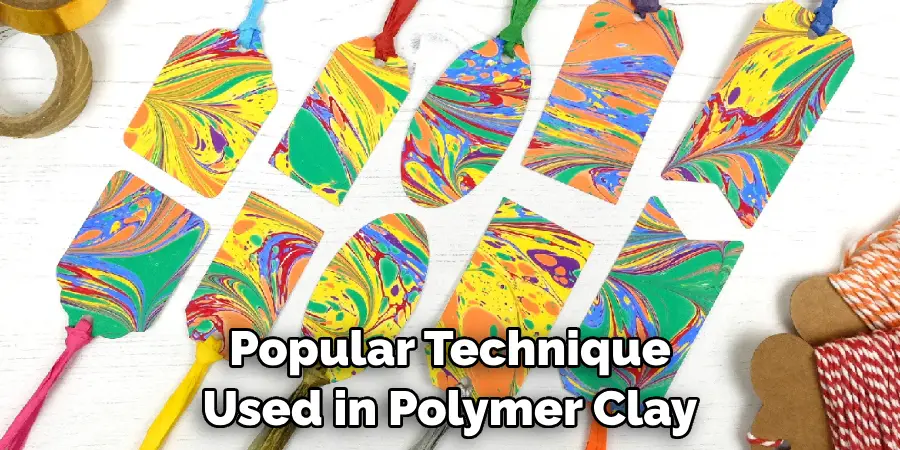
Complementary colors create a high contrast and vibrant effect when marbled together. This can be achieved by using colors such as red and green, blue and orange, or yellow and purple. These color combinations can create a dynamic and eye-catching effect in your marble patterns.
On the other hand, contrasting colors create a more subtle and harmonious look when marbled together. This is achieved by using colors such as blue-green and green-yellow, red-orange and orange-yellow, or violet-red and red-blue. These color combinations are more muted and can create a softer, more cohesive look in your marble patterns.
Feathering or Dragging to Create Veins or Organic Patterns
One of the most popular techniques for marbling polymer clay is feathering or dragging. This technique involves creating delicate veins and organic patterns in the clay by dragging a tool through it. The end result can be beautiful and unique, making it a great addition to any polymer clay project.
To start, you will need two or more colors of polymer clay that have been conditioned and rolled into logs. Choose colors that contrast well with each other and will create a striking pattern. You will also need a tool for dragging, such as a needle or toothpick.
Begin by placing your logs of clay side by side, touching but not overlapping. Then, using your tool, gently drag the clay from one end to the other in one fluid motion. This can take some practice, so be patient and keep experimenting until you achieve the desired effect.
You can also create more intricate patterns by dragging multiple times in different directions. Remember to drag lightly and avoid pressing too hard, as this can cause the colors to blend together too much and create a muddy look.
Once you are satisfied with your pattern, roll out the clay into a sheet using a rolling pin. This will help to blend the colors together and create a more seamless look. You can use this sheet of marbled clay for various projects such as jewelry, figurines, or even covering larger objects.
Some Things to Consider When Learning to Marble Polymer Clay
While some people consider polymer clay as a mere material for crafting or creating small figurines, it is actually a versatile medium that can be used for various art forms. One technique that has gained popularity among polymer clay artists is marbling.
Marbling involves blending different colors of polymer clay together to create a unique pattern or design. It can be used to create beautiful pieces of jewelry, home decor, or even sculptures. If you’re interested in learning how to marble polymer clay, here are some things you should consider.
The Right Type of Polymer Clay
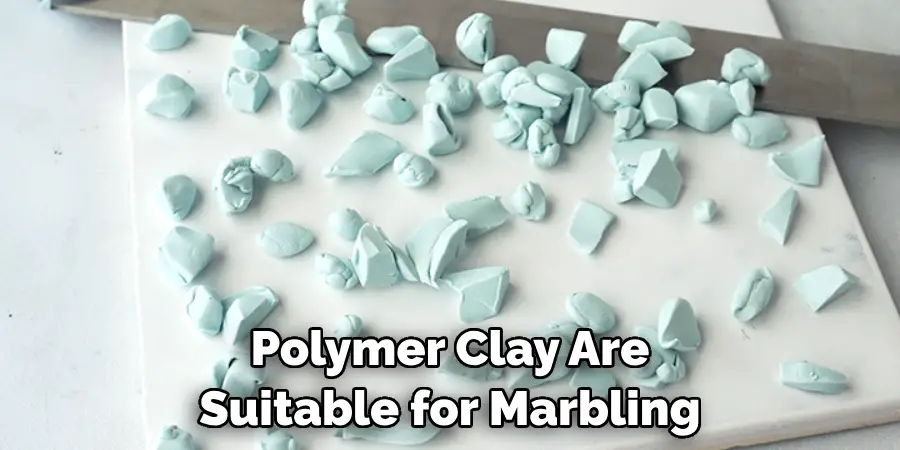
First things first, not all types of polymer clay are suitable for marbling. Some brands or formulations may not blend well together and result in a muddy or unattractive pattern. It is recommended to use a brand that is specifically designed for marbling, such as Premo! Sculpey or Fimo Professional.
Color Theory
Understanding color theory is essential when it comes to marbling polymer clay. Knowing which colors complement each other and how they blend together can help you achieve the desired effect in your design. Experimenting with different color combinations is key to becoming more familiar with color theory in marbling.
Consistency of Clay
Consistency is crucial when it comes to marbling polymer clay. If the clay is too soft, the colors may mix together too easily, resulting in a muddy pattern. On the other hand, if the clay is too firm, blending may be difficult and cause uneven distribution of colors. It is recommended to condition the clay to a medium firmness before starting to marble.
Conclusion
In conclusion, learning how to marble polymer clay can be a fun and creative experience. By following the simple steps and tips outlined in this blog post, you can create unique and eye-catching patterns that will make your clay pieces stand out. Remember to experiment with different colors and techniques to find your own personal style.
And don’t be afraid to make mistakes, as they often lead to unexpected and beautiful results! With practice and patience, you will master the art of marbling polymer clay in no time. So grab your materials, turn on some music, and let your imagination run wild as you create one-of-a-kind pieces that will wow your friends and family.
Expertise:
Crafting expert with a focus on innovative techniques and diverse materials.
Specialization:
- Textile arts (weaving, embroidery, and fabric dyeing)
- Woodworking and furniture design
- Mixed media and upcycling projects
Recognition:
- Featured in local art exhibits showcasing innovative craft projects
- Collaborated with community organizations to promote crafting workshops
- Received accolades for contributions to sustainable crafting initiatives
Mission:
- To inspire and empower crafters of all levels to discover their creative potential
- Encourages experimentation and self-expression through hands-on projects

