Coasters are an easy and practical way to protect your tabletops from spills, but who says they have to be boring? With a little bit of yarn and some creativity, you can make beautiful coasters that not only protect your furniture but also make a stylish statement. In this blog post, we’ll guide you through the process of how to make yarn coasters, a fun and simple DIY craft that’s perfect for crafters of all skill levels.
Can You Make Yarn Coasters?
Looking for a crafty way to add some cozy charm to your home decor? Why not try making your own yarn coasters? Not only are these DIY coasters adorable, but they’re also practical – perfect for protecting your surfaces from scuffs and scratches. With a bit of yarn, some scissors, and a few other simple supplies, you can create coasters in whatever colors or patterns you’d like.
Plus, since you’re making them yourself, you’ll have the satisfaction of knowing your decor has a personal touch. So get crafting, and enjoy sipping your favorite beverages without worrying about damaging your furniture!
Why Should You Make Yarn Coasters?
Yarn coasters may not be the first thing that comes to mind when you think of crafting, but they are a unique and practical addition to any home. Not only do they add a pop of color to your tables and countertops, but they also serve a functional purpose by protecting your furniture from water damage and scratches.
Plus, making your own coasters out of yarn is a fun and easy project that can be customized to match your style. So why not give it a try and create a set of cozy and stylish coasters for yourself or to give as a thoughtful gift to a friend or loved one?
How to Make Yarn Coasters: A Fun DIY Craft Project
Step 1: Gather Your Supplies
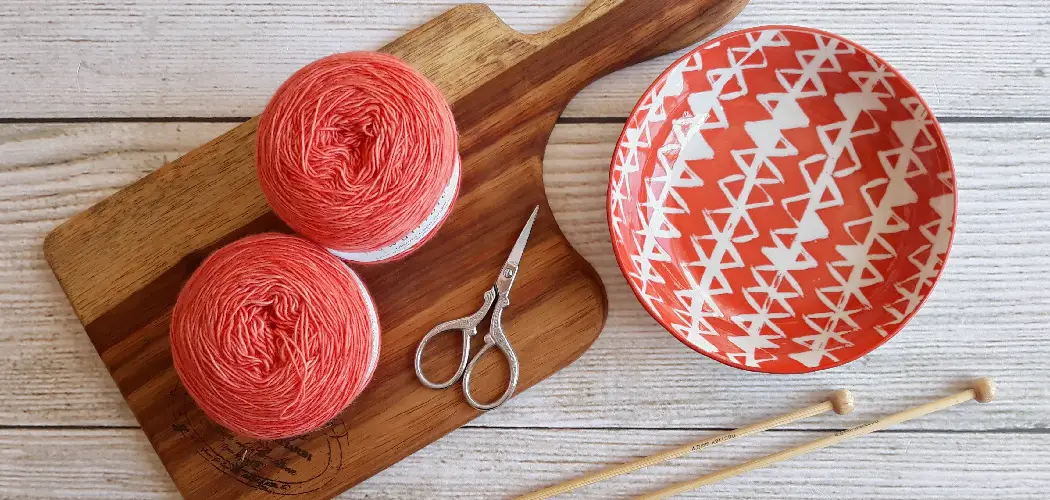
To make yarn coasters, you’ll need a few basic supplies. You’ll need yarn in your choice of color(s), a coaster template or circular object to trace, a pair of scissors, and a tapestry needle. You can also add some embellishments like beads or tassels, but those are optional.
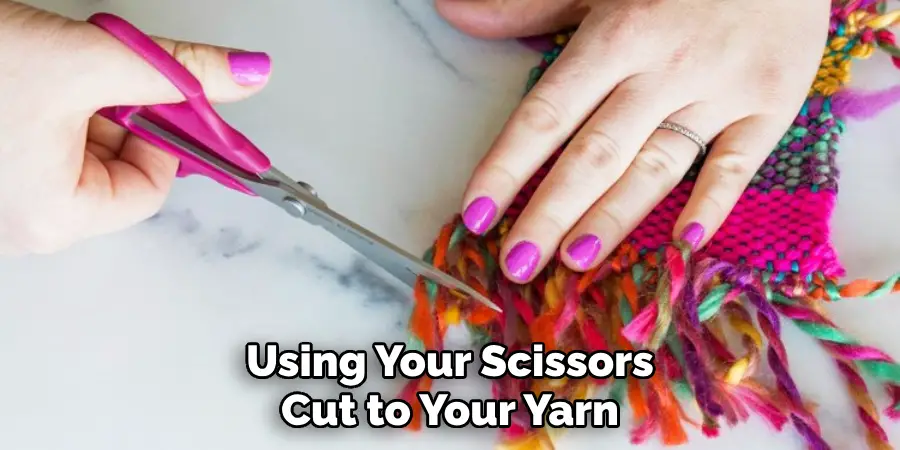
Step 2: Cut Your Yarn
Using your scissors, cut your yarn into strips that are roughly twice the diameter of your coaster. So, if your coaster is 4 inches in diameter, cut your yarn into strips that are 8 inches long. You’ll need around 10-15 strips, depending on how thick you want your coaster to be.
Step 3: Begin Wrapping Your Coaster
Take the first strip of yarn and tie a knot around the edge of your coaster. Then, wrap the yarn tightly around the coaster until you’ve covered the entire surface. You can switch colors or create a pattern – endless possibilities!
Step 4: Secure the Yarn
Once you’ve wrapped your coaster to your desired thickness, tie a knot to secure the end of your yarn. Use your tapestry needle to weave the loose ends back into your coaster to hide them from view.
Step 5: Embellish (optional)
If you’d like to add some extra flair to your yarn coasters, you can attach beads or tassels to the edges. Simply thread your needle with a length of yarn and attach your chosen embellishments to the edges or corners of your coaster. This step is entirely optional, so feel free to skip it if you prefer a simpler design.
Step 6: Make a Set
Once you’ve mastered the technique, why not make a set of yarn coasters in different colors or patterns? They make great gifts for friends and family and are perfect for adding a touch of color to your coffee table or desk.
Step 7: Experiment with Different Yarns and Techniques
While we’ve outlined the basic steps for making yarn coasters, don’t be afraid to experiment with different yarns and techniques. You can use thicker or thinner yarn, try out different wrapping patterns, or even incorporate different materials like twine or ribbon. The possibilities are endless, so have fun and get creative!
With these steps in mind, you’ll soon have a beautiful set of handmade yarn coasters to show off and enjoy. Happy crafting! So, grab your supplies and make some unique and colorful yarn coasters. And remember, don’t be afraid to think outside the box and try new things – that makes crafting so much fun!
5 Considerations Things When You Need to Make Yarn Coasters
1. Yarn Weight
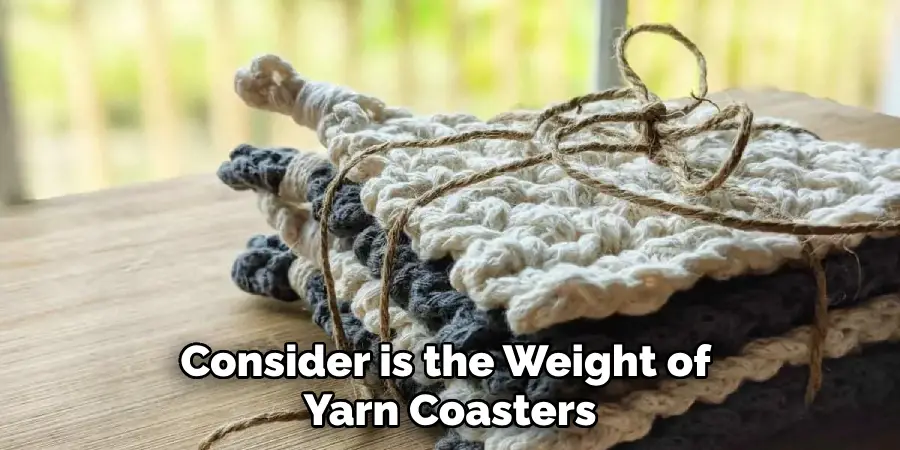
When making yarn coasters, the first thing to consider is the weight of the yarn you will use. Different yarn weights can produce different results, so it’s important to choose the right one for your project. Generally speaking, bulky or super bulky yarns are best for making coasters as they create a thicker and more durable fabric that will hold up better over time.
2. Yarn Color
The second consideration when making yarn coasters is color. You may choose a color that complements the rest of your decor or perhaps a bright and cheerful color that adds a bit of fun to your home. Whatever you decide, make sure you choose a color that you love and won’t tire of quickly!
3. Needle Size
The needle size you use is also an important factor when making yarn coasters. Using too small of a needle can result in overly tight stitches, which can make it difficult to crochet with and can cause your coaster to lose its shape over time.
On the other hand, using too large of a needle can result in overly loose stitches, leading to gaps in your coaster and an overall less attractive look. It’s best to use needles that are slightly larger than what is recommended on the yarn label for optimal results.
4. Crochet Pattern
Another consideration when making yarn coasters is choosing an appropriate crochet pattern. Suppose you’re just starting out with crochet. In that case, it’s best to stick with simple patterns such as single or half double crochet stitches until you get more comfortable with the craft before attempting more complex stitches such as popcorn or bobble. There are plenty of free patterns available online if you need some inspiration!
5. Finishing Touches
Finally, don’t forget to add finishing touches to your coasters once they’re complete! Adding tassels, fringe, buttons, or other embellishments can help elevate your project and give it an extra special touch that sets it apart from all the others!
5 Benefits of Making Yarn Coasters
1. Eco-Friendly
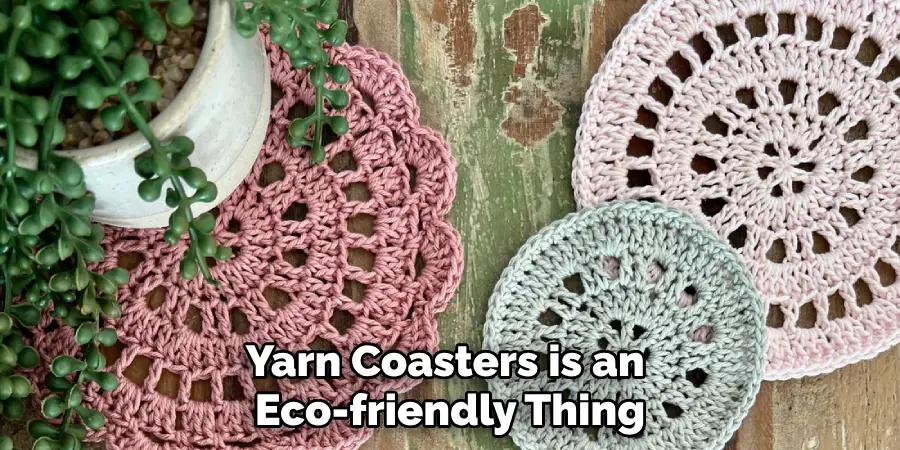
Making yarn coasters is an eco-friendly way to spruce up your home decor. Yarn is a natural material that can be reused and recycled, making it a great choice for those looking to reduce their environmental impact. Additionally, many yarns are made from sustainable materials such as hemp, bamboo, and organic cotton, which makes them even more eco-friendly.
2. Cost Effective
Yarn coasters are also very cost-effective compared to other home decor items. Yarns come in various colors and textures, so you can easily find one that fits your budget without sacrificing quality or style. Furthermore, since yarn is so affordable, you can make several different sets of coasters for the same price as one set of store-bought ones.
3. Fun Activity
Making yarn coasters is also a fun activity that you can do with friends or family members. It’s easy to learn the basics of crochet or knitting and then start creating your own unique designs. Plus, it’s a great way to bond with loved ones while having fun simultaneously!
4. Practical Gift
Yarn coasters make great gifts for any occasion because they are practical and stylish. Not only will they look great in someone’s home, but they will also be useful when serving drinks or snacks at parties or gatherings. Plus, since they are handmade with love, they will be even more special than store-bought items!
5. Endless Possibilities
The best thing about making yarn coasters is that there are endless possibilities for design and color combinations! You can choose from various types of yarns in different thicknesses and colors to create unique patterns that fit any style or aesthetic preference you have in mind. Plus, if you get bored with one design, you can always switch it up by using different colors or stitches!
Some Common Mistakes People Make When Trying to Make Yarn Coasters
Yarn coasters are a fun and practical way to add color to your home decor. However, there are some common mistakes people make when attempting to make them.
One of the most common mistakes is not using the right size hook for the yarn. This can result in a coaster that is too loose or too tight. Another mistake is not creating a tight enough tension while crocheting. This can cause the coaster to look uneven and wavy.
Lastly, not weaving in the ends of the yarn properly can lead to a coaster that easily unravels or falls apart over time. By avoiding these mistakes, you can create beautiful, durable yarn coasters that will add a touch of charm to any room in your home.
Conclusion
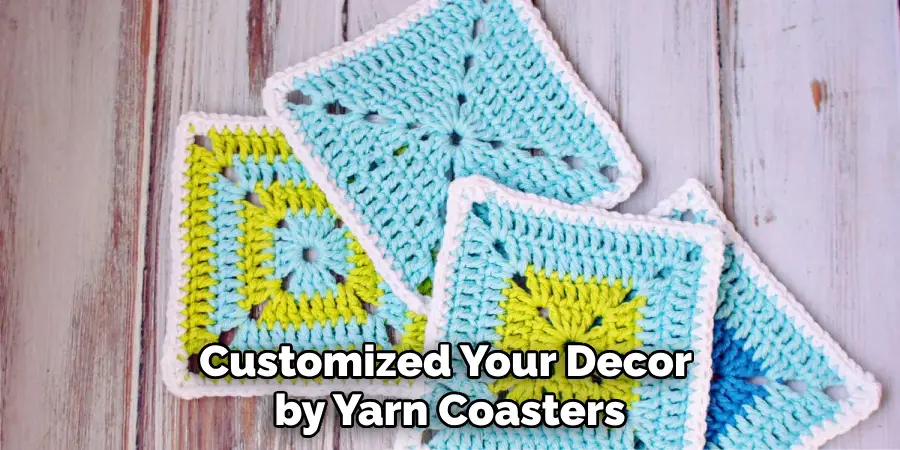
Making yarn coasters is a simple and enjoyable DIY project that can be completed in a few hours or less. With endless possibilities for colors and patterns, these coasters can easily be customized to fit your decor or style.
Not only do they protect your furniture, but they also make for wonderful gifts or party favors. So, the next time you’re looking for a fun and easy craft project, give yarn coasters a try! Thanks for reading our post about how to make yarn coasters.

