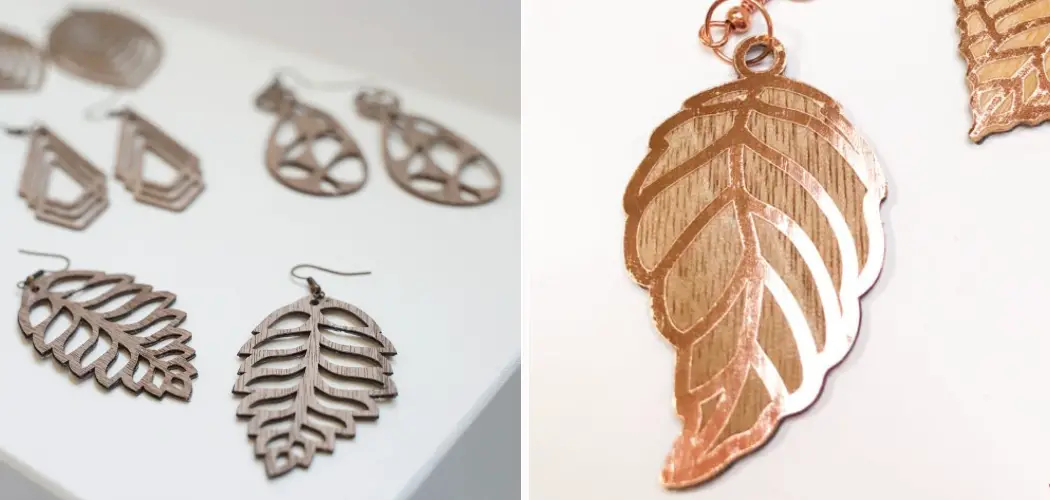
Earrings are a popular accessory that can elevate any outfit, and they come in various styles and materials. One unique and trendy type of earrings is wood earrings. Not only do they add a touch of rustic charm to your look, but they are also lightweight and comfortable to wear. If you’re interested in making your own wood earrings, then using a Cricut machine can make the process much easier.
The main advantage of using a Cricut machine to make wood earrings is the precision and convenience it offers. With its design software, you can easily create intricate shapes and patterns that would be difficult to achieve by hand. Additionally, the Cricut machine cuts through wood with ease, ensuring clean and precise edges for your earrings. In this blog post, You will learn in detail how to make wood earrings with cricut.
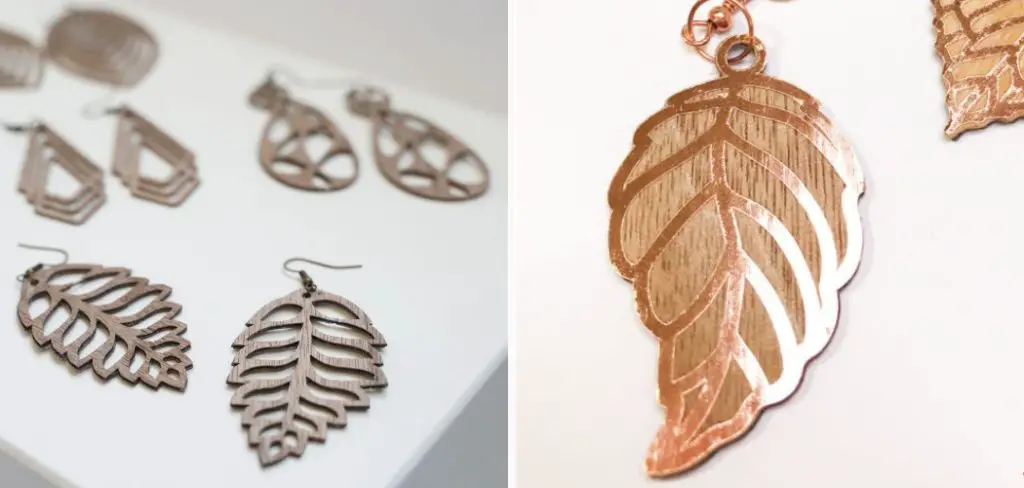
Benefits of Using Cricut for Making Wood Earrings
Cricut machines are versatile tools that can cut various materials with precision. They use a small blade to cut through different types of materials, including wood, paper, fabric, and vinyl. With the use of Cricut Design Space software and a Cricut machine, you can easily create custom designs for wood earrings.
There are many benefits to using Cricut for making wood earrings. Here are some advantages that make it a preferred tool for DIY enthusiasts and small businesses alike:
1. Precision Cutting
One of the significant benefits of using Cricut for making wood earrings is its precision cutting ability. The blades used in Cricut machines are specifically designed to cut through different materials without leaving any rough edges or mistakes. This allows you to create intricate and detailed designs on wood earrings with ease.
2. Versatile Design Options
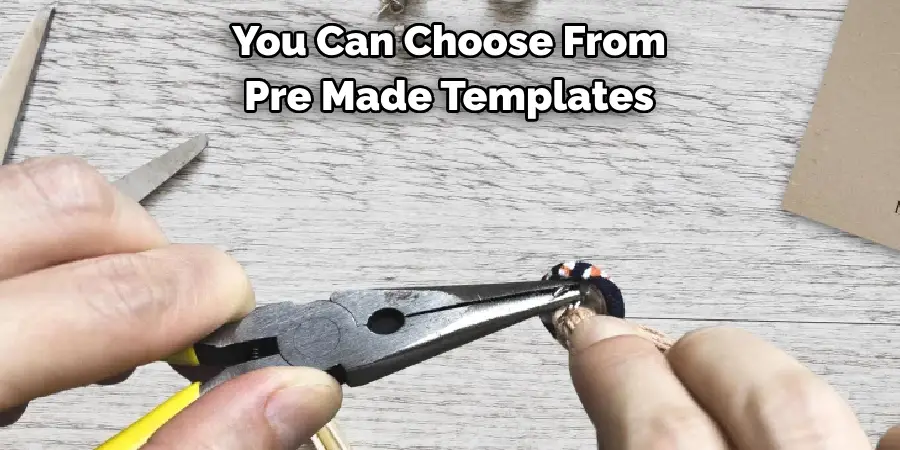
With the Cricut Design Space software, you have access to a wide variety of design options. You can choose from pre-made templates, or create your own custom designs using the software’s features. This versatility allows you to create unique and personalized wood earrings for any occasion.
3. Time-Saving
Another advantage of using Cricut for making wood earrings is that it saves time. The precision cutting feature ensures that you spend less time fixing mistakes and more time creating beautiful earrings. Additionally, with the Cricut Design Space software, you can save your designs and use them again in the future, saving you even more time.
4. Cost-Effective
Making wood earrings with Cricut is a cost-effective option compared to purchasing pre-made earrings or using other cutting tools. With a one-time investment in a Cricut machine, you can create multiple wood earrings with different designs and styles. This makes it an ideal choice for small businesses or individuals looking to save money while still creating high-quality products.
5. Customizable Designs
Cricut machines allow you to customize your designs to fit your personal style or brand aesthetic. Whether you want to add personalized details or match the earrings to a specific outfit, Cricut makes it easy to do so. This customizable feature gives you complete control over your wood earring designs.
Materials You Will Need
- Cricut Machine
- Wood Sheets
- Earring Hooks
- Pliers
- Sandpaper or Sanding Block
- Paint (optional)
- Paint Brushes (optional)
- Adhesive Vinyl (optional)
- Transfer Tape (optional)
Making wood earrings with a Cricut machine is a fun and creative way to make personalized accessories. With the right materials and tools, you can easily create unique and one-of-a-kind wooden earrings.
Step by Step Processes for How to Make Wood Earrings With Cricut
Step 1: Inspect the Wood Piece
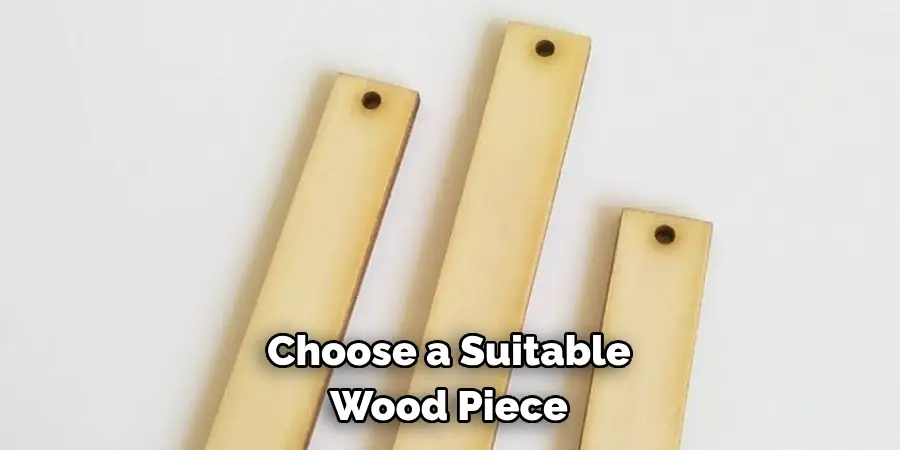
Before starting the process of making wood earrings with Cricut, it is essential to choose a suitable wood piece. Inspect the wood piece for any cracks, knots or other imperfections that may affect the outcome of your earrings.
Step 2: Pick a Design
Once you have selected the right wood piece, now it’s time to pick a design for your earrings. You can choose from the wide variety of designs available in Cricut Design Space or create your design using other software.
Step 3: Prepare Cricut Machine
Before cutting the wood, ensure that your Cricut machine is ready for use. This includes loading the appropriate mat, selecting the correct settings and making sure all blades are sharp. Once your design is finalized, transfer it to the Cricut machine by connecting it with a USB cable or via Bluetooth. Make sure the design is properly aligned on the cutting mat.
Step 4: Cut the Wood Piece
Using your Cricut machine, cut out the wood piece according to your chosen design. This process may take a few minutes depending on the complexity of your design. After removing the wood piece from the cutting mat, sand and smooth any rough edges using sandpaper. This step is crucial for achieving a professional finish.
Step 5: Paint or Stain the Wood
If you want to add color to your earrings, now is the time to paint or stain the wood piece. Make sure to let it dry completely before moving on to the next step. Once the paint or stain is dry, you can add any finishing touches such as adding glitter, rhinestones or other embellishments. This is where your creativity comes into play!
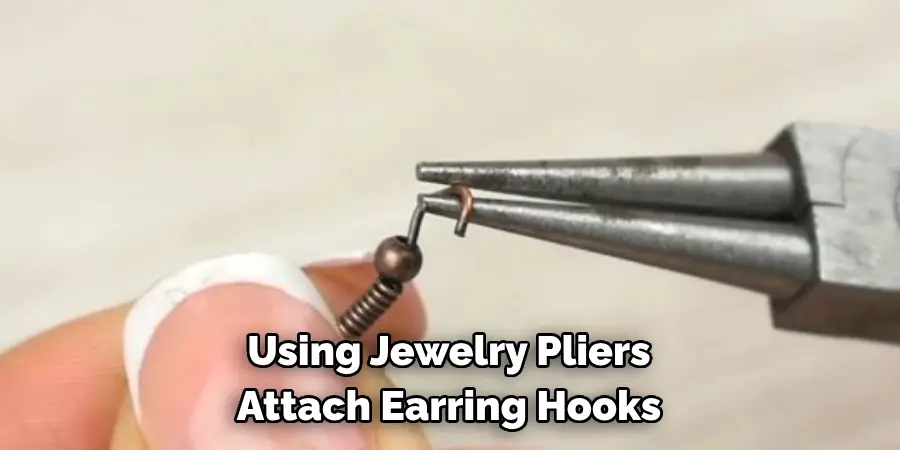
Step 6: Attach Earring Hooks
Using jewelry pliers, attach earring hooks to the top of your wood piece. Make sure they are secure and facing in the same direction. To protect the wood and add shine, apply a protective coating such as clear varnish or resin. This will ensure that your earrings last for a long time. After applying the protective coating, let your earrings dry completely before wearing them.
By following these steps, you can create your own unique and personalized wood earrings with Cricut. Experiment with different designs, colors and embellishments to make them truly one-of-a-kind.
Safety Tips for How to Make Wood Earrings With Cricut
- Always wear appropriate protective gear, such as safety goggles and gloves, when working with wood and using a Cricut machine.
- Make sure your work area is well-ventilated to avoid inhaling any wood dust or fumes from the materials you are using.
- Keep children and pets away from your work area while using the Cricut machine to prevent accidents.
- Follow all safety instructions provided by the manufacturer for operating the Cricut machine and handling wood materials.
- Use caution when handling sharp tools, such as scissors or utility knives, during the cutting and assembling process.
- Take breaks to stretch and rest your hands to avoid strain or fatigue from continuous use of the Cricut machine.
- Keep your work area tidy and organized to avoid tripping hazards and facilitate a smooth and safe workflow.
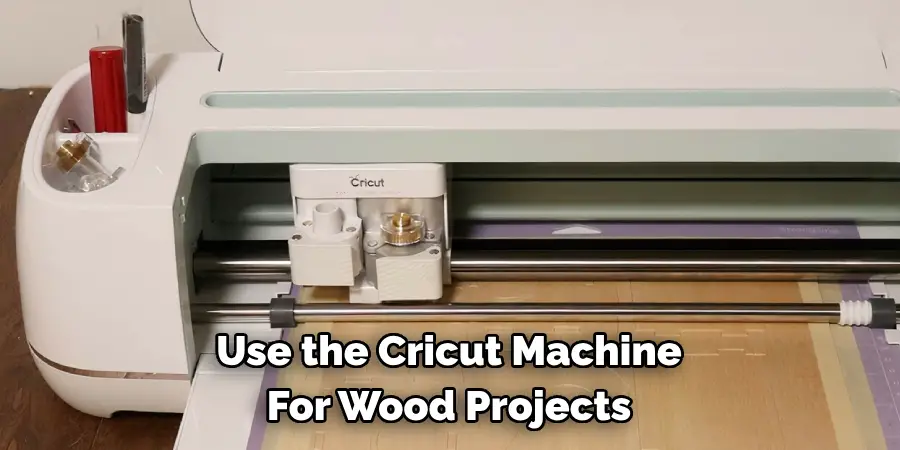
In addition to these safety tips, it is also important to have a basic understanding of how to properly use the Cricut machine for wood projects. This includes knowing how to adjust settings, load materials, and troubleshoot any issues that may arise during the cutting process.
Are There Any Special Techniques for Assembling the Wood Earrings With Cricut?
Assembling wood earrings with Cricut is a simple process, but there are some techniques that can help you achieve the best results. In this section, we will discuss some tips and tricks to make your earrings look professional and well-made.
1. Sanding the Edges
Before assembling your wood earrings, it is important to sand the edges of each piece with fine-grit sandpaper. This will help create a smooth surface and prevent any splinters or rough edges that can cause discomfort when wearing the earrings.
2. Gluing the Layers
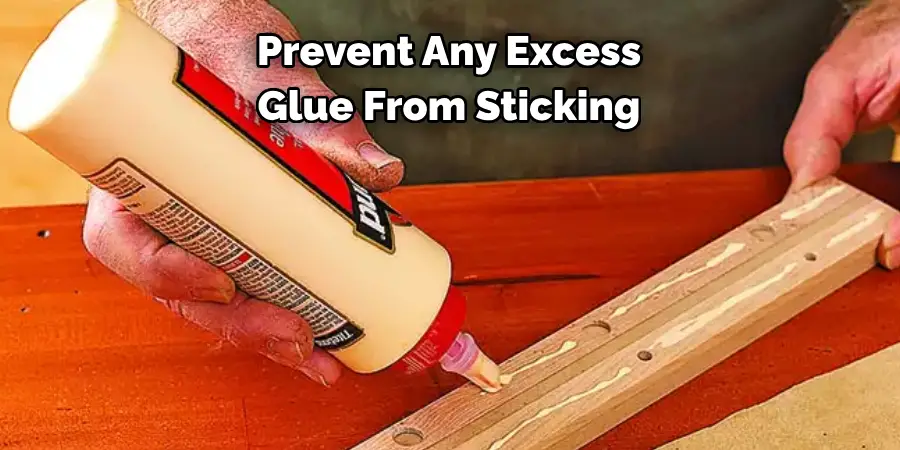
To ensure that your wood earrings stay intact, it is important to use a strong adhesive when gluing the layers together. We recommend using wood glue or E6000 for a secure hold.
3. Clamping the Pieces
When gluing the layers, it is important to clamp them together for a few minutes to allow the glue to set. This will ensure that the pieces are firmly attached and prevent any shifting or misalignment.
4. Using a Wax Paper
To prevent any excess glue from sticking to your work surface, place a sheet of wax paper between the wood and your work area. This will make it easier to clean up any mess and prevent the earrings from getting stuck.
5. Adding a Protective Coat
After assembling your wood earrings, you may want to add a protective coat to keep them looking new and prevent any damage. You can use a clear spray sealer or brush on a layer of clear varnish to protect the wood.
By following these techniques, you can create beautiful and durable wood earrings with your Cricut. Experiment with different designs and materials to make unique pieces that will stand out.
Are There Any Alternative Methods to Making Wood Earrings With Cricut?
Aside from the traditional method of assembling wood earrings with Cricut, there are also alternative techniques that you can try. These methods may provide different results and add a unique touch to your earrings.
1. Laser Cutting
If you have access to a laser cutting machine, you can use it to cut out intricate designs on the wood for your earrings. This will allow for more precise and detailed designs that may be difficult to achieve with a Cricut machine.
2. Wood Burning
Another alternative method is wood burning, also known as pyrography. This technique involves using a heated tool to create designs on the wood surface. It can give your earrings a more rustic and handcrafted look.
3. Layering Different Materials
You can also experiment with layering different materials, such as acrylic or leather, on top of the wood pieces. This will add dimension and texture to your earrings, making them more visually interesting.
Overall, there are many ways to make wood earrings with Cricut. Whether you stick to the traditional method or try out alternative techniques, the possibilities for creating unique and beautiful earrings are endless.
How Do You Care for and Maintain the Wood Earrings Made With Cricut?
The answer is yes, you can make multiple pairs of wood earrings at once using Cricut. The process is similar to making just one pair, but there are a few things you need to keep in mind. First, you will need to have enough wood material and earring hooks for all the pairs you want to make. You can purchase these materials at your local craft store or online. It’s always good to have extra supplies on hand so you can make more earrings in the future. Next, when designing your earrings in Cricut Design Space, you will need to duplicate the design for each pair you want to make.
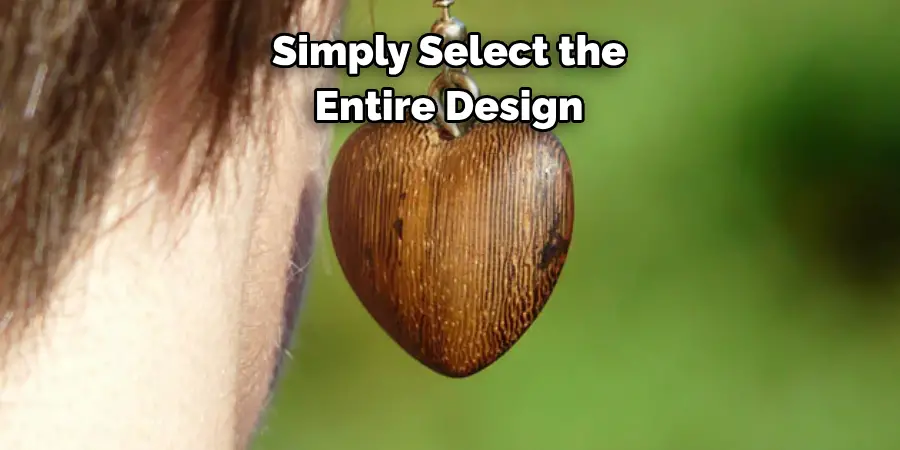
Simply select the entire design and click on the “duplicate” button at the top of your screen. This will create an exact copy of your design that you can place next to the original. Once you have all your designs duplicated, arrange them on your cutting mat so that they fit comfortably without overlapping. You can then cut all the designs at once using your Cricut machine. After cutting, make sure to remove any excess wood material and carefully detach each pair of earrings from the mat. Sandpaper or a file can be used to smooth out any rough edges on the earrings.
Conclusion
In conclusion, making wood earrings with Cricut is a fun and creative way to express your personal style. With the help of this versatile machine, you can easily create unique and one-of-a-kind accessories that are sure to make a statement. Not only does the Cricut allow for precise cutting of wood, but it also offers endless design possibilities with its software and materials.
You can experiment with different wood types, patterns, and finishes to create a variety of earring styles that cater to your individual taste. Furthermore, making wood earrings with Cricut is a great way to upcycle and repurpose materials, reducing waste and promoting sustainability. This adds an even deeper level of meaning and value to your handmade accessories. I hope this article has been beneficial for learning how to make wood earrings with cricut. Make Sure the precautionary measures are followed chronologically.

