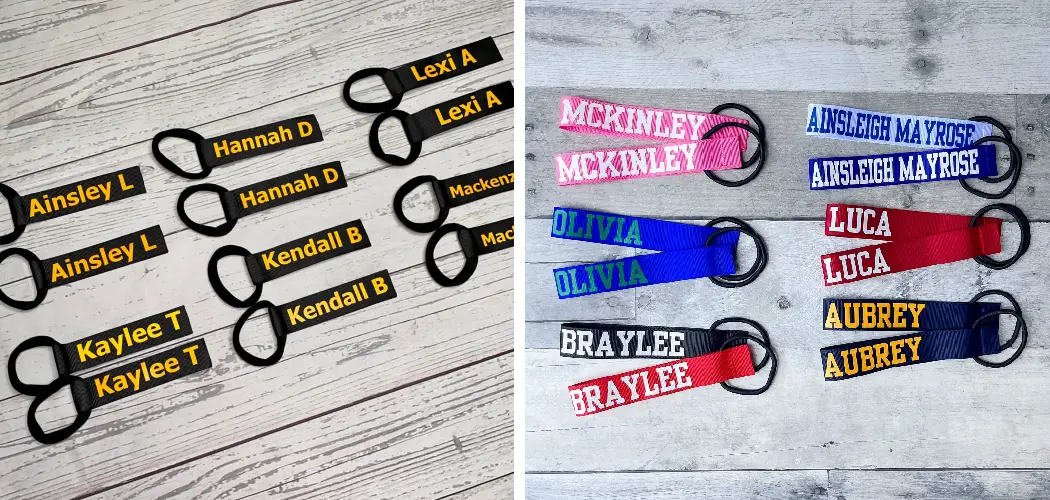
Are you looking for an easy craft that will add a special touch to your homemade gifts and decorations? Pom pom tags are the perfect addition! Not only do they look great, but they also provide an effective labeling method. Plus, they’re inexpensive and fun to make!
Whether you’re a beginner or an experienced crafter, these simple instructions will help you create perfect pom pom tags every time.
In this blog post, we’ll explore how to make pom pom tags in no time at all. You’ll learn which materials are necessary for the project and step-by-step instructions for crafting professional results.
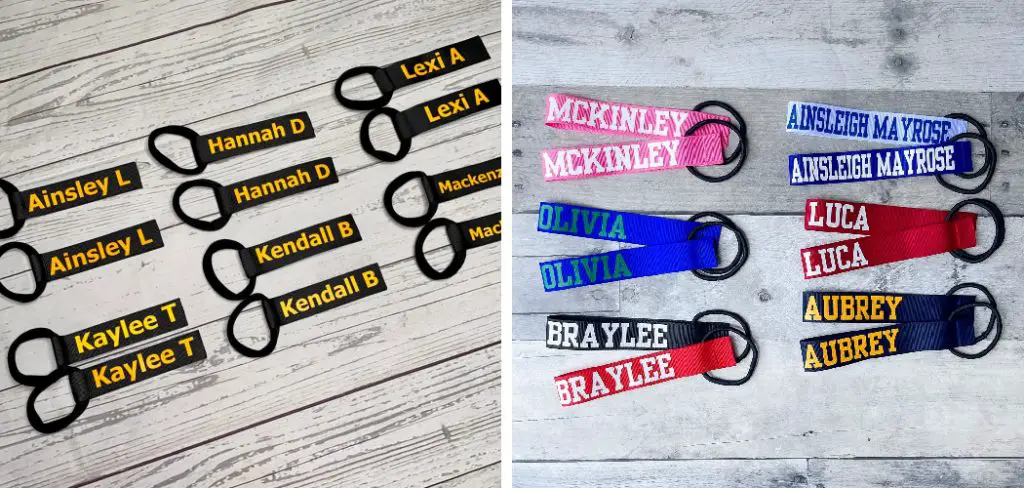
So get ready to express your creative side with these unique little additions that will take any gift or decoration up a notch – let’s begin!
What are the Uses of Pom Pom Tags?
Pom pom tags are a great way to personalize homemade gifts, decorations, and crafts. You can use them to identify keychains, bookmarks, ornaments, bags, pencil cases, and more. They can even be used as clothing tags for handmade garments.
Additionally, pom pom tags are a great way to bring fun and color into any project. They can be used to decorate items such as scrapbooks, photo frames, cards, and boxes.
Overall, pom pom tags are a great way to turn any mundane item into something special that you can be proud of.
What Will You Need?
Before you start, ensure you have the right materials for the job. You’ll need:
- Yarn (any color of your choice)
- Scissors
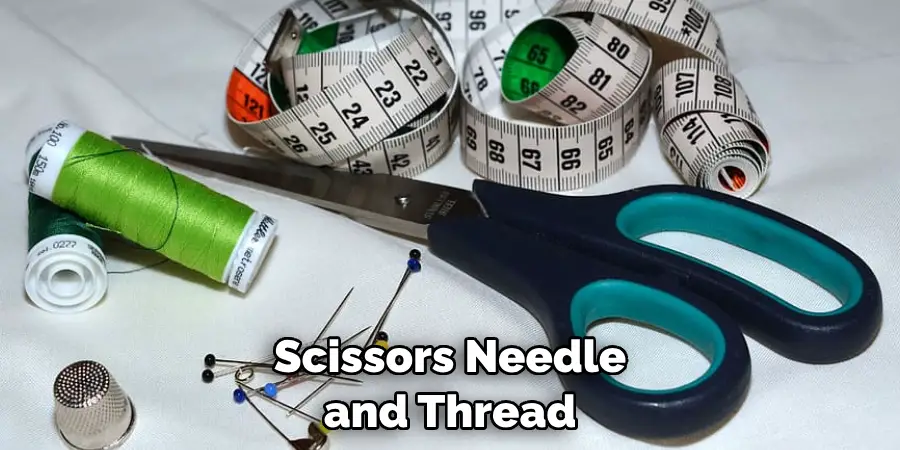
- Needle and thread
- Wooden beads or buttons
- Hot glue gun and hot glue sticks (optional)
- Hole punch (optional)
Once you have everything ready, it’s time to start making your pom pom tags.
10 Easy Steps on How to Make Pom Pom Tags
Step 1. Cut a Length of Yarn
Cut a long length of yarn (at least 18 inches). This will be used to make the pom pom. If you want a bigger pom pom, cut a longer piece of yarn.
Step 2. Tie the Middle of the Yarn
Fold the yarn in half and tie a knot in the middle. Make sure it’s tight enough so your pom won’t come apart but not too tight, as you still need to wrap the yarn around it for shape and size. Try to keep the knot as close to the center of the yarn as possible.
Step 3. Wrap Around Your Fingers
Wrap one end of the yarn around your fingers several times until you have reached the desired thickness or number of wraps for your tag. You can use more wraps if you want a bigger pom or fewer wraps if you want a small one. This is also a good time to add different yarn colors if you want a multi-colored tag.
Step 4. Tie Off the End
Once you have reached your desired thickness, tie off the end securely with a double knot. Make sure it’s tight enough so that all of the wraps stay in place, but not too tight as this will make it difficult to remove later. You can also use a needle and thread to secure the end.
Step 5. Cut the Loops
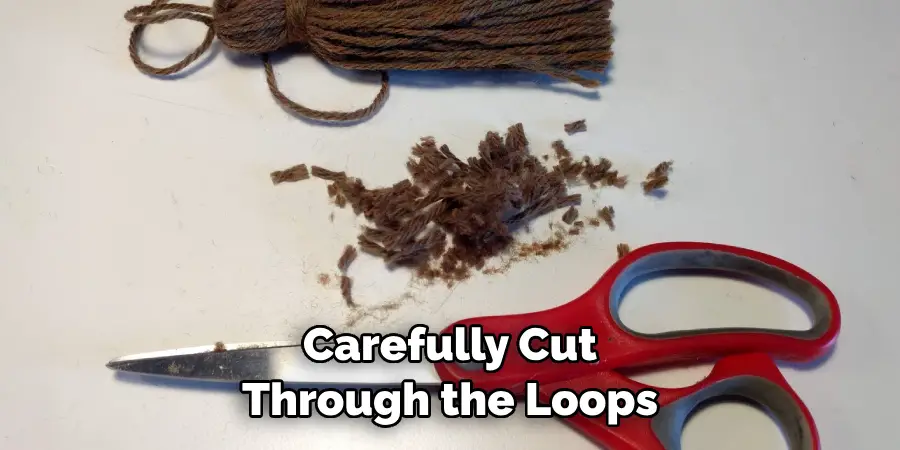
Carefully cut through the loops on either side of the yarn bundle using scissors. This will create two separate strands of yarn, which can be used to attach your tag to something else later on. Be careful not to cut the knot in the middle.
Step 6. Finishing Touches
Now it’s time for some finishing touches! Add a wooden bead or button at the center of your pom pom for extra decoration. You can also hot glue it in place if needed. Ensure that the bead or button is not too heavy, as this will make your tag sag and not look as nice.
Step 7. Trim and Shape
Trim the edges of your pom pom to make sure all of the yarn is even and neat. Give it a nice rounded shape by trimming each side evenly or an angular shape for something different. Additionally, you can trim any excess yarn if needed.
Step 8. Punch Holes
If you want to attach your tag to something else, like a gift box or presents, now’s the time to add some holes! Use a hole punch to create two small holes at either end of your tag (or wherever is most appropriate). Make sure they line up with each other so that the tag looks even when you tie them on later.
Step 9. Attach Strands
Thread the two strands of yarn you cut in Step 5 through each hole and tie off securely with a double knot. This will keep your pom pom tag secure and looking neat. Keep the knots as close to the tag as possible for a more professional finish.
Step 10. Enjoy Your Creation!
And voila – one handmade pom pom tag! Sit back, relax, and admire your creation. You can use these tags to label anything from gifts to decorations – they’re perfect for adding an extra special touch to any handmade item.
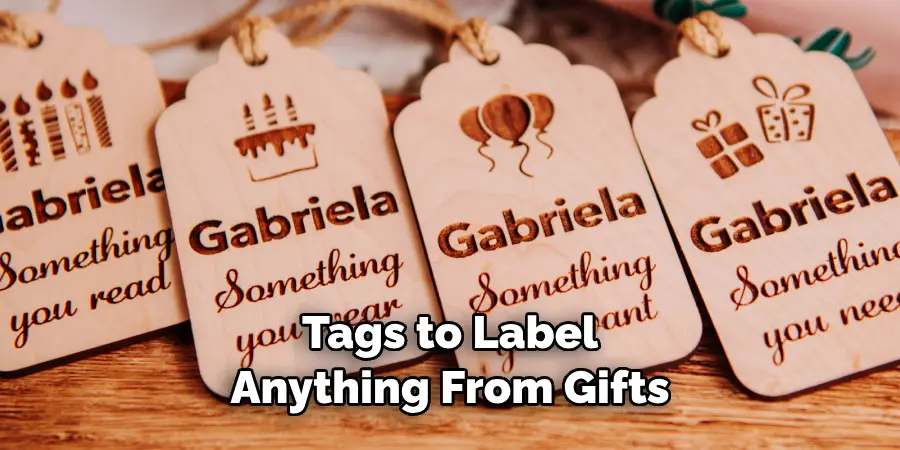
By following these simple steps, you’ll be able to make pom pom tags with ease. Enjoy crafting and adding a unique touch to your homemade gifts!
5 Additional Tips and Tricks
- Use colorful ribbons or twine to attach the tag. They can be bought at any craft store and add a unique touch.
- Experiment with different colors and sizes of pom poms. This will allow you to make tags for special holidays or occasions.
- Use fabric markers or glitter glue to draw fun shapes and designs on the tag.
- Consider adding a magnet to one side of the pom pom tags so they can be hung on a refrigerator or other metal surface, which is especially useful if you want to use them as reminders!
- If gifting the tags, add a message inside, such as “With love from…” or “Happy Birthday!”. This will add an extra special touch that will be noticed!
Making your own homemade pom pom tags has never been easier! With these simple steps and tips, you can make unique and creative tags in no time.
5 Things You Should Avoid
- Avoid using too much glue. The tag should have a secure hold but should not be weighed down by the added adhesive.
- Don’t use hot glue, as it can damage the pom poms and cause them to unravel.
- Be sure to allow for enough drying time after adding any decorations or elements to the tags so that they don’t come off easily when used.
- Avoid using sharp objects such as scissors when cutting the ribbon or twine in order to avoid accidents and potential injury.
- Do not overdo it with design elements on your tags, like glitter or sequins, as this can make it difficult to read what is written on them!
Following these tips and tricks will help you make perfect pom pom tags that can be treasured for years! Enjoy crafting with poms, and have fun creating unique and personalized tags.
What is the Best Material to Use for Making Pom Pom Tags?
The best materials for making pom pom tags are fabric, yarn, ribbons, and twine. Fabric is great because it adds a nice texture to the tag and can be cut into any shape or size you need. Yarn is also great because it comes in many different colors and finishes, adding an extra layer of texture and color to the tag.
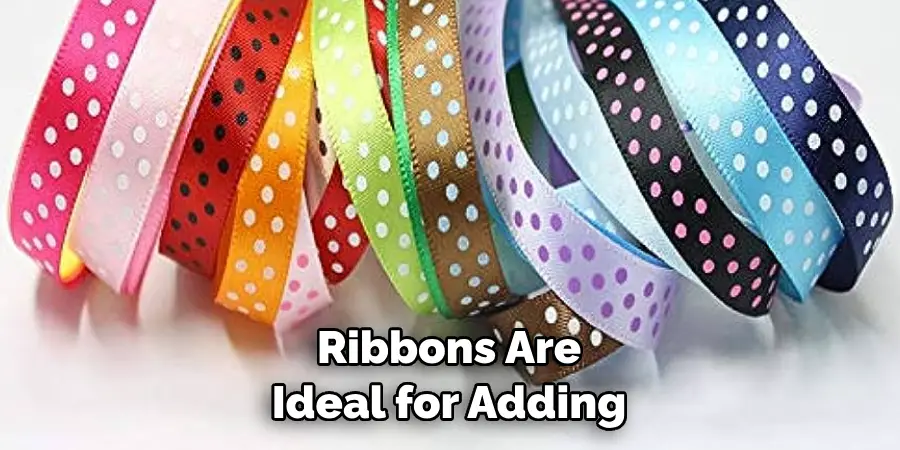
Ribbons are ideal for adding a decorative touch, and twine is perfect for attaching tags to items like gift bags or cards.
Finally, don’t forget to add something special, like buttons, beads, sequins, or glitter glue! These materials can be used in any combination to create unique pom pom tags that suit your creative needs.
Creating pom pom tags is a fun way to get crafty and show off your DIY skills! With these tips and tricks in mind, you’ll be easily making personalized pom pom tags.
What Color is Best for Making Pom Pom Tags?
It’s best to stick with neutral colors such as black, white, cream, beige, and grey when making pom pom tags. These timeless colors will look great with any décor or gift bag.
That said, you can also choose bolder colors like red or blue to add a pop of color to your tag. Bright colors can be fun and will make your tag stand out! Remember to choose colors that won’t clash with the gift or item you attach them to.
No matter your color, pom pom tags will bring any project or gift to life! With these tips and tricks, you’ll make perfect pom pom tags quickly. Enjoy crafting and creating special pieces that will last for years!
Conclusion
Making pom pom tags can add a fun, creative twist to any gift or home decor. It is an easy craft project that anyone can do, and the end products are always unique and eye-catching! To achieve the perfect look for your pom tag, embrace experimentation and thinking outside of the box – it may even lead you toward some unexpected discoveries!
It’s also important to note that the possibilities are endless. After all, if you can imagine something, you can make it with just some yarn and two hands!
Hopefully, the article on how to make pom pom tags has been helpful and inspiring! Whether you’re a beginner or an experienced crafter, with the right materials and steps, you’ll be sure to make some beautiful pom pom tags of your own. So what are you waiting for? Get out there and start creating beautiful pom pom tags today!

