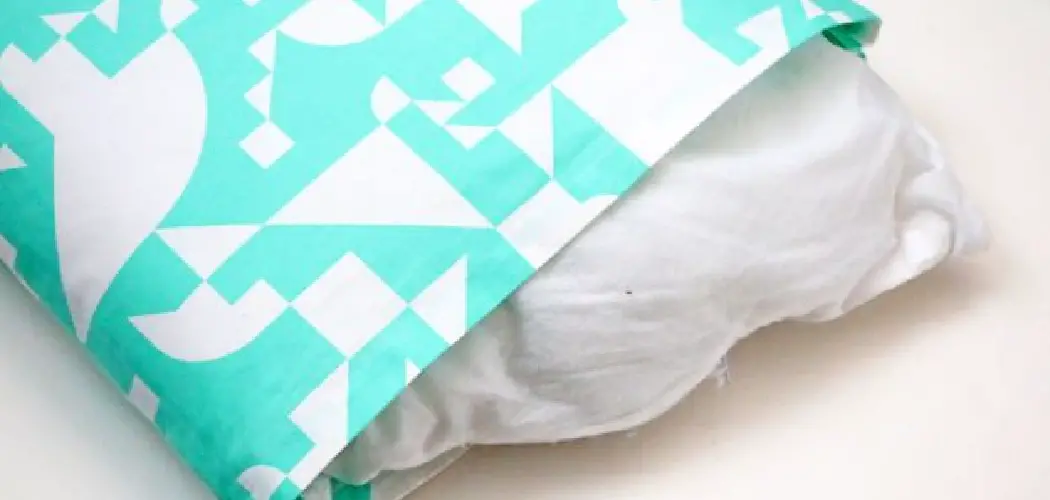
Are you interested in sprucing up a room with a quick, easy project that won’t take up too much space and money? Then why not try making your own napkin pillowcases? With just a few materials, some basic sewing skills and an artistic flair, you can make cute pillow covers that will delight visitors to your home.
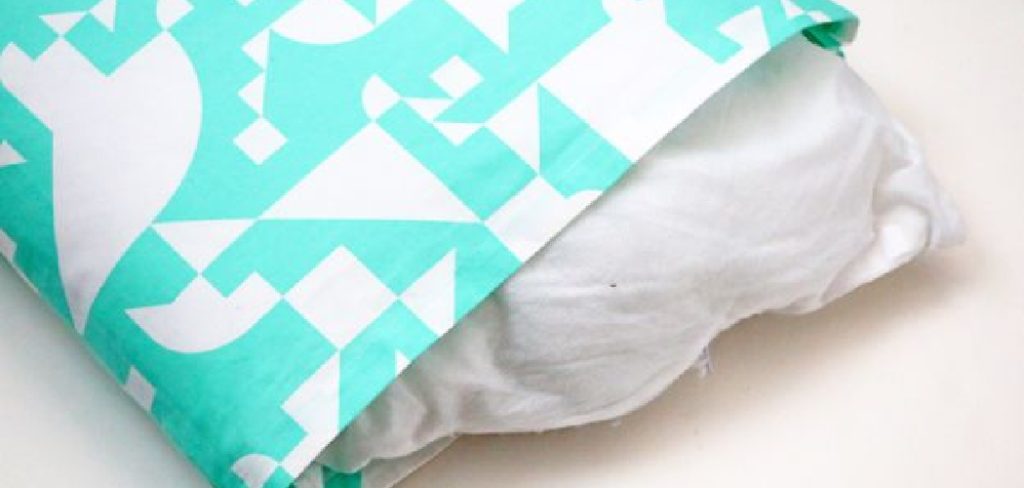
Not only are they an inexpensive way of adding extra style to any living area, but they can also be perfect handmade gifts for family and friends. Read on to find out how to make napkin pillowcase!
What You Will Need
- 4 Cloth Napkins
- Sewing Machine or Needle and Thread
- Measuring Tape
- Scissors
11 Step-by-step Guidelines on How to Make Napkin Pillowcase
Step 1: Gather Your Materials
First things first, gather all the materials you will need for this project. As mentioned earlier, you will need four cloth napkins for you to make a pillowcase. You can use the napkins that you already have at home or purchase new ones from a craft store.
You will also need a measuring tape, scissors, and either a sewing machine or needle and thread. However, if you are a beginner, using a sewing machine will make the process much easier and faster.
Step 2: Wash and Iron Your Napkins
Before starting your project, it is important to wash and iron your napkins. This step is essential as it makes sure that any shrinkage or color bleeding occurs before the sewing process begins.
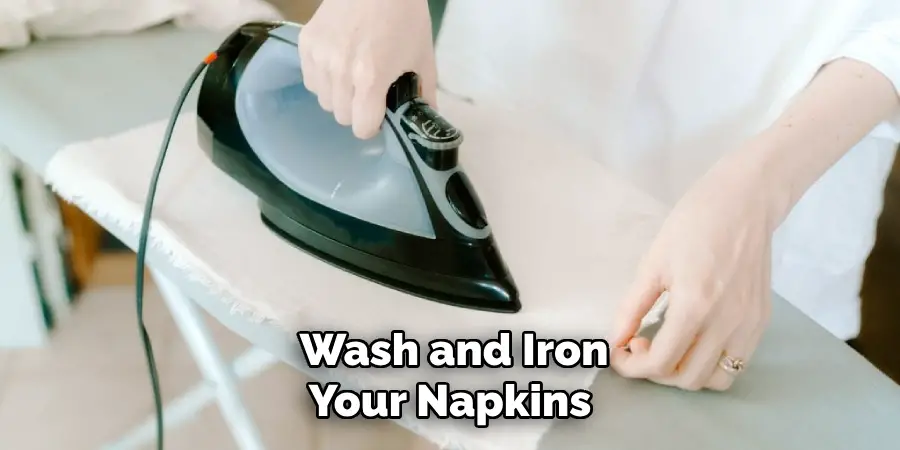
Once they are dry, flatten them out with an iron to ensure a smooth surface for sewing. You can also choose to mix and match different napkin colors and patterns to create a unique design. However, if you want a more uniform look, stick to napkins of the same color and pattern.
Step 3: Lay Out Napkins
Next, lay out all four of your napkins on a flat surface. Take two matching napkins and place them with their right sides facing each other. The wrong side should be facing you so that the stitching will not show later on. It is recommended to have the same size napkins when making a pillowcase, but you can also mix and match different sizes for a more creative look. You can even use cloth placemats instead of napkins.
Step 4: Measure and Cut
Using your measuring tape, measure one inch from the edge of the napkin and mark it with a pencil. This will be the seam allowance for sewing. Once you have marked all four sides, cut off any excess fabric outside of those lines.
But remember to leave one side open for stuffing the pillow later on. It is important to make sure that all four sides are of the same size. But don’t worry, a slight variation won’t affect the overall appearance of your pillowcase.
Step 5: Pin and Sew
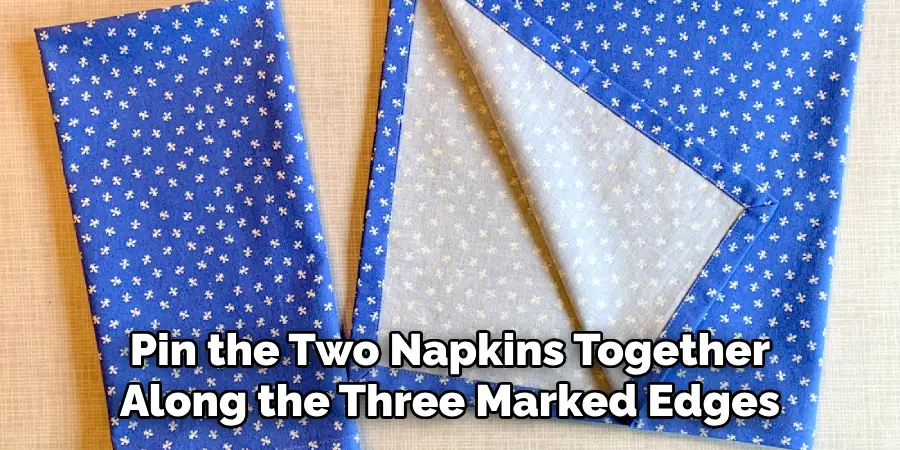
Next, pin the two napkins together along the three marked edges, leaving one side open. Make sure to pin all the way to the edge of each corner. Once they are pinned securely, sew along the lines that you have marked using a straight stitch with a 1-inch seam allowance. Baste the seam at each end of your stitching and backstitch to secure the seams.
Step 6: Trim and Turn
After sewing, trim the corners of your napkins with a pair of scissors. This will make sure that when you turn them inside out, they will have a nice crisp corner. Once trimmed, turn your pillowcase so that the right side is facing out.
You should now have a pillowcase with three sides sewn together and one open side. Iron the seams to flatten them out. If you have chosen different-sized napkins, make sure to line up the seams on all sides.
Step 7: Prepare the Back Flap
Next, fold over the open side of your pillowcase about 2 inches towards the wrong side. Iron this flap flat so that it stays in place. This will create an envelope-like opening for your pillow. This flap will also ensure that your pillow stays securely inside the case without any zippers or buttons. It also makes for easy removal and washing of the pillowcase. You can choose to stitch this flap down for added security or leave it as is.
Step 8: Sew the Back Flap
Sew along the fold that you have created to secure it in place. You can use a straight stitch or even try experimenting with different decorative stitches for a more unique look. Make sure to backstitch at both ends to secure the flap in place. You can also add extra stitches for reinforcement if needed. It is crucial to keep the edges aligned while sewing.
Step 9: Stuff Your Pillow
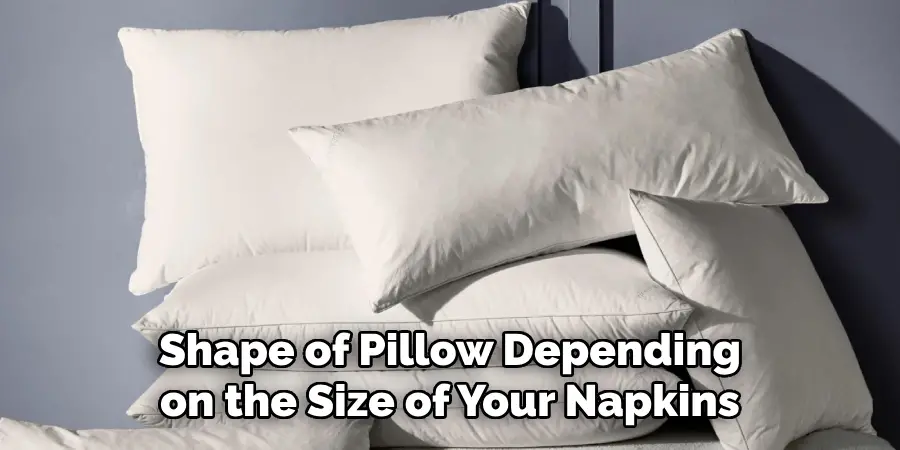
Now that your pillowcase is complete, you can stuff it with a pillow of your choice. You can use any size or shape of pillow depending on the size of your napkins. You can also stuff it with fiberfill stuffing for a softer and fluffier look. Once your pillow is inside, you can fluff it and adjust it to make sure it fills out the corners of your pillowcase.
Step 10: Stitch the Open End
Finally, with your pillow stuffed and placed in the case, fold in the top flap over the pillow. Line up the edges neatly and pin them together. Sew a straight stitch along this edge to close the opening. Make sure to backstitch at both ends for reinforcement. Trim off any excess threads, and your napkin pillowcase is now complete!
Step 11: Add Personal Touches
If you want to add a more personal touch to your napkin pillowcase, you can also try adding decorative elements such as ribbons, buttons or beads. You can also experiment with different patterns and colors, or even try embroidering your initials onto the fabric. The possibilities are endless, so let your creativity flow!
Making a napkin pillowcase is a fun and easy project that anyone can do. With these simple steps on how to make napkin pillowcase, you can create unique and stylish pillow covers that will add a touch of charm to any room in your home.
Tips
- You Can Also Try Using Different Fabrics Such as Linen or Cotton Napkins for a More Textured Look.
- If You Do Not Have Access to a Sewing Machine, You Can Hand-sew the Pillowcase Using a Needle and Thread. Just Make Sure to Use Small and Neat Stitches for a Clean Finish.
- For a Quicker Alternative, You Can Also Use Fabric Glue Instead of Sewing.
- If You Want a More Snug Fit for Your Pillow, You Can Add an Extra Inch to the Measurements and Sew With a 1.5-inch Seam Allowance Instead.
- Don’t Be Afraid to Mix and Match Different Colors and Patterns for a Unique and Personalized Look. So Go Ahead, Gather Your Materials and Start Making Your Own Napkin Pillowcase Today! Happy Sewing!
Frequently Asked Questions
Q1: Can I Use Any Type of Napkin to Make a Pillowcase?
A1: Yes, you can use any type of cloth napkin or even cloth placemats for this project. Just make sure they are all the same size. It is also recommended to use cotton or linen fabric for a more durable and long-lasting pillowcase.
Q2: Do I Need to Sew the Edges of the Napkins Before Making a Pillowcase?
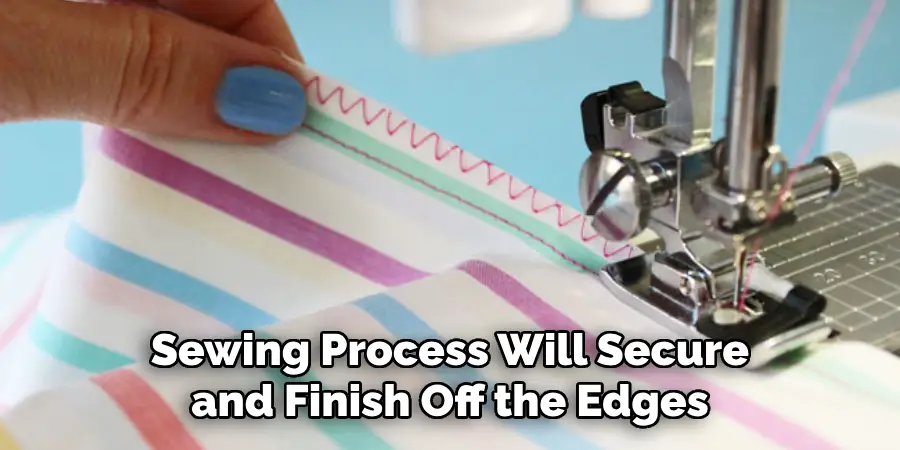
A2: No, you do not need to sew the edges beforehand. The sewing process will secure and finish off the edges for a polished look. However, if you prefer a more finished edge, you can use a zigzag stitch along the raw edges before sewing the napkins together.
Q3: How Do I Clean My Napkin Pillowcase?
A3: Simply remove the pillow from the case and follow the washing instructions for your chosen fabric. You can machine wash or hand wash depending on the fabric type. It is recommended to air dry your pillowcase to prevent any shrinking or fading.
Q4: Can I Make a Pillowcase with More Than Four Napkins?
A4: Yes, you can make a larger pillowcase by using more than four napkins. Just make sure to adjust the measurements accordingly and add more fabric for the back flap. You can also try making a patchwork pillowcase using different patterns and colors of napkins or placemats.
Conclusion
All in all, making your own napkin pillowcases is a fun and creative way to bring a little bit of extra joy into any room. With the help of this guide, you will be able to put together the perfect napkin pillowcases for whatever room or occasion you choose.
After gathering your fabric squares, thread, needle, pins, scissors and iron you’ll be on your way! Don’t forget to enjoy the process too – crafting is one of life’s greatest gifts because it gives us something tangible to remember our hard work and dedication. So follow these simple steps and create something uniquely yours today! Thanks for reading this article on how to make napkin pillowcase.

