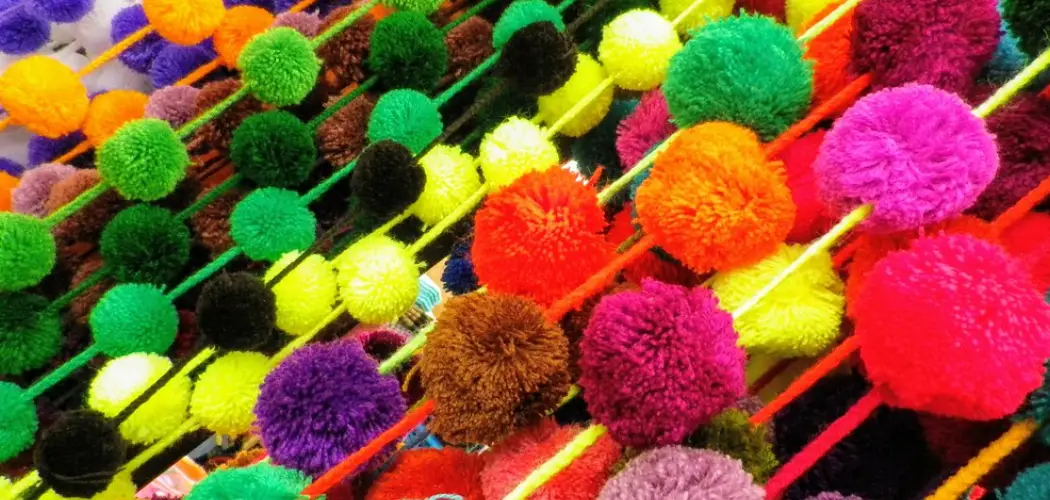
Have you ever wondered how to make fluffy pom poms that you see adorning hats, scarves, and even keychains? Well, you’re in luck! In today’s blog post, we are going to delve into the whimsical world of pom poms and learn the art of creating these delightful fuzzy balls of fun.
Whether you’re a seasoned crafter looking for a new project or a beginner itching to try something new, making fluffy pom poms is the perfect activity to unleash your creative side. So gather your materials, grab a cup of tea, and get ready to embark on a journey of crafty goodness. Get ready to have a ball with pom poms!
Tools and Materials You Will Need to Make Fluffy Pom Poms
- Yarn of your choice in the desired color(s)
- Scissors
- Cardboard or a pom pom maker (can be purchased at craft stores)
- Large-eyed needle or a piece of wire
- Optional: pom pom trim, beads, and other embellishments
Step-by-step Guidelines on How to Make Fluffy Pom Poms
Step 1: Choose Your Yarn
The first step in making fluffy pom poms is choosing the right yarn. You want to select a soft, thick yarn that will result in a plush and full pom pom. This is not the time for thin or scratchy yarn. Fuzzy or textured yarn can add an extra dimension to your pom pom, but it’s entirely up to personal preference.
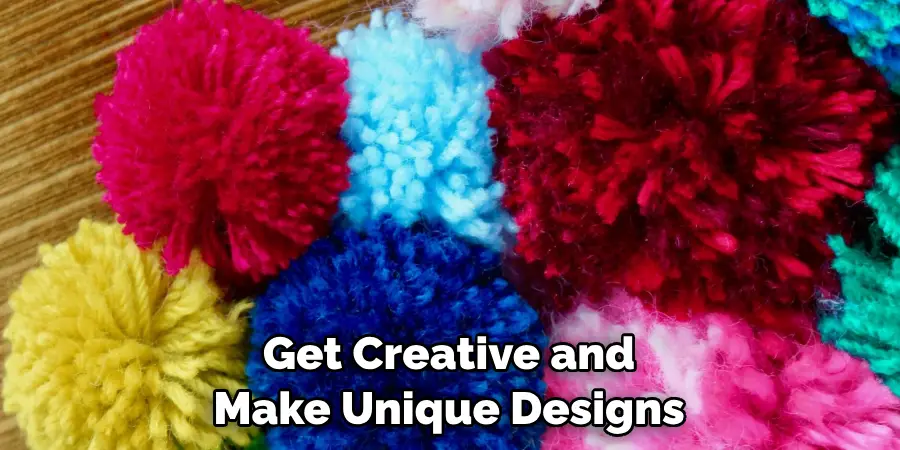
Choosing the desired color(s) is also crucial as this will determine the final look of your pom pom. Get creative and mix and match colors for a unique look!
Step 2: Prepare Your Pom Pom Maker or Cardboard
If you have a pom pom maker, follow the instructions to assemble it. If you’re using cardboard, cut two circles out of it in the desired size of your pom pom. Then, cut a smaller circle in the center of each one. Place the two circles together to create a donut shape. Preparing your pom pom maker or cardboard is an essential step as it will ensure the perfect shape and size of your pom pom.
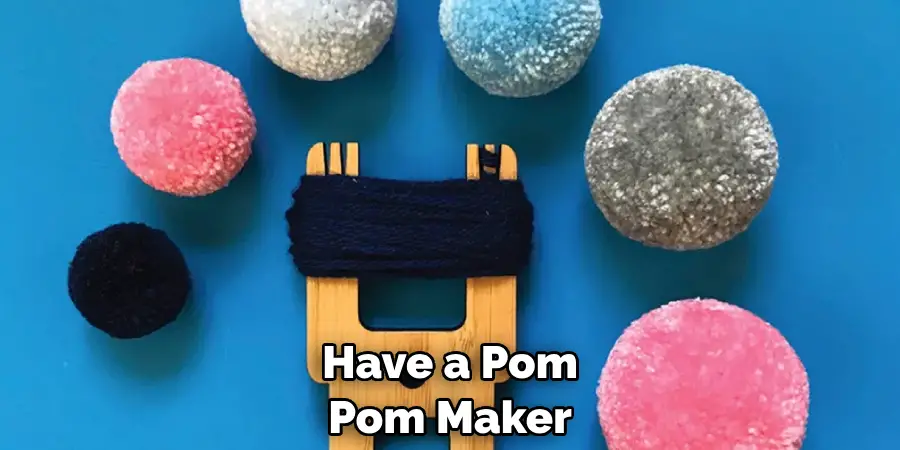
Step 3: Wrap Yarn Around the Maker or Cardboard
Take your chosen yarn and start wrapping it around the pom pom maker or cardboard. Be sure to wrap tightly and evenly, covering all areas of the tool. The more you wrap, the fuller your pom pom will be. You can also mix different colors of yarn to create a marbled effect. This step may take some practice, so don’t get discouraged if it doesn’t look perfect the first time.
Step 4: Tie and Cut the Yarn
Once you have finished wrapping yarn around your tool, cut the end of the yarn, leaving a few inches of excess. Take another piece of yarn and tie it tightly in the center of your wrapped yarn. This will create the dense center of your pom pom. If using cardboard, thread the excess yarn through the center and tie it tightly. Make sure the knot is secure, as this will hold your pom pom together.
Step 5: Remove the Pom Pom from the Tool
Carefully remove the pom from the tool, ensuring not unravel or loosen any of the yarn. If using cardboard, gently cut along the edges between the two circles and remove them. You should now have a pre-shaped pom pom. While it may look a little rough around the edges, don’t worry; this will be fixed in the next step.
Step 6: Trim and Shape Your Pom Pom
Take your scissors and carefully trim any uneven or longer strands of yarn to create a round and uniform pom pom. This part can be a bit messy, so make sure you have some clean-up supplies at hand.
You can also use a large-eyed needle or a piece of wire to comb through the yarn and fluff it up, giving your pom pom a fuller look. This is where you can get creative and add embellishments like pom pom trim, beads, or even googly eyes to make your pom poms unique.
Following these six simple steps, you now have a fluffy pom ready to be used in any of your crafting projects! From adorning winter accessories to making garlands and decorations, the possibilities are endless.
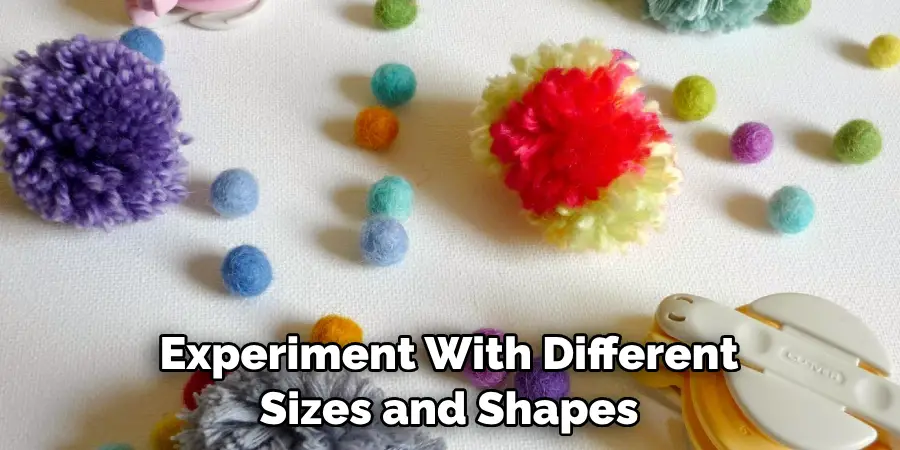
You can also experiment with different sizes and shapes by varying the size of your tool or using different types of yarn. So go ahead and have fun creating your fluffy pom poms! Happy crafting!
Additional Tips and Tricks to Make Fluffy Pom Poms
1. If you want your pom poms to have a more vibrant and colorful look, try using different colored yarns. You can mix and match colors to create unique combinations for each pom pom.
2. Spraying the finished pom poms with starch or fabric stiffener will help them keep their shape and stay fluffy for longer.
3. Instead of using cardboard or your fingers to wrap the yarn, try using a fork or a pom pom maker. This will make the process faster and easier.
4. If you want your pom poms to have varying sizes, use different-sized objects as templates for wrapping the yarn. For example, you can use a small plastic cup for smaller pom poms and a larger bowl for bigger ones.
5. To add a bit of sparkle to your pom poms, try using glitter yarn or adding sequins or beads while wrapping the yarn.
6. Don’t be afraid to experiment with different types of yarn, such as chunky or fuzzy yarns, to create unique and textured pom poms.
7. If you want a more dense and compact pom pom, wrap the yarn tightly and add more layers of yarn. For a softer and fluffier pom pom, wrap the yarn loosely.
8. You can also trim the edges of your finished pom poms to create different shapes, such as a heart or star.
9. To make your pom poms into keychains or accessories, attach a string or chain to the center of the pom pom before tying it off.
Following these tips and tricks will not only help you make fluffy pom poms but also give you the freedom to get creative and make unique designs. Have fun experimenting and enjoy your fluffy pom poms! Happy crafting!
Things You Should Consider to Make Fluffy Pom Poms
1. The first thing you need to do is gather all the supplies that you will need. This includes scissors, yarn, and a fork or a pom-pom maker.
2. Before starting the process of making fluffy pom poms, it is important to decide on the size of your pom poms. You can make them as small or as large as you want, but keep in mind that the size of your pom poms will determine the amount of yarn you will need.
3. If you are using a fork to make your pom poms, make sure it is a larger size fork to achieve larger and fluffier pom poms.
4. Choose the right type of yarn for your project. Thicker or chunkier yarns will result in fluffier pom poms, while thinner yarns will result in smaller and less fluffy pom poms.
5. Another factor to consider is the color of your yarn. You can use a single color for your pom poms or mix different colors to create a multicolored effect.
6. Once you have all your supplies ready, it’s time to start making the pom poms. If you are using a pom-pom maker, follow the instructions on the package for best results.
7. If you are using a fork, start by wrapping the yarn around the fork’s prongs. The more you wrap, the denser and fluffier your pom poms will be.
8. Once you have enough yarn wrapped around the fork, carefully remove it and tie a piece of yarn around the center of the bundle. This will secure the yarn in place.
9. Use scissors to cut the loops of yarn on both sides of the tied centerpiece. Be careful not to cut the centerpiece as this will hold your pom poms together.
10. Give your pom poms a trim if needed to achieve a round and even shape. You can also leave them as they are for a more natural, fluffy look.
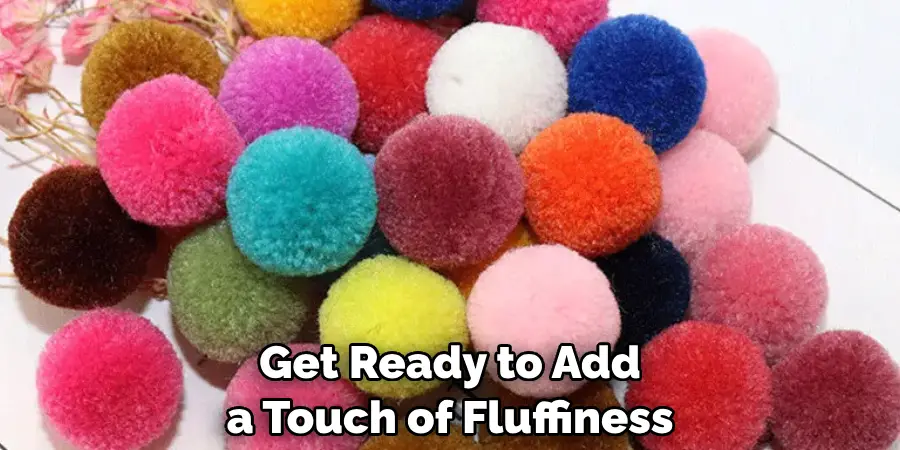
Following these considerations will help you create fluffy pom poms that are perfect for a variety of DIY projects. From accessories like hats and scarves to home decor items like pillows and garlands, the possibilities are endless with these cute and versatile pom poms. So gather your supplies and get ready to add a touch of fluffiness to your next crafting project! Happy pom pom making!
Conclusion
Now you know how to make fluffy pom poms and the different ways you can use them to decorate your items. Whether it’s for a hat, scarf, or even as home decor, pom poms are versatile and add a fun touch to any project. Make sure to experiment with different types of yarn and sizes to create unique pom poms for all your crafting needs. Don’t forget to have fun and let your creativity shine!

