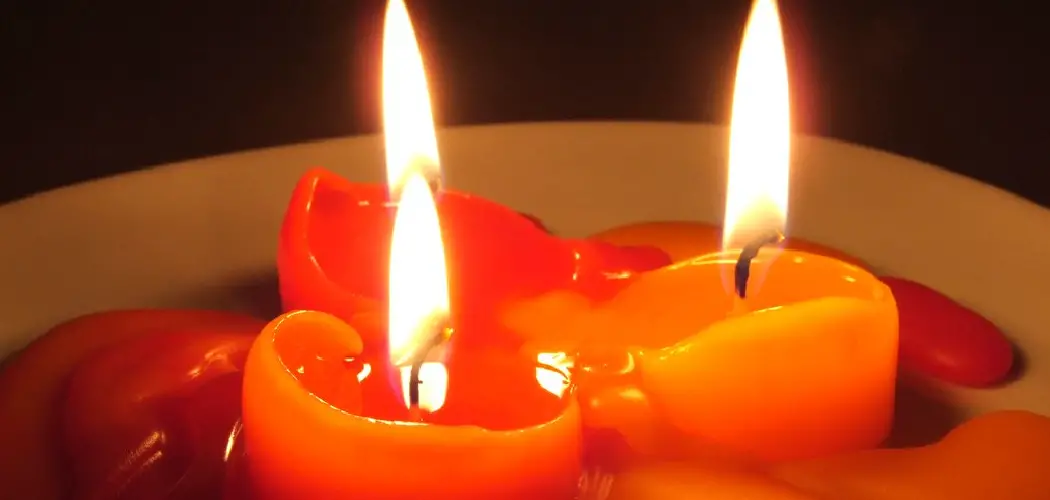
Candles have been around for as long as we can remember, adding fun and ambiance to any space or room. Dip candles are especially fun to make and give you a chance to explore your creative side. You don’t have to be a pro to make them, and you don’t need a lot of materials. In this blog post, we will explore how to make dip candles in a few simple and easy-to-follow steps.
Can You Make Dip Candles?
Dip candles are a simple yet satisfying way to create your very own candles. This method involves dipping a wick into melted wax, which then solidifies as it cools down. While it may sound easy, there are a few key things to remember when making dip candles.
Firstly, you should choose the right type of wax for your candle. Beeswax is popular for its natural, eco-friendly qualities, while paraffin wax creates a bright, vibrant color. You may also want to consider using a dye or fragrance oil for added scent and color. With a little bit of practice, you can master the art of dip candles and impress your friends and family with your newfound candle-making skills.
Why Should You Make Dip Candles?
If you’re looking for a creative way to light up your home, then dip candles are an excellent choice. They’re easy to make and can be customized in various colors and scents, making them a perfect way to add a personal touch to your decor. Dip candles are also great for relaxing and unwinding after a long day.
Their gentle glow and soothing fragrance can help to create a peaceful ambiance in any room. And, unlike store-bought candles, dip candles are made with all-natural ingredients, so you can rest easy knowing that you’re not inhaling any harmful chemicals. So, if you’re looking for a fun and rewarding DIY project, why not try dip candles?

How to Make Dip Candles: Simple Steps for a Fun and Creative DIY Project
Step 1: Gather your Supplies
Before we begin, ensure you have the right materials. You will need wax (paraffin or beeswax), candle wicking, scissors, dye, dipping vat, and a heat source to melt the wax. You can get these at your local crafts shop or order them online.
Step 2: Prepare Your Candle Wicking
Cut your candle wicking according to the length of your candle’s desired height, and add a few extra inches to allow for wrapping around dowels. Next, tie one end of the wicking to the dowel’s center and gradually wrap the excess around the dowel until it’s all used up.
Step 3: Melt the Wax
Set up your heat source and add the wax to the dipping vat. As the wax slowly melts, adjust the heat to ensure it doesn’t overheat or catch fire.
Step 4: Add Color
Once the wax has melted, add the dye to achieve your desired color. The amount of dye you add will depend on the shade you want, so be cautious not to add too much or too little, as this can make the color uneven.
Step 5: Dip Your Candle
Now that everything is prepared, let’s make your dip candle. Dip the wick into the wax and hold it there for a few seconds to let it set, then remove it. Wait a minute or so until the wax is cooled and solidified, then dip the wick again, removing it once more and waiting for the wax to dry each time. Let the candle cool for a substantial amount of time before removing the wick from the dowel by splitting the wax or cutting it.
Step 6: Repeat the Dipping Process
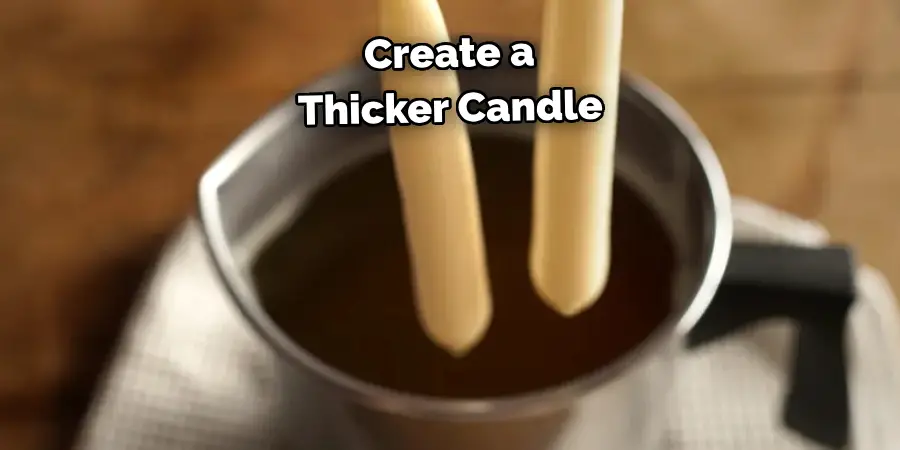
To create a thicker candle, repeat the dipping process several times until the candle reaches your desired thickness. This may take some practice to get right, so don’t be discouraged if it doesn’t come out perfect on your first try.
Step 7: Trim and Finish Your Candle
Once you are satisfied with the thickness of your candle, trim the excess wick and any uneven edges. Now, your dip candle is ready to use or gift to a loved one. You can also decorate it with ribbons, beads, or other embellishments for an added touch.
That’s it! You’ve now learned how to make dip candles. You can create beautiful and unique candles for any occasion with some practice. Don’t be afraid to experiment with different colors, scents, and designs to truly make the candle your own. So go ahead, gather your supplies, and start creating!
5 Considerations Things When You Need to Make Dip Candles
1. Wax Type
The type of wax you choose for your dip candles will have a big impact on the finished product. Paraffin wax is the most common type of wax used for dip candles, but you can also use beeswax or soy wax. Each wax type has its unique properties and burning characteristics, so it’s important to do some research before deciding which one is best for your project.
2. Wicks
Choosing the right wick for your dip candles is essential for achieving an even burn and avoiding smoke or soot buildup. Several types of wicks are available, including cotton, paper-core, zinc-core, and hemp-core. Be sure to select the appropriate size wick for your candle based on the diameter and length of the candle.
3. Dipping Container
You’ll need a deep container to submerge your wick in hot wax without overflowing. A large pot or bucket works well, but line it with aluminum foil first to make cleanup easier later on. Additionally, ensure that your dipping container will fit on top of a stove or other heat source so that you can safely and easily melt the wax.
4. Colorants
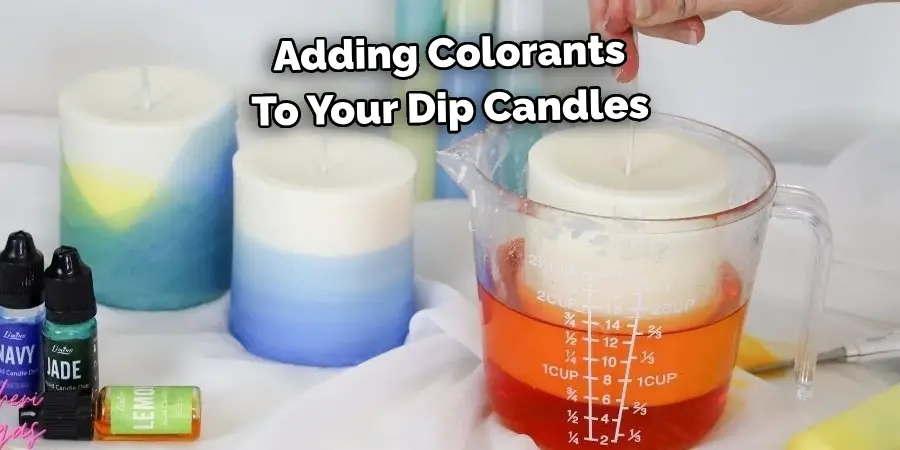
Adding colorants to your dip candles can create beautiful results and give them a unique look and feel. You can find dyes specifically designed for candle making at most craft stores, but you can also use food coloring if you’d like something more natural-looking or cost-effective. Just add colorant slowly until you achieve the desired shade since too much can cause discoloration or clumping in the finished product.
5. Additives
If you want to give your dip candles a special scent or texture, adding additives such as fragrances or glitter may be just what you need! Fragrance oils are available in many different scents. They should be added after melting the wax but before dipping the wick to ensure an even scent distribution throughout the candle. Glitter should also be added after melting, but before dipping, simply sprinkle it over the surface of melted wax until it reaches your desired level of sparkle!
3 Benefits of Make Dip Candles
1. Long-Lasting
One of the primary benefits of making dip candles is that they are incredibly long-lasting. Dip candles are made by repeatedly dipping a wick into melted wax, which creates a thick and durable candle. This means your candle will burn for much longer than other types of candles, such as pillar or jar candles. Additionally, dip candles can be re-dipped multiple times to increase their burning time.
2. Inexpensive
Another benefit of making dip candles is that they are relatively inexpensive to make. All you need is some wax, wicks, and a few basic tools, such as a double boiler and thermometer. You can also buy pre-made kits with everything you need to make your own dip candles at home. The cost of these materials is usually quite low, so you can make several dip candles without breaking the bank.
3. Customizable
The final benefit of making dip candles is that they can be easily customized to suit your needs and preferences. You can add different colors or scents to the wax to create unique looks and smells for your candles. You can also choose from various sizes and shapes of wicks depending on how large or small you want your candle to be. With a little creativity and imagination, you can create beautiful and unique dip candles for any occasion!
Some Common Mistakes People Make When Trying to Make Dip Candles
Dip candles are a timeless classic but can be tricky to perfect if you’re new to the process. A common mistake people make when creating dip candles is not heating the wax enough before starting. It’s crucial to warm the wax to the correct temperature, so it adheres to the wick, creating a sturdy foundation for your candle. Another mistake is not allowing the wax to cool between dips.
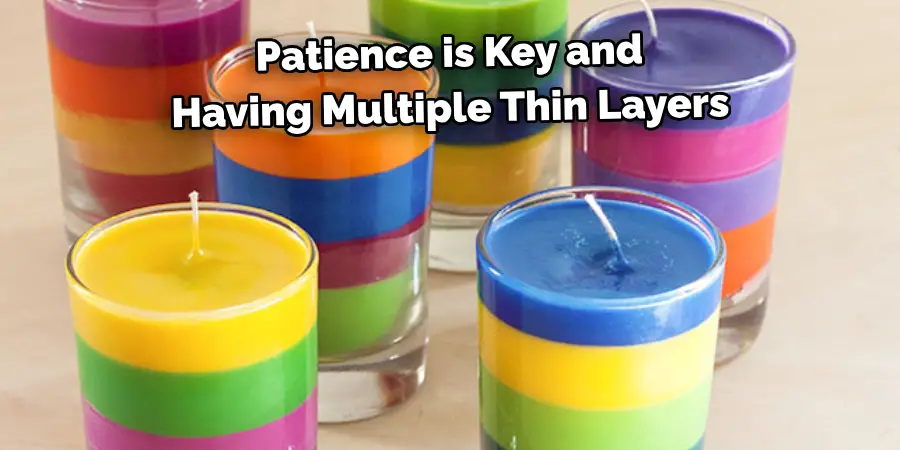
This results in your candle becoming too thick, creating a lumpy and uneven finish. Patience is key, and having multiple thin layers is better than a few thick ones. Lastly, be sure to keep an eye on your dipping temperature and avoid changing it regularly, as heat fluctuations can affect your candle’s overall appearance. With a little practice and attention to detail, you will be crafting beautiful dip candles in no time!
Conclusion
In conclusion, making dip candles is a fun and easy DIY project that anyone can do. All you need to do is follow the above steps carefully and cautiously for a successful outcome. This creative craft not only gives you the chance to exercise your creative skills but is also a perfect gift idea for your loved ones. So, why not try making a dip candle today and see the results for yourself? Thanks for reading our post about how to make dip candles.

