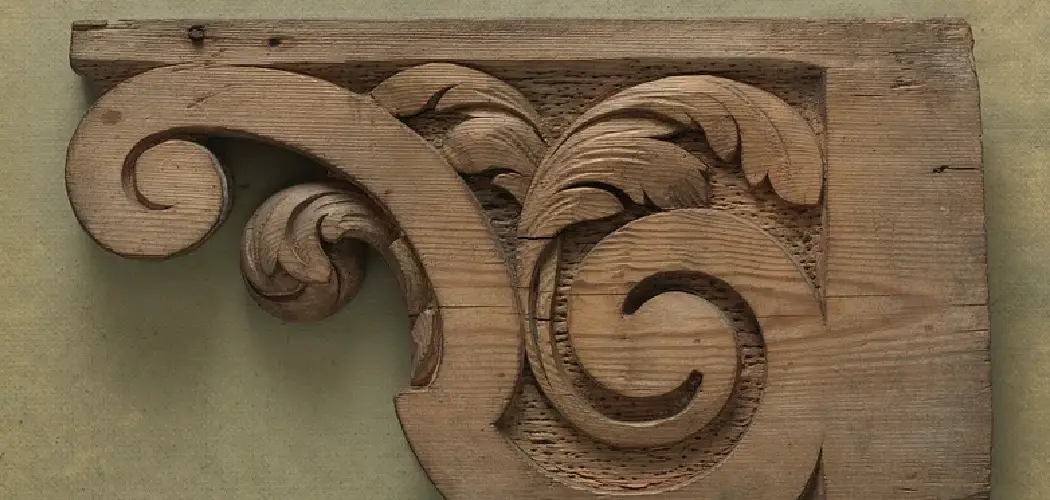
Corbels are architectural elements used since antiquity, serving both functional and decorative purposes. Traditionally, they are outwardly projecting supports often found beneath balconies, cornices, or ledges. Stemming from historical uses such as in the grandeur of Gothic cathedrals, today’s corbels are versatile and stylistically varied, fitting seamlessly into modern homes and projects.
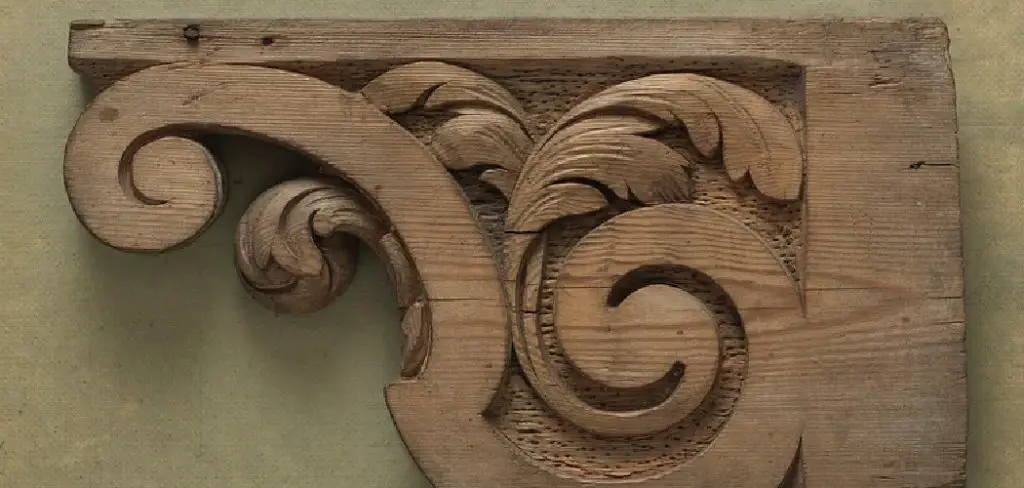
Creating your own corbels can be deeply rewarding; it allows for exhaustive customization to complement the aesthetic of any space, can be more cost-effective than purchasing pre-made options, and provides a sense of personal accomplishment.
Whether for supporting shelving or as stand-alone decor, handcrafting corbels imbues a touch of craftsmanship into your home. Keep reading to learn more about how to make corbels.
Choosing the Right Corbel Project
When selecting the right corbel project, consider the complexity of the design, the tools at your disposal, and the intended use of the final product. For beginners, start with a simple shelf bracket, which requires rudimentary tools and minimal shaping. As skill and confidence increase, you may opt for more elaborate designs, such as decorative corbels for fireplace mantels or as structural elements on a bookcase.
The tools needed will also scale with the project’s complexity; advanced projects may necessitate using routers or wood carving tools for finer details.
Material choice is crucial and varies depending on the project’s requirements. A softwood like pine might be suitable for an indoor, decorative corbel that isn’t intended to bear much weight. However, for a more substantial corbel with greater load-bearing needs, hardwoods such as oak or maple will offer the necessary strength.
In terms of aesthetics, the species of wood chosen can complement existing woodwork or provide an attractive contrast in your space. Balancing these considerations will help ensure you choose a corbel project that is satisfying to complete and serves its intended purpose beautifully.
Essential Tools and Materials
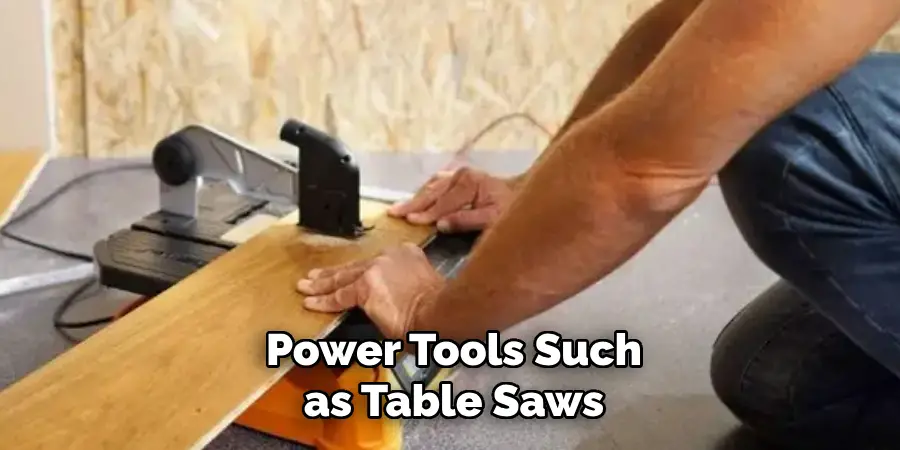
The right tools and materials are paramount to embarking on your craft-making journey. Essential to this craft are power tools such as table saws for straight cuts and jigsaws for intricate curves. A sander (preferably a belt or orbital sander) is necessary for smoothing rough edges, while a reliable drill will aid in creating holes for joinery or decorative purposes.
It’s not just about power tools; quality hand tools like chisels, planes, and files are invaluable for detail work and finishing touches that render your corbels unique.
Wood is the material most commonly associated with corbel-making, and the choice of species is crucial. Softwoods like pine are easy to carve and cost-effective for non-load-bearing decorative corbels. Hardwoods, such as oak or maple, provide the strength required for supporting heavy items and exude a premium look.
Your selection should also consider the wood’s grain pattern and color, as these will significantly affect the corbel’s appearance and its ability to match or enhance the space where it will be placed.
Additional materials to have on hand include screws or other fasteners appropriate for the project size and weight. Wood glue will be necessary for joining pieces together, and various grits of sandpaper are needed for the finishing process. Lastly, consider the final finish you will apply to protect and beautify your corbel, such as stain, paint, or a clear coat.
These substances improve the appearance and guard against environmental damage, ensuring that your corbels remain a stunning feature for years to come.
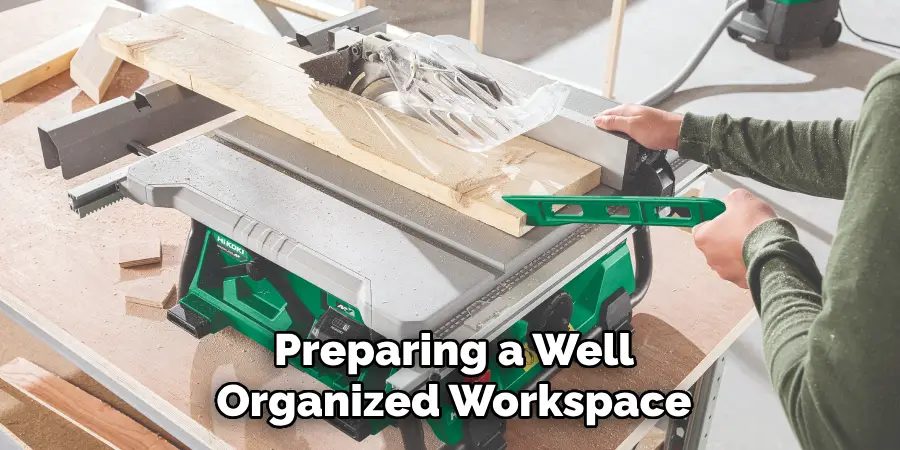
Preparing a well-organized workspace with these tools and materials will streamline your crafting process, making creating your custom corbels enjoyable and efficient.
How to Make Corbels: A Comprehensive Guide
1. Designing Your Corbel
Designing a corbel hinges on a harmonious blend of form and function, ensuring that the end result meets the structural requirements and resonates with one’s aesthetic preferences. Begin by identifying its primary role; will it be a decorative piece, or does it need to support significant weight?
This decision will heavily dictate the overall design and dimensions. Sketching is an invaluable step that aids in crystallizing your ideas onto paper. Start with a basic outline, incorporating ornate details or simple lines according to the intended style of the corbel.
Consider the surrounding decor where the corbel will be housed; it should either complement or provide an appealing contrast to the existing design elements. Elements such as scrollwork or intricately carved reliefs can infuse traditional elegance, while sleek, clean lines lend themselves to a modern look. Remember that curvatures and tapers are aesthetic choices and contribute to the corbel’s strength and load distribution.
Utilizing online tools and design software can assist in visualizing and tweaking your concept precisely, and it’s particularly beneficial for complex designs. The scale is vital for balance and proportion, ensuring your corbel doesn’t overpower or get overwhelmed by its environment.
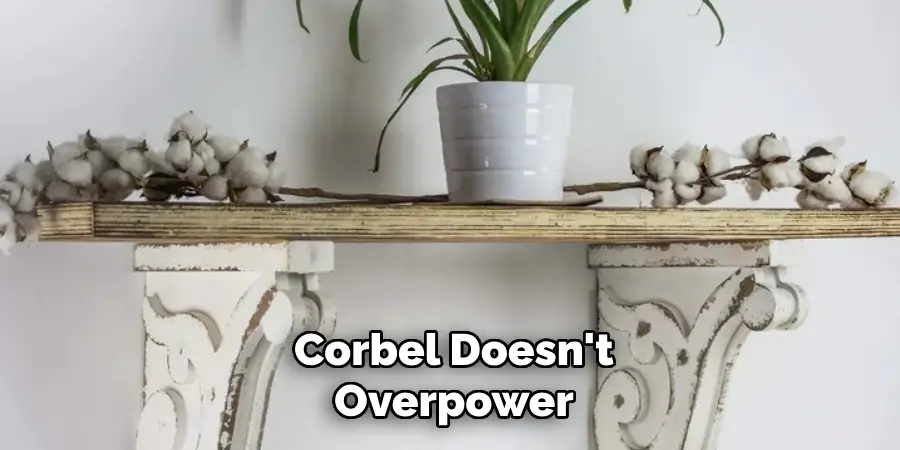
Once satisfied with the blueprint on paper or screen, it’s time to transpose that vision into wood, keeping in mind the nuances of the material that might influence your original design. The right balance of artistry and engineering in the design phase sets the foundation for a visually appealing and functionally robust corbel.
2. Transferring Your Design to Wood
Transferring the conceptualized design onto wood begins with a precise outline, which can be achieved by applying carbon paper between the sketch and the wood surface or using tracing techniques suitable for the scale of the project. Once your design is accurately transposed, securing the wood in place becomes essential to ensure safety and precision during cutting.
This step is foundational, as it will guide your sawing and chiseling, effectively shaping the rudimentary form of your corbel. It’s advisable to work slowly and carefully, following the lines as closely as possible to maintain the integrity of your design. Remember, intricate details will require more delicate tools and should be approached with patience and steady hands.
Additionally, constantly referring back to your original design during this stage is crucial to account for any minor adjustments or corrections that might be needed. This careful preparation will result in a wooden corbel ready for further refinement, exhibiting the craftsmanship of your hands and the intention of your artistic vision.
3. Rough Cutting and Shaping
Rough cutting and shaping marks the initial phase of transforming wood into a corbel. This process involves removing large sections of wood that are not part of the final design, which is most efficiently done with power tools such as bandsaws or reciprocating saws. Care must be taken to stay just outside the lines of your design to allow room for detailed work later on.
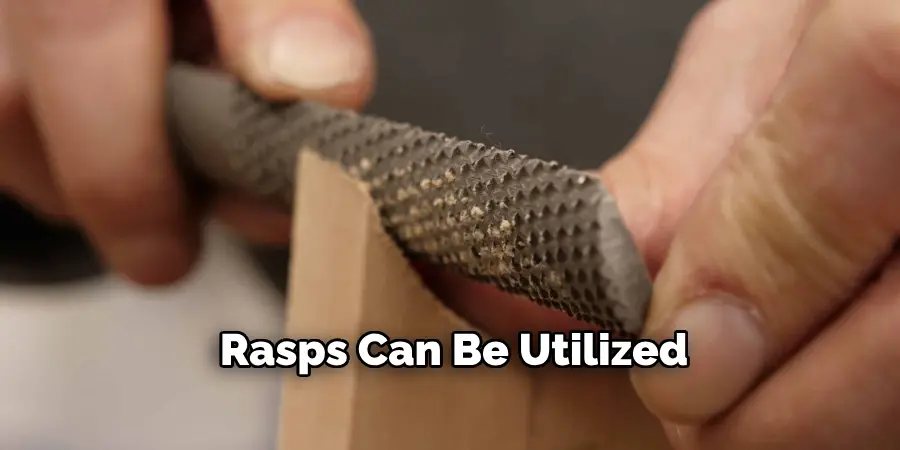
Once the rough shape is cut out, bench grinders or rasps can be utilized to further refine the silhouette, carefully bringing the corbel closer to its intended form. It’s essential during this stage to frequently compare the work-in-progress with the design template, ensuring that the proportions and curvatures are accurate and symmetrical.
The goal of rough cutting and shaping is to establish a solid basis upon which the finer details and smoothing will follow. It’s important to remember that patience is key; removing too much material too quickly can result in irreversible mistakes. Consistent and measured progress will eventually reveal the corbel’s basic structure, setting the stage for meticulous detailing and final shaping.
4. Refining the Shape and Details
After establishing the rough cut of your corbel, the next step is to refine its shape and hon the details. This phase necessitates a shift from power tools to hand tools, which offer greater control for precision work. Chisels, files, and carving knives are crucial in defining the intricate features that give your corbel character and depth.
Begin with the larger flat areas, combining hand planing and sanding. Hand planes can effectively create smooth, flat surfaces consistent with your design, while sanding removes any tool marks and prepares the wood for finishing. Gradually progress to finer grits of sandpaper to achieve a more refined touch.
As you approach the finer details, clamp your corbel securely to prevent any movement that could interfere with delicate work or cause injury. Carve out the details you’ve envisioned, such as flutes, leaves, or rosettes. A steady hand and a focused eye are critical as you impart life into the wood.
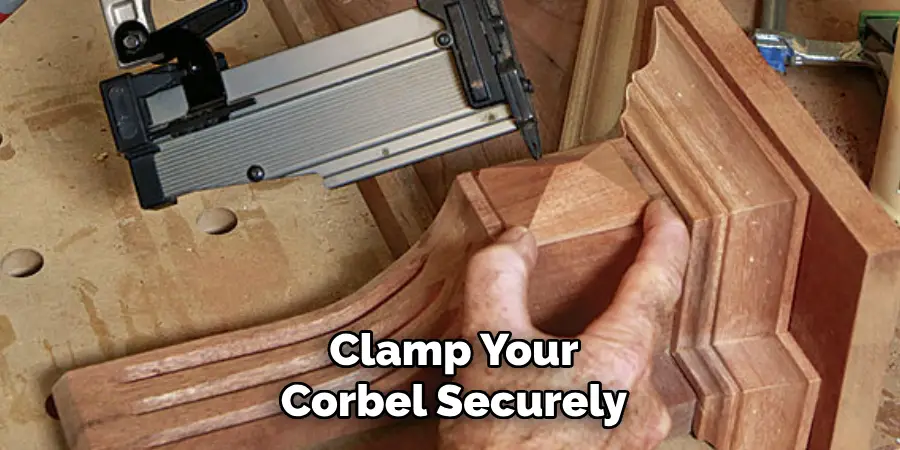
It’s worth noting that the wood grain can influence your tool’s path. Work with the grain, not against it, to prevent splintering and to ensure a cleaner cut. Periodically step back to assess the corbel from different angles, ensuring that the details are proportional and harmonious within the overall design.
The shaping and detailing stage is a gradual process where patience and attention to detail pay off. Your goal is to faithfully represent your initial design while also allowing for the wood’s response to shaping. This responsiveness can sometimes dictate minor changes or adjustments that enhance the final piece.
Refining your corbel is both an art and a discipline. The thoughtful removal of excess, the delicate accentuation of details, and the careful smoothing of surfaces transition your project from a roughly hewn piece of wood to a finely crafted work of art.
5. Joining and Assembly
The joining and assembly phase is a critical stage in corbel construction, as it is when the multiple components come together to form a structurally sound and aesthetically pleasing product. Begin by dry-fitting parts to ensure precise alignment and a perfect match, making any minor adjustments as necessary.
For traditional corbels, wood glue offers a strong bond; apply it sparingly to prevent oozing, which can mar the surface and complicate finishing. For added strength, dowels or mortise and tenon joints may be used with the adhesive.
When securing the pieces, it is imperative to maintain even pressure using clamps, checking the assembly for squareness before the glue sets. If the corbel design includes multiple layers or elements, assemble them from the inside out, allowing the internal bonds to set before adding external adornments. Throughout this process, be mindful of preserving the integrity of the wood, avoiding clamp marks by using soft pads where the clamps contact the corbel.

Once fully assembled, give the glue ample time to cure, according to the manufacturer’s instructions. After the glue has been set, perform a final inspection to sand away any residual adhesive and smooth out the joint lines. This meticulous assembly ensures your corbel will hold together under the stresses of its role and showcases the precision and care that went into its creation.
6. Sanding and Finishing Touches
With the corbel securely joined and assembled, the next critical step is sanding and adding the finishing touches that will protect the wood and bring out its natural beauty. Begin with medium-grit sandpaper to smooth out any uneven surfaces and blend the joints seamlessly. Progress through finer grits, preparing the wood for finishing by creating a smooth and even base.
During this phase, pay special attention to the nooks and crannies of your detailed work. Once satisfied with the surface texture, select an appropriate finish to enhance the wood’s color and grain, such as a stain, oil, or polyurethane. Apply the finish in thin, even coats with a soft cloth or brush, ensuring that each layer is fully dried before applying the next.
If your corbel is intended for exterior use, choose a finish with UV protectants and moisture resistance to safeguard your work against the elements.
The finishing process not only involves the application of the chosen protective coat but also includes a final inspection to address any imperfections. It’s essential to remove all dust particles between coats and to lightly sand with the finest grit for the smoothest possible finish. The culmination of this careful and deliberate process will be a corbel that exhibits a refined appearance and is well preserved for future years.
7. Mounting and Installation
Mounting and installing your finished corbel is the final step that requires precision and attention to ensure stability and safety. Start by determining the corbel’s specific location and purpose, such as supporting shelving or as an architectural accent. Measure the area carefully and decide on the most suitable fastening method, which may vary based on the corbel’s size, weight, and the wall material.
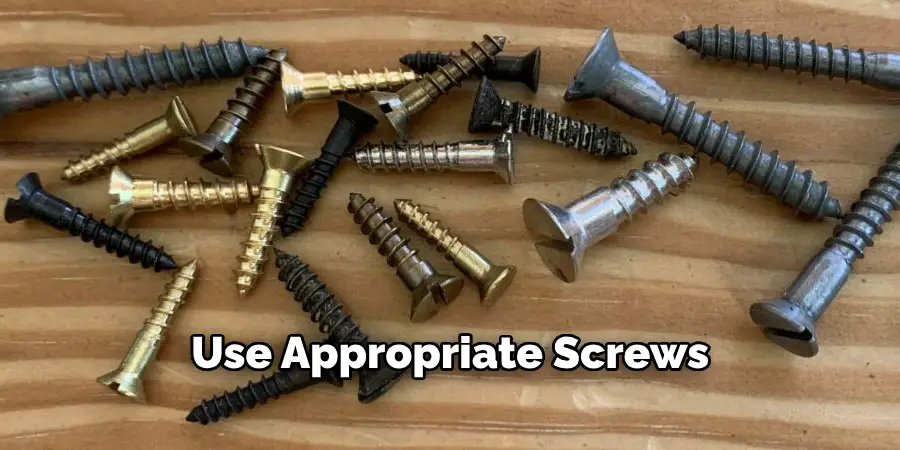
For installation into studs or solid wood, use appropriate screws that can sustain the weight load. Pre-drill holes to match the corbel’s mounting points, and drill slightly smaller pilot holes into the wall for a snug fit. If mounting to drywall or other hollow surfaces, consider using heavy-duty wall anchors or toggle bolts for secure attachment.
Always utilize a level to ensure your corbel is horizontally and vertically true before securing it into place. Depending on its design, the corbel may also hide the mounting hardware, adding to its seamless integration with the surrounding decor. Once the corbel is affixed securely to the wall, double-check for any movement or instability.
Proper installation is crucial not only for the corbel’s functional role but also to prevent damage to the wall or the item the corbel is meant to support. Perform a final visual inspection to ensure your beautifully crafted corbel is displayed prominently, enhancing the space’s structural and decorative presence.
That’s it! You’ve now learned how to make corbels, from designing and shaping to joining and finishing. With patience, precision, and attention to detail, you can create a functional and beautiful piece that will add character and charm to any space. So unleash your creativity, and let your woodworking skills shine as you craft your next corbel masterpiece.
Project Showcase and Variations
Upon mounting and installation, it is advantageous to document your corbel project through a showcase, capturing the intricate details and overall craftsmanship in a series of photographs. This visual documentation not only serves as a portfolio piece but also as a reference for your future projects and for clients to appreciate the quality of your work.
Exploring variations in corbel design allows for a broadened skill set and the ability to cater to diverse architectural styles. For instance, consider adapting the corbel’s form to suit contemporary environments with cleaner lines and less ornate detailing. Alternatively, a Gothic or Baroque-inspired corbel might feature intricate carvings and more dramatic curves aligned with historical aesthetics.
Moreover, there’s potential in experimenting with materials beyond traditional wood. Modern corbels could incorporate metals, composites, or even 3D-printed components to push the boundaries of design and application. Whether for therapeutic work in heritage buildings or as a statement piece in a modern loft, these variations expand your portfolio and appeal to a wider audience.
In summary, crafting corbels opens up endless possibilities for customization and creativity. Each finished piece serves a practical purpose and is a testament to its artisanship and vision, contributing to its surroundings with strength and splendor.
Conclusion
In conclusion, crafting a corbel is a meticulous and rewarding process, blending traditional carpentry with artistic expression. As a final piece of advice, always prioritize the quality of materials and take the time to perfect your technique. Remember that your corbel’s longevity and aesthetic appeal depend heavily on precise craftsmanship and proper installation.
hile trends and materials may evolve, the essence of creating a durable and beautiful corbel remains rooted in its careful construction and attention to detail. Embrace each project as an opportunity to further hone your skills and leave a lasting impression in functional art. Thanks for reading our post about how to make corbels.

