
Unlocking a world of whimsy and luminous charm, creating bubble candles introduces enthusiasts to an enchanting craft that combines artistry with functionality. These delightful, translucent spheres of wax capture the essence of playfulness while casting a warm, soft glow. Making bubble candles is a hands-on journey that transcends conventional candle-making, offering a unique twist on traditional techniques.
In this guide, we delve into how to make bubble candles, exploring the essential materials, step-by-step instructions, and creative variations to infuse your creations with personal flair. Whether you’re a seasoned candle maker or a novice seeking a captivating DIY project, the allure of bubble candles lies not only in their visual appeal but also in the therapeutic joy of sculpting wax into whimsical forms.
Join us in unraveling the secrets of this captivating craft, and let the flickering glow of your personalized bubble candles illuminate both your space and your creative spirit.
Unique Aesthetic Appeal and Versatility of Bubble Candles
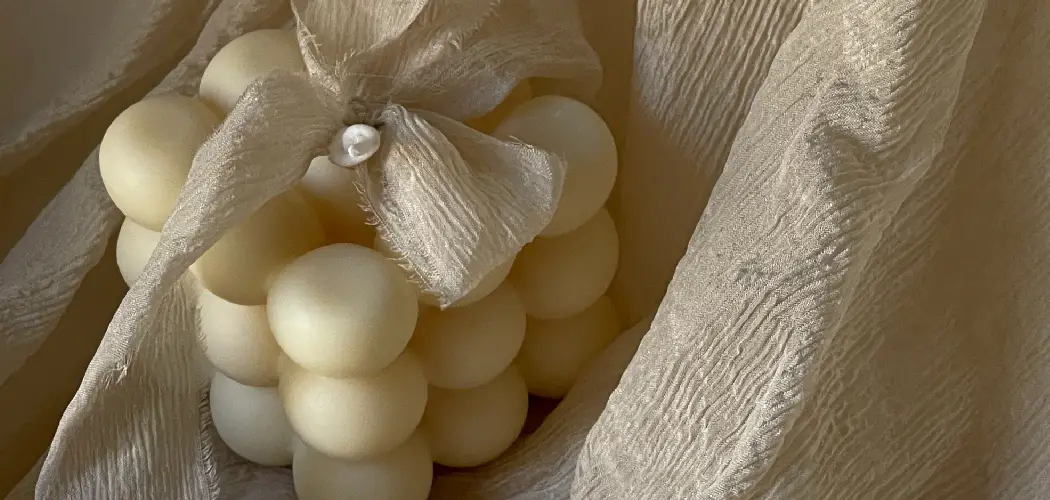
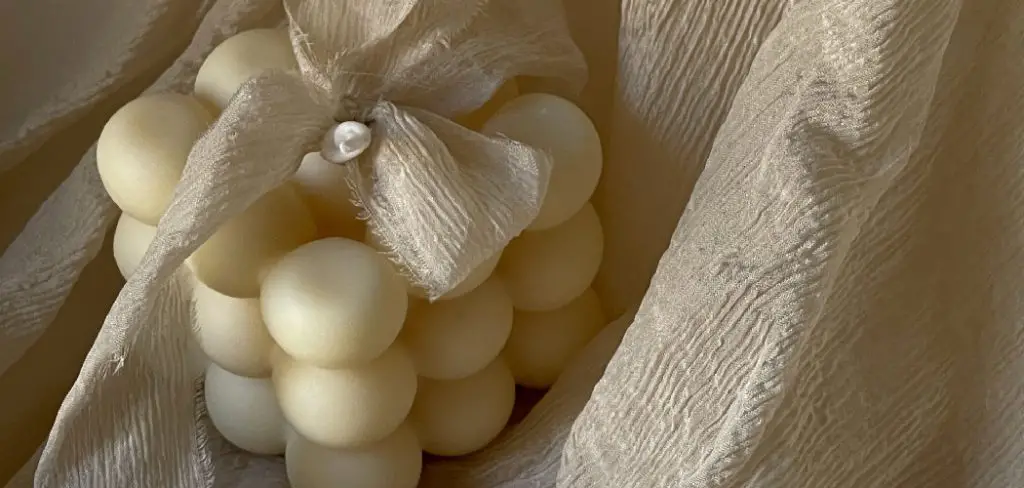
Bubble candles are an increasingly popular form of handmade candles that have become a favorite among candle enthusiasts. These whimsical candles stand out due to their unique aesthetic appeal and eye-catching design. Unlike traditional pillar or taper candles, bubble candles are distinguishable by their distinctive shape, resembling bubbles frozen in time.
One of the most appealing features of bubble candles is their versatility. They come in a wide range of colors, sizes, and scents, making them perfect for any occasion or home decor. Whether used as a statement piece on a coffee table or to add ambiance to a room, these candles are sure to grab attention.
10 Methods How to Make Bubble Candles
1. Melting Wax
The first step to making bubble candles is to melt the wax. This can be done either in a double boiler or in a microwave. If using a double boiler, make sure to keep the heat low and stir constantly to ensure that the wax does not burn. For microwaving, use short bursts of heat until the wax is completely melted. Be sure to use caution when handling hot wax as it can cause serious burns.
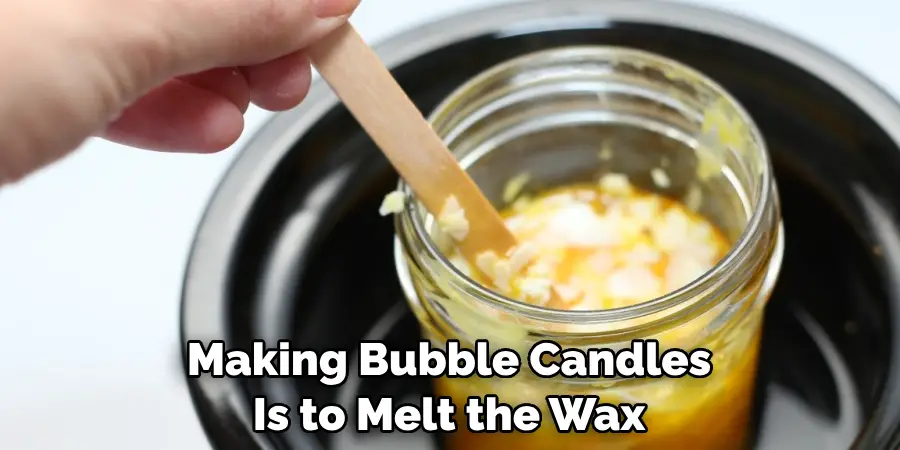
2. Adding Color and Fragrance
Once the wax is melted, you can add color and fragrance to your bubble candles if desired. To add color, use liquid candle dye or crayons that have been melted down into liquid form. For fragrance, use essential oils or synthetic fragrances that are specifically designed for candle making.
3. Pouring Wax Into Molds
Once you have added color and fragrance to your melted wax, it’s time to pour it into molds for your bubble candles. Make sure to fill the molds only halfway full as you will need room for bubbles later on in the process. Allow the wax to cool completely before moving on to the next step.
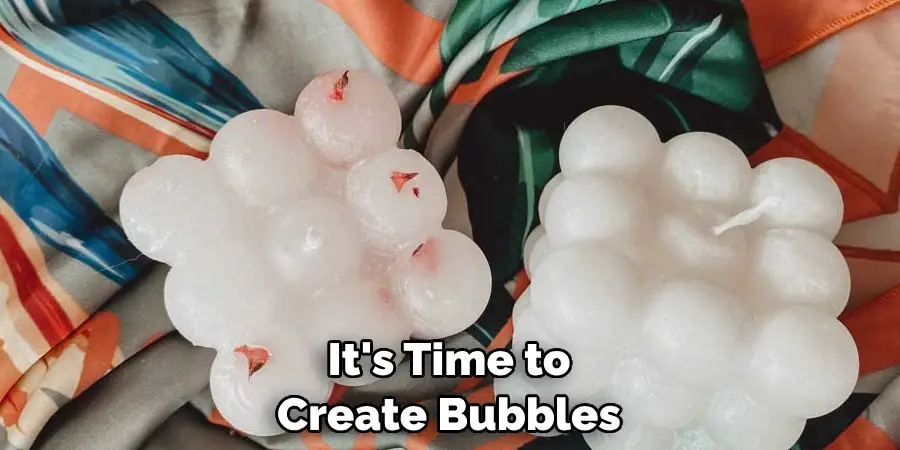
4. Creating Bubbles
Once your wax has cooled and hardened, it’s time to create bubbles! To do this, take a straw and dip it into some warm water before blowing through it into each of your candle molds until you have created enough bubbles for your liking. Make sure not to overfill with bubbles as this may lead to weak candles that won’t hold their shape when lit!
5. Adding Wicks
The next step is adding wicks so that your bubble candles can be lit once they are finished! You will need wick tabs for this part of the process which can be found at most craft stores or online retailers that specialize in candle making supplies. Place one wick tab at the bottom of each mold before pouring in more molten wax until all of your molds are filled up completely with wax and wicks inside them!
6. Cooling Candles
Allow your bubble candles plenty of time to cool before attempting to remove them from their molds – usually, about 24 hours should do it! Once cooled, carefully pop out each individual candle from its mold by pressing down gently on one side while pulling up on the other side with both hands – like a lever motion!
7. Trimming Wick Lengths
Before lighting your bubble candles, make sure all of their wicks have been trimmed down so they are no longer than ½ inch long – any longer than this could result in an overly large flame or even a fire hazard! Use scissors or nail clippers for this part of the process as regular scissors may not be sharp enough for trimming wick lengths properly!
8. Testing Candles
Once all of your bubble candles have been trimmed down and removed from their molds, you should test them out before burning them around others – just light one up in an area where there will be no flammable materials nearby (like curtains) and watch how it behaves once lit! If everything looks good after testing, then proceed with burning multiple bubble candles together safely!
9. Burning Bubble Candles
When burning multiple bubble candles together, always make sure they are placed far enough apart from one another so that flames don’t overlap – this could cause an unexpected fire hazard if not done correctly! Also, remember never leave burning candles unattended and always extinguish them completely when finished using them – preferably by snuffing out their flames instead of blowing them out directly (as blowing can spread embers).
10. Enjoying Bubble Candles
Finally, sit back and enjoy watching how beautiful these homemade bubble candles look when lit up together in a dark room – perfect for setting a romantic mood or simply relaxing after a long day at work/school/etc. And don’t forget: safety first when dealing with open flames like these ones, so always practice proper precautionary measures when handling/burning them around others!
Things to Consider When Making Bubble Candles
There are a few things to keep in mind when making your own bubble candles. These considerations will help you create a beautiful and functional candle that you can enjoy for hours on end. Here are some key factors to consider:
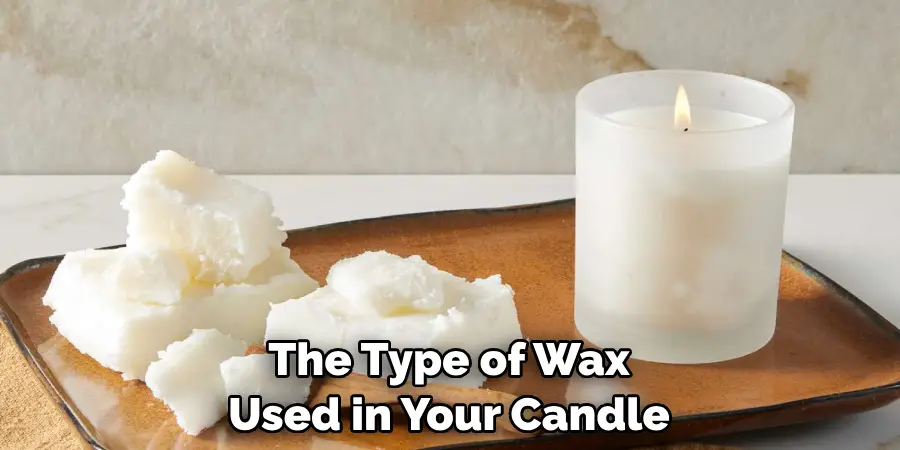
Wax Type:
The type of wax used in your candle can greatly affect the final product. Some waxes may produce more bubbles, while others may be better for creating a specific scent. Be sure to research the different types of wax and choose one that best fits your desired outcome.
Wick Selection:
The wick plays an important role in how your candle will burn and create bubbles. Too thin of a wick can lead to little to no bubble production, while too thick of a wick can cause your candle to burn too quickly. Consider the size and type of wick before making your bubble candles.
Scent Options:
Bubble candles are known for their unique scents, so be sure to choose a fragrance that will complement your wax choice. Some fragrances may have a better throw in certain types of wax, so be sure to test out different combinations to find the perfect scent for your candle.
Color:
The color of your bubble candles can add an extra touch of personality and style. You can either use a dye or experiment with different colored waxes to create a beautiful, multi-colored candle.
Common Mistakes to Avoid When Making Bubble Candles
As with any hobby or craft, there are certain mistakes that beginners often make when learning how to make bubble candles. These mistakes can not only lead to frustration and disappointment, but also result in wasted time and money. To help you avoid these common pitfalls, here are some tips on what not to do when making bubble candles.
Not Using the Right Materials
One of the biggest mistakes that beginners make when making bubble candles is using the wrong materials. Bubble candles require a specific type of wax, such as paraffin or soy wax, to achieve the “bubble” effect. Using regular candle wax will not work and can result in a melted mess instead of beautiful bubbles.
Not Paying Attention to Temperature
Another common mistake is not paying attention to temperature when making bubble candles. The wax needs to be heated to a specific temperature before adding the bubble powder, as too hot or too cold of wax can affect the formation of bubbles. It’s also important to keep an eye on the room temperature while making your candles, as extreme fluctuations in temperature can cause issues with the final product.
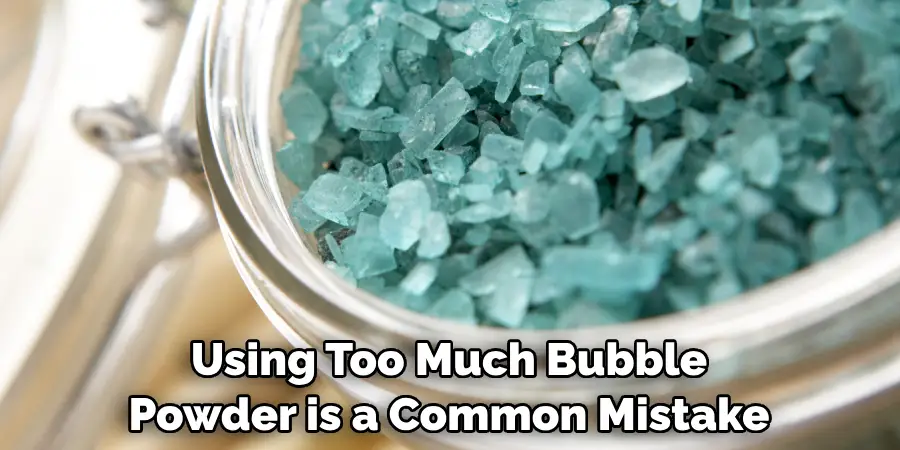
Overloading with Bubble Powder
Using too much bubble powder is a common mistake that beginners make when trying to achieve a strong bubble effect. While it may seem like more powder would create more bubbles, it can actually cause the wax to become too thick and prevent proper burning of the candle. It’s best to start with a small amount and gradually add more if needed.
Conclusion
While bubble candles may seem intimidating to make at first, you now have the know-how and techniques to craft a unique and delightful candle-making experience. The fragrances, colors, and forms of these special creations will be yours for the making.
With this newfound knowledge of how to make bubble candles, you can infuse some creativity and joy into your life. Crafting these delightful candles is just a few steps away – why not set aside some time today to give it a try? After all, the sweet smell of success is only one melting wax away!
You can check it out to Make Pool Noodle Candles