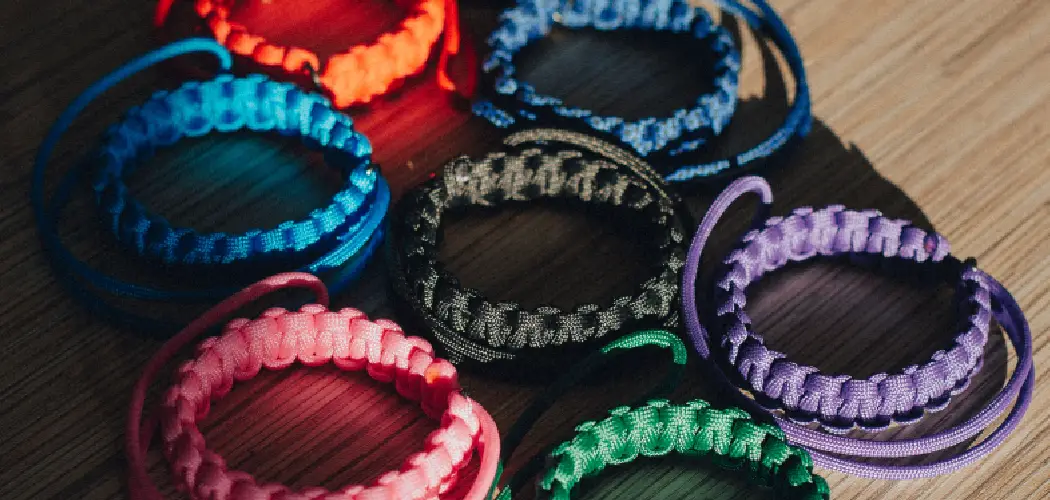
Are you looking to add some fun accessories to your wardrobe? Look no further than making your own boho bracelets! Boho jewelry is a great way to express yourself and allows you to get creative with unique designs.
Whether you prefer chunky beads or thin strings, in this blog post on how to make boho bracelets, we’ll show you how to make stylish boho bracelets that will help level up any outfit. With plenty of materials at home, these bracelets are easy and inexpensive to make while still looking trendy and artistic. So let’s get started on our crafty adventure today!
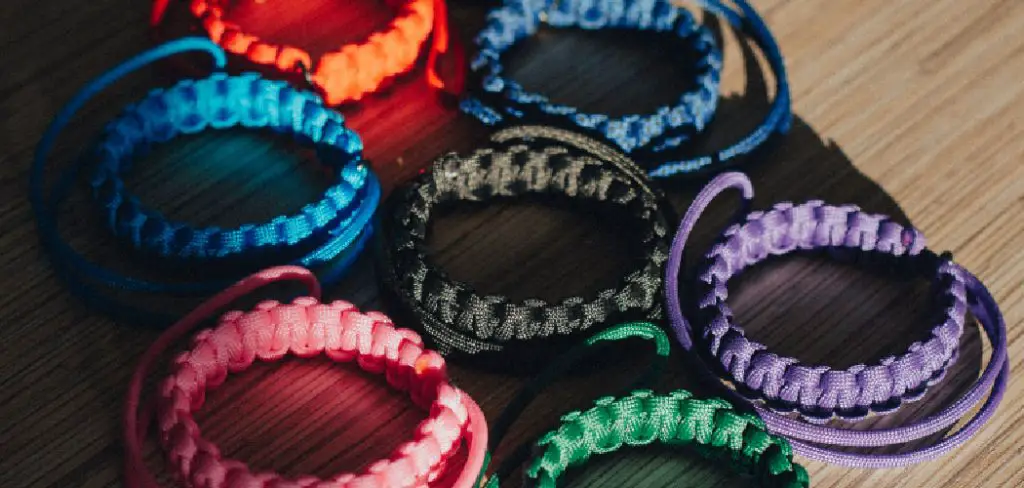
What is Boho Bracelet?
Boho bracelets are a type of jewelry characterized by their free-spirited and relaxed vibe. They’re usually made using colorful beads, feathers, charms, stones and other materials that can be easily strung onto strings or ropes.
The designs for these bracelets are limitless—you can mix and match the beads to create unique pairs of bracelets that show off your own personal style. Whether you’re looking for something classic and minimalistic, or something more bold and vibrant, it’s easy to make a boho bracelet that will look perfect on your wrist!
Materials Needed
To get started making your own boho bracelets, you’ll need the following supplies:
- String or Rope
- Beads of Various Sizes and Colors
- Charms
- Feathers
- Small Stones
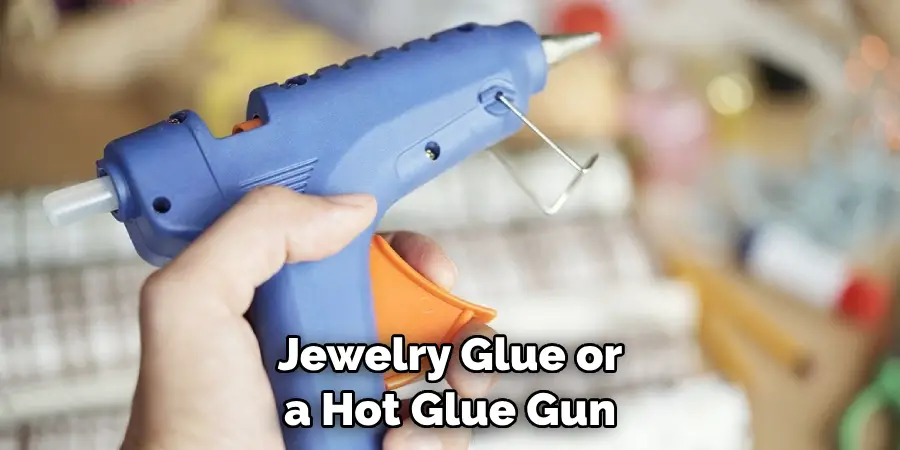
- Jewelry Glue or Glue Gun (Optional)
Once you have these materials gathered, it’s time to start crafting!
Step-by-step Guidelines on How to Make Boho Bracelets
Step 1: Choose the Beads You Want to Use
The first step in making boho bracelets is to decide which types of beads you want to use. Beads come in all sorts of sizes and colors, so choose a mix that reflects your personal style and the type of bracelet you’re going for.
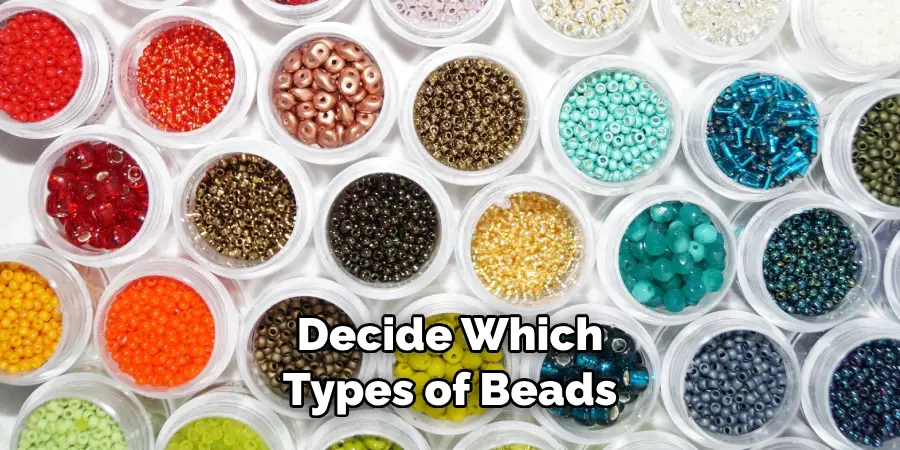
For an eclectic look, try picking out differently shaped beads such as circles, triangles or squares. Or, if you’re looking to create a classic piece, select larger beads in neutral shades like black or white.
Once you’ve chosen the beads for your bracelet, it’s time for step two!
Step 2: Cut Your String
Next, take your string and cut off enough pieces so that it can wrap around your wrist comfortably. You’ll want to measure this against your wrist before you start beading, so make sure you have enough string left over after cutting.
If you’re using rope for your bracelets instead of a string, the same rule applies—just be sure to cut off an appropriate length.
Step 3: Add Your Beads
Now it’s time to start adding your beads onto the string. If you’re using a single color or type of bead, simply thread them all onto the string at once. Or if you have multiple types/colors of beads, you can alternate between different designs for a more interesting effect.
As you go along, make sure to leave enough space between beads so that the bracelet can still fit your wrist.
Step 4: Add Charms and Other Accents
Once you’ve added all of your beads, it’s time to spice up the bracelet with some fun charms or stones! You can find various charms at craft stores, such as stars, hearts or even seashells. Or you can add some rough stones for a more rustic look.
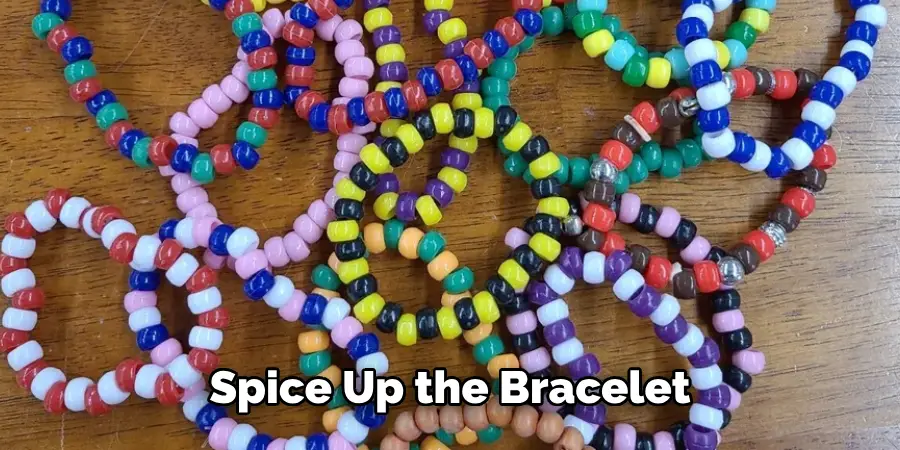
Just make sure to secure the charms and stones properly with jewelry glue or a hot glue gun before moving on to step five!
Step 5: Add Feathers (Optional)
Feathers are another great way to add a unique bohemian touch to your bracelet. They come in all sorts of colors and sizes, so choose the one that best suits your style!
To attach the feathers, just thread them onto the string alongside your beads or use jewelry glue or a hot glue gun.
Step 6: Attach Closures
When you’ve finished adding all of your beads, charms and feathers, it’s time to attach closures to the ends of the string or rope. You can use knots, lobster clasps or jump rings for this step depending on how you want the bracelet to look.
For an adjustable fit, tie a few knots at one end of the string and leave a few inches of slack for adjustment. Then thread the string through a lobster clasp or jump ring and tie another knot to keep it in place.
Step 7: Secure All Knots
Before you move on to step eight, make sure all of your knots are properly secured. You can use jewelry glue or a hot glue gun for this step, as it will ensure the knots don’t come undone. But make sure you pay extra attention to the knots at the ends of the strings, as these will be what keeps your bracelet together.
Step 8: Trim Excess String
Next, take a pair of scissors and trim off any excess string you may have left over after tying your knots. Make sure to leave enough slack so that you can still adjust the size of the bracelet if needed. Otherwise, trim off any loose ends and you’re done! You now have a stylish and unique boho bracelet to show off.
Step 9: Test the Fit
Now it’s time to test if your bracelet fits comfortably. Wrap the bracelet around your wrist and make sure you can adjust the size as needed. Once you’re satisfied with how it feels, move on to step ten! If not, you can always untie the knots and try again. This is why it’s important to make sure your knots are properly secured in the previous step.
Step 10: Add Your Final Touches
Once you’ve finished making the bracelet, it’s time to add your final touches. If you have any spare beads or charms that didn’t fit in the design, you can use them to decorate the knots or clasps. This will give your boho bracelet an extra stylish flair! However, if you don’t have any extra beads or charms, you can always leave the bracelet as it is.
Step 11: Enjoy Your Boho Bracelet
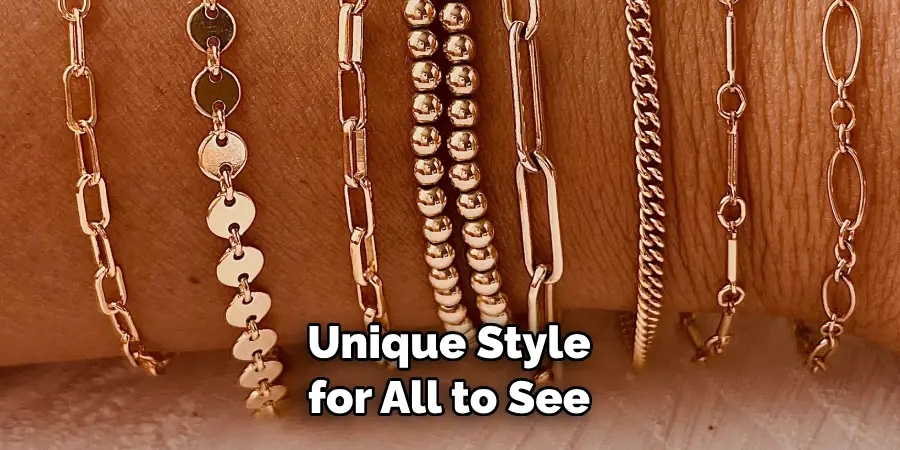
Congratulations! You’ve now made yourself a beautiful boho bracelet. Now just slip it on your wrist and show off your unique style for all to see. Making boho bracelets is a fun and creative activity that you can do with friends or as a way to spend time alone. Have fun with the process and get creative with the design—the possibilities are endless!
So go out there and start on how to make boho bracelets! You never know what unique pieces you might come up with. Have fun crafting!
Do You Need to Hire a Professional?
If you’re still having trouble with making boho bracelets, don’t worry! There are plenty of professional jewelry makers who offer bespoke services and can create the perfect bracelet for you. They can usually source hard-to-find beads and charms, so if you want something really special for your boho bracelet, a professional might be the way to go.
Hiring a professional also ensures that the bracelet is of the highest quality and will last for years to come. So if you’re not confident in your own crafting abilities, don’t hesitate to seek help from an expert!
Frequently Asked Questions
Q: What Type of Beads Should I Use for My Boho Bracelet?
A: Beads come in all sorts of sizes and colors, so it’s up to you to decide which type of beads you want to use. For an eclectic look, try picking out differently shaped beads such as circles, triangles or squares. Or, if you’re looking for a more classic piece, select larger beads in neutral shades like black or white.
Q: Can I Use Rope Instead of String?
A: Yes, you can use rope instead of string for your boho bracelet. Just be sure to cut off an appropriate length and secure all the knots properly. You may also want to use jewelry glue or a hot glue gun to ensure that the knots stay in place over time.
Q: How Can I Make My Boho Bracelet Adjustable?
A: To make your bracelet adjustable, tie a few knots at one end of the string and leave a few inches of slack for adjustment. Then thread the string through a lobster clasp or jump ring and tie another knot to keep it in place. This will allow you to adjust the size of your bracelet as needed.
Q: Can I Add Charms or Stones to My Boho Bracelet?
A: Yes, charms and stones are a great way to give your bracelet a unique style. You can find various charms at craft stores, such as stars, hearts or even seashells. Or you can add some rough stones for a more rustic look. Just make sure to secure the charms and stones properly with jewelry glue or a hot glue gun before moving on.
Conclusion
Making boho bracelets can be a fun and creative way to express your personal style. Whether you’re incorporating a range of colors and beads or keeping it simple with charms, there are endless possibilities when making boho bracelets. Since the materials needed are widely available, it’s easy to find what you need to make these beautiful, handmade pieces.
Not only is it cost-effective, but spending time making them will help you develop skills like weaving and craftsmanship. Plus, you’ll have the satisfaction of knowing that your bracelet is truly unique and one-of-a-kind – no one else will have something quite like yours! So, show off your creativity by making boho bracelets – perfect for any occasion. Thanks for reading this article on how to make boho bracelets.

