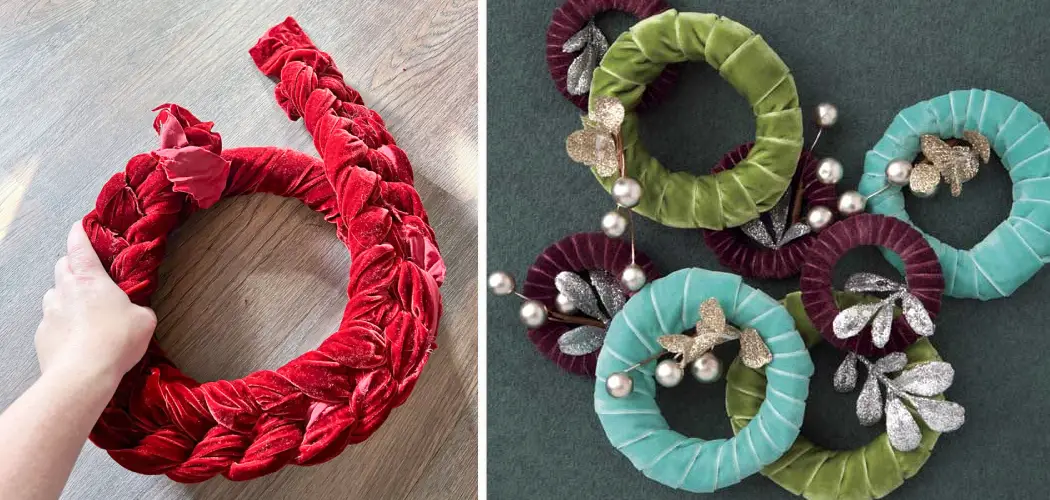
Are you looking to create a home décor piece that will wow your friends and family? You can do it with just a few supplies, some creative inspiration, and this simple guide on how to make a velvet wreath – let’s make a velvet wreath! Making your own velvet wreath is an easy way to spruce up any room.
Not only will it give the space new life, but it also adds texture and color to your living space in just minutes. With the right materials and plenty of imagination, you can craft something unique from velvet ribbon pieces that both adults and children will adore. So get ready to express yourself as we explore how to make a beautiful velvet wreath together.
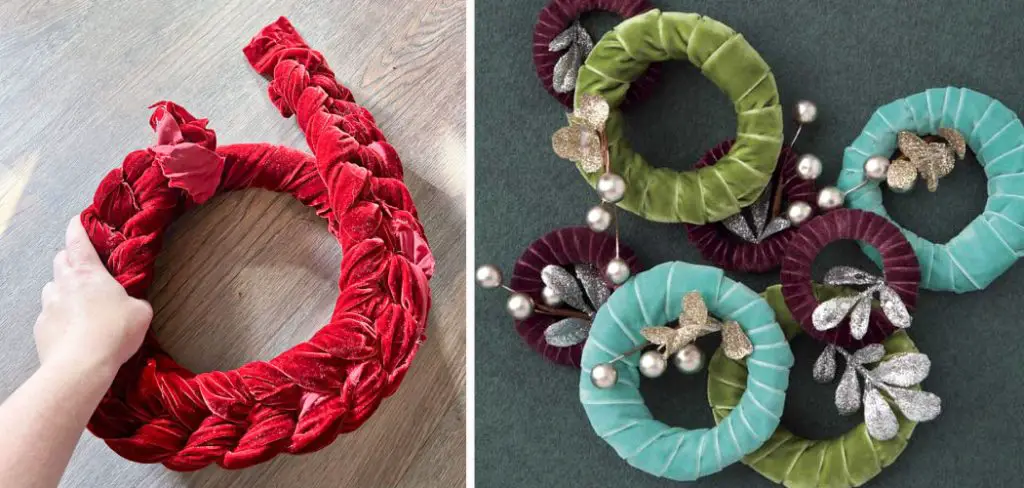
Necessary Tools and Materials
Tools:
- Scissors
- Hot Glue Gun
- Glue Sticks
- Wire Cutters
- Ruler or Measuring Tape
Materials:
- 1 Foam Wreath Form (Any Size Depending on Your Preference)
- Velvet Ribbon in Various Colors and Widths
- 1 Roll of Wire-edged Ribbon for Hanging the Wreath
- Embellishments (Optional) – such as faux flowers, pinecones, or ornaments
11 Step-by-Step Guidelines on How to Make a Velvet Wreath
Step 1: Choose Your Velvet Ribbon
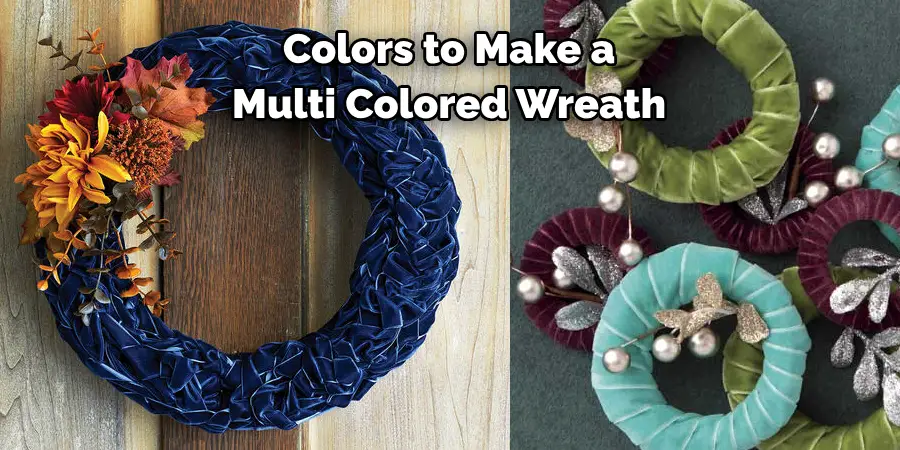
You can choose one specific color or a variety of colors to make a multi-colored wreath. Also, consider the width of the ribbons you are using as it will affect the final appearance and fullness of the wreath. You can even mix and match different textures like solid, crushed or flocked velvet to add dimension to your wreath. You will need about 8-10 yards of ribbon for a standard-sized wreath.
Step 2: Measure and Cut the Ribbon
Using a ruler or measuring tape, measure out 5-6 inches of each color of velvet ribbon. Cut the ribbon into strips of equal length using scissors. You will need roughly 35-40 strips depending on the size of your wreath form. It’s always better to have extra strips, so make a few more than you think you’ll need. But remember, the more strips you have, the fuller your wreath will be.
Step 3: Begin Wrapping
Take one strip of ribbon and wrap it around the top of your foam wreath form from left to right, leaving a small gap in between each loop. Secure with hot glue or pins. Repeat this process until you cover the entire wreath form. You can use one color per row or alternate colors for a more varied look. It’s all up to you! You can also wrap the ribbon around the wreath form diagonally for a different effect.
Step 4: Fluff Up Your Wreath
Once you have completed wrapping your wreath form, use your fingers to fluff up the loops and adjust them as needed to create a full and even appearance. This is where using different widths of ribbon can come in handy. It will add depth and texture to your wreath. It’s important to make sure you are happy with the placement of each loop before moving on to the next step.
Step 5: Make a Bow
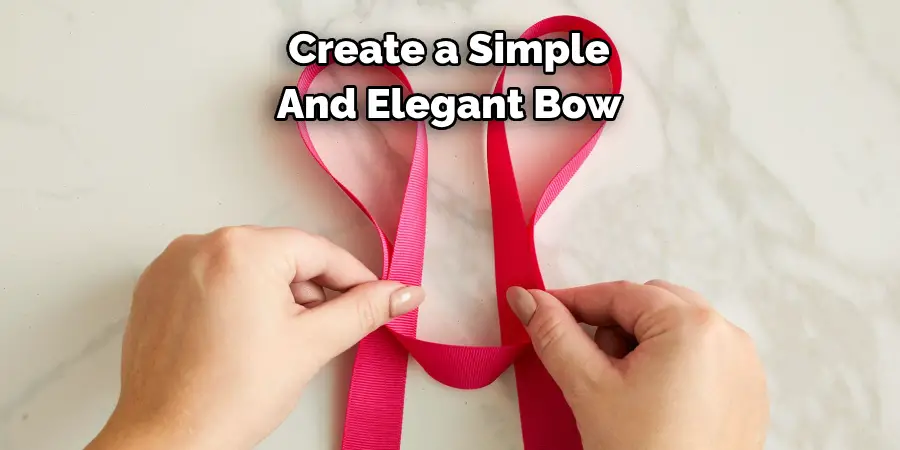
To create a simple and elegant bow, take your wire-edged ribbon and form several loops. Pinch them at the center and secure them with floral wire. You can also use glue or thread if you don’t have floral wire. Cut the ends of the ribbon into a V-shape for a more polished look. You can also add multiple bows if you wish. It’s all about personal preference. It’s your wreath, so make it unique!
Step 6: Attach the Bow
Using floral wire or glue, attach your bow to the bottom of your wreath. This will serve as a focal point and add a decorative touch to your velvet wreath. You can also add other embellishments at this step, such as faux flowers, pinecones, or ornaments. However, be careful not to overload the wreath with too many decorations as it can take away from the beauty of the velvet ribbon.
Step 7: Create a Hanger
Take your wire-edged ribbon and form a loop. This will serve as your hanger. Cut another piece of ribbon about twice the length of your loop and fold it in half. Align the ends of the folded ribbon with the looped ribbon and secure them together using hot glue or floral wire. Attach this to the back of your wreath, making sure it is centered and secure.
Step 8: Final Touches
Once everything is attached, take a step back and look at your wreath. Now is the time to make any final adjustments if needed. You can also add any additional embellishments at this point. Remember to use your creativity and have fun with it! You can even add a festive touch by using holiday-themed ribbons for a seasonal velvet wreath.
Step 9: Hang Your Wreath
Find the perfect spot to display your new velvet wreath. It can be on your front door, above the fireplace, or in any room that needs some extra flair. Remember to use a sturdy hook or nail when hanging your wreath, as it may be heavier than a traditional wreath. You can also add a coordinating ribbon to the hanger for an extra decorative touch.
Step 10: Share Your Creations
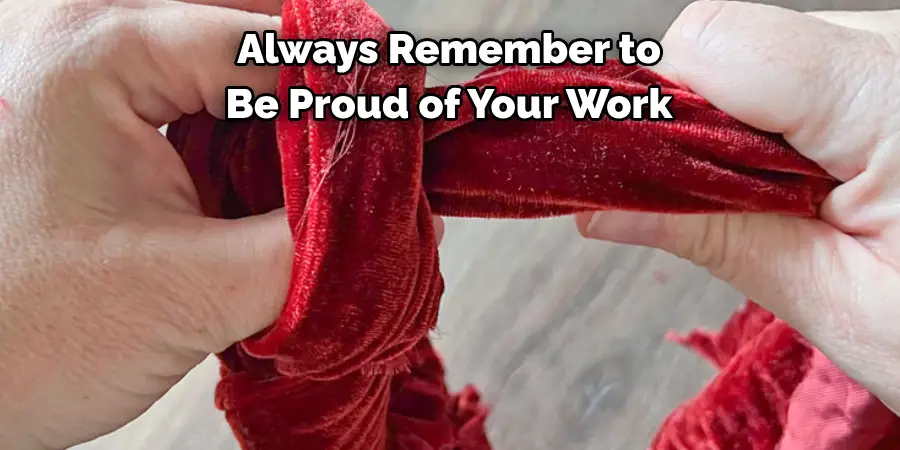
Now that you have completed your velvet wreath, share it with others! Take pictures and post them on social media or gift one to a friend or family member. You can even make a tradition of creating velvet wreaths each year and see how your designs evolve. Always remember to be proud of your work and inspire others with your creativity.
Step 11: Enjoy Your Beautiful Velvet Wreath
Take a moment to admire your handiwork and enjoy the beautiful addition to your home. A velvet wreath is a simple but stunning way to add warmth, texture, and color to any room. You can customize it to fit any style or occasion, making it a versatile and timeless decoration. So go ahead and make as many velvet wreaths as your heart desires! happy crafting!
Following these step-by-step guidelines on how to make a velvet wreath, you can create a beautiful and unique decoration for your home or as a thoughtful gift for someone else. Remember to have fun and let your creativity shine through.
With each wreath, you’ll gain more experience and can experiment with different colors, textures, and embellishments. Now that you know the process, the possibilities are endless. Enjoy your velvet wreath and happy crafting!
Additional Tips
- When Wrapping the Ribbon Around the Wreath Form, You Can Use Hot Glue to Secure the End of Each Strip Before Moving on to the Next One. This Will Prevent the Strips From Shifting While You Work.
- Experiment With Different Ribbon Widths and Textures for a Unique Look.
- For an Added Touch of Elegance, Spray Your Wreath With Some Glitter or Metallic Paint. This Will Make It Sparkle and Shine in the Light.
- You Can Also Use a Mix of Velvet and Satin Ribbons to Create a More Luxurious Wreath.
- If You Don’t Have a Foam Wreath Form, You Can Use a Wire or Grapevine Wreath Instead. Just Make Sure to Wrap the Ribbon Around It Tightly to Cover Any Gaps.
- Don’t Limit Yourself to Just Holiday-themed Velvet Wreaths. You Can Also Create Ones for Different Seasons or Occasions Such as Weddings, Birthdays, or Even a Simple Everyday Wreath.
- Have Fun and Get Creative With Your Bow and Hanger Designs. You Can Use Multiple Ribbons, Add Different Textures or Even Incorporate Other Materials Like Burlap or Lace.
- Consider Making a Matching Garland or Table Centerpiece Using the Same Techniques as Your Velvet Wreath for a Cohesive Look in Your Home Decor.
- Keep Your Velvet Wreath Clean by Gently Dusting It With a Soft Cloth Occasionally. Avoid Getting It Wet as This Can Damage the Velvet Material.
Frequently Asked Questions
1. Can I Use Different Types of Ribbon Besides Velvet?
A1: Absolutely! While velvet ribbon creates a beautiful and luxurious wreath, you can use any type of ribbon that suits your style or occasion. Satin, burlap, grosgrain, and even fabric strips will work just as well.
2. How Long Will a Velvet Wreath Last?
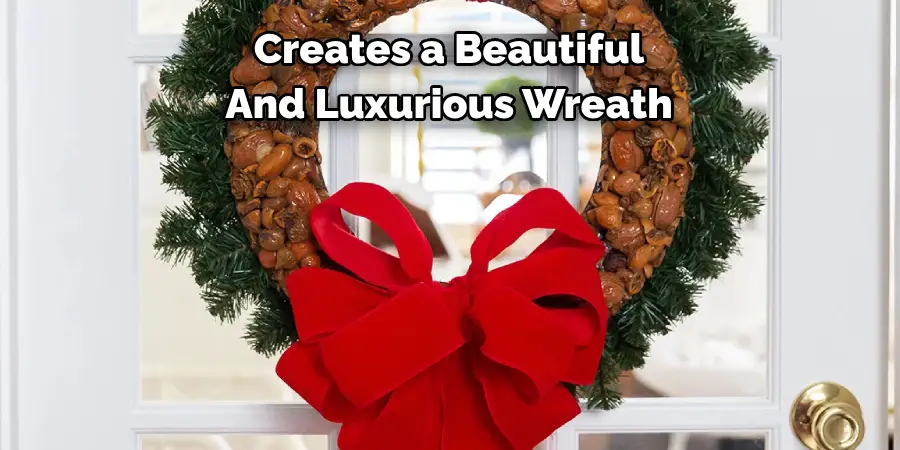
A2: With proper care and storage, a velvet wreath can last for many years. Avoid displaying it in direct sunlight or areas with high humidity to prevent any damage to the material.
3. Can I Use Real Flowers on a Velvet Wreath?
A3: While it is possible to incorporate real flowers into your velvet wreath, it may not be the best idea as they can wilt and wither over time. It’s best to use faux flowers or other non-perishable materials for a longer-lasting wreath.
Conclusion
Making a beautiful velvet wreath is much easier than you may think! It’s just a matter of getting the materials, following the steps we have outlined and using your own creative flair to make it unique. Whether you’re looking to decorate your bedroom, your living room or somewhere else in your home, a velvet wreath will lend an air of sophistication and class.
To top it off, making one isn’t complicated or expensive – just be sure to buy excellent quality velvet fabric, which can be found online or at craft stores. So get out there and get creative; you’ll be surprised by what beauty you can come up with in no time at all! With just a few simple tools and materials on how to make a velvet wreath, anyone can make one of these magnificent wreaths. Why not give it a try today?

