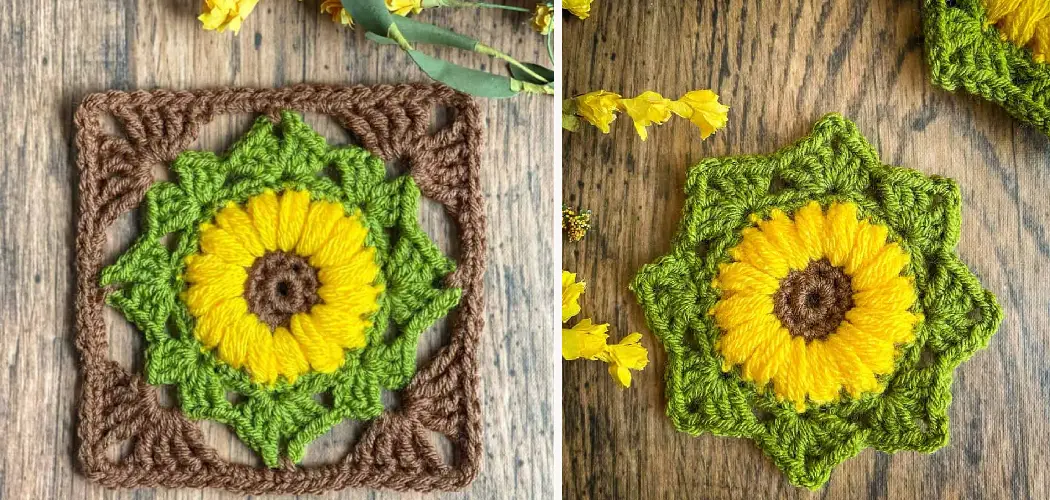
As the sunny, warm days of summer end and fall arrive, I find myself longing for the bright cheeriness that sunflowers bring. Their golden yellow petals that follow the sun’s journey across the sky never fail to lift my spirits on even the dreariest days. This year, rather than just admiring sunflowers from afar, I brought the sunshine indoors by learning how to crochet a granny square pattern inspired by these beloved flowers.
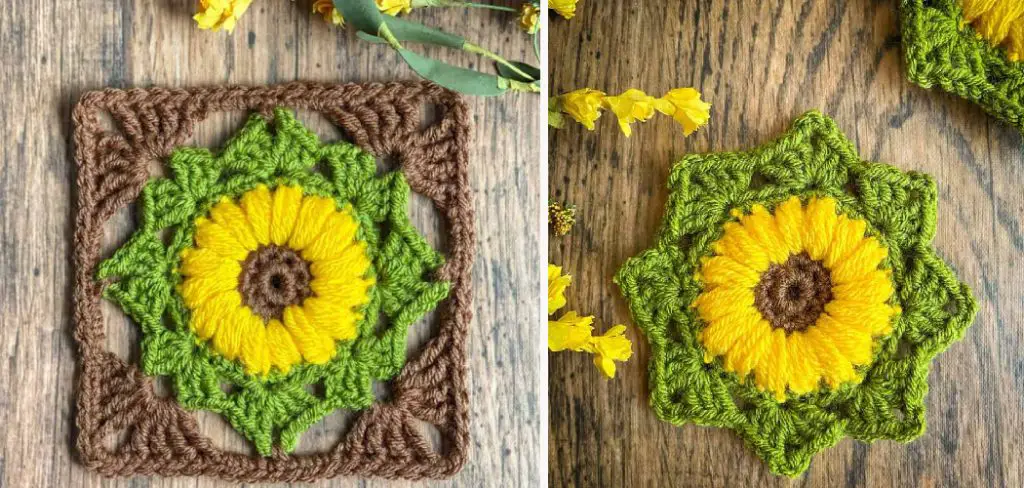
Granny squares are a classic in the crochet world – their simple design lets you get creative with color combinations and motifs. For my first attempt, I recreated sunflower faces within the blocks. Join me as I guide you step-by-step through how to make a sunflower granny square. With just a few basic crochet stitches and some yarn, you’ll be well on your way to spreading more sunbeams all fall and winter.
Necessary Items
Before diving into the tutorial, let’s ensure we have all the necessary items to get started. For this project, you will need:
- Yarn in yellow, brown, and green (or colors of your choice)
- Crochet hook (size depending on your yarn weight)
- Scissors
- Tapestry needle
10 Steps on How to Make a Sunflower Granny Square
Step 1: Create a Magic Ring
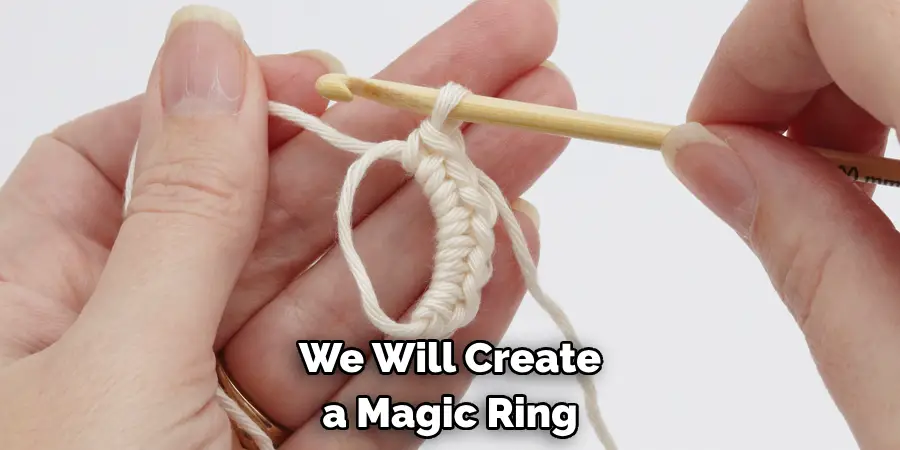
To begin, we will create a magic ring to serve as the center of our granny square. If you are unfamiliar with this technique, refer to online tutorials or ask a fellow crocheter for assistance. Once you have created your magic ring, we can move on to the next step.
Step 2: Make a Chain Stitch
Pull the yarn through your magic ring and make one chain stitch. This will serve as the first stitch of our granny square.
Step 3: Double Crochet Stitches
Next, make nine double crochet stitches into the center of the magic ring. These stitches should be tight enough to hold but not too tight to distort the ring’s shape.
Step 4: Slip Stitch
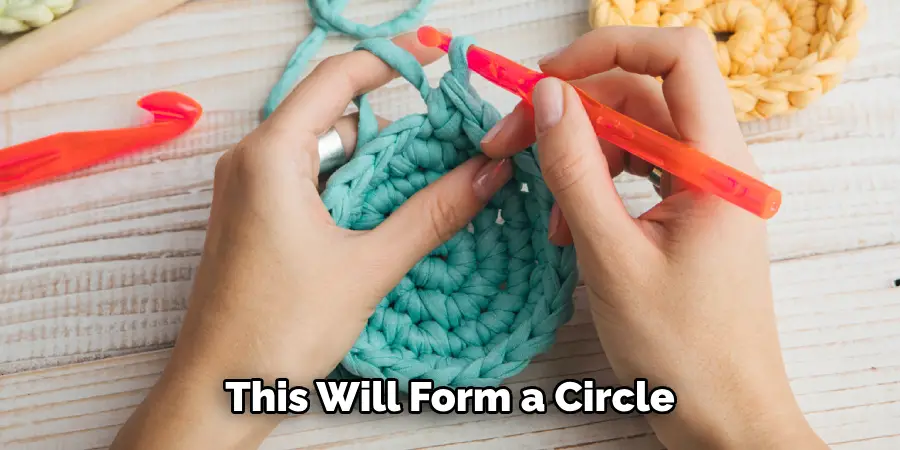
Join the first and last double crochet together with a slip stitch. This will form a circle, which will become the center of our sunflower. You should now have ten stitches in total.
Step 5: Changing Colors
Switch to your brown yarn by making a slip knot and pulling it through the loop on your hook. This will leave a tail that can be woven in later. Cut off your yellow yarn, leaving a small tail that can also be woven in.
Step 6: Slip Stitch
Make a slip stitch into the first double crochet stitch of the previous round. This will bring your hook to the front of the work.
Step 7: Chain Stitch
Chain two stitches, which will serve as our first half-double crochet stitch. We will continue using half-double crochet stitches for this round.
Step 8: Half-Double Crochet Stitches
Make two half-double crochet stitches in the same stitch as your chain. Then, make three half-double crochet stitches in each of the remaining eight stitches of the previous round. You should now have thirty total stitches.
Step 9: Slip Stitch
Join the first and last half-double crochet together with a slip stitch. This will form our second round, which should have ten clusters of three stitches each.
Step 10: Final Touches
Switch to your green yarn by making a slip knot and pulling it through the loop on your hook. Cut off your brown cord, leaving a small tail that can be woven in. Make a slip stitch into the center of one of the clusters from the previous round. Chain two stitches, then make three double crochet stitches in the same cluster. This will form our first point on the sunflower petal. Continue this pattern for each group, making sure to slip stitch and chain between each petal.
8 Things to Avoid While Making a Sunflower Granny Square
1. Pulling Your Stitches Too Tightly
It’s essential to ensure your stitches are tight enough to hold but not so tight that they distort the shape of your work. This will ensure a neat and even granny square.
2. Skipping Steps
Follow each step carefully, as skipping one can lead to an incorrect pattern or shape. If you do skip a step, undo your stitches and try again.
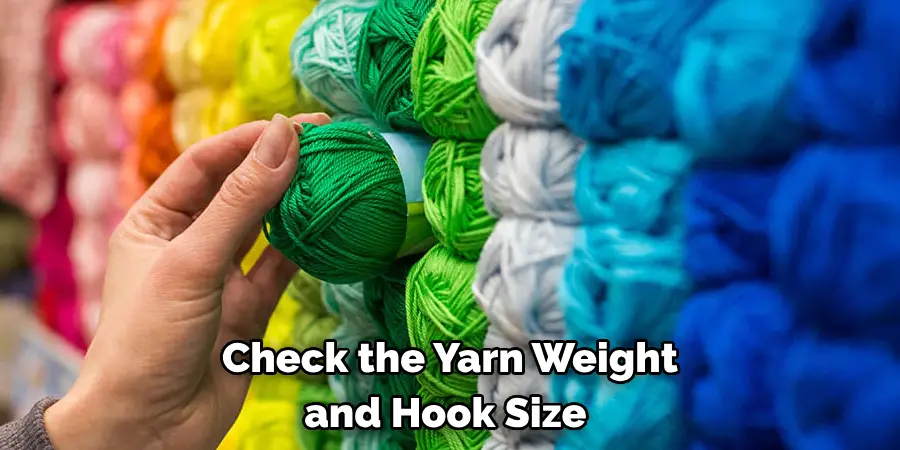
3. Using the Wrong Yarn Weight or Hook Size
Check the yarn weight and hook size recommended for this project. Using the wrong measures can result in a granny square that is too large or too small.
4. Not Paying Attention to Tension
Consistent tension is critical when crocheting a granny square. If your stitches become tighter or looser as you go, try adjusting how you hold your yarn and hook.
5. Not Having Enough Yarn
Make sure to have enough yarn for this project – running out in the middle can be frustrating and may result in an unfinished granny square.
6. Forgetting to Change Colors
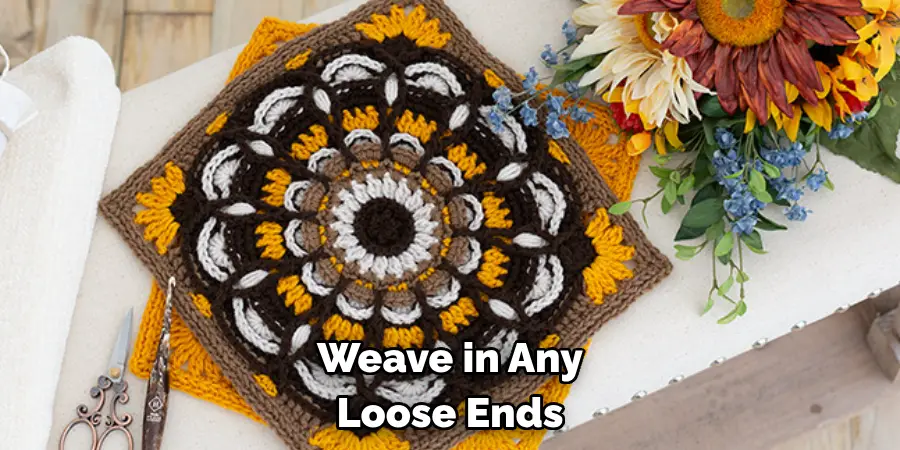
Remember to switch colors as needed – this gives the sunflower its distinct look! Make sure to weave in any loose ends as you go to avoid a mess at the end.
7. Rushing Through Steps
Take time with each step, and make sure your stitches are neat and even. Rushing through can result in uneven edges or mistakes that may be difficult to fix later.
8. Forgetting to Have Fun
Crocheting should be an enjoyable and relaxing activity. Don’t get too caught up in perfection – embrace imperfections and have fun creating your own unique sunflower granny square! Happy crocheting!
Congratulations, you have completed your very own sunflower granny square! You can now use this pattern to create various projects such as blankets, scarves, and home decor. Experiment with different color combinations and motifs to make each project unique. Remember to share your creations with others and spread the joy of crocheting one sunbeam at a time.
8 Additional Tips for Crocheting Sunflower Granny Squares
1. Try Different Yarn Types
While this tutorial uses basic yarn, experiment with different types, such as cotton or wool, to give your sunflower granny square a different texture and appearance.
2. Add Embellishments
Add a button or bead in the center of your sunflower for an extra touch of detail. You can also use embroidery thread to create a detailed center.
3. Use Different Hook Sizes
Using a larger or smaller hook size can change the overall size of your granny square. Play around with different sizes to create mini or oversized sunflowers.
4. Include Leaves
Add green yarn and crochet a few leaves alongside sunflower petals for a more realistic look. This is a great way to incorporate shades of green into your project.
5. Create a Center Square
Rather than having a solid center, try making a smaller granny square and attaching it in the center for added dimension.
6. Make a Bouquet
Create a beautiful bouquet with multiple sunflower granny squares in different sizes and colors. You can also add other types of flowers for a vibrant and unique arrangement.
7. Use Variegated Yarn
Variegated yarn, with its mix of different colors, can create an exciting look for your sunflower granny square. Try using it for the center or petals to add depth and texture.
8. Make It Your Own
Feel free to stray from the tutorial and put your spin on your sunflower granny square. Add different stitches, change the color scheme, or even mix in other crochet motifs for a unique creation!
Frequently Asked Questions
Can I Use a Different Yarn Weight or Hook Size for This Project?
You can, but remember that it may alter the size and shape of your granny square. Sticking the recommended yarn weight and hook size is best for the most accurate result.
How Long Does it Take to Make a Sunflower Granny Square?
The time it takes to make a sunflower granny square will vary depending on your skill level and how quickly you crochet. On average, it can take anywhere from 30 minutes to an hour.
Can I Make a Smaller or Larger Sunflower Granny Square?
Yes, you can adjust the size of your granny square by using fewer or more stitches in each round. Just keep in mind that this may also change the overall look of your sunflower.
What Can I Do With My Completed Sunflower Granny Square?
Your completed sunflower granny square can be used for various projects such as blankets, scarves, and home decor items. You can also sew multiple squares together to create larger projects.
How Do I Join Multiple Sunflower Granny Squares Together?
You can use a whip stitch or single crochet method to join multiple sunflower granny squares. There are many tutorials available online that can guide you through the process.
Conclusion
In conclusion, learning how to make a sunflower granny square is not only a fun and creative project but has many benefits. Not only will you have a unique and beautiful piece to add to your home decor or wardrobe, but creating this square can also be therapeutic and relaxing. Whether you are a beginner or an experienced crocheter, this pattern is easily adaptable and can be enjoyed by anyone.
Mastering this technique will also open up endless possibilities for incorporating granny squares into other projects such as Afghans, scarves, or clothing. Plus, let’s not forget the satisfaction of completing a task and saying, “I made that!” It may seem daunting initially, but you will soon make these sunflower squares effortlessly with some patience and practice. And who knows, it may inspire you to try other granny square patterns and designs.

